Can You Epoxy Over Epoxy? Yes, Here’s How to Recoat It Right
Yes, you can epoxy over epoxy – but whether you need to sand first comes down to one thing: timing. Pour a new coat within your epoxy’s recoat window (usually 4 to 24 hours after the first pour) and it chemically bonds straight to the old layer, no sanding required. Wait until the epoxy has fully cured, and skipping the sanding step is the single most common reason a second pour peels, fish-eyes, or delaminates months later.
Yes, You Can Epoxy Over Epoxy – If You Get the Timing Right
Best Pick for Recoating a Cured Tabletop
 |
TAKIMO 1 Gallon Crystal Clear Epoxy Resin Kit – $38.69 A 1:1 self-leveling, bubble-free formula that’s easy to mix by hand – exactly what you need for a clean second pour over a sanded, cured epoxy surface.
|
Epoxy is a thermosetting resin, which means it cures through an irreversible chemical reaction between the resin and hardener rather than by simply drying like paint. That reaction is also what makes recoating possible: while the epoxy is still curing, unreacted molecules on the surface are available to cross-link with a fresh coat poured on top. Once that reaction finishes and the epoxy fully hardens, those open bonding sites are gone, and a new coat has nothing left to chemically grab onto.
That’s the whole reason this question has two different answers depending on when you ask it. Pour a second coat while the first is still tacky and you’re relying on chemistry. Pour it after the first coat has fully cured and hardened, and you’re relying on mechanics – specifically, whatever texture you put into the surface with sandpaper.
The Recoat Window: When You Don’t Need to Sand at All
Most tabletop and river table epoxies have a “recoat window,” typically somewhere between 4 and 24 hours after the initial pour, depending on the brand, the room temperature, and how thick the first layer is. During that window, the surface is still slightly tacky or soft to a fingernail, which means the epoxy hasn’t finished cross-linking yet. Pour a new coat on top now and the two layers fuse into essentially one continuous piece – no sanding, no scuffing, no adhesion promoter needed.
This is the situation most river-table and deep-pour projects are actually in. You pour a flood coat, come back the next morning while it’s still slightly green, and pour a second flood coat to fill low spots or add depth. As long as you’re inside the manufacturer’s stated recoat time, you can go straight in with the next layer.
Two things to watch for even inside the window: amine blush and dust. Many epoxies develop a thin, waxy film on the surface as they cure – a byproduct of the amine hardener reacting with moisture and carbon dioxide in the air. If you can wipe a greasy or slick residue off the surface with a finger, that’s blush, and it needs to be removed with a damp cloth or a wipe of denatured alcohol before the next pour, even if you’re still inside the recoat window, or it can trap a hazy line between coats.
Once Epoxy Fully Cures, Sanding Isn’t Optional
If you’ve missed the recoat window – the epoxy has gone hard, feels glassy, and no longer dents under a fingernail – the chemistry that let coats fuse together is finished. At that point, a smooth, fully-cured epoxy surface is nearly as chemically inert as glass. Pouring or brushing a new coat directly on top gives you a physical layer sitting on the old one with nothing holding it there except gravity and whatever tiny amount of surface tension exists between the two.
This is why sanding a cured epoxy surface before recoating isn’t a “best practice” you can skip if you’re in a hurry – it’s the only bonding mechanism left. Scuffing the surface with sandpaper cuts thousands of microscopic scratches into the glossy top layer, giving the new epoxy a rough, three-dimensional surface to physically key into as it cures, rather than a flat sheet of glass to slide off of. Woodworkers and epoxy manufacturers alike call this a mechanical bond, as opposed to the chemical bond you get inside the recoat window.
A medium grit in the 80 to 150 range is generally recommended for this step, since it’s coarse enough to leave real texture without gouging deep grooves that show through a clear topcoat. Skip straight to a fine polishing grit like 400 or higher and you’ve essentially just buffed the glass smoother – not roughed it up enough to bond.
How to Recoat Cured Epoxy the Right Way
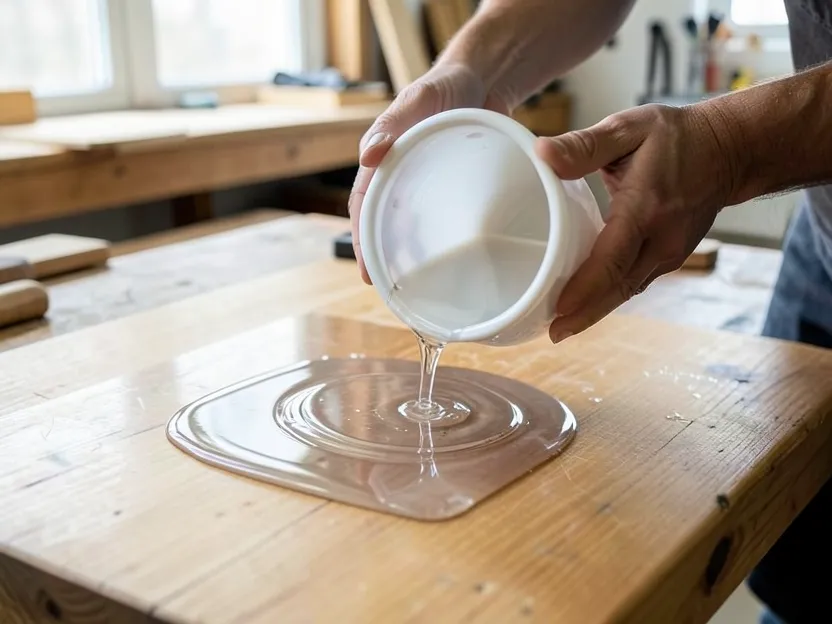
Once you know which situation you’re in, the actual recoat process is straightforward. Here’s the sequence for a fully-cured surface, which covers the harder of the two cases:
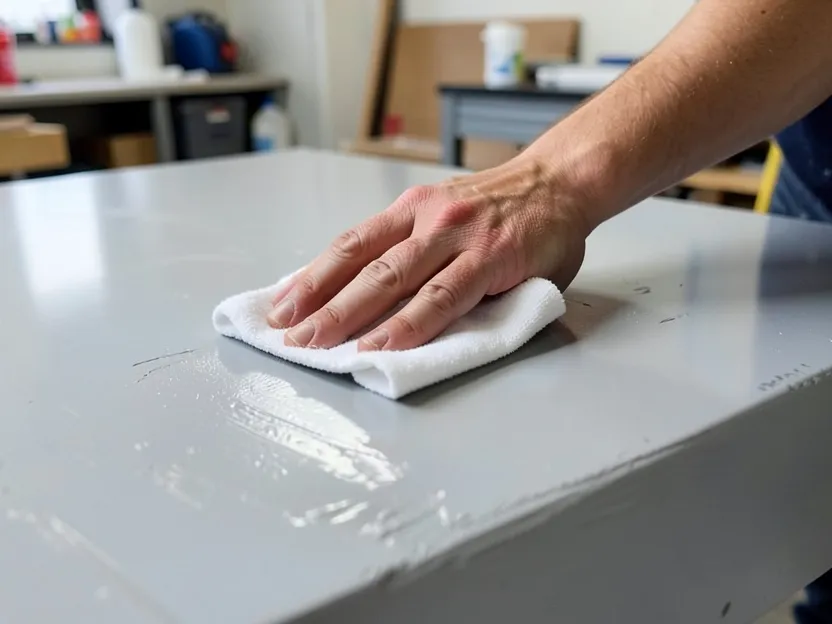
- Check for amine blush. Wipe the surface with a damp cloth or a cloth dampened with denatured alcohol. If it feels slick or greasy, blush is present and needs to come off before you sand, or you’ll just grind it into the scratches.
- Sand the entire surface. Use 80-150 grit sandpaper, working in overlapping passes so you don’t leave shiny, unsanded patches. The goal is an even, dull “frosted” look across the whole area, not spot-sanding.
- Wipe away all dust. Vacuum first, then wipe with a tack cloth or a cloth barely dampened with isopropyl alcohol. Any leftover dust under the new coat shows up as a permanent speck once it cures.
- Check the room temperature. Most epoxies want 65-85°F to self-level and cure clear. A cold shop is one of the most common reasons a recoat comes out cloudy or takes forever to harden.
- Mix and pour a thin coat first. A thin “seal coat” locks down any remaining dust and sanding scratches before you pour a thicker flood coat on top, which also helps you catch bubbles early with a heat gun or torch.
- Let it cure fully according to the manufacturer’s schedule before handling, and avoid touching the surface while it’s still tacky – fingerprints in a curing epoxy don’t sand out easily.
What Happens If You Skip the Prep
This is the part most generic guides gloss over: pouring epoxy straight onto a fully-cured, un-sanded surface doesn’t always fail immediately, which is exactly what makes it a trap. The new layer can look perfect the day it cures, then start lifting at the edges, bubbling, or peeling off in sheets weeks or months later once the piece sees regular handling, heat, or moisture. That delayed failure is a classic adhesion problem – a bond that was never chemical or mechanical to begin with, just physical contact, finally giving way under normal stress.
The other common symptom is fisheye – small circular craters or dimples where the new epoxy pulls away from itself as it self-levels. Fisheyeing is almost always a contamination problem: oil from fingerprints, silicone-based furniture polish, or leftover amine blush sitting on the surface and repelling the new resin as it tries to spread. Cleaning and sanding solves both problems at once, which is why it’s worth the extra 20-30 minutes rather than pouring directly over a glossy, cured surface and hoping for the best.
Frequently Asked Questions
How long do I have to recoat epoxy without sanding?
Most epoxy resins have a recoat window of roughly 4 to 24 hours, depending on the specific product and your shop’s temperature. Check the manufacturer’s datasheet for your exact resin – warmer rooms shorten the window, cooler rooms extend it.
What grit sandpaper should I use before recoating epoxy?
A medium grit between 80 and 150 works best for creating a mechanical bond. Anything much finer just polishes the surface further instead of roughening it, which leaves the new coat with nothing to grip.
Can I epoxy over epoxy without sanding if it’s already cured?
No. Once epoxy fully cures, its surface is chemically inert, so a new coat has nothing to bond to except mechanical texture. Skipping sanding on cured epoxy is the most common cause of delamination and peeling weeks after the recoat.
Why does my recoated epoxy have fisheyes or craters?
Fisheyes are almost always caused by surface contamination – oils, silicone polish, or leftover amine blush repelling the new resin. Clean and sand the surface thoroughly, then wipe with denatured alcohol immediately before pouring.
Bottom Line
Epoxy over epoxy works reliably in both situations – you just need to know which one you’re in. Inside the recoat window, pour with confidence and skip the sandpaper. Past full cure, treat the surface like bare glass: clean off any blush, sand it to a dull, even texture with 80-150 grit, wipe away every trace of dust, and only then pour your new coat. That extra half hour of prep is the difference between a recoat that lasts for years and one that quietly delaminates the first time the piece gets bumped or heated.
Sponsored / affiliate links. As an Amazon Associate I earn from qualifying purchases. I may earn additional commission from eligible campaigns.