How to Adjust Bandsaw Blade Tracking: Gullet-Centering Method
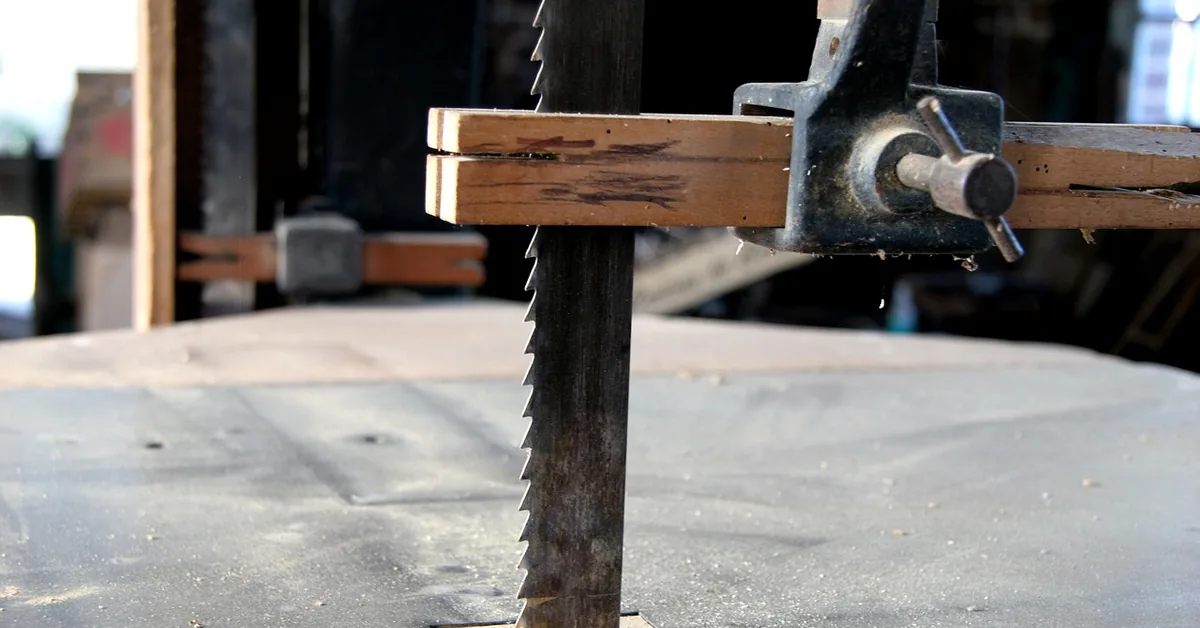
Bandsaw blade tracking is adjusted by centering the blade’s gullets — not the blade body — on the crown of the upper wheel, using the tracking knob behind the wheel housing. Getting tension right first is critical: a loose or over-tight blade will drift no matter how well it’s tracked, risking blown blades or off-center cuts on tight curves. This guide covers checking tension, centering the gullet, setting guide clearance, and the mistakes that cause tracking to keep slipping.
Quick Answer
Unplug the saw, set blade tension so the blade deflects about ¼–½ inch when pushed sideways, then spin the upper wheel by hand and use the tracking knob until the blade’s gullet — not its back edge — sits centered on the wheel crown. Re-check tracking after tensioning, since tightening the blade can shift it.
Understanding Bandsaw Blade Tracking
Best Bandsaw Tension Gauge Pick
iGaging Band Saw Gauge Bandsaw Companion – $29.75
Reads actual tension in pounds instead of guessing at the ¼–½ inch deflection test in Step 2 above — useful once you’re swapping between narrow and wide blades often.
- Best for: anyone who resaws with multiple blade widths and resets tension often
- Why we picked it: removes the guesswork from Step 2’s finger-deflection test
- Main drawback: mounts on the blade back, so it must be removed before cutting
Compare more bandsaw tracking & tension fixes
 Option 1 POWERTEC 14″ Bandsaw Tires (2-Pack) – $15.82
|
 Option 2 Woodline Cool Blocks Guide Set – $15.75
|
 Option 3 Carter QR1000 Tension Toggle – $229.96
|
As an Amazon Associate we earn from qualifying purchases.
What Is Blade Tracking on a Bandsaw?
Blade tracking is the position where a bandsaw blade rides on the wheels — it should run true, without wandering toward the front or back of the wheel during rotation. Correct tracking keeps the blade’s teeth clear of the wheel edge and prevents the blade from climbing off the crown, which is what causes it to jump the wheels entirely.
The components involved are the blade itself, the tracking adjustment knob (usually behind the upper wheel housing), the upper and lower wheels, and the blade guides above and below the table. All four have to work together — tracking only controls where the blade sits on the wheels; the blade guides control how it’s supported during the cut.
Signs of Misaligned Bandsaw Blade Tracking
Misaligned tracking rarely shows up as one obvious symptom. Watch for these together:
- Vibration during operation — the blade rubbing against a guide or wheel edge instead of running free, which stresses the blade and bearings over time.
- Uneven or off-center cuts — the blade deviates from the line as it cuts, forcing extra finishing work. This is especially costly on a narrow blade cutting a tight curve, which is exactly the situation a guitar body outline or cutaway horn puts a bandsaw in.
- A ticking or clicking sound — usually the weld seam or a tooth catching a guide that’s set too close because tracking has drifted off-center.
- Blade popping off the wheels — the most severe sign, caused by tracking that has drifted so far the blade rides off the crown entirely.
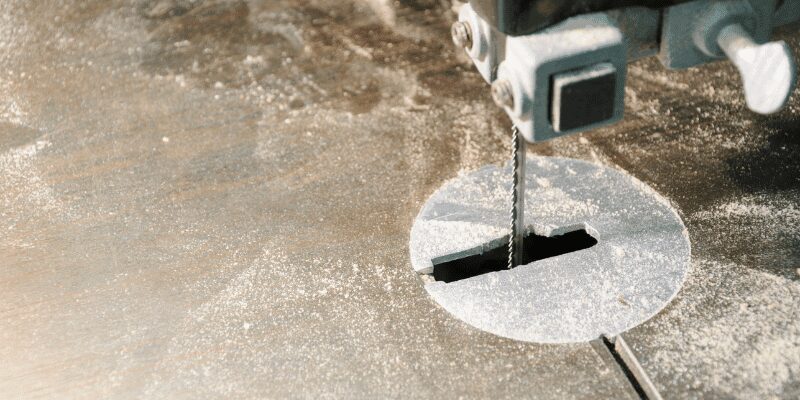
How to Adjust Bandsaw Blade Tracking (5 Steps)
Do this with the saw unplugged and the blade guides backed away from the blade so they don’t interfere with the wheel view.
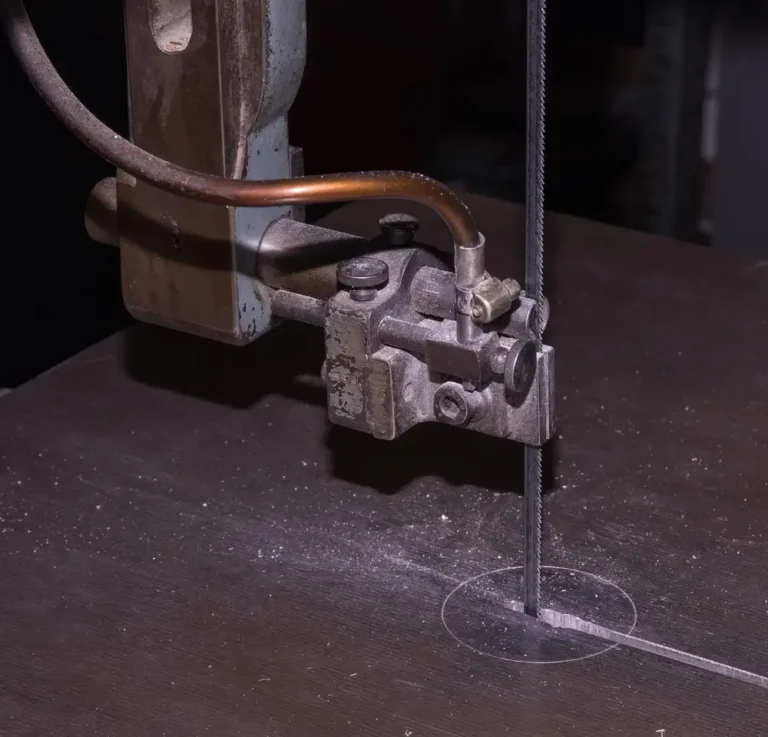
- Unplug the saw and back off the guides. Move the upper and lower blade guides clear of the blade so you have an unobstructed view of the wheel.
- Set blade tension first. Release the quick-release lever if the saw has one, then bring tension up gradually. Push the blade sideways with a finger — it should deflect roughly ¼ to ½ inch, no more. Tracking set with the wrong tension won’t hold.
- Spin the upper wheel by hand. Turn it slowly, at least two or three full rotations, and watch where the blade’s gullets (the gaps between the teeth) sit relative to the wheel crown — not where the flat back edge of the blade sits.
- Turn the tracking knob to center the gullet on the crown. If the blade is riding toward the front of the wheel, tilt the top of the wheel back; if it’s riding toward the rear, tilt it forward. Make small turns and re-spin between each adjustment.
- Lock the tracking knob and re-check tension. Once the gullet consistently rides center, lock the knob down. Spin the wheel once more to confirm nothing shifted, then reset the blade guides to the clearance in your owner’s manual.
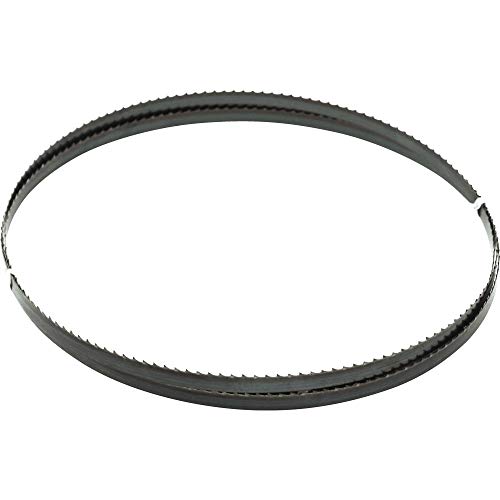
Cut a short test piece of scrap afterward. If the blade still wanders after tracking and tension are both correct, the blade itself is the problem — check it against a correctly sized replacement blade from a quality bandsaw blade lineup before adjusting anything else.
Bandsaw Blade Guard and Guide Safety Before You Adjust
Tracking and tension adjustments put your hands close to a moving blade and an exposed wheel, so the setup matters as much as the technique. Unplug the saw — not just turn it off — before reaching near the wheels, and wait for the blade to fully stop if you were just cutting. Keep the upper blade guard set close to the material once you’re back to cutting: too wide a gap increases the risk of the blade breaking or an exposed hand contacting it.
📊 Set the blade guard 1/8″ to 1/4″ (3–6 mm) above the material being cut — wider gaps put extra tension on the blade and raise the risk of it breaking during the cut. — Source: Canadian Centre for Occupational Health and Safety, Band Saws
“Unlock the blade tracking adjustment knob and slowly spin the upper wheel three times, watching where the blade rides in the middle of the crown—then lock the knob once it tracks consistently.”
Common Bandsaw Tracking Mistakes to Avoid
These are the mistakes that cause tracking to “keep coming back” even after you’ve adjusted it:
- Tracking before tensioning. Tension changes where the blade sits on the wheel, so tracking set before tension is final will drift the moment you finish tensioning.
- Centering the blade’s back edge instead of the gullet. On many blades the two aren’t in the same spot — centering the flat back edge instead of the tooth gullets is the single most common tracking mistake.
- Leaving the blade tensioned between sessions. Leaving a blade at full tension for days stretches it and can flat-spot the tires over time, which changes tracking the next time you power on. Backing off tension after each use — and re-checking tracking before the next cut — extends both blade and tire life.
- Ignoring worn or glazed tires. Hardened, shiny, or cracked wheel tires won’t hold a blade centered no matter how carefully the tracking knob is set; replace the tires before chasing the adjustment further.
- Blaming tracking for a dull blade. If tension and tracking both check out and the cut still wanders, sharpen or replace the blade before adjusting the tracking knob any further — a dull blade will pull off-center no matter how it’s tracked.
- Skipping the guide reset. Blade guides moved out of the way to check tracking (Step 1) have to be reset to the clearance in the manual afterward — running with guides still backed off lets the blade twist under load.
Frequently Asked Questions on Bandsaw Blade Tracking
Where Should a Bandsaw Blade Track?
The blade’s gullets — the gaps between the teeth — should ride centered on the crown of the wheel, not the flat back edge of the blade. Centering the gullet, not the body, is what keeps the teeth clear of the wheel edge and prevents the blade from climbing off during operation.
Why Is My Bandsaw Not Tracking Straight?
Most often it’s incorrect tension, worn or glazed wheel tires, a dull or damaged blade, or guides set too tight against the blade. Check tension first with the ¼–½ inch deflection test, then inspect the tires and guides before touching the tracking knob again.
Why Is My Bandsaw Blade Wandering?
Uneven tension or a dull blade are the two most common causes. Confirm proper tension and sharpness first, then re-center the gullet on the wheel crown and make sure the guides support the blade without pinching it.
Why Does My Bandsaw Blade Keep Coming Off Track?
Repeated tracking loss usually traces back to improper tension, misaligned guide blocks, or a dull blade. Set tension correctly, re-center the gullet, and use a sharp blade — a dull blade cuts unevenly and pulls itself off track as it works.
How Much Should a Bandsaw Blade Deflect When You Check Tension?
Push the blade sideways with a finger at the midpoint between the wheels — it should move about ¼ to ½ inch, no more. Less than that usually means the blade is over-tensioned and stressing the wheels; more means it’s loose enough to drift off tracking during a cut.
How Often Should You Check Bandsaw Blade Tracking?
Check it before each session if you de-tension the blade between uses, since re-tensioning can shift the gullet off center even if nothing else about the saw changed. If you leave the blade tensioned, a quick visual check whenever you swap blade widths is usually enough.
Conclusion
Correct bandsaw blade tracking comes down to sequence: set tension to the ¼–½ inch deflection range first, then center the blade’s gullet — not its back edge — on the wheel crown, and reset the guides before you cut. Recheck after every re-tensioning, and replace worn tires or a dull blade rather than chasing the tracking knob for a problem it can’t fix.
Sponsored / affiliate links. As an Amazon Associate I earn from qualifying purchases. I may earn additional commission from eligible campaigns.