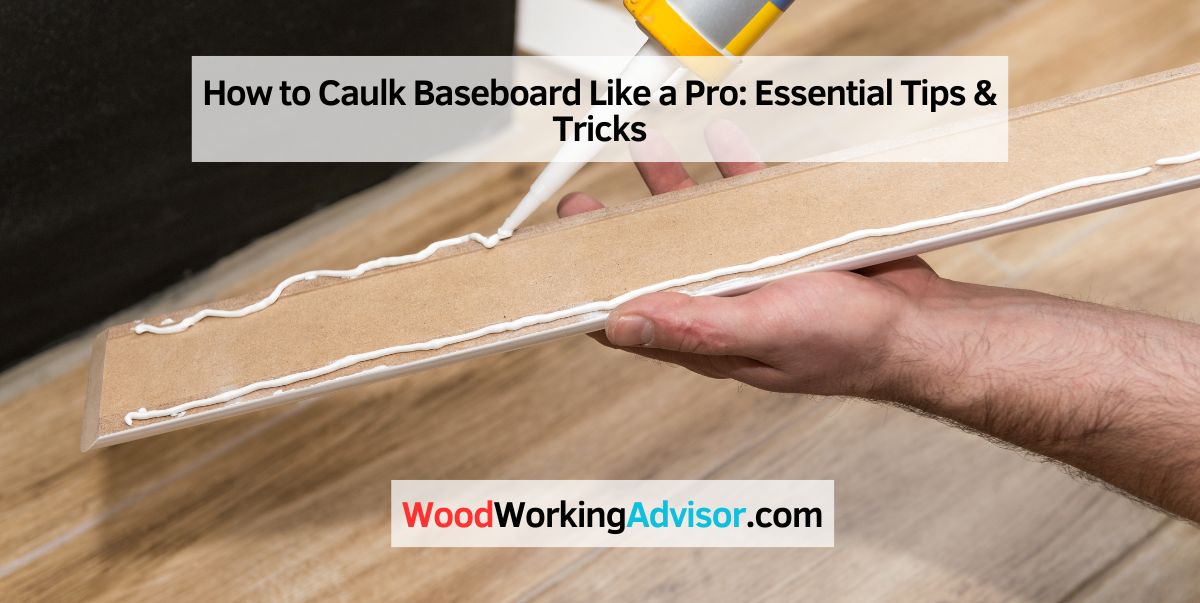
How to Caulk Baseboard Like a Pro
To caulk baseboard, first, clean the area thoroughly and remove any old caulk. Then, apply a thin bead of caulk along the seam and smooth it using a caulk tool or your finger.
Baseboards are not only decorative but also serve as a barrier between your walls and floors. Over time, gaps may develop between the baseboard and the wall, allowing air, moisture, or pests to enter. Caulking the baseboard is a simple and effective way to seal these gaps and improve the overall appearance of your room.
We will discuss the step-by-step process of caulking baseboards, from cleaning the area to applying the caulk. By following these instructions, you can achieve a professional-looking finish and enhance the durability of your baseboards.
Choosing The Right Caulk
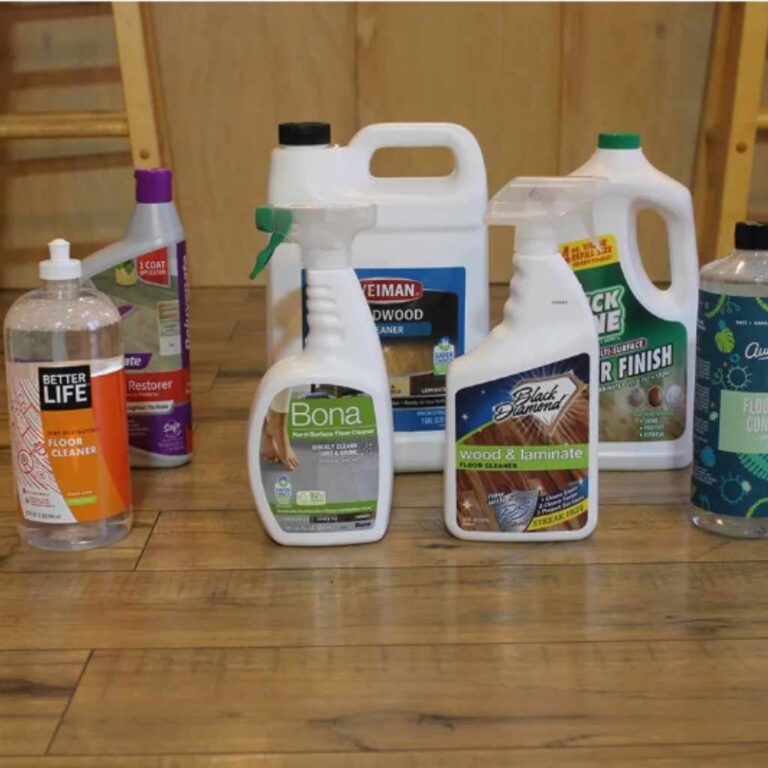
When caulking baseboards, it’s important to choose the right caulk for the job. Consider using a paintable and flexible silicone caulk to ensure a seamless finish that can withstand movement and moisture. This will help enhance the appearance of your baseboards while providing long-lasting protection.
One of the essential steps in caulking baseboards is selecting the right caulk for the job. Choosing the appropriate caulk ensures a proper seal and a long-lasting finish. With various types of caulk available in the market, it’s crucial to understand the options and match the caulk to the baseboard material for the best results. In this section, we will explore the types of caulk and guide you on how to choose the perfect one for your baseboard.
Types Of Caulk
When it comes to caulking baseboards, you have different types of caulk to choose from, each with its unique characteristics and uses. Let’s take a look at the most common types:
| Type of Caulk | Features | Best Uses |
|---|---|---|
| Silicone Caulk | Durable and waterproof | Ideal for high-moisture areas, such as bathrooms and kitchens |
| Latex Caulk | Easy to apply and clean up | Perfect for interior use on non-moisture-prone areas |
| Acrylic Caulk | Good adhesion and paintability | Great for sealing gaps in walls, windows, and doors |
| Polyurethane Caulk | Highly flexible and can withstand movement | Recommended for areas prone to expansion and contraction |
Matching Caulk To Baseboard Material
Matching the caulk to the baseboard material is crucial for a seamless and professional finish. Here’s a guide to help you determine the best caulk for different types of baseboards:
- Wood Baseboards: For wood baseboards, it’s recommended to use a paintable caulk, such as latex or acrylic. These caulks adhere well to wood and can be easily painted over to match the color of your baseboard.
- Vinyl Baseboards: When caulking vinyl baseboards, a silicone caulk works best. It provides excellent adhesion to vinyl surfaces and ensures a durable seal.
- MDF Baseboards: MDF baseboards, being a composite material, require a caulk that can flex and accommodate any movement. Polyurethane caulk is an ideal choice, as it remains flexible and prevents cracks in the caulk line.
By choosing the right caulk and matching it to your baseboard material, you can achieve a seamless, professional-looking finish. Remember to clean the area thoroughly before caulking and always test the caulk on a small, inconspicuous area first. With the right caulk and proper application technique, you’ll have your baseboards looking as good as new in no time!
Preparation And Cleaning
Before proceeding with the caulking process for your baseboard, it is crucial to properly prepare and clean the area. Following these steps will ensure a smooth and long-lasting finish
Cleaning The Area
- Begin by clearing any furniture or objects that may obstruct your access to the baseboard.
- Use a broom or vacuum cleaner to remove any dust, debris, or loose particles from the baseboard and the surrounding area.
- Next, take a damp cloth that is free from any cleaning solutions or chemicals and wipe down the baseboard. This will remove any lingering dirt or grime.
- If you encounter any stubborn stains or sticky residue, gently scrub them using a soft brush or sponge dipped in warm soapy water.
- Make sure to thoroughly dry the baseboard after cleaning, as any remaining moisture could interfere with the caulking process.
Preparing The Baseboard Surface
- Inspect the baseboard for any cracks, gaps, or damage. If you find any, make the necessary repairs before caulking.
- Properly sand the baseboard surface to create a smooth and even texture. This will ensure better adhesion for the caulk.
- Once the sanding is complete, wipe away any residual dust using a clean, dry cloth.
- If you are caulking a newly installed baseboard, allow sufficient time for the paint or stain to cure before proceeding with the caulking process.
- For previously painted or stained baseboards, consider applying a primer to ensure better adhesion and longer-lasting results.
- Lastly, gather all the necessary tools and materials such as a caulk gun, caulk, and a putty knife. Having everything within reach will make the caulking process more efficient.
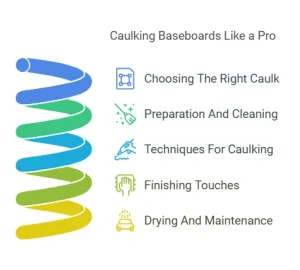
Techniques For Caulking
Using The Caulk Gun
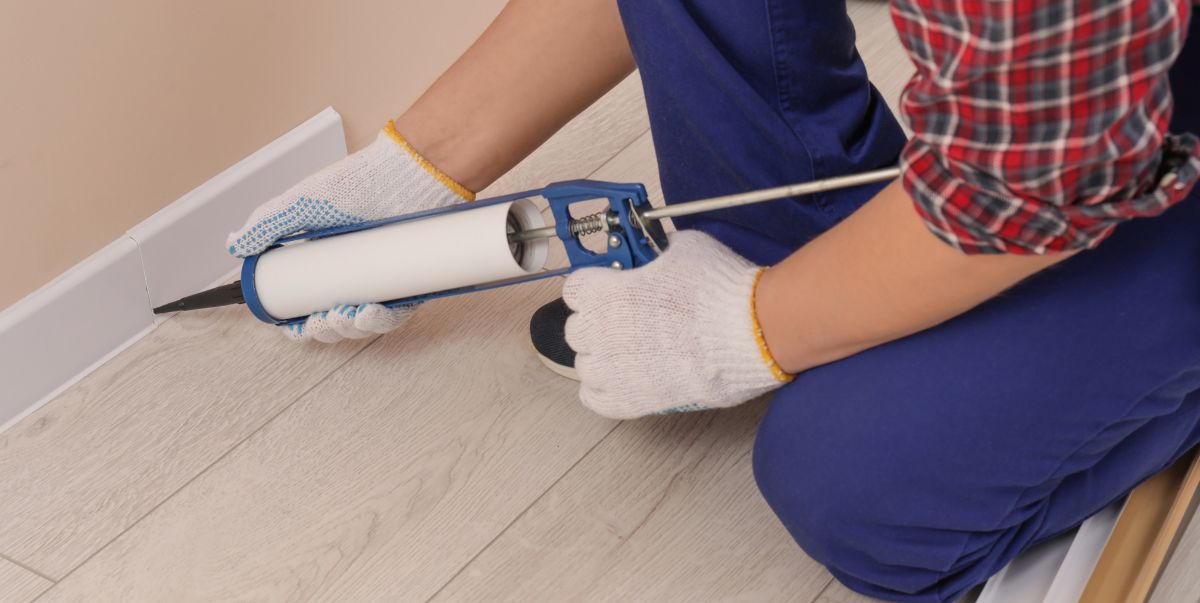
Caulking baseboards requires the use of a caulk gun. Ensure the nozzle is cut at a 45-degree angle and is small enough to create a precise bead of caulk.
Applying Caulk In Smooth Lines
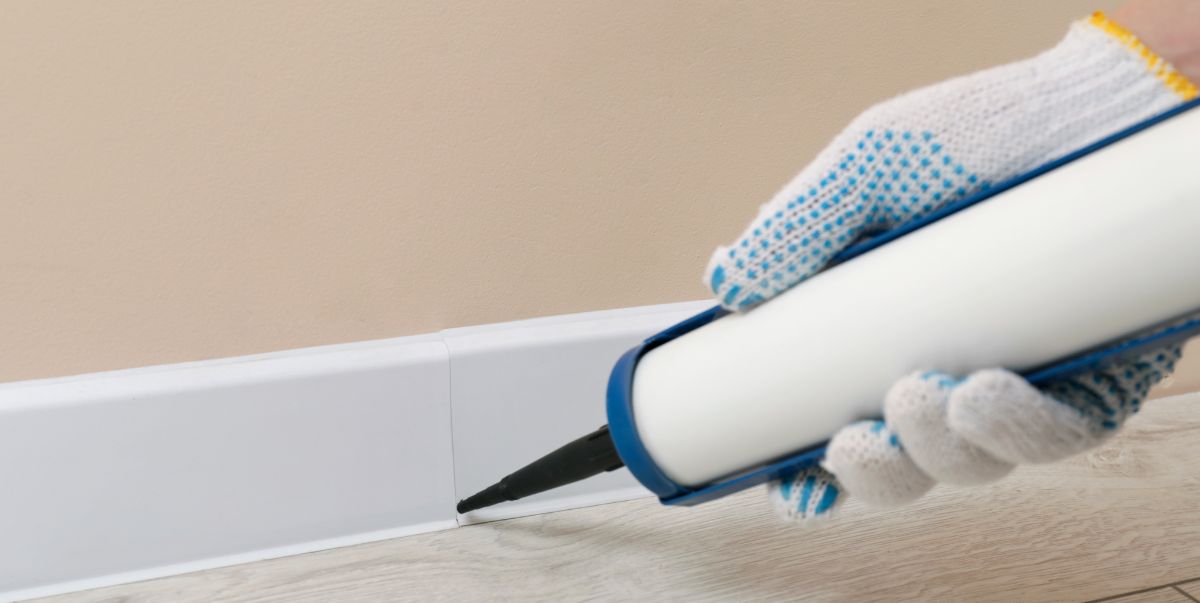
To apply the caulk in smooth lines, hold the caulk gun at a 45-degree angle and move it steadily along the baseboard while squeezing the trigger. Utilize a steady hand and smooth, even pressure for best results.
Finishing Touches
Once you have successfully caulked the baseboard, it’s time to add those final touches that will give your project a polished and professional look. Paying attention to details such as smoothing the caulk lines and removing any excess caulk is essential. In this section, we will explore these crucial steps in depth to help you achieve a seamless finish.
Smoothing The Caulk Lines
After applying the caulk, you will want to ensure that the lines are smooth and even. This step not only enhances the appearance but also helps to seal any gaps effectively. Here’s how you can achieve impeccable caulk lines:
- Before the caulk dries, dip your finger in a bowl of soapy water or use a caulk smoothing tool.
- Starting at one end, gently run your finger or tool along the caulk line, applying even pressure.
- Continue smoothing the caulk line until it is consistent throughout.
- Wipe off any excess caulk from your finger or tool and repeat the process for each caulked section.
Removing Excess Caulk
Even with careful application, there may be some excess caulk that needs to be removed. Cleaning up this extra caulk will give your baseboard a neat and professional appearance. Follow these steps to remove excess caulk:
- Wait for the caulk to partially dry, as removing it too soon can cause smudging and unevenness.
- Using a caulk removal tool or a razor blade at a 45-degree angle, carefully scrape off the excess caulk.
- Be cautious not to scratch or damage the baseboard surface while removing the excess caulk.
- Wipe away any remaining debris with a clean cloth or sponge.
Drying And Maintenance
Once you have successfully caulked your baseboard, it is important to allow enough time for it to dry. Additionally, regular maintenance is crucial to ensure the longevity of the caulked baseboard. Below, we discuss these two aspects in detail.
Allowing Time To Dry
Patience is key when it comes to drying caulked baseboards. After application, it is essential to allow the caulk to fully dry before moving or touching the baseboards. This typically takes about 24 hours. However, it’s important to note that drying times may vary depending on factors such as humidity levels and the type of caulk used.
In order to avoid any accidental damage to the freshly caulked baseboard, it’s advisable to restrict foot traffic in the area until the caulk has completely dried. Keep pets away as well to prevent their paws from leaving marks or smudges on the caulk.
| Tips for Allowing Proper Drying: |
|---|
| 1. Keep the area well-ventilated to aid in the drying process. |
| 2. Avoid applying any paint or other surface treatments until the caulk has fully dried. |
| 3. Do not touch or clean the caulked area until it has fully cured. |
Maintaining The Caulked Baseboard
Once the caulk has fully dried, maintaining the caulked baseboard becomes crucial to ensure its longevity and effectiveness. Regular inspection and necessary touch-ups can prevent potential problems from arising later on. Here are some tips for proper maintenance:
- Regularly inspect the caulked baseboard for any cracks or gaps. If any are found, fill them promptly to prevent moisture or dirt from seeping in.
- Clean the caulked area with a mild detergent and a soft cloth, avoiding the use of harsh chemicals or abrasive materials that may damage the caulk.
- Protect the caulked baseboard from excessive moisture by addressing any water leaks or seepage issues in the surrounding area.
- When moving furniture or other objects near the caulked baseboard, be cautious to avoid any accidental bumps or scratches that may damage the caulk.
By following these maintenance tips, you can keep your caulked baseboard in excellent condition and extend its lifespan.
Frequently Asked Questions For How To Caulk Baseboard
What Is The Easiest Way To Caulk Baseboards?
The easiest way to caulk baseboards is to follow these steps:
1. Clean the area thoroughly.
2. Choose a caulk that matches the baseboard color.
3. Apply the caulk in a steady, even line along the edge of the baseboard.
4. Smooth the caulk with a caulk smoothing tool or your finger.
5. Clean up any excess caulk and let it dry completely.
Are You Supposed To Caulk The Bottom Of Baseboards?
Yes, you should caulk the bottom of baseboards. Caulking helps to seal gaps and prevent moisture, dust, and insects from getting through. It also gives a neat and finished look to the baseboards. Make sure to choose a paintable caulk that matches the color of your baseboards for a seamless appearance.
Should You Caulk Baseboards Before Or After Painting?
Yes, caulk baseboards before painting to create a smooth finish and prevent paint from seeping underneath.
How Do You Fill Gaps Between Baseboard And Floor?
To fill gaps between baseboard and floor, use a caulk gun. Apply a bead of caulk along the gap and use a putty knife to smooth it. This seals the gap and creates a clean, finished look.
Conclusion
To sum up, caulking baseboard is a simple yet effective way to improve the appearance and functionality of your home. By following the steps outlined in this guide, you can achieve a professional and long-lasting finish. With the right tools and techniques, you’ll be able to tackle this project with confidence, saving time and money in the process.