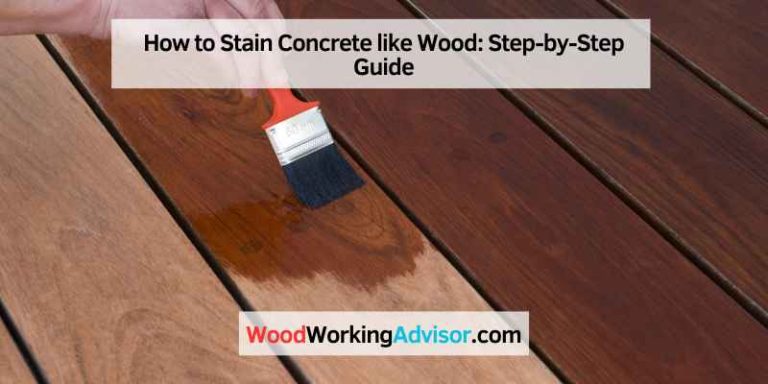
How to Fix Wood Stain Mistakes: Expert Tips for Perfect Results
To fix wood stain mistakes, sand the stained area and apply a fresh coat of stain. Now, let’s explore some effective techniques for fixing wood stain mistakes.
Wood staining can be a tricky task, and even experienced DIYers can make mistakes. Whether you applied too much stain, didn’t evenly spread it, or ended up with blotches, there are solutions to correct these issues. By following a few simple steps, you can fix wood stain mistakes and restore the natural beauty of your wood surfaces.
We will discuss some effective techniques to rectify common staining errors. So, let’s dive in and learn how to fix wood stain mistakes for a flawless finish.
Identifying Wood Stain Blunders
Wood staining is a popular way to enhance the natural beauty of wooden surfaces. However, even the most experienced DIY enthusiast can make mistakes when it comes to applying wood stain. Identifying and rectifying these blunders early on can save you time and effort. In this section, we will discuss three common stain mistakes and how to recognize them: uneven stain application, surface and deep-set stains, and improper wood preparation.
Signs Of Uneven Stain Application
Uneven stain application can result in unsightly patches and streaks on your wood surface. Identifying this mistake is crucial to achieving a professional-looking finish. Here are some signs to look out for:
- Color variation: Uneven color distribution or darker areas indicate a blotchy stain application.
- Poor absorption: If the wood appears to be absorbing the stain inconsistently, with some areas absorbing more or less stain than others, this is a clear indication of an uneven application.
- Visible brush or roller marks: Streaks or brush marks can occur if the stain is not evenly spread or if excessive stain is left sitting on the surface.
Distinguishing Between Surface And Deep-set Stains
Understanding the difference between surface and deep-set stains is crucial for effective stain correction. Surface stains sit on the top of the wood and are typically easier to remove. Deep-set stains, on the other hand, penetrate into the wood fibers, making them more challenging to eliminate. Here’s how you can distinguish between the two:
| Surface Stains | Deep-set Stains |
|---|---|
| Stain is only on the surface and can be easily wiped off. | Stain has penetrated into the wood and cannot be removed by surface cleaning. |
| Stain color is lighter and less intense. | Stain color looks darker and more prominent. |
| Stain is mainly confined to the top layer of the wood. | Stain extends deeper into the wood, affecting multiple layers. |
Recognizing The Impact Of Improper Wood Preparation
Wood preparation is a vital step in the staining process. Failure to prepare the wood properly can lead to various staining issues. Recognizing the impact of improper wood preparation is essential to correcting your stain blunders. Here are some common signs that indicate a lack of proper wood preparation:
- Stain doesn’t adhere evenly: If the stain does not seem to adhere uniformly to the wood surface, it suggests that the surface was not adequately cleaned or sanded before the application.
- Poor absorption: If the wood does not absorb the stain evenly or appears to repel the stain, it could be due to the presence of dirt, dust, or existing finishes.
- Blotchy appearance: Wood surfaces that have not been properly smoothed or treated may result in a blotchy appearance when stained.
- Peeling or flaking: Improperly prepared wood may cause the stain to peel or flake off over time.
Fixing Uneven Wood Stain
Mistakes can happen when applying wood stain, resulting in an uneven finish. Whether you accidentally applied too much stain in certain areas or didn’t distribute it evenly, don’t worry! There are several effective techniques for fixing uneven wood stain that will help you achieve a perfect result. In this article, we’ll cover some expert tips on how to correct uneven wood stain, including sanding techniques for correction, using wood stain removers effectively, and more.
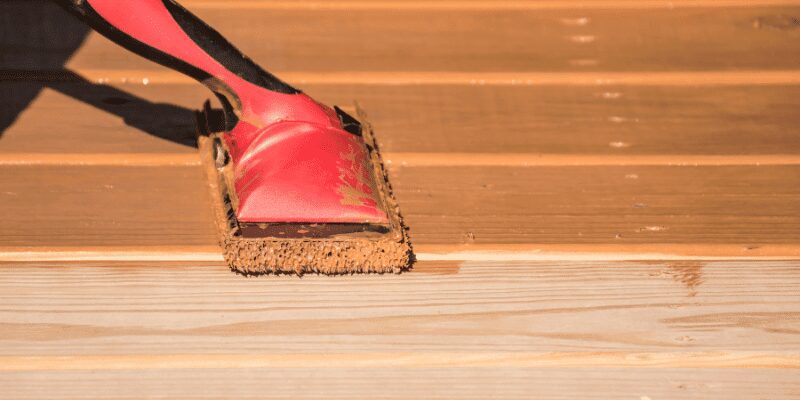
Sanding Techniques For Correction
Sanding is one of the most common methods used to correct uneven wood stain. By sanding the stained surface, you can remove excess stain, smooth out uneven patches, and achieve a more uniform appearance. Here are the steps to follow:
- Gather the necessary materials: sandpaper (choose a grit suitable for your wood type and stain), sanding block, and a dust mask for protection.
- Start by lightly sanding the stained surface using long, even strokes, following the direction of the wood grain. This will gradually remove the excess stain and level out any uneven spots.
- Inspect the surface as you go, checking for consistent color and smoothness. If necessary, continue sanding until the desired result is achieved.
- Once you’re satisfied with the evenness of the stain, wipe away any sanding dust with a clean, damp cloth.
Using Wood Stain Removers Effectively
If sanding alone doesn’t yield the desired result, or if you prefer an alternative approach, wood stain removers can come to the rescue. These products are specifically designed to dissolve and remove wood stain, allowing you to start fresh. Follow these steps to use wood stain removers effectively:
- Choose a high-quality wood stain remover suitable for the type of stain you used.
- Apply the remover to the stained surface, following the instructions provided by the manufacturer. It’s important to wear protective gloves and work in a well-ventilated area during this process.
- Allow the remover to sit on the wood for the recommended time, typically around 15-20 minutes.
- After the recommended time, use a scraper tool or a soft bristle brush to gently remove the loosened stain. Work in small sections, ensuring you cover the entire stained area.
- Once you’ve removed the stain, clean the surface with a mixture of water and mild detergent to remove any residue. Rinse thoroughly and let it dry completely before applying a new coat of stain.
By employing these sanding techniques and effectively utilizing wood stain removers, you’ll be able to fix uneven stain on your wood surfaces and achieve the perfect finish you desire. Remember to take your time and be patient throughout the process, ensuring each step is carried out with precision to attain the best possible outcome.
Troubleshooting Dark Stains
Dark wood stains can add an elegant and sophisticated touch to any piece of furniture or wooden surface. However, achieving the desired dark stain can sometimes be a challenge, especially when mistakes happen along the way. Thankfully, there are methods and products available to help you troubleshoot and fix these dark stain mishaps. In this article, we will explore some effective strategies like balancing the stain with specialized products, utilizing expert blending methods for consistent color, and considering the options between DIY and professional solutions.
Balancing The Stain With Specialized Products
One way to fix dark stain mistakes is to use specialized products that can help balance the color tones and achieve the desired shade. These products are specifically formulated to work with wood stains and can be found at most hardware stores or online retailers.
When using specialized products, it’s important to follow the manufacturer’s instructions carefully. Here are a few popular products that can help with dark stain troubleshooting:
| Product | Benefit |
|---|---|
| Bleaching agent | Lightens the dark stain and allows for a lighter finish |
| Tinted wood stain | Blends with the existing dark stain to create a more balanced color |
| Stain remover | Helps remove excess dark stain and even out the color |
Expert Blending Methods For Consistent Color
When it comes to fixing dark stain mistakes, expert blending methods can be highly effective in achieving a consistent and even color across the wood surface. These methods require careful attention to detail and a bit of artistic finesse. Here are a few techniques that experts often employ:
- Feathering technique: This method involves lightly feathering the stain with a brush or cloth to blend it with the surrounding wood.
- Layering technique: By applying multiple layers of stain, starting with a lighter shade and gradually building up to the desired darkness, you can achieve a more balanced and uniform color.
- Wet-on-wet technique: Applying a fresh coat of stain while the previous coat is still wet can help blend the colors together, resulting in a smoother and more seamless finish.
Diy Vs. Professional Solutions
When it comes to fixing dark stain mistakes, you have two options: taking a DIY approach or seeking professional help. Consider the following factors when deciding which route to take:
- Budget: DIY solutions are generally more affordable, as they involve purchasing the necessary products and tools and doing the work yourself. On the other hand, hiring a professional may cost more but can ensure a high-quality and flawless result.
- Time and skill level: Fixing dark stain mistakes can be time-consuming and requires some level of expertise. If you have the time, patience, and confidence in your skills, DIY may be a viable option. However, if you’re short on time or prefer to leave it to the experts, hiring a professional can save you time and effort.
- Extent of the damage: If the dark stain mistake is minor and can be easily rectified, DIY methods might be sufficient. However, for more complex or extensive staining issues, it may be best to consult with a professional to ensure the best possible outcome.
By considering these factors, you can make an informed decision about whether to tackle the dark stain troubleshooting on your own or seek professional assistance.
Restoring Over-sanded Areas
Wood staining can be a delicate process, and even the most experienced DIYers can make mistakes. One common mistake is over-sanding, which can result in uneven color or complete removal of the stain. But don’t fret! Restoring over-sanded areas is not as challenging as it may seem. In this section, we will explore the techniques and tips to fix wood stain mistakes caused by over-sanding.
Selecting The Right Stain To Match Existing Color
Before you begin the restoration process, it is crucial to select the right stain to match the existing color of your wood. This step ensures a seamless repair and helps to avoid any noticeable differences in color. To select the appropriate stain, follow these easy steps:
- Identify the existing stain color: Start by determining the color of the original stain. Look for any remnants of the stain that may be visible, or refer to any documentation or records if available.
- Bring a sample of the wood: Take a small piece of the wood that needs restoration to the local hardware store or woodworking specialty shop. This will help you to find a stain that closely matches the existing color.
- Test the stain: Before applying the stain to the over-sanded area, test it on a small discreet portion of the wood. This will allow you to see if it matches the color effectively before proceeding with the restoration process.
Precision Application For Seamless Repair
Once you have selected the right stain, the next step is to apply it with precision to achieve a seamless repair. Follow these steps to ensure precision application:
- Clean the wood: Begin by thoroughly cleaning the over-sanded area to remove any dust, dirt, or debris. This will provide a smooth surface for the stain to adhere to.
- Apply the stain: Using a small brush or sponge, apply a thin layer of stain onto the over-sanded area. Be sure to spread the stain evenly and blend it with the surrounding wood for a natural look.
- Let it dry: Allow the stain to dry completely according to the manufacturer’s instructions. Check for any inconsistencies in color and make necessary touch-ups, if needed.
- Apply a protective finish: To protect the restored area and ensure longevity, apply a clear protective finish, such as varnish or polyurethane, over the repaired spot. This will also provide a uniform sheen throughout the wood surface.
Maintenance Tips To Prevent Further Damage
Prevention is always better than cure, especially when it comes to protecting your wood from further damage. Here are some maintenance tips to help prevent over-sanding mishaps:
- Use the right sandpaper grit: When sanding wood, choose the appropriate sandpaper grit for the job. Start with a coarser grit and gradually move to finer grits to avoid over-sanding.
- Practice caution: Take your time and apply gentle pressure when sanding. Avoid excessive force or speed, as it can lead to over-sanding and damage the wood.
- Protective measures: Before sanding, apply masking tape or use a wood filler to protect delicate areas or sections that don’t require sanding.
- Seek professional help: If you are uncertain about the sanding process or need assistance with a larger project, consider seeking professional help. They have the experience and tools to complete the job with precision.
By following these tips, you can easily fix wood stain mistakes caused by over-sanding. Remember to choose the right stain, apply it with precision, and take preventive measures to maintain the quality of your wood surfaces. With a little patience and care, you’ll be able to restore the beauty of your wood and enjoy its natural elegance for years to come.
Sealing Wood Post-stain Correction
After successfully fixing wood stain mistakes, it’s important to apply a sealant to protect and enhance the finished look of your wood project. The right sealant not only provides durability but also enhances the wood’s natural beauty. In this section, we will discuss choosing the correct sealant, application methods for ensuring both durability and aesthetics, and final touches for a professional-grade finish.
Choosing The Correct Sealant For Your Wood Project
Choosing the right sealant for your wood project is crucial in achieving the desired outcome. There are various options available, each with its own advantages and considerations.
| Sealant Type | Advantages | Considerations |
|---|---|---|
| Polyurethane | Provides excellent durability and protection against moisture and scratches. | May alter the color of the wood slightly and requires multiple coats for optimal results. |
| Spar varnish | Ideal for outdoor wood projects as it offers superior protection against UV rays and weathering. | May require more time to dry between coats and may need periodic maintenance. |
| Tung oil | Enhances the natural grain of the wood and provides a warm, matte finish. | Requires regular reapplication and may not provide the same level of protection as other sealants. |
Consider the specific requirements of your project and the desired aesthetics when choosing a sealant. It’s always a good idea to test the sealant on a small, inconspicuous area before applying it to the entire wood surface.
Application Methods To Ensure Durability And Aesthetics
Applying the sealant properly is essential for both durability and achieving a visually appealing finish. Here are some tips to ensure optimal results:
- Clean and prepare the wood: Remove any dust, dirt, or previous finishes before applying the sealant. Sand the surface lightly to create a smooth texture.
- Apply thin coats: It’s better to apply multiple thin coats rather than one thick coat. This allows the sealant to penetrate the wood and ensures better adhesion.
- Use a brush or applicator: Brushes or applicators specifically designed for sealants provide better control and help distribute the sealant evenly.
- Follow the manufacturer’s instructions: Different sealants may have specific application requirements, such as drying times between coats. Always refer to the manufacturer’s instructions for best results.
Final Touches For A Professional-grade Finish
For a professional-grade finish, attention to detail is key. Here are some final touches to consider:
- Sand between coats: After each coat of sealant has dried, lightly sand the surface with fine-grit sandpaper to ensure a smooth finish.
- Remove any dust: Before applying subsequent coats, clean the surface thoroughly to remove any dust or debris that may have settled.
- Polish or buff: For an extra shine, consider polishing the wood surface with a high-quality wood polish or buffing it with a soft cloth.
- Protective measures: Use protective pads or coasters to prevent water rings or scratches on the sealed wood surface.
By following these tips and considering the unique requirements of your wood project, you can achieve a professional-grade finish and protect the beauty of your newly corrected wood stain.
Frequently Asked Questions On How To Fix Wood Stain Mistakes
What To Do If You Mess Up Staining Wood?
To fix a stain mishap on wood, follow these steps:
1. Sand the area to remove the current stain.
2. Clean the surface thoroughly.
3. Apply a new coat of stain, matching the original color if desired.
4. Allow the stain to dry completely.
5. Finish with a protective coating like varnish or polyurethane.
How Do You Fix Uneven Stain Blotches After Staining?
To fix uneven stain blotches after staining, follow these steps:
1. Sand down the uneven areas gently.
2. Clean the surface to remove any debris.
3. Apply a layer of stain to the blotchy spots, matching the original color.
4. Let it dry completely.
5. If needed, repeat the process until the stain appears even.
How Do You Fix Wood Stain That Is Too Dark?
To fix wood stain that is too dark, simply sand down the top layer of the stained wood. Start with a fine-grit sandpaper and gradually move to a coarser grit if needed. Once the desired shade is achieved, wipe off the dust and apply a lighter-colored stain or a wood stain remover for an even finish.
Can You Stain Over Previously Stained Wood?
Yes, you can stain over previously stained wood. Ensure the old stain is thoroughly cleaned and the surface is prepped before applying the new stain for better adherence and desired results.
Conclusion
Fixing wood stain mistakes doesn’t have to be a daunting task. By following these simple steps, you can easily correct any mishaps and restore the beauty of your wooden surfaces. Remember to sand, strip, and reapply the stain carefully for the best results.
Don’t forget to take proper precautions and wear protective gear throughout the process. With a little patience and attention to detail, you can achieve professional-looking results and enjoy your beautifully stained wood.