How to Repair an Interior Door Frame (Loose, Cracked, Rotted)
A loose interior door frame needs shims and a longer screw, not wood putty — filling a racked joint just cracks again in a few months. Rotted or deeply gouged wood calls for two-part epoxy instead, since standard filler shrinks and won’t hold a screw. This guide covers diagnosing which problem you actually have, the shim-and-screw fix for a loose frame, when epoxy beats wood filler, and when a section needs full replacement.
Diagnose the Damage: Which Repair Do You Actually Need?
Best Loose Door Frame Fix Pick
EZ-Shim Hinge Shims (15-Pack)
Pre-cut, hinge-shaped shims sized to slide behind a hinge leaf without whittling a cedar shingle down by hand.
- Best for: A door that rubs, won’t latch, or has an uneven gap around the edges
- Why we picked it: Pre-shaped to hinge dimensions, so they seat flush instead of a hand-cut shim that can rock or crack
- Main drawback: Only solves hinge-side looseness — a fully racked jamb still needs the full shim-and-screw method above
Compare more door frame repair options
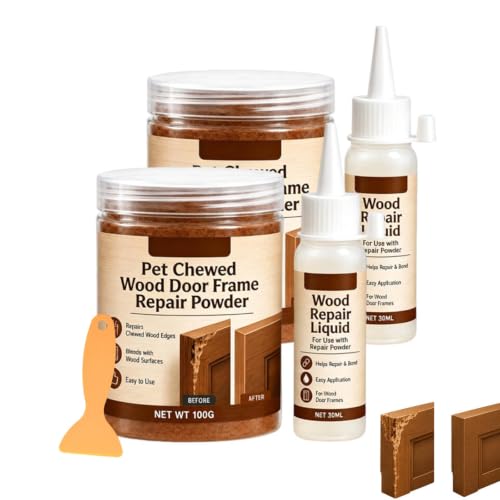
 Option 1 J-B Weld KwikWood Epoxy Putty
|
 Option 2 Elmer’s Interior Wood Filler
|
 Option 3 24″ Interior Door Jamb Reinforcement Kit
|
As an Amazon Associate we earn from qualifying purchases.
Most interior door frame complaints boil down to one of four distinct problems, and each has a different correct fix. Confusing them is the single most common repair mistake — packing wood filler into a loose hinge joint, or shimming a section that’s actually rotted through, wastes a weekend and fails again within months.
| What You See | Likely Cause | Correct Fix |
|---|---|---|
| Door rubs, won’t latch, gap uneven top to bottom | Frame racked loose from the wall studs | Shim + longer hinge screw |
| Small hairline crack, dent, or nail hole | Cosmetic surface damage, no structural loss | Standard wood filler |
| Soft, spongy, or crumbling wood; gouge near a hinge or strike plate | Rot, water damage, or damage where hardware must remount | Two-part epoxy filler |
| Split larger than about a third of the jamb, or wood missing entirely | Structural failure, impact damage, severe long-term rot | Cut out and splice in a new jamb section |
The distinction that trips up most DIYers: wood filler is not rated to hold a screw under load. If the damaged spot is anywhere a hinge, strike plate, or lockset will be reattached, use epoxy even if the damage looks minor — filler crumbles the first time the door swings hard against it.
Tools and Materials You’ll Need
- Screwdriver or drill/driver with Phillips bit
- Wood shims (cedar tapered shims or hinge-specific shims)
- 3-inch or 3½-inch wood screws (for anchoring into the framing stud)
- Standard wood filler (interior-grade, paintable)
- Two-part epoxy wood filler, for rot or load-bearing repairs
- Putty knife
- 120- and 220-grit sandpaper or a sanding block
- Pry bar and utility knife (for trim removal, if replacing a section)
- Hand saw or oscillating multi-tool (for partial jamb replacement)
- Primer and paint or stain to match the existing finish
Fixing a Loose or Racked Door Frame (Shim-and-Screw Method)
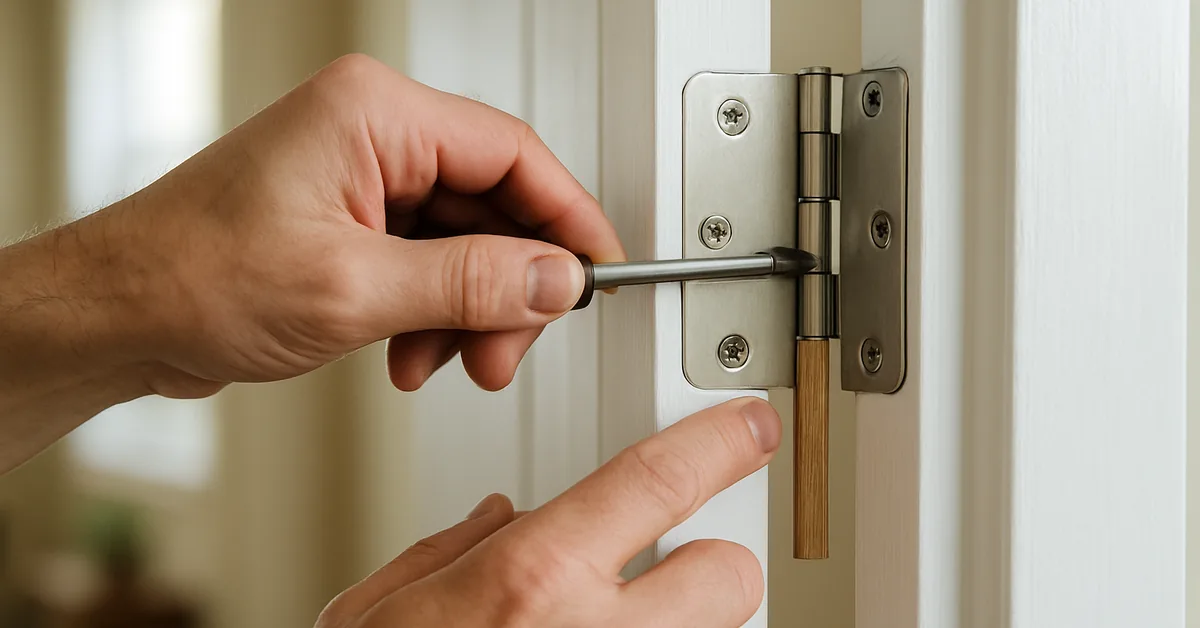
A door that won’t latch, rubs against the frame, or has an uneven gap around the edges is almost never a door problem — it’s the frame that has worked loose from the wall framing. This is the fastest of the four repairs and the one most homeowners skip straight past in favor of planing the door itself, which only masks the real issue.
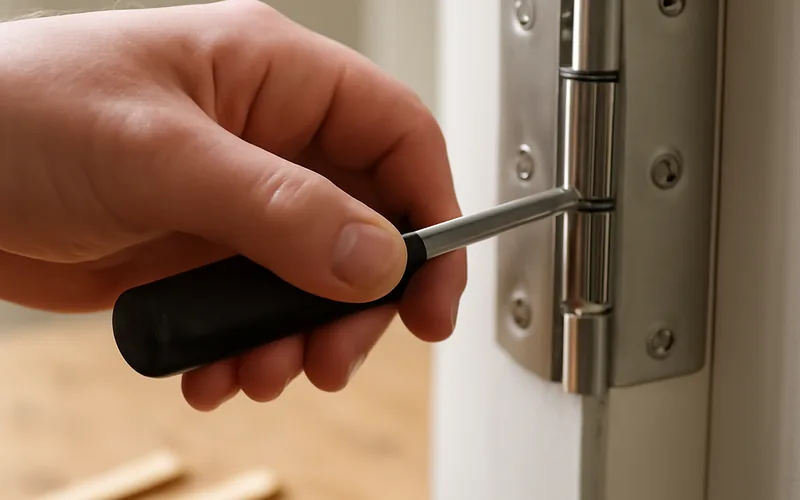
- Open the door and remove the center hinge screw: Take out the middle screw on the top or center hinge first — this is usually the one causing the most play.
- Check the hole: If the screw spins freely or the hole looks enlarged, the jamb has worked loose from the stud behind it, not just the hinge from the jamb.
- Drive in a longer screw: Replace it with a 3-inch or 3½-inch wood screw. The extra length passes through the jamb and shim gap to bite into the framing stud, pulling the whole frame tight instead of just the hinge leaf.
- Shim any visible gap: If you can see daylight or a gap between the jamb and the wall framing once the trim is pulled back slightly, tap a tapered shim into the space before driving the screw, then snap off the excess with a utility knife.
- Repeat on the remaining hinges: Do the same check on the top and bottom hinge screws, and on the strike-plate screws on the latch side if the door still doesn’t seat cleanly.
- Test the door: Close it several times and check the reveal (the gap around the edges) is even on all sides before moving on to any cosmetic repair.
“The center hinge screw is almost always the loose one. On most ‘the door won’t latch’ calls, I check that screw and swap it for a 3-inch one before I ever touch a plane or sander — it solves the problem more often than every other fix in this guide combined.”
If the frame is racked more than a longer screw and a shim can correct — for example, the whole jamb has pulled several degrees out of square after a house settled — that’s a job for re-shimming the full jamb behind the trim, which is covered in the complete step-by-step door frame repair guide.
Wood Filler vs. Epoxy: Repairing Cracks, Gouges, and Rot
Wood filler is a water- or solvent-based paste that dries by evaporation, which is exactly why it shrinks slightly as it cures and stays soft enough that it’s unsuitable for anywhere that needs to hold a screw or resist moisture. Epoxy wood filler is a two-part resin-and-hardener system that cures through a chemical reaction rather than evaporation, so it doesn’t shrink, and once hard it can be drilled, sanded, and screwed into like real wood.
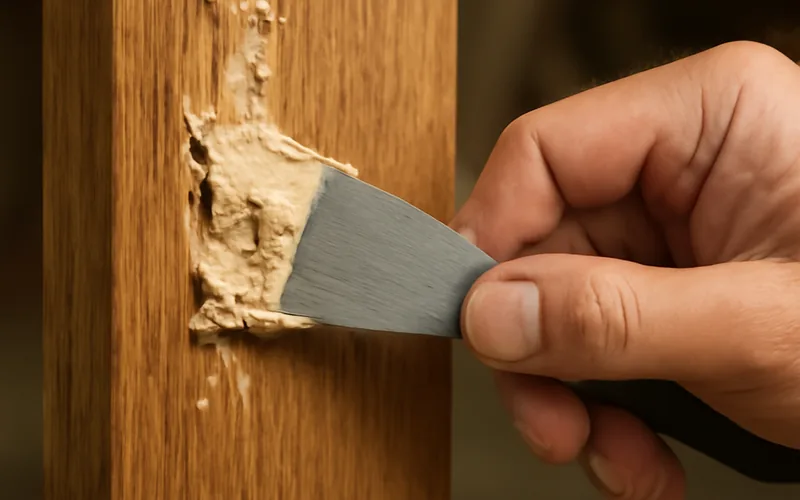
Use standard wood filler for small dents, nail holes, and hairline cracks on trim that will be painted, and nowhere near a hinge, strike plate, or lockset. Switch to epoxy any time the wood is soft, spongy, or visibly rotted, when the gouge is deeper than about a quarter inch, or when hardware needs to remount into the repaired area — a screw driven into cured wood filler will simply spin and pull out under the weight of the door.
For rot specifically, the repair only holds if every soft fiber is removed first — dig out rotted wood with a screwdriver or chisel until you reach solid material, treat the exposed area with a borate wood preservative if it’s available, then fill with epoxy. Our full guide to repairing wood rot with epoxy covers the consolidant step in more detail, and if the rot is extensive rather than a single spot, see our dedicated rotted door frame repair guide.
If you’re working with small cracks or holes exclusively and want a deeper walkthrough of application technique, our wood filler repair guide covers mixing ratios and layering for larger fills.
When to Replace a Section of the Jamb Instead of Repairing It
Repair stops making sense once damage exceeds roughly a third of the jamb’s width, or once the wood has lost enough structural integrity that no amount of epoxy will hold a hinge screw securely. At that point, cutting out the bad section and splicing in new material is faster and more durable than trying to rebuild it in place.
Partial Replacement (Localized Damage)
- Mark straight cut lines about 2 inches above and below the damaged area
- Cut through the jamb at both marks with a hand saw or oscillating multi-tool, staying just outside the wall framing
- Pry out the damaged section and measure the gap precisely
- Cut a matching-width replacement piece from finger-jointed pine or poplar (standard for interior jambs — it’s stable and paint-grade)
- Glue and screw or nail the new section into place, then sand the seam flush
Full Jamb Replacement (Extensive Damage)
- Remove the door by tapping out the hinge pins
- Pry off the trim on both sides of the frame to expose the rough opening
- Remove the old jamb, pulling any remaining nails or screws
- Set the new jamb into the opening and screw it to the framing on the hinge side first
- Shim the gap between the jamb and the studs on the latch side, checking plumb with a level before driving screws
- Rehang the door, confirm an even reveal, then reinstall trim and finish
Full jamb replacement involves the same trim-removal and rehanging work as any door frame swap — take your time getting the hinge-side shims plumb before driving final screws, since that side sets the reveal for the whole door.
Sanding, Priming, and Painting the Repair
Once any filler or epoxy has fully cured, sand it flush with 120-grit sandpaper first to knock down the bulk, then 220-grit to smooth the surface before finishing. Feather the sanding out an inch or two beyond the repair so the transition doesn’t show as a ridge under paint.
Wipe away sanding dust, then apply a stain-blocking primer over the repaired area — both wood filler and epoxy absorb paint differently than surrounding wood, and skipping primer is the most common reason a patch is still visible after painting. Our guide to white wood primer covers picking the right primer for interior trim. Once primed, match the existing paint sheen and color exactly — trim paint is almost always semi-gloss or satin, and a flat-finish touch-up will stand out even if the color matches perfectly.
Preventing Future Door Frame Damage
- Install a door stop or bumper if the knob or door edge regularly hits the wall or frame
- Check hinge screws once a year — tightening them before they strip is far easier than repairing an enlarged screw hole later
- Keep interior doors away from direct moisture sources; a leaking bathroom exhaust fan or a plumbing leak near a closet doorway is the most common cause of interior rot
- Repaint or refinish trim as soon as bare wood is exposed — unfinished wood absorbs moisture and swells far faster than sealed wood
For broader upkeep beyond door frames, our wood care and maintenance guide covers seasonal checks that catch this kind of damage early.
Frequently Asked Questions
How do I know if my door frame is loose or actually damaged?
Open and close the door slowly and watch the gap around the edges. If the gap is uneven, the door rubs in one spot, or the latch doesn’t catch without lifting the handle, the frame has likely racked loose from the wall framing rather than being physically damaged. Physical damage — cracks, gouges, or soft wood — is visible on the jamb itself, independent of how the door swings.
Can you use wood filler on a door frame where hinges attach?
No. Standard wood filler isn’t rated to hold a screw under repeated load, so it will crack or the screw will spin loose within weeks. Use a two-part epoxy filler for any repair within about an inch of a hinge, strike plate, or lockset, since epoxy cures hard enough to be drilled and screwed into like solid wood.
How long does an interior door frame repair take?
A loose-frame shim-and-screw fix takes about 15-30 minutes per hinge. A wood filler repair takes 15 minutes to apply plus several hours of dry time before sanding. Epoxy repairs need roughly 15-20 minutes of working time and are typically sandable within 24 hours. A full jamb replacement is a half-day to full-day project including trim reinstallation and painting.
Is epoxy or wood filler better for a rotted door frame?
Epoxy is the better choice for rot in nearly every case. Wood filler has minimal moisture resistance and no structural strength, so it will fail again as any remaining rot continues to spread underneath it. Epoxy, applied after all soft rotted wood is removed, cures into a hard, moisture-resistant patch that can outlast the surrounding wood.
Do I need to replace the whole door frame if only the bottom is damaged?
Usually not. If damage is confined to the bottom foot or two of the jamb — a common spot for water damage — a partial replacement that cuts out just that section and splices in new matching wood is faster, cheaper, and just as durable as replacing the entire frame.
Why does my interior door frame keep coming loose after I tighten the screws?
The original hinge screws are usually only long enough to bite into the jamb itself, not the wall framing behind it, so they strip out again under the door’s weight. Replacing at least the center hinge screw with a 3-inch or longer screw anchors the frame directly into the stud, which holds permanently instead of loosening every few months.
Diagnosing the actual problem before reaching for a tool is what separates a repair that lasts from one you’ll redo next year. A loose frame needs a longer screw and a shim, cosmetic damage needs filler, anywhere a hinge remounts needs epoxy, and damage beyond about a third of the jamb needs a spliced-in section rather than a patch. Get that decision right first, and the sanding and painting that follows is the easy part.
Sponsored / affiliate links. As an Amazon Associate I earn from qualifying purchases. I may earn additional commission from eligible campaigns.