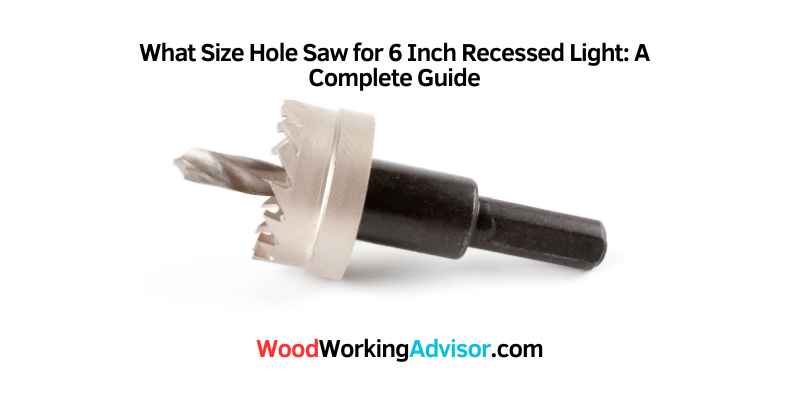
What Size Hole Saw for a 6-Inch Recessed Light? Usually 6-3/8″
The size of the hole saw for a 6-inch recessed light is 6 and 3/8 inches. Choosing the right hole saw size is crucial, as it determines the fit of the recessed light into the ceiling.
Using an incorrect size can result in a poorly fitting light, causing issues with insulation, energy efficiency, and aesthetics. There are several options available in the market, including carbide-grit varieties, and it is best to choose a reliable brand to ensure quality and longevity.
Cutting the hole in the ceiling requires precision and care to avoid damaging the structure or wires, making it a job best left to professionals or experienced DIY enthusiasts. Overall, selecting the correct size hole saw for a 6-inch recessed light is crucial to achieving a seamless and efficient lighting installation.
Common Sizes For Recessed Lights
A 6 inch recessed light requires a 6 3/8 inch hole saw for installation. This is a common size for larger recessed lights, with other popular sizes including 4 inch and 5 inch hole saws for smaller lights. Be sure to select the appropriate size hole saw for your specific recessed light installation.
If you are thinking about installing recessed lighting, you should first consider what size hole saw you will need. Hole saws come in different sizes to match the size of the recessed light you are working with. The three most common sizes for recessed lights are 4-inch, 5-inch, and 6-inch. Each size requires a different hole saw size.
6-inch
For a 6-inch recessed light, you will need a hole saw with a diameter of 6 3/8 inches. This size is perfect for larger spaces or areas where you want more light coverage. There are several options for 6-inch hole saws on the market, such as the Milwaukee ‘grit edge’ recessed light hole saw, available on qplushome.com for around $50.
5-inch
If you are working with a 5-inch recessed light, you will need a hole saw with a diameter of 5 3/8 inches. This size is ideal for medium-sized spaces or when you want to focus the light on a particular area. One option for a 5-inch hole saw is the Kobalt Carbide‑grit Arbored Re… available for exchange on the Home Depot for around $50.
4-inch
For a 4-inch recessed light, you will need a hole saw with a diameter of 4 3/8 inches. This size is ideal for small spaces or for accent lighting. There are several options for 4-inch hole saws, such as the Recessed Light Hole Saw available on rack-a-tiers.com for around $12.
When choosing a hole saw, it is essential to ensure that it comes with a pilot bit to guide the cutting and give you more precise results. With the right tool, you can easily install recessed lighting and improve the ambiance of your home.

Factors To Consider
When it comes to installing a 6-inch recessed light, choosing the right size hole saw is crucial. A hole saw that is too small will not fit the light fixture, while a hole saw that is too large will leave gaps around the fixture, compromising its efficiency. Here are some factors to consider when determining what size hole saw to use:
Type Of Light Fixture
The first factor to consider is the type of light fixture being installed. Different fixtures require different sizes of holes. For instance, wafer lights typically require smaller holes as they are more compact, while larger fixtures require a larger hole size. Therefore, it is essential to check the manufacturer’s recommendations for the light fixture you intend to install to determine the appropriate hole size.
Type Of Ceiling
The second factor is the type of ceiling. Depending on whether the fixture is being installed on a drywall, plaster, or concrete ceiling, the size of the hole saw may vary. If you are installing a recessed light on a plaster ceiling, for example, you may need a hole saw with a larger diameter to cut through the tougher material effectively.
Type Of Material To Cut
The third and final factor to consider is the type of material you are cutting. A hole saw that works well on drywall may not work well on other materials such as plaster or concrete. In such cases, you will need to choose a hole saw that is designed for that specific material.
Ultimately, it’s always a good idea to measure twice and cut once. Ensure that all measurements are correct and that you have the appropriate tools before starting the installation process. With these factors in mind, you can confidently install your 6-inch recessed light with the right size hole saw, ensuring a seamless and efficient fit.
Tools You Will Need

To cut a hole for a 6 inch recessed light, you will need a hole saw blade that is at least 6 inches in diameter. There are several options available, including carbide-grit edge and pilot bit saws, which can be found at your local home improvement store or online.
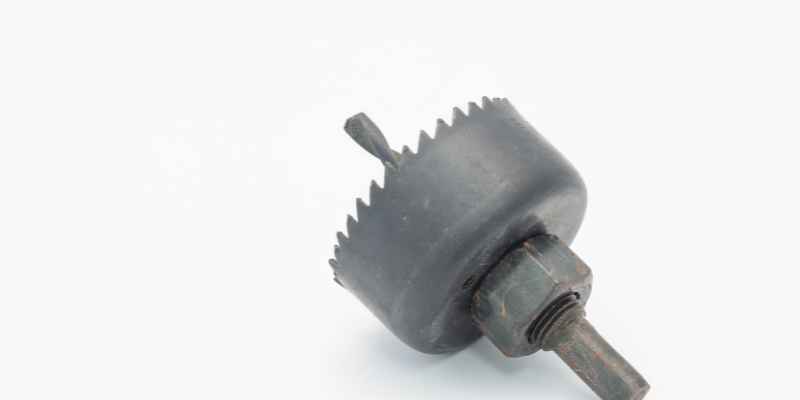
Hole Saw
When it comes to cutting a hole for a 6-inch recessed light, a hole saw is one of the most commonly used tools. Make sure to choose a hole saw that is of the appropriate size. Since the light fixture will be 6 inches in diameter, it is recommended to use a 6 3/8 inch hole saw. This will allow enough space for the fixture to fit securely into the ceiling.
Drill Machine
A drill machine is also needed to operate the hole saw. A regular drill machine with a strong motor should suffice for this job. Make sure to secure the material that you are drilling into before starting to avoid any mishaps while drilling.
Pilot Bit
A pilot bit is crucial when using a hole saw. The pilot bit helps to guide the hole saw through the material and helps to prevent the saw from wandering. It is generally recommended to use a drill bit that is smaller than the hole saw to drill a pilot hole before using the hole saw.
Safety Gear
Always wear the appropriate safety gear before using a hole saw. This includes safety goggles to protect your eyes from flying debris, as well as a dust mask to keep out dust and debris. It is also recommended to wear ear protection to prevent hearing damage from the noise of the drill machine.
In conclusion, using the right tools while cutting a hole for a 6-inch recessed light is crucial for a successful installation. By using a 6 3/8 inch hole saw, a drill machine, pilot bit, and proper safety gear, you can ensure that the hole is cut correctly and that the recessed light fixture fits securely into the ceiling.
Step-by-step Guide For Using A Hole Saw
Cutting a hole for a 6-inch recessed light requires a hole saw that is the same size or slightly larger. Follow a step-by-step guide for using a hole saw to ensure a precise and clean cut for your recessed light installation.
If you’re looking to install 6 inch recessed lights, then you’ll need to use a hole saw. While the process can seem daunting, it’s pretty straightforward if you break it down into simple steps. Here’s a step-by-step guide for using a hole saw to cut the perfect hole for your 6 inch recessed light.
Drill A Pilot Hole
The first step is to drill a pilot hole. This is a small hole that will act as a guide for your hole saw. Use a drill bit that’s smaller than your hole saw and drill a hole in the middle of where you want your recessed light to be. This will give your hole saw something to latch onto and prevent it from wandering off course.
Attach The Hole Saw
Once you’ve drilled your pilot hole, it’s time to attach your hole saw. Make sure the size of your hole saw matches the size of your recessed lighting fixture. You can find hole saws in a variety of sizes at your local hardware store. Attach the hole saw to your drill, making sure it’s secure.
Begin Cutting
Position the hole saw over the pilot hole you drilled earlier and start cutting. Apply gentle pressure and let the saw do the work. It’s important to keep the saw level and straight to ensure a clean and even cut. Keep going until you’ve cut through the ceiling.
Stop And Check
Once you’ve made it through the ceiling, stop and check your progress. Make sure the hole is the correct size and that the edges are clean. If everything looks good, you can move onto the next step.
Complete The Cut
Finally, complete the cut by cutting through the ceiling material on the opposite side. Once you’ve completed the cut, you should now have a perfect hole for your recessed lighting fixture.
Using a hole saw may seem intimidating at first, but by following these simple steps, you can easily cut a hole for your 6 inch recessed lighting fixture. Just remember to take your time and keep the saw level and straight for the best results.
Tips For A Clean Cut
To achieve a clean cut for your 6 inch recessed light, it’s important to use the appropriate size hole saw. Make sure to do your research and choose a hole saw with a carbide-grit edge or pilot bit to guarantee a precise cut.
Check for recommendations from experts in online forums or home improvement stores.
Take Your Time
Cutting a hole for a 6 inch recessed light can require precision and accuracy. Therefore, it is essential to take your time while performing the task. Rushing the process can not only lead to an uneven cut but also damage the drywall. It might be a time-consuming job, but taking it slow ensures that the finished cut is clean and perfect for a seamless installation.
Use The Right Bit
Using the right bit size for the saw is crucial when cutting a hole for a 6 inch recessed light. Most hole saws come with arbors, and it is essential to select the correct size for the job. The ideal size for a 6 inch recessed light is 6-3/8 inches. Failing to use the correct bit size can lead to a damaged ceiling or walls and may result in a poorly looking finished installation.
Apply Even Pressure
Applying even pressure while cutting the hole is essential for achieving a clean and smooth cut. Failure to apply consistent pressure while operating the saw can result in uneven, jagged cuts, requiring extra sanding and repairs. It is essential to keep the saw steady and use a level to ensure that the saw is plumb and level while cutting.
Don’t Force The Saw
It is important not to force the saw on the drywall when cutting a hole for a recessed light. Instead, let the saw do the work and avoid pushing it too hard. Applying pressure on the saw can cause friction and slow down the process, increasing the chances of accidents and imprecise cuts.
Use A Vacuum
Cutting a hole for a recessed light generates a lot of dust and debris that can cause a mess in your working area. It is recommended to use a vacuum cleaner while cutting the hole to keep the area clean and tidy. Vacuuming the dust as you cut also helps in maintaining consistent visibility of the saw blade.
In conclusion, by following the tips mentioned above for a clean cut on a 6 inch recessed light, you can ensure a smooth and seamless installation. Take your time during the process, use the appropriate bit, apply even pressure, avoid forcing the saw, and use a vacuum. By doing so, you can achieve a neat and professional finish for your recessed lighting installation.
Frequently Asked Questions On What Size Hole Saw For 6 Inch Recessed Light
What Size Hole For Recessed Lights?
The size of the hole for recessed lights should be based on the size of the fixture. A 6-inch housing requires a 6. 5-inch hole, while a 4-inch housing needs a 4. 25-inch hole. The hole should be drilled firmly and the edge should be finished smoothly to avoid potential issues with installation.
How Do You Use A 6 Inch Hole Saw?
To use a 6 inch hole saw, follow these steps: 1. Attach the hole saw to a drill and tighten it securely. 2. Mark the center of the hole to be cut. 3. Drill a pilot hole using a small drill bit to provide a starting point for the hole saw.
4. Position the hole saw at the center of the pilot hole and start drilling, keeping the drill level and in line with the center mark. 5. Continue drilling until the hole saw has cut through the material. Remember to follow safety precautions and wear protective gear.
How Do You Cut A Hole In A Ceiling Light Fixture?
To cut a hole in a ceiling light fixture, you will need a compatible hole saw, a drill, a protective eyewear, and a measuring tape. Measure the size of the hole you need and mark the spot on the ceiling.
Use the drill to make a starting hole, then insert the hole saw and make your cut. Be careful not to damage any electrical wires or the fixture itself.
What Size Hole For 4 Led Lights?
To install 4 LED lights, you need to cut four holes of the appropriate size. The size hole for 4 LED lights generally varies based on the specific model of lights you have. It’s recommended to consult the manufacturer’s specifications to determine the exact size.
In general, a 6-3/8″ hole saw is commonly used for most LED lights.
Conclusion
To conclude, selecting the right size of the hole saw for a 6-inch recessed light is crucial to ensure a snug fit without damaging the ceiling. By following the tips mentioned in this post and doing some research beforehand, you can make this process a breeze.
Remember to measure the size of the fixture carefully and choose a hole saw that’s at least 1/8 inch larger than the fixture’s diameter. With the right tools and techniques, you can cut a perfect hole and enjoy the new lighting in your home or office.