Are Table Saw Blades Reverse Threaded? (Why, Plus a Quick Test)
Most table saw arbor nuts are reverse-threaded so normal blade rotation tightens the nut instead of loosening it mid-cut, though the exact direction depends on your saw’s tilt design and which side the blade mounts on. Forcing the wrong direction can strip the 5/8-inch arbor threads or fling the blade loose. This guide covers why the thread runs backward, a 30-second test that works on any saw, safe blade-change steps, and how to free a stuck nut safely.
Why Table Saw Arbor Nuts Are Reverse-Threaded
Best Blade-Change Safety Pick
DEWALT DPG82 Anti-Fog Safety Goggles – $12.59
ANSI Z87.1-rated goggles that keep dust and stray carbide fragments out of your eyes during the wedge-and-wrench steps below — the same “Eye Protection” this guide’s tools list calls for.
- Best for: Keeping sawdust and stray carbide fragments out of your eyes during blade changes and cuts.
- Why we picked it: Dual-mold rubber seal fits snug over the face (and over prescription glasses) without gaps.
- Main drawback: Some users in hot shops report fogging despite the anti-fog coating.
Compare more blade-change kit options
 Option 1 LEXIVON LX-181 Inch-Pound Torque Wrench – $34.17
|
 Option 2 Klein Tools 60582 Cut-Resistant Gloves – $8.18
|
 Option 3 PB Blaster Penetrating Oil (18 oz) – $9.34
|
As an Amazon Associate we earn from qualifying purchases.
A table saw’s arbor nut is deliberately threaded opposite the blade’s spin direction. As the blade cuts, friction from the wood pushes the nut to tighten further instead of backing off — a safety design called a self-tightening (or anti-loosening) thread. Without it, the vibration and torque of a spinning blade would eventually work an ordinary right-hand nut loose during normal use.
Whether that makes your saw’s nut technically “reverse” (left-hand) thread depends on which side the arbor sits and which way the motor spins it. Right-tilt saws — the most common design sold in North America — typically mount the blade so the arbor nut is left-hand threaded; left-tilt cabinet saws often run a standard right-hand thread instead. Manufacturers set this at the factory specifically so normal operation tightens, never loosens, the connection.
📊 5/8-inch is the standard arbor bore size for nearly every 10-inch table saw blade sold in North America — Source: DeWalt DWE7491RS 10-in. Jobsite Table Saw specifications
The Pull-Toward-the-Front Test (Works on Any Table Saw)
Skip the guesswork about left side versus right side — it isn’t reliable across brands. Instead, with the saw unplugged and the blade locked or wedged against rotation, hook the arbor wrench and pull it toward the front of the saw. On virtually every table saw, pulling toward the front loosens the arbor nut, regardless of brand, tilt direction, or thread type. If it doesn’t budge with light-to-moderate pressure, you’re turning it the tightening way — try the other direction.
“Our rule after years of blade changes in the shop is simple: never assume — a stripped arbor thread from forcing the wrong direction is an afternoon lost and a $40-plus replacement part. The 30-second wrench test above costs nothing and works every time.”
How to Change a Table Saw Blade Safely
Gather these before you start: the arbor wrench that matches your saw (or a compatible replacement), sharp table saw blades ready to install, safety glasses, cut-resistant gloves, and a block of scrap wood or a blade-lock pin to stop the blade from spinning while you work.
- Unplug the saw — never rely on the power switch alone.
- Remove the throat plate and blade guard.
- Raise the blade to its highest position for full arbor access.
- Wedge a block of scrap wood between the blade and the throat plate opening (or engage the blade lock) to stop rotation.
- Loosen the arbor nut using the pull-toward-the-front test from the section above.
- Slide off the old blade, noting the order of any flanges or washers.
- Clean the arbor shaft and flanges, then inspect the new blade for damage before mounting it with the teeth pointing the correct rotation direction.
- Hand-tighten the arbor nut, then snug it with the wrench — don’t use full body weight or an impact driver (see torque guidance below).
- Reinstall the blade guard and throat plate, then confirm the blade turns freely by hand before plugging the saw back in.
Torque, Over-Tightening, and Freeing a Stuck Arbor Nut
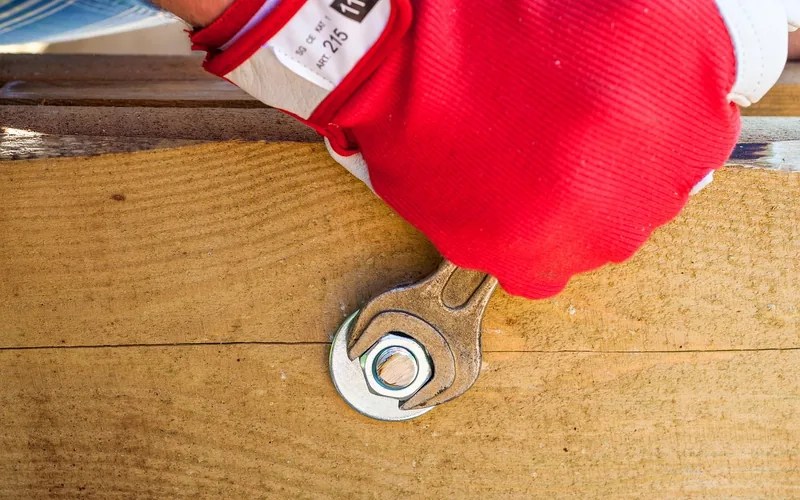
Most table saw manufacturers don’t publish an official torque spec for the arbor nut, because the self-tightening design was never meant to be cranked down hard. The safest approach: thread it on hand-tight, then add roughly an eighth turn with the wrench — enough to seat it snugly without straining the arbor threads. Over-tightening is a common cause of a warped blade or a nut that seizes the next time you need to change blades.
If a nut won’t budge even in the correct loosening direction, don’t force it — a cheater bar or excessive torque risks snapping the arbor or stripping the flats. Apply a penetrating oil to the threads, let it sit a few minutes, then try again with steady, even pressure. Check for surface rust around the arbor first — if your saw has been sitting, a quick rust cleanup around the trunnion and arbor area makes future blade changes easier.
Common Mistakes When Changing a Table Saw Blade
- Assuming every saw follows the same left-side/right-side rule — test it instead.
- Forcing the nut past resistance instead of re-checking direction.
- Skipping eye and hand protection because “it’s just a wrench.”
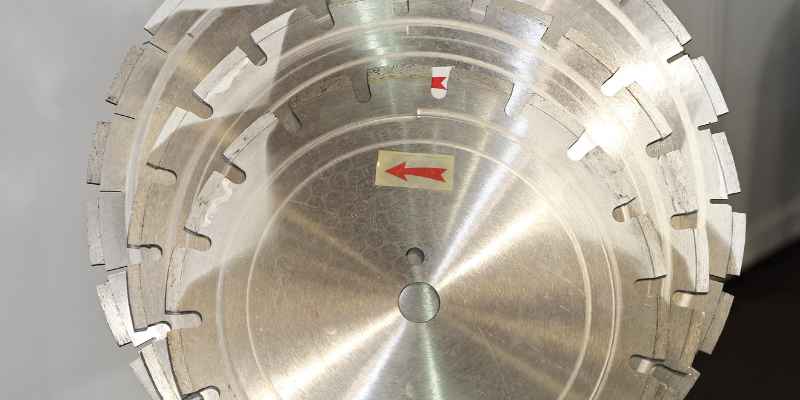
- Reinstalling the blade backward — the teeth should point in the direction of rotation.
- Leaving the throat plate loose or misaligned after reassembly.
Frequently Asked Questions
Are saw blades reverse threaded?
Most are, but not universally. Table saw arbor nuts are typically threaded opposite the blade’s spin direction so normal cutting tightens rather than loosens the connection. Whether that makes your specific saw’s nut a reverse (left-hand) or standard (right-hand) thread depends on the tilt design — right-tilt saws are usually reverse-threaded, left-tilt saws are often standard. Test with the pull-toward-the-front method rather than assuming.
Which way does a table saw blade loosen?
Pull the wrench toward the front of the saw — on nearly every table saw, that direction loosens the arbor nut regardless of brand or thread type. Pushing toward the back tightens it further. Always unplug the saw and lock the blade against rotation before applying pressure.
How do you remove a saw blade from a table saw?
Unplug the saw, remove the throat plate and blade guard, and raise the blade fully. Wedge a scrap block against the blade to stop it from turning, then loosen the arbor nut by pulling the wrench toward the front. Slide the old blade off, noting the flange and washer order, then reverse the process to install the new one.
Is a table saw nut reverse thread?
Often, but it depends on the saw. Most right-tilt table saws use a reverse (left-hand) threaded arbor nut so blade rotation tightens it during use; some left-tilt and European-style saws use a standard right-hand thread instead. Check your owner’s manual, or test by hand before reaching for a wrench.
Do all table saw blades use the same arbor size?
No, but 5/8 inch is the standard bore size for nearly every 10-inch table saw blade sold in North America. Larger 12-inch and some cabinet saws use a 1-inch arbor instead, so always match the blade’s bore to your saw’s arbor before buying a replacement.
Can over-tightening the arbor nut damage the blade?
Yes. Because the self-tightening design means the nut never needs to be cranked down hard, most manufacturers skip a published torque spec entirely. Hand-tight plus a light snug with the wrench is enough — over-tightening can warp the blade or make the nut difficult to remove next time.
Conclusion
Reverse-threaded or not, a table saw’s arbor nut is built to tighten itself during normal use — the direction just depends on your saw’s tilt design, not a universal left-side/right-side rule. Test it with the pull-toward-the-front method, keep the nut snug rather than wrenched down hard, and blade changes stay simple and safe.
Sponsored / affiliate links. As an Amazon Associate I earn from qualifying purchases. I may earn additional commission from eligible campaigns.
 10-Inch Ultimate General Purpose Table Saw Blade Carbide-Tipped Circular Saw Blades 1-Inch Arbor with 1" to 13/16" Arbor Adapter for Plywood Laminate Ripping Wood (100T)
 2Pcs 10-Inch Ultimate General Purpose Table Saw Blade, Carbide-Tipped Circular Saw Blades, 40/60T, 7/8-Inch Arbor with 7/8" to 5/8" Arbor Adapter for Plywood, Laminate, Ripping Wood