Can You Paint Over Painted Wood? (Try the Alcohol Test First)
Yes, you can paint over painted wood — but only after you know whether the existing coat is latex or oil-based, since putting the wrong type on top is a leading cause of peeling within months. Skipping that check (and skipping a 220-grit scuff-sand) is why many repaints fail before the one-year mark. This guide covers the 30-second paint-ID test, the right primer for each paint pairing, and how many coats a repaint actually needs.
Is the Old Paint Latex or Oil-Based? Do the Rubbing Alcohol Test First
Best Repaint Prep Pick
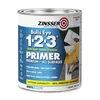
Zinsser Bulls Eye 1-2-3 Primer & Sealer – $9.55
The bonding primer the compatibility table above calls for whenever you’re switching from oil-based to latex paint over old paint.
- Best for: Sealing stains and bonding to most previously painted surfaces without sanding
- Why we picked it: Bonds to glossy latex or oil paint and blocks old stains — matches the oil-to-latex rule above
- Main drawback: Not rated for exterior tannin-heavy wood as well as a shellac primer
Compare more repaint-prep options
 Option 1 INSL-X Stix Bonding Primer – $25.40
|
 Option 2 Krud Kutter Gloss-Off Deglosser – $9.35
|
 Option 3 Klean-Strip 2-Pack Liquid Sander Deglosser – $22.21
|
As an Amazon Associate we earn from qualifying purchases.
New paint only bonds well when it is chemically compatible with the coat already on the wood — and most repaint guides jump straight to sanding without checking which paint is actually there. A 30-second test settles it before you buy anything.
- Soak a cotton ball or rag in rubbing alcohol (91% works fastest).
- Rub it firmly on an inconspicuous painted area for 15–20 seconds.
- Paint transfers or softens onto the rag: it’s latex (water-based).
- Nothing transfers and the surface stays hard and glossy: it’s oil-based (alkyd).
What that result means for your next coat:
| Old paint | New paint | What you need |
|---|---|---|
| Latex | Latex | Clean + light scuff-sand; no primer needed if the paint is sound |
| Latex | Oil-based | Clean + sand; oil paint bonds fine over cured latex |
| Oil-based | Latex | Bonding primer required — latex alone won’t grip cured oil paint |
| Oil-based | Oil-based | Light sand, or a liquid deglosser instead of sanding |
The oil-to-latex row is the one that fails most often when skipped. If your test shows the existing paint is oil-based and you want to switch to latex, a dedicated bonding primer is not optional — it is the only thing that lets the two chemistries hold together.
Preparation For Painting Over Painted Wood
Before you start painting over painted wood, it is essential to properly prepare the surface. Preparation ensures better adhesion, improves the quality of the paint job, and helps the fresh coat last longer. The process typically involves three steps: cleaning the surface, sanding or deglossing, and priming.
📊 60–80% of premature paint failures trace back to inadequate surface preparation, not the paint itself — Source: CoatingsPro / AMPP
Cleaning The Surface
To get the best results, clean the surface thoroughly first. This removes dust, dirt, grease, or residue that can stop new paint from adhering properly.
- Wipe the wood with a damp cloth or sponge to remove loose dirt and debris.
- For stubborn stains or grease spots, use a mild detergent mixed with water, or a dedicated prepaint cleaner like Krud Kutter Gloss-Off, to gently scrub the area.
- Rinse with clean water and let the wood dry completely before moving on.
Sanding The Wood (Or Skipping It With a Deglosser)
Sanding removes old, peeling paint and imperfections while improving adhesion for the fresh coat. If you’d rather not sand at all, a liquid deglosser does the same job chemically — see the dust removal steps either way once you’re done.
- Select a medium to fine-grit sandpaper, around 120 to 220 grit, for most painted wood surfaces.
- Using light pressure, sand in the direction of the wood grain to avoid scratches or uneven spots.
- Pay extra attention to rough areas, drips, or peeling paint, and sand until smooth.
- Wipe away the dust with a clean cloth once the entire surface is sanded.
Priming The Wood
Priming is especially important when painting over a dark, glossy, or oil-based surface. A primer creates a smooth, even base so the paint adheres better and lasts longer — see the compatibility table above for which type your project needs.
- Choose a primer based on the paint you’ll use and the result of the rubbing alcohol test above.
- Apply the primer evenly with a brush or roller, following the manufacturer’s drying-time instructions.
- Let the primer dry completely before painting — this prevents peeling or chipping later.
Techniques For Painting Over Painted Wood
Once the surface is tested, cleaned, and primed, you can use a brush, spray, or roller to apply the new coat. Each method has its own advantages depending on the size and detail of the project.
Using A Brush
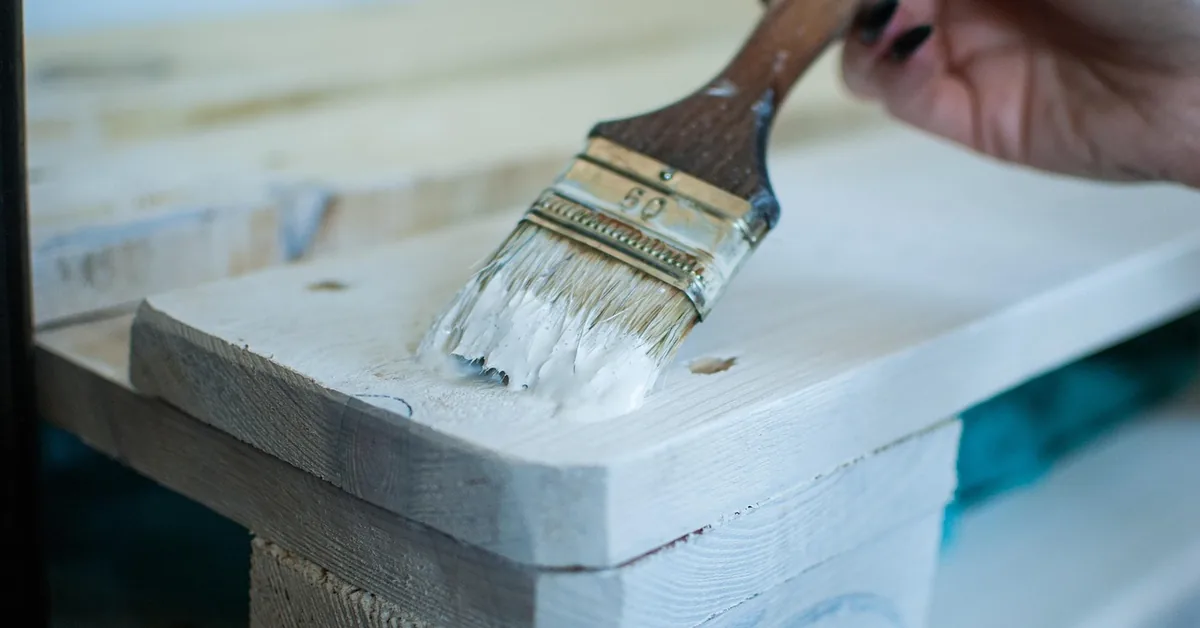
Brushing gives the most control and precision for even coverage. Apply the paint using smooth strokes that follow the wood grain, in multiple thin coats rather than one thick coat, letting each coat dry fully before the next. Lightly sand between coats for the smoothest finish.
Spray Painting
Spraying is quicker on larger surfaces. Protect surrounding areas with drop cloths, hold the spray gun at a consistent distance, and apply multiple thin coats rather than one heavy pass. Work in a well-ventilated area with proper safety gear.
Roller Painting
Rollers cover large, flat areas quickly. Choose a roller cover suited to your paint and finish, work in small overlapping sections, and let each coat dry completely before adding the next. Clean the roller cover thoroughly after each use.
Tips For Achieving A Smooth Finish
Choosing The Right Paint
A high-quality paint formulated for wood surfaces makes the biggest difference in the final result. Look for products labeled as wood paint or wood primer, which are designed to adhere well and resist cracking or chipping over time — see our white wood primer guide for picking the right chemistry. For extra durability on high-traffic pieces, a clear topcoat also works over painted wood — see our guide on using polyurethane over painted wood for compatibility notes.
Applying Thin Coats
Thick layers take longer to dry and often leave a bumpy or uneven appearance. Apply a thin coat, let it dry completely, then repeat as needed for full coverage.
Allowing Proper Drying Time
Rushing between coats causes smudges, streaks, or surface damage. Follow the manufacturer’s drying-time instructions for your specific paint, since times vary between latex and oil-based formulas.
Common Mistakes To Avoid
A few recurring mistakes account for most failed repaints over old paint. Avoiding them is what separates a finish that lasts years from one that peels within months.
Skipping The Paint-Type Test
Painting latex directly over old oil-based paint without a bonding primer is the single most common cause of early peeling — and it’s entirely avoidable with the 30-second rubbing alcohol test covered above.
“After repainting more built-ins and furniture pieces than I can count, the paint that peels within a year is almost always oil-based paint applied straight over old latex with no bonding primer — the alcohol test takes 30 seconds and saves the whole job.”
Not Preparing The Surface Properly
Many homeowners skip proper surface prep, resulting in paint flaking, peeling, or not adhering well.
- Clean the surface thoroughly using a mild detergent or a prepaint cleaner like Krud Kutter.
- Sand gently with fine-grit sandpaper to create texture that helps the new paint bond.
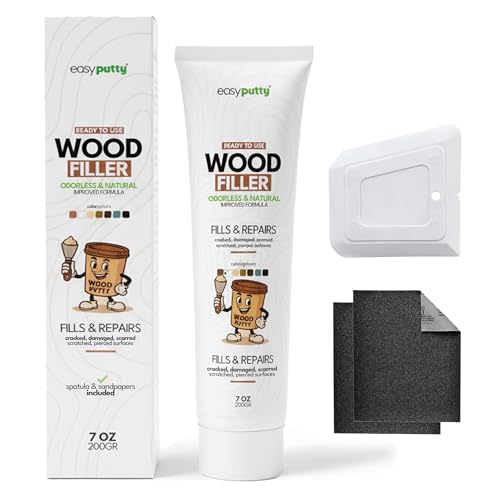
- Fill cracks, dents, or holes with wood filler and sand smooth once dry.
- Wipe the surface with a clean cloth to remove dust or debris before painting.
Using The Wrong Type Of Paint
Consider the type of wood, the current paint finish, and the desired result before buying paint. Latex is a popular choice for previously painted wood since it provides good coverage and easy cleanup; an oil-based paint may hold up better in high-moisture or high-traffic areas.
Applying Too Thick Coats
Thick coats lead to drips, uneven drying, and difficulty achieving a smooth finish. Apply thin coats, let each dry completely, and use a bonding primer first whenever the compatibility table above calls for one.
Frequently Asked Questions
Do you need to sand before painting over painted wood?
Not always. A light scuff-sand or a liquid deglosser such as Krud Kutter Gloss-Off is usually enough on a sound painted surface, but sanding is still required wherever the old paint is glossy, chipped, or peeling.
Can you paint latex over oil-based paint without primer?
No. Latex paint will not bond to cured oil-based paint on its own. A bonding primer such as Zinsser Bulls Eye 1-2-3 or INSL-X Stix is required first, as shown in the compatibility table above.
How many coats of paint do you need over old paint?
Most repaints need two coats: one to seal and even out the old color, and a second for full, even coverage. Dark-to-light color changes or bare spots after sanding may need a third coat.
How long should you wait between coats when repainting wood?
Latex paint typically needs 2 to 4 hours between coats, while oil-based paint needs 6 to 24 hours. Always check the specific product’s label, since dry times vary by formula and humidity.
Can you paint over painted wood without sanding at all?
Yes, if the existing paint is sound with no peeling, chalking, or heavy gloss, and you use a liquid deglosser plus a bonding primer rated for no-sand application. Badly damaged or high-gloss paint still needs mechanical sanding first.
Conclusion
Painting over painted wood works reliably once you know what’s already on the surface. Run the rubbing alcohol test, match the primer to the result, clean or deglaze instead of guessing, and apply thin, fully-dried coats. Skip the test and the prep, and even premium paint will peel within a year.
Sponsored / affiliate links. As an Amazon Associate I earn from qualifying purchases. I may earn additional commission from eligible campaigns.