Can You Sublimate Wood? Yes, With a Coating
No, bare wood will not sublimate on its own — and that’s the part most guides skip. Dye-sublimation ink needs a polymer to bond to. Fabric works because polyester fiber is a polymer, but wood is mostly cellulose, and cellulose has no polymer surface for the ink gas to grab onto. Once you apply a thin polymer coating — a spray-on sublimation coating, a laminate sheet, or a pre-coated wood blank — the ink has something to bond with, and the transfer works the same way it does on a coated mug or a metal sign.
That single fact explains almost every “my sublimation on wood didn’t work” post in the crafting forums: uncoated wood, or a coating applied too thin or too thick. If you’re working on painted wood instead of bare wood, the coating and heat-press settings shift slightly — see our guide to sublimating on painted wood for those specifics. This article covers bare, unfinished wood: rounds, plaques, cutting boards, and plywood blanks.
Why Wood Needs a Coating Before It Will Sublimate
Best Coating for Sublimating Wood
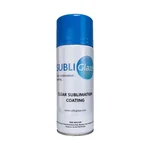 |
Subli Glaze Clear Sublimation Coating – $32.95 This is the polymer coating this article keeps referencing — it is what lets sublimation ink actually bond to bare wood instead of wiping off.
|
Sublimation isn’t printing in the normal sense — it’s a phase change. Solid dye turns straight to gas under heat and pressure, then re-solidifies inside whatever surface it lands on. On polyester fabric or a polymer-coated blank, the gas molecules bond into the polymer at a molecular level, which is why the color doesn’t crack, peel, or wash off. Bare wood has no polymer layer, so the gas either sits on the surface and wipes off once it cools, or soaks unevenly into the grain and comes out blotchy and faded.
A sublimation coating spray — Subli Glaze and PolyNatural are the two most common in the woodworking-craft community — solves this by laying down that missing polymer layer. Laminate sheets and pre-coated “sublimation blanks” (sold ready-to-print by several Etsy and craft suppliers) do the same job without the spraying step, at a higher per-piece cost.
How to Sublimate Wood, Step by Step
The process has two separate heat stages that a lot of beginner tutorials blur together: curing the coating, and then transferring the design. Treating them as one step is the second most common cause of a failed transfer (after skipping the coating entirely).
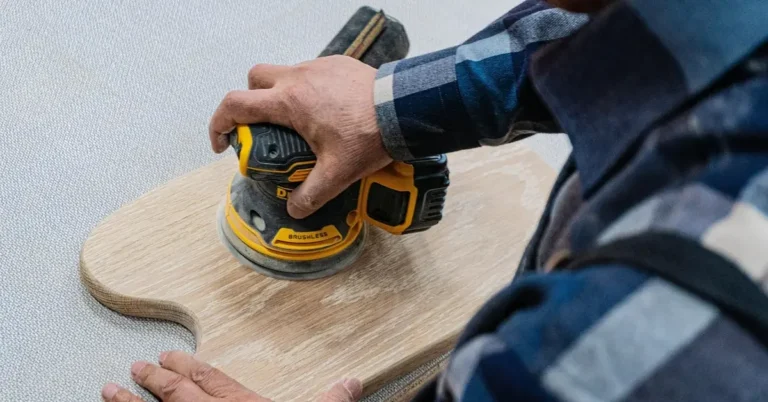
- Sand and clean the wood. Any dust, grease, or loose fiber under the coating shows up as a flaw in the final image. 220-grit is usually smooth enough for coating to sit evenly.
- Apply the coating in light, even passes. Hold the can roughly 12 inches from the surface. Two to three thin coats beat one heavy coat — a heavy coat pools and dries with texture that distorts the transferred image.
- Cure the coating before printing. Most sprays need to air-dry a few minutes, then cure with heat (check the can — Subli Glaze calls for roughly 320°F for about 5 minutes). This step sets the polymer layer; it is not the sublimation transfer itself.
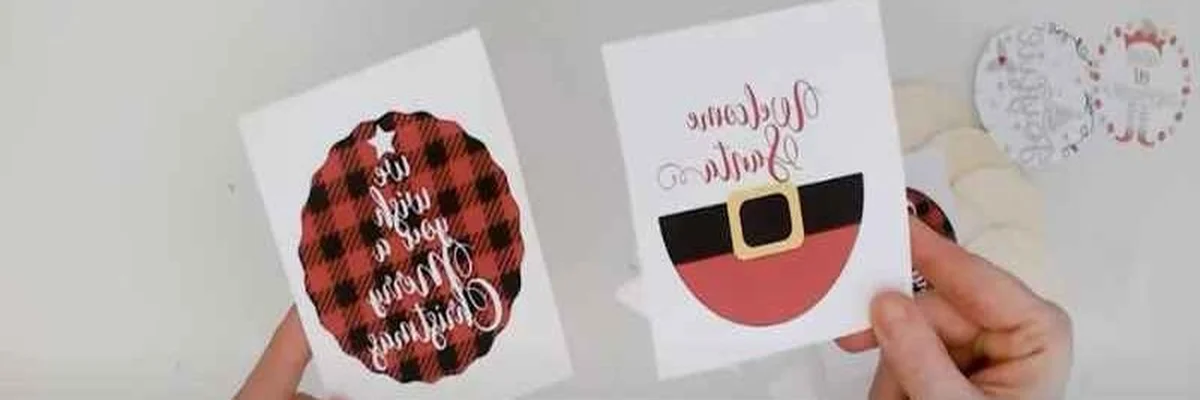
- Print your design onto sublimation paper, mirrored. Sublimation printers use CMYK dye-sub ink. Mirroring matters for any design with text or asymmetry — it will read backward if you skip this.
- Tape the printed sheet face-down onto the coated wood with heat-resistant tape so it can’t shift during the press.
- Press. This is the actual sublimation step — see the temperature and time guidance below.
- Peel while still warm, then let it cool flat before handling, so the surface fully sets.
Supplies You’ll Actually Need
Beyond the wood itself, a first wood-sublimation project needs: a heat press (a household iron works in a pinch for small flat pieces but gives inconsistent pressure — a real clamshell or swing-away press is worth it if you’re doing more than one or two items), a sublimation printer loaded with dye-sub ink, sublimation transfer paper, a sublimation coating spray or laminate sheets, heat-resistant tape, and a sheet of butcher paper or Teflon to protect the press platen. Design software — even free options like Canva or Cricut Design Space — covers the mirroring step most beginners forget.
Temperature and Time Settings for Wood Sublimation
For the actual print transfer onto properly coated wood, most crafters run a heat press at 380-400°F (193-204°C) for 60-90 seconds, with firm, even pressure. That’s a starting range, not a fixed number — a thicker coating or denser wood (maple, oak) can need the higher end of that range or a slightly longer press, while a thin coating on soft wood (basswood, pine) can scorch if you run too hot or too long. Always do a test piece from the same batch of wood and coating before pressing your final project.
Don’t confuse this with the coating’s own cure temperature from Step 3 above — that’s a separate, earlier step done before you ever print or press a design.
Coating Options: Spray, Laminate Sheets, and Pre-Coated Blanks
Spray coating (Subli Glaze, PolyNatural, and similar products) is the cheapest way to get started and works on almost any wood shape — rounds, plaques, cutting boards, even irregular slices with live edges. The tradeoff is a slightly higher failure rate for beginners, since uneven spraying is the most common cause of a blotchy transfer.
Laminate sheets give a more consistent, factory-even polymer layer since you’re applying a pre-made film rather than spraying by hand. They cost more per project and work best on flat pieces — they don’t conform well to curved or heavily textured wood.
Pre-coated sublimation blanks — wood rounds, ornaments, and plaques sold already coated — remove the coating step entirely. They cost more per piece than raw wood plus your own coating, but they’re the most consistent option if you’re selling finished pieces and can’t afford an uneven batch.
Avoiding Warping and Other Common Problems
Wood moves under heat and pressure in ways fabric and ceramic don’t, so warping is a real risk on thinner pieces (under about 1/4 inch) or on wood that wasn’t fully dry before coating.
- Use a flat, rigid heat press platen and check that your wood piece sits fully flush before pressing — any rock or gap presses unevenly and shows up as a faded patch.
- Secure the piece with heat-resistant tape or light clamps so it can’t shift mid-press.
- Put a sheet of butcher paper or a Teflon sheet between the press and the wood as a buffer layer.
- Let the piece cool completely flat, under light weight if needed, rather than handling it warm.
If a transfer comes out patchy rather than warped, the cause is almost always the coating, not the press: either it was applied too thin (bare spots show as faded color) or too thick (pooled texture distorts fine detail). A thin, even, fully cured coat is the single biggest factor in a clean result — more so than the exact press temperature.
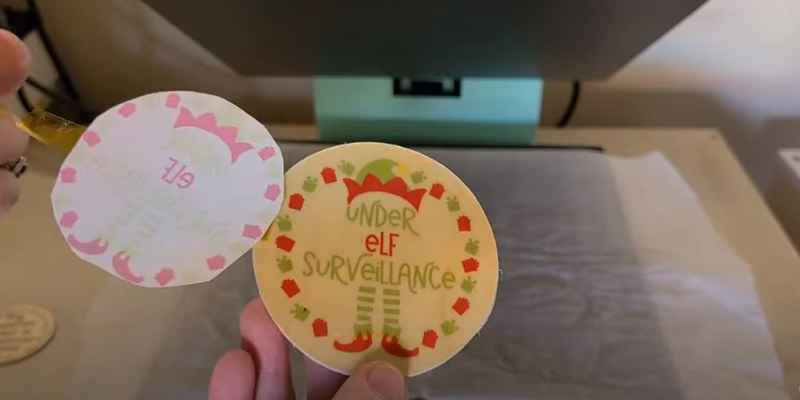
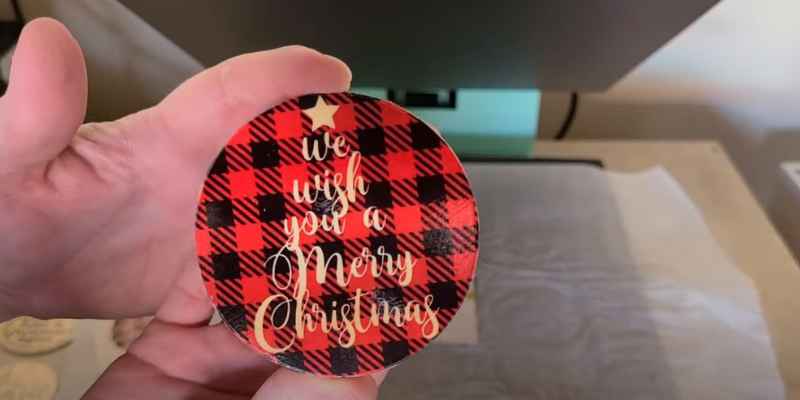
Checking a finished round design against the heat press used to set it
Frequently Asked Questions
Can you sublimate directly onto bare wood without a coating?
No. Bare wood has no polymer for the sublimation ink to bond to, so the color either wipes off or soaks in unevenly. You need a polymer layer first — a spray coating, a laminate sheet, or a pre-coated blank — before the design will transfer and last.
What temperature do you sublimate wood at?
Most crafters press properly coated wood at 380-400°F (193-204°C) for 60-90 seconds. Denser woods and thicker coatings can need the higher end of that range; always run a test piece first since coatings and wood species vary.
How long does it take to sublimate wood?
The press itself takes 60-90 seconds once the wood is coated and cured. Including coating, curing, and cooling time, budget 20-30 minutes per piece for your first few projects.
Can you sublimate on a wood cutting board?
Yes, once the board is coated with a sublimation spray or laminate. See our guide to finishing wood for a cutting board for prep steps, and add a food-safe clear coat after sublimating for better durability on a board that will see regular use.
Can you sublimate on natural wood slices?
Yes — natural wood slices need to be fully dry and sealed before coating, since trapped moisture can cause warping under the heat press. See our guide on preserving wood slices with bark for the drying and sealing steps, then apply a sublimation coating like PolyNatural before pressing.
Conclusion
Wood can absolutely be sublimated — but only after it has a polymer coating to bond to, not on its own. Get the coating thin and even, cure it fully before you print, and keep your press in the 380-400°F range for 60-90 seconds, and the rest of the process is straightforward. Most failed projects trace back to one of those three things, not to the press itself.
Sponsored / affiliate links. As an Amazon Associate I earn from qualifying purchases. I may earn additional commission from eligible campaigns.