Can You Use a Wood Burning Tool to Solder?
Yes, a wood burning tool can melt solder for basic repairs — but copper tips dissolve in solder and most units run under 25W, making them unreliable for electronics. Cold solder joints or burned components are common results. This guide covers when a wood burning tool actually works, what temperature to set, and when a dedicated 40W soldering iron is the right choice.
Note: This article contains affiliate links. As an Amazon Associate, we earn from qualifying purchases at no extra cost to you.
Quick Answer
A wood burning tool can technically solder — it runs at 750-1050 degrees F, hot enough to melt rosin-core solder. However, copper tips dissolve in solder over time, and most wood burners run under 25W compared to the 40-60W needed for reliable electronics. Use it for tiny emergency repairs only. For any circuit work, a dedicated soldering iron is safer and produces better joints.
Understanding Wood Burning Tools
Best Soldering Iron Pick for Wood Burner Users
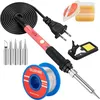
Soldering Iron Kit, 60W Soldering Iron with 5pc Inte… – $13.99
Delivers the 60W wattage wood burning tools lack for electronics. The five tip set includes a chisel tip ideal for the type of small joints this guide covers.
- Best for: Beginners replacing a wood burning tool with a real soldering iron
- Why we picked it: 60W output and 5 interchangeable tips make it far more reliable than a wood burner for basic electronics
- Main drawback: No digital temperature display — relies on a dial
Compare more soldering iron options
 Option 1 YIHUA 926 III 60W Digital Display Soldering Iron Sta… – $39.99
|
 Option 2 Soldering Iron Kit, Adjustable Temperature 13-in-1 6… – $17.99
|
 Option 3 Soldering Iron Kit, 80W 110V Fast Heat up in 10s LCD… – $12.88
|
As an Amazon Associate we earn from qualifying purchases.
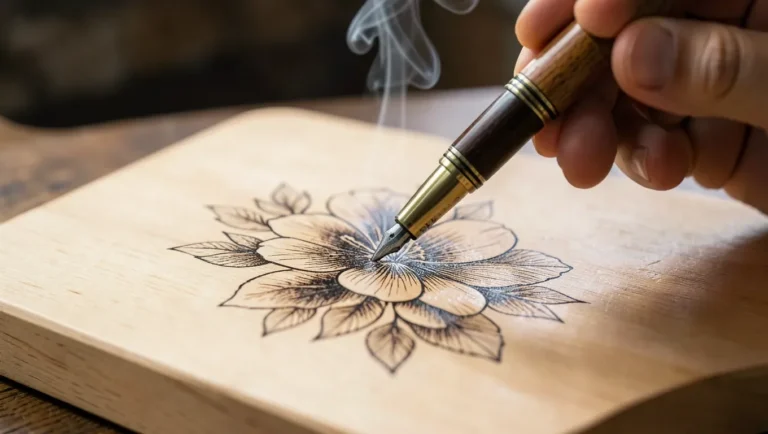
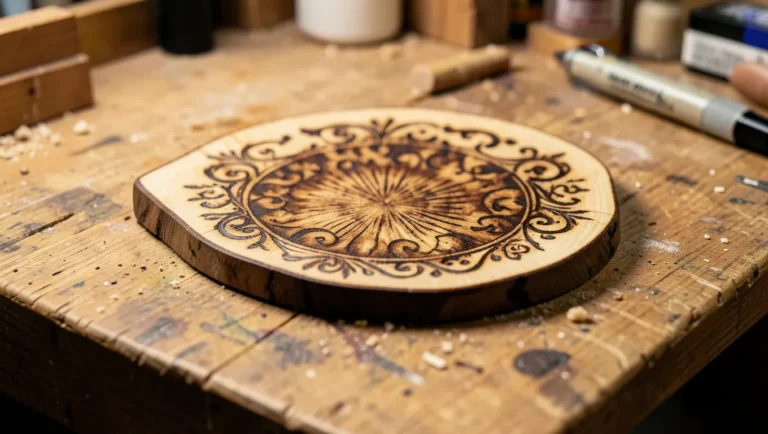
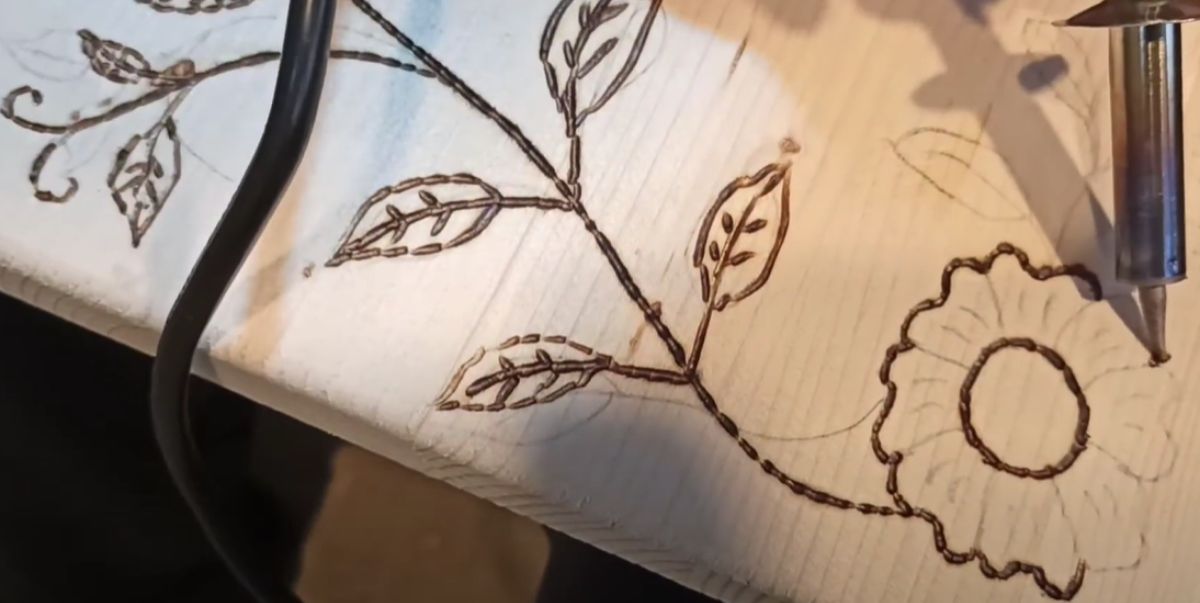
Wood burning tools, also known as pyrography pens, are versatile tools primarily designed for creating decorative designs and artwork on wood surfaces. They can also be used for limited soldering, though with significant trade-offs. Understanding how these tools work helps explain both why they can melt solder and why they fall short for most electronics work.
How Wood Burning Tools Work
Wood burning tools consist of a heated metal tip that burns designs onto wood. These tips are typically made from brass, copper, or stainless steel. When the tip is heated, it transfers heat to the wood and creates a burned mark, allowing the user to create intricate patterns or designs.
The temperature at which a wood burning tool operates can often be adjusted via a control dial. Most tools reach 750-1050 degrees F — significantly hotter than the 500-800 degrees F range of a typical soldering iron. This higher temperature can melt solder, but it comes without the precise, stable heat delivery that electronics soldering requires.
Types Of Wood Burning Tips
Wood burning tools typically come with interchangeable tips, each serving a different purpose:
- Universal Tip: A multipurpose tip suitable for basic wood burning tasks. It can create both thick and thin lines.
- Shading Tip: Designed for creating shading effects, with a wider surface area for smoother strokes.
- Calligraphy Tip: Ideal for decorative lettering with a pointed end for thin, precise lines.
- Stencil Tip: Allows the user to trace pre-made stencils onto the wood surface.
- Soldering Tip: A specialized tip that can be used for basic soldering tasks. Note: copper-based soldering tips will dissolve in solder over repeated use, limiting their effective lifespan for this purpose.
The key limitation for soldering: a wood burning tool’s copper tips react with molten solder, gradually dissolving and contaminating joints. Dedicated soldering irons use iron-plated copper tips that resist this dissolution, producing cleaner and more reliable joints.
Wood Burning Tool vs. Soldering Iron: Key Differences for Soldering
The core problem with using a wood burning tool for soldering comes down to two measurable differences: wattage and tip material. The table below shows where the two tools compare and where they diverge for soldering tasks specifically.
| Feature | Wood Burning Tool | Dedicated Soldering Iron |
|---|---|---|
| Operating Temperature | 750-1050 degrees F | 500-800 degrees F |
| Typical Wattage | 15-30W | 40-80W |
| Tip Material | Copper or brass (dissolves in solder) | Iron-plated copper (solder-resistant) |
| Temperature Stability | Variable, may fluctuate | Stable (digital models: +/- 2 degrees F) |
| Best Use Case | Pyrography, wood and leather art | Electronics, jewelry, plumbing |
| Can It Solder? | Basic repairs only | Yes, all standard applications |
📊 Temperature vs. Wattage: Wood burning tools run hotter (750-1050 degrees F) than most soldering irons (500-800 degrees F), but heat alone is not the bottleneck. Wattage determines how quickly the tip recovers its temperature after touching a cold joint. At 15-30W, a wood burner tip cools rapidly on contact with metal, producing cold solder joints. A 40-60W soldering iron maintains temperature through the joint, producing reliable shiny connections. — Source: Fine Power Tools, Soldering Iron vs. Wood Burning Tool comparison
Soldering With A Wood Burning Tool
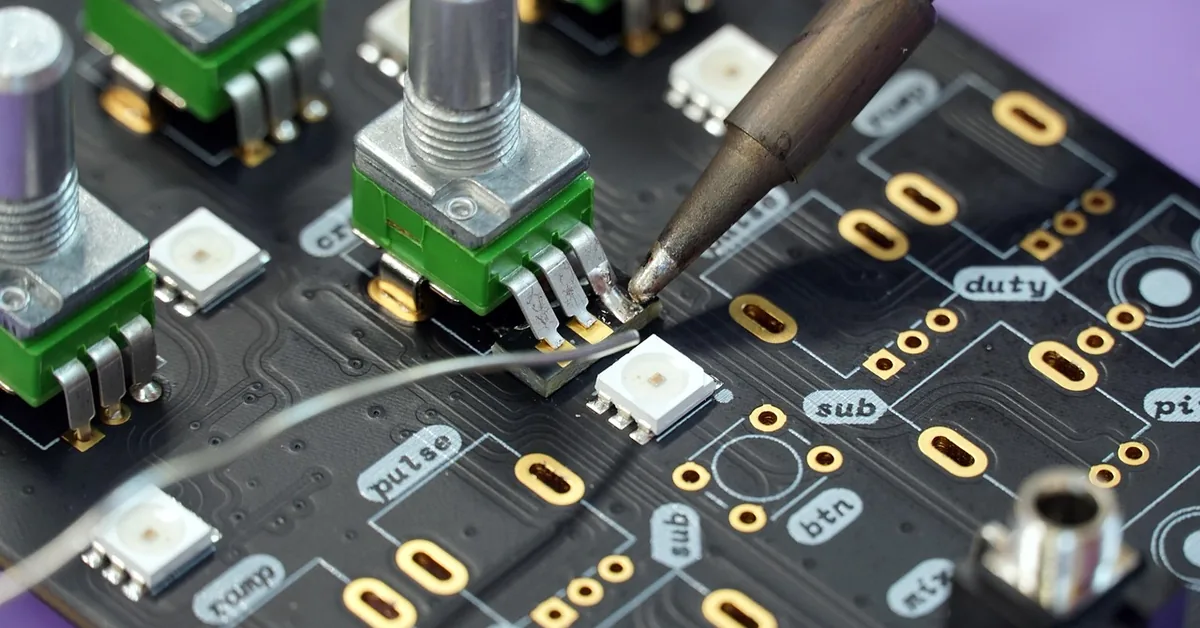
Soldering joins two pieces of metal by melting a filler metal (solder) to create a bond. While this traditionally requires a soldering iron, some crafters use a wood burning tool for small, low-stakes projects. Here is how to do it correctly — and when to stop and use the right tool instead.
Adapting A Wood Burning Tool For Soldering
To use a wood burning tool for soldering, replace the standard pyrography tip with a soldering tip. Most wood burning tools ship with or sell a compatible soldering tip separately. When selecting one, choose based on the joint size: a fine-pointed tip for small wire connections, a chisel tip for larger joints.
Ensure the tip is securely attached before heating. Because copper tips dissolve in solder, inspect the tip after each use session and replace it when you notice pitting or discoloration at the contact point. A deteriorated tip transfers heat poorly and leaves copper contamination in the joint.
Best Practices For Soldering With A Wood Burning Tool
Follow these steps to get the best results when soldering with a wood burning tool:
- Prepare your work area: Clear the surface of flammable materials, ensure good ventilation, and set up a non-flammable work mat. Solder fumes are harmful — work near an open window or use a fume extractor.
- Select the right solder: Use lead-free, rosin-core solder with a diameter of 0.031 inches (0.8mm) or thinner. Thinner solder melts faster at the lower effective temperature a wood burner delivers to the joint.
- Practice proper technique: Hold the wood burning tool like a pen. Apply the tip to the joint — not directly to the solder — and let the heat transfer to the solder. This takes longer than with a dedicated iron, so patience is critical.
- Control the temperature: Set the dial to mid-high. Too low and solder will not flow; too high risks burning the wood burning tool’s tip faster. Watch for shiny, flowing solder — dull or grainy results indicate a cold joint that needs to be redone.
- Use appropriate safety measures: Wear safety goggles and heat-resistant gloves. Never leave the heated tool unattended and use a stand or holder when setting it down.
“Copper tips will dissolve in solder — it is not a good idea to use the wood burning tool for soldering repeatedly. Additionally, it will likely be useless for most electronics work because most units simply do not have enough wattage. Never buy an iron of less than 40 watts for serious electronic repair work.”
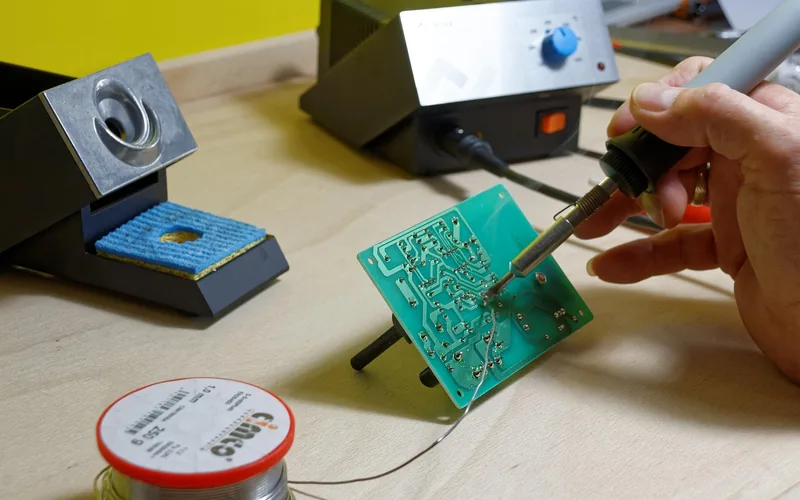
Exploring DIY Electronics Projects
Simple DIY Electronics Projects
If you are new to DIY electronics, starting with simple projects builds confidence and foundational skills. Beginner projects include creating LED light displays, building basic circuits on breadboards, and experimenting with simple sensors. A wood burning tool can handle the soldering on these low-voltage, thin-wire applications if done carefully — but expect more rework than with a proper iron.
Advanced DIY Electronics Projects
Advanced DIY electronics projects involving microcontrollers, sensor integration, or surface-mount components require precision soldering a wood burning tool cannot provide. The wattage drop when the tip contacts metal creates cold joints that can cause intermittent failures — the hardest type of fault to diagnose in a finished circuit. For any project where reliability matters, a 40-60W soldering iron with temperature control is the only practical choice.
Safety Considerations
Soldering with a wood burning tool carries the same hazards as any hot-tip soldering: burns, fumes, and fire risk. Because wood burning tools often lack the precise temperature control of dedicated soldering irons, these risks require extra attention.
Precautions When Using A Wood Burning Tool For Soldering
When using a wood burning tool for soldering, treat it with the same caution as a standard soldering iron. The tips reach temperatures above 750 degrees F — hot enough to cause serious burns instantly. Keep the tool on its stand when not actively soldering, and never leave it plugged in unattended.
Safety Gear For DIY Electronics
Use the following safety gear when soldering with any tool:
- Safety Glasses: Protect your eyes from solder spatter and wire fragments. Standard safety glasses are sufficient for most hobby soldering.
- Heat-Resistant Gloves: Shield hands from the tool tip and from accidental contact with a hot component or joint.
- Respirator Mask: Solder flux fumes are harmful with repeated exposure. An N95 or better respirator, or a dedicated fume extractor, is recommended for extended sessions.
- Fire-Resistant Work Mat: A silicone mat protects your work surface and prevents accidental fires from a hot tip touching the bench.
- Work in a Well-Ventilated Area: Open windows or use a fume extractor. Flux fumes accumulate quickly in enclosed spaces.
- Keep a Fire Extinguisher Nearby: A small ABC extinguisher within reach covers the most likely ignition scenarios.
- Avoid Flammable Materials: Keep wood shavings, paper, and fabric away from the work zone — especially important when using a wood burning tool, which often runs hotter than necessary for soldering.
- Unplug the Tool When Not in Use: Reduce burn and fire risk by unplugging immediately after the work session ends.
- Use a Soldering Stand: A dedicated stand keeps the hot tip off the bench surface. Many wood burning tool kits include one.

Frequently Asked Questions About Using a Wood Burning Tool for Soldering
Is a Wood Burning Tool the Same as a Soldering Iron?
No, a wood burning tool and a soldering iron are not the same, though they look similar. A wood burning tool (pyrography pen) is designed for burning designs into wood or leather, typically operating at 750-1050 degrees F. A dedicated soldering iron is engineered specifically for melting solder to join metal components, operating at 500-800 degrees F with iron-plated tips that resist solder dissolution. While both use a heated tip, their wattage, tip material, and temperature control differ significantly for soldering applications.
What Can I Use Instead of a Soldering Machine?
The best alternatives to a traditional soldering machine are a handheld soldering iron (40-60W for most hobby work) or a soldering station with a digital temperature display for precision work. A soldering iron handles most small and medium projects that a soldering station would handle. For temporary or field repairs on thick wires, a propane torch with flux and solder can also work, though it is too imprecise for electronic components. A wood burning tool is a last resort and only for the simplest joints.
Can a Weller Woodburning Kit Be Used for Soldering?
Yes, a Weller woodburning kit can be used for basic soldering. Weller’s wood burning kits typically include a soldering tip in addition to pyrography tips, and the brand’s temperature control is generally more consistent than budget wood burning pens. However, Weller’s wood burning kits still face the same wattage and tip-dissolution limitations as any wood burner — they are suitable for simple repairs on thick wire but not for reliable electronics soldering.
What Else Can You Use a Wood Burning Tool For?
A wood burning tool is versatile for crafts and DIY projects beyond pyrography. It can burn designs into leather, gourd surfaces, and cork. With the right tip, it can cut and shape craft foam, seal the ends of synthetic rope, and create texture on candles. For light soldering on thick wire or basic jewelry work, it can function as a backup tool. Its primary strength is decorative burning on organic surfaces — not precision metalwork.
Conclusion
A wood burning tool can melt solder and handle simple repairs in a pinch — but it is not a substitute for a proper soldering iron. The copper tips dissolve in solder over time, the wattage is typically insufficient for reliable joints on electronics, and the temperature stability needed for clean connections is hard to achieve without a dedicated iron. For anything beyond the most basic wire connections, a 40-60W soldering iron with interchangeable tips is the better investment and produces results that hold.
Use the wood burning tool for what it does best: burning designs into wood and leather. For solder, use the right tool.
Sponsored / affiliate links. As an Amazon Associate I earn from qualifying purchases. I may earn additional commission from eligible campaigns.