How to Cut Wood to Size Accurately (3-4-5 Squaring Check)
Cutting wood to size accurately means marking on the waste side of the kerf, squaring the board with a 3-4-5 triangle check before you cut, and matching blade tooth count to the cut type — a 24-tooth blade for rough breakdown, 40+ teeth for a clean finished edge. Skipping the squaring check is the single biggest reason a “correctly measured” cut still comes out crooked. This guide covers the tools, the marking and squaring techniques, and how to cut multiple pieces to the exact same length without a story pole going out of sync.
Quick Answer
Mark your cutline with a knife or 0.7mm pencil on the waste side of the kerf, then check the board for square with a 3-4-5 triangle before cutting — a tape measure alone won’t catch an out-of-square edge. Use a 24-tooth blade for rough crosscuts, a 40+ tooth blade for edges that will show, and clamp a stop block for repeat cuts of the same length.
Tools You Need to Cut Wood to Size Accurately
Best Straight-Edge Guide Pick
Kreg Straight Edge Guide XL, 98 Inch Circular Saw Guide (KMA4700)
A clamp-on aluminum rail that keeps a circular saw tracking dead straight across full sheets and long boards.
- Best for: full-sheet plywood and long panel breakdown cuts
- Why we picked it: holds tolerance tighter than free-handing a pencil line, and the 98-inch length spans a full 8-foot sheet in one pass
- Main drawback: the 98-inch rail is awkward to store in a small shop
Compare more straight-edge guide options
 Option 1 BORA NGX 50″ Circular Saw Guide Rail
|
 Option 2 Swanson 100″ Aluminum Cutting Guide
|
 Option 3 POWERTEC 24″ Circular Saw Guide
|
As an Amazon Associate we earn from qualifying purchases.
- Circular saw or table saw with a rip fence
- Miter saw for angled crosscuts
- Straightedge clamp guide (for sheet goods and long boards)
- Combination square or speed square
- Marking knife or 0.7mm mechanical pencil
- Tape measure and a story pole for repeat cuts
- Stop block and clamps
These techniques apply across the whole wood cutting topic on this site, from angled cuts to curves — this guide focuses on the marking, squaring, and repeat-length methods that keep any of those cuts accurate.
What Blade and Tool Should You Use for Each Type of Cut?
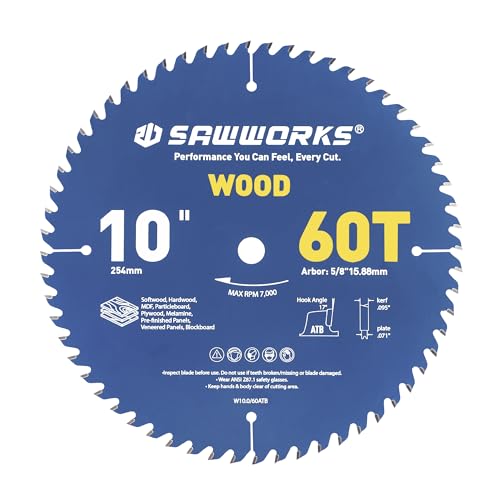
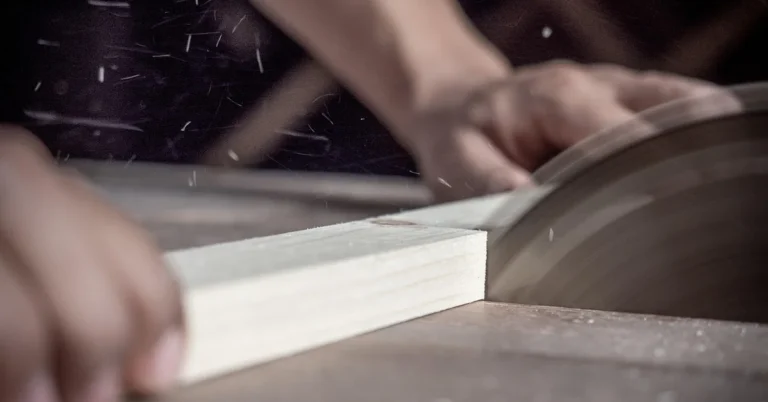
Crosscuts run across the wood grain and are best made with a miter saw or circular saw; rip cuts run parallel to the grain and are best made on a table saw with a rip fence. Matching the blade’s tooth count to the cut matters as much as the tool — too few teeth tears the surface, too many teeth on a rip cut slows the feed and can burn the edge.
| Cut Type | Best Tool | Blade TPI | Typical Kerf Allowance |
|---|---|---|---|
| Rough crosscut (breakdown) | Circular saw | 24T | 1/8″ (3mm) |
| Finish crosscut (edge shows) | Miter saw | 60–80T | 1/8″ (3mm) |
| Rip cut (with the grain) | Table saw | 24–30T | 1/8″ (3mm) |
| Plywood/sheet goods | Circular saw + guide | 40T+ | 1/8″ (3mm) |
| Curved or scroll cut | Jigsaw / band saw | 10–14 TPI | Negligible |
A standard 10-inch circular saw or table saw blade removes roughly 1/8 inch of material as it passes — that’s the kerf. Always mark and cut on the waste side of the line so the kerf comes out of the offcut, not your finished piece. On a cut list with several pieces from one board, that 1/8 inch per cut adds up fast; plan the layout with the kerf built in rather than discovering the shortfall on the last piece.
How Do You Mark and Measure Wood Before Cutting?
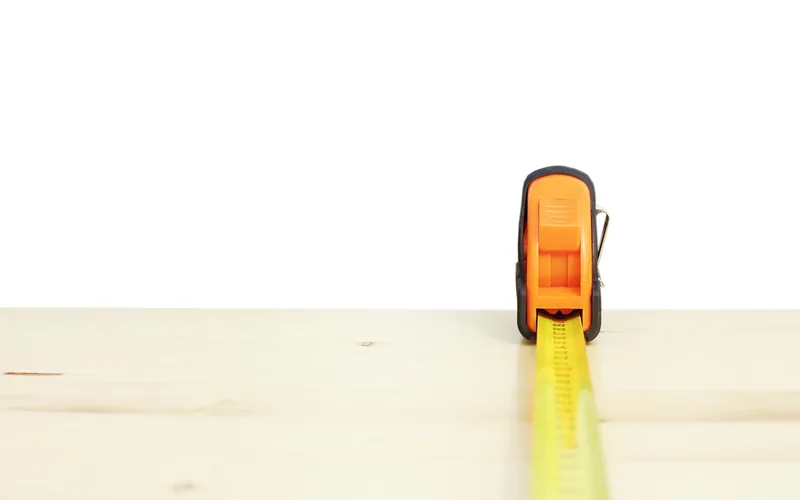
For everyday marks, a 0.7mm mechanical pencil is accurate enough. When the cut needs to hold a tighter tolerance, score the line with a marking knife instead — it slices the wood fibers rather than smudging a graphite line across them, and it also helps prevent tearout right where the blade enters.
On plywood and other sheet goods, mark with three crow’s-foot triangles instead of two straight tick marks. A single tick can be misread from either side; three points make the intended line unmistakable, and marking an X on the waste side keeps you from cutting the wrong side of the line under time pressure. If you’d rather skip the layout work entirely, a store-cut sheet is worth pricing against the cost of doing it yourself.
How Do You Square a Board Using the 3-4-5 Triangle?
A 3-4-5 triangle is a fast way to confirm a corner is a true 90 degrees without a large square. Any triangle whose three sides measure 3, 4, and 5 units (or a scaled multiple, such as 9-12-15 for more precision on a larger panel) has a right angle where the 3-unit and 4-unit sides meet. This catches an out-of-square edge that a tape measure alone won’t reveal — two diagonal measurements that don’t match tell you the board is off, but the 3-4-5 check tells you exactly where.
- Mark the corner: from the corner you’re checking, measure 3 inches along one edge and mark it.
- Mark the second leg: from the same corner, measure 4 inches along the adjacent edge and mark it.
- Measure the diagonal: measure the straight-line distance between the two marks.
- Check against 5: if that distance is exactly 5 inches, the corner is square; if it’s off, adjust the cut until it reads 5.
In our shop, running this check on a panel before the first cut catches an out-of-square factory edge before it ruins an entire cut list — it takes about 30 seconds and has saved more sheets than any other single habit. For finding the center of an odd or curved shape instead of a rectangle, a length of string folded in half works the same way a story pole does for repeat measurements.
📊 A standard circular saw or table saw blade removes about 1/8 inch (3mm) of material per pass. Mark and cut on the waste side of the line so that kerf comes out of the offcut, not the finished piece.
How Do You Cut Multiple Pieces to the Exact Same Length?
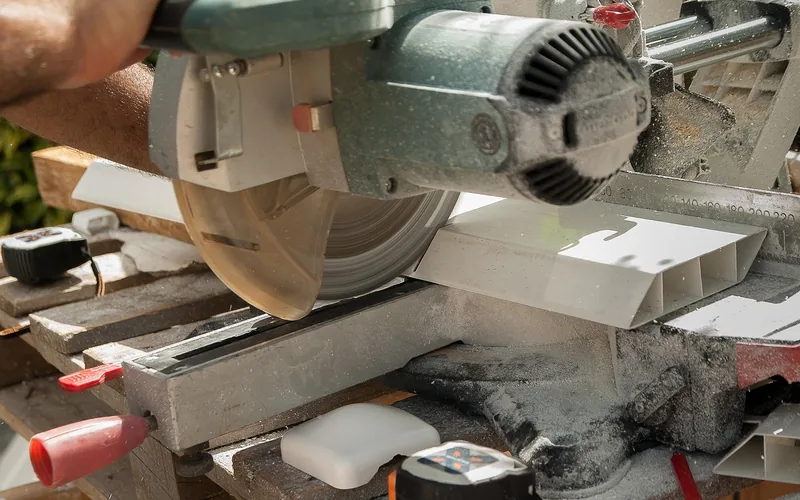
- Square one end first: trim the factory end of each board so every piece starts from a true 90-degree reference.
- Clamp a stop block: on a miter saw or table saw sled, clamp a block at the exact length needed so the board slides until it contacts the block.
- Cut each piece against the block: butt the squared end against the stop and cut — no remeasuring between pieces.
- Spot-check every fifth piece: sawdust buildup against the stop block can creep the length by a hair over a long run, so verify periodically.
For a one-off project where a stop block setup isn’t worth the time, a story pole works just as well: mark every critical length on a spare 1×2, then transfer directly from the pole to each board instead of re-reading a tape measure for every cut. It removes the reading-error risk that comes from misreading tick marks on a tape.
Common Mistakes to Avoid When Cutting Wood to Size
- Cutting on the line instead of beside it — this eats into the finished piece by half the kerf width.
- Skipping the square check — a board can measure the right length on both edges and still be out of square.
- Using one blade for every cut — a rip-cut blade tears out on plywood, and a fine-tooth finish blade slows and burns on a rough breakdown cut.
- Not supporting the offcut — an unsupported offcut can pinch the blade or split away from the line right at the finish of the cut.
- Trusting a single tick mark on sheet goods — use three crow’s-foot marks so the intended line can’t be misread.
Can I have wood cut to size at a store instead of doing it myself?
Yes — most home centers and lumberyards will make straight cuts on lumber and sheet goods, and Home Depot and Lowe’s both offer this in-store. It’s usually the cheaper option for a single sheet, while cutting at home wins on accuracy and scheduling once you own the guide. See our plywood cut-to-size cost breakdown for exact store pricing and when the DIY route pays off.
How can I cut a large sheet of material to the desired size?
Clamp a straightedge guide across the sheet, offset from the cutline by the exact distance between the saw blade and the edge of the saw’s base plate, then run the saw against the guide in one continuous pass. This removes most of the wander that comes from free-handing a cut along a pencil line on a large panel.
What blade should I use for a clean cut with no splintering?
Use a higher tooth-count blade — 40 teeth or more for plywood and finish crosscuts — and score the cutline with a utility knife first to sever the surface fibers before the blade reaches them. A 24-tooth blade is faster for rough breakdown cuts but will tear the face veneer on plywood.
How do I keep multiple cut pieces exactly the same length?
Clamp a stop block to the saw fence at the exact length needed, square one end of each board first, then slide each piece against the block and cut — no remeasuring between pieces. Check the length every few cuts, since sawdust buildup against the block can creep the measurement over a long run.
How do I check that a cut board is actually square?
Use a 3-4-5 triangle check: measure 3 inches along one edge from the corner, 4 inches along the adjacent edge, and measure the diagonal between those two points — if it reads exactly 5 inches, the corner is square. This catches an out-of-square edge that comparing two length measurements alone won’t reveal.
Getting a cut to come out at the exact size on the first try comes down to three habits: mark on the waste side of the kerf, square the board before you commit to the cut, and match the blade to the job. Once those are routine, a stop block or story pole makes repeat cuts nearly automatic.
Sponsored / affiliate links. As an Amazon Associate I earn from qualifying purchases. I may earn additional commission from eligible campaigns.