Cutting a Straight Line: Master the Art of Precision
To cut a straight line, use a ruler or straight edge for precision and guide the cutting tool along it. This ensures a clean and accurate cut.
Achieving a straight line is essential in various DIY projects, such as crafts, carpentry, or fabric cutting. By following simple techniques, you can easily master the skill of cutting straight lines. Understanding the proper tools and methods for cutting straight lines can save time and effort, resulting in professional-looking results.
Whether using a utility knife, scissors, or a saw, the key is to maintain a steady hand and follow the guide carefully. Practice and patience are crucial for consistently achieving straight cuts in your projects.
Choosing The Right Tools
When cutting a straight line, selecting the proper tools is crucial for achieving precise results.
Selecting The Proper Blade
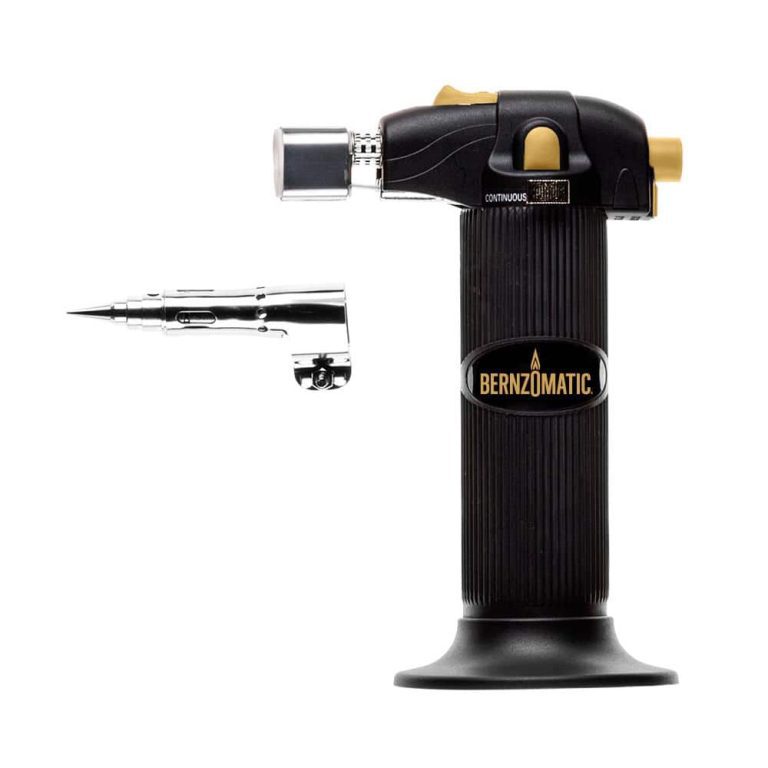
Choose a blade that is sharp and designed for the material you are cutting to ensure clean and straight cuts.
Ensuring A Straight Edge Guide
Use a ruler, straightedge, or specialized guide to keep your cutting line straight and prevent deviations.
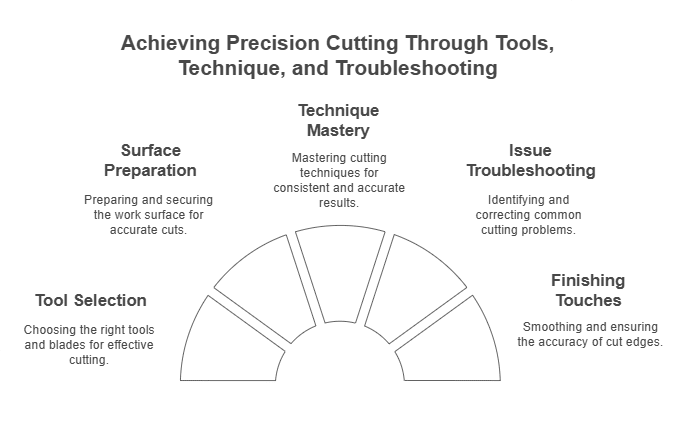
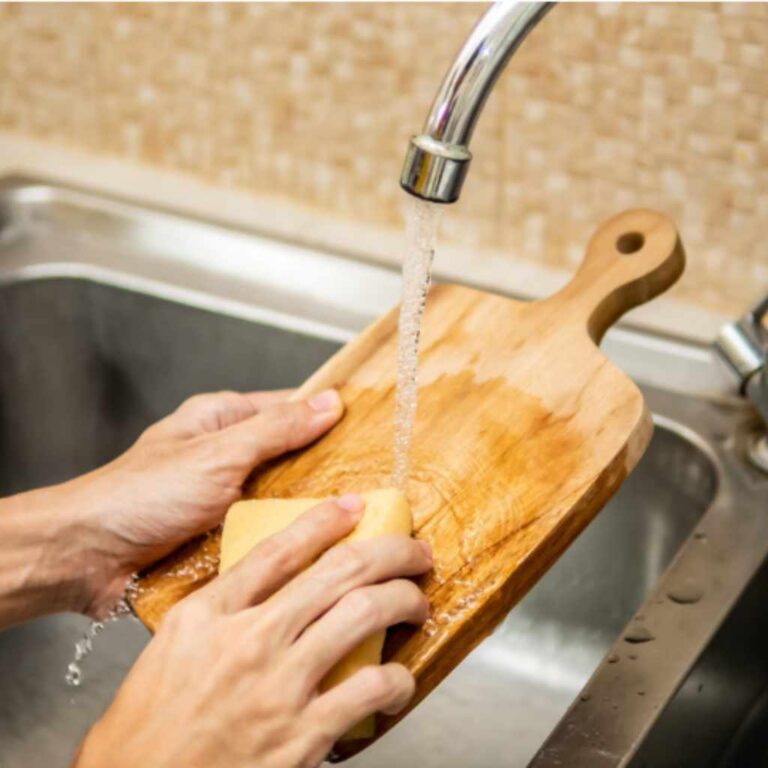
Preparing The Work Surface
Before cutting a straight line through a material, preparing the work surface is crucial for successful results.
Securing The Material
Secure the material to prevent any movement during cutting. Use clamps or weights to hold it in place.
Clearing The Cutting Path
Clear the cutting path of any obstacles or debris that may hinder the straight cutting process.
Before beginning, ensure the material is securely fastened.
Clear the cutting path to avoid any disruptions during the process.
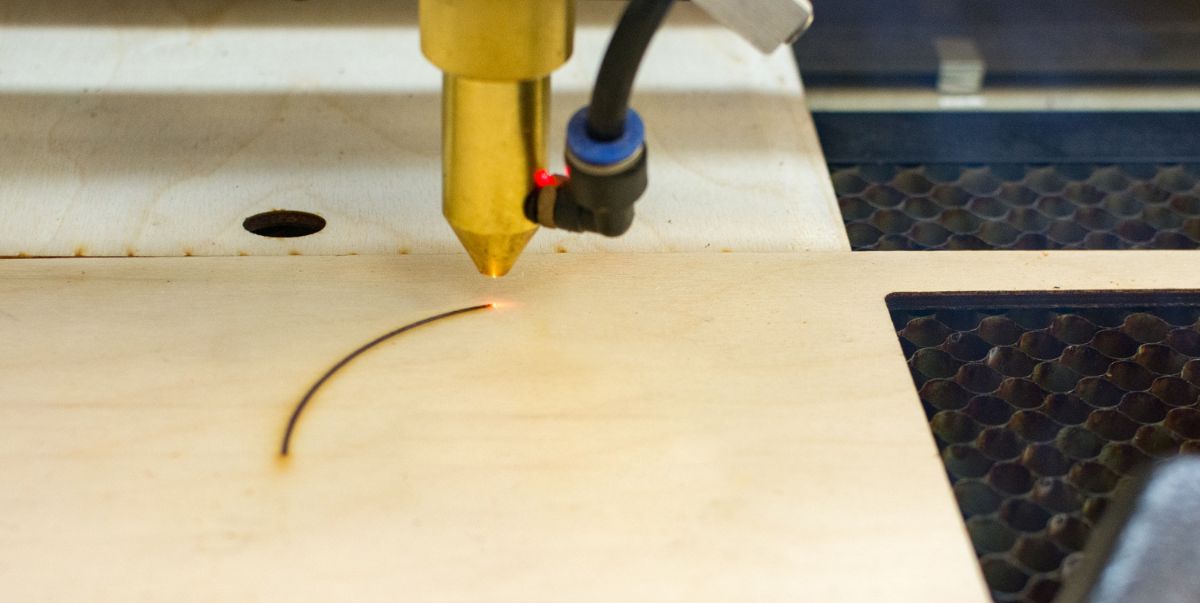
Mastering The Cutting Technique
Mastering the cutting technique is essential to achieve clean and precise straight lines in your projects. Whether you are working with paper, fabric, or other materials, maintaining a consistent speed and keeping a steady hand are crucial elements in perfecting this skill.
Maintaining A Consistent Speed
When cutting a straight line, maintaining a consistent speed is key to achieving a smooth and even cut. Applying uniform pressure and guiding the material steadily through the cutting tool can help in attaining a straight line without any jagged edges or uneven surfaces. It’s important to avoid rushing as it can lead to imprecise cuts, while maintaining a moderate pace will help in achieving accurate results.
Keeping A Steady Hand
Keeping a steady hand is crucial for straight-line cutting precision. Resting your cutting hand on the surface or using a guiding tool can help stabilize the movement, preventing any unnecessary wavering that could lead to inaccuracies in your cut. Maintaining a firm grip on the cutting tool and aligning it properly along the intended cutting line are essential for achieving a straight and consistent outcome.
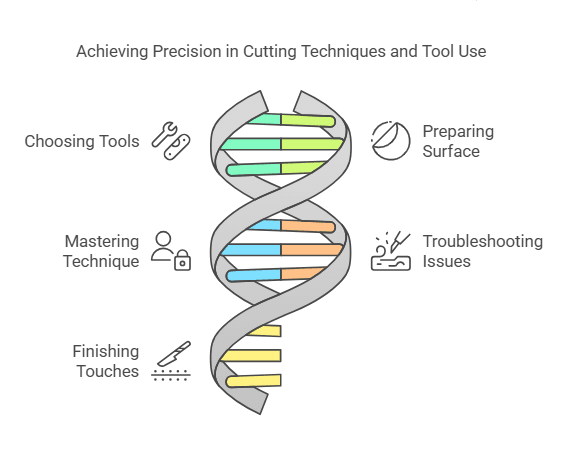
Troubleshooting Common Issues
When it comes to cutting a straight line, there are some common issues that can arise, leading to inaccurate cuts or even blade drift. Understanding these common issues and how to troubleshoot them can help you achieve the straight cuts you desire. In this section, we will discuss two common issues—dealing with blade drift and correcting inaccurate cuts—and provide you with practical solutions.
Dealing With Blade Drift
Blade drift occurs when the saw blade veers off course, resulting in a cut that is not straight. This issue often happens with band saws, scroll saws, or jigsaws, and can be frustrating. Fortunately, there are several steps you can take to deal with blade drift:
- Check blade tension: Ensure that the blade on your saw is properly tensioned. A loose blade can easily drift off course during the cut.
- Choose the right blade: Different blades have different characteristics, such as blade thickness or tooth configuration. Make sure you are using a blade suitable for the material you are cutting. A blade with less set or a narrower width might help reduce blade drift.
- Slow down your feed rate: Moving the material too quickly through the saw can cause the blade to wander. Slow down your feed rate, and allow the saw to do the work instead.
- Use a guiding device: Some saws, such as band saws, can benefit from using a fence or a guiding device to keep the material in line and prevent blade drift.
Correcting Inaccurate Cuts
Even with proper blade alignment, you may still encounter issues with inaccurate cuts. Fortunately, there are some simple steps you can take to correct this problem:
- Measure and mark: Double-check your measurements and ensure that you have accurately marked the cutting line. It’s important to start with precise measurements and markings.
- Slow down: Cutting too quickly can lead to inaccuracies. Slow down your cutting pace, allowing the blade to make smooth, precise cuts.
- Use a straight edge or guide: If you struggle with cutting along a straight line, consider using a straight edge or a guide to help you achieve cleaner cuts. This can help guide the saw and prevent wandering.
- Make test cuts: Before cutting your actual project material, practice on scrap pieces to ensure accuracy. This allows you to tune in your technique and make any necessary adjustments before making the final cuts.
By following these troubleshooting tips, you’ll be well-equipped to handle blade drift and correct inaccurate cuts. Remember, practice makes perfect, and with time, you’ll become more proficient in cutting straight lines.
Finishing Touches
The finishing touches are crucial when it comes to cutting a straight line. They ensure the edges are smooth and the line’s accuracy is spot on. By taking the time to focus on these final details, you can achieve precise and professional-looking results. In this section, we will explore two important aspects of finishing touches: smoothing the cut edges and ensuring the line’s accuracy.
Smoothing The Cut Edges
One of the first things you’ll want to do after making a straight cut is to smooth the edges. This step helps to remove any rough or jagged edges, creating a cleaner and more polished look for your project. There are different methods you can use to achieve this:
- Sandpaper: One effective way to smooth the cut edges is by using sandpaper. Choose sandpaper with a fine grit and gently rub it along the edges in a back-and-forth motion. This will gradually remove any imperfections and give the edges a smooth finish.
- File: Another option is to use a file. A fine metal or wood file can be used to carefully file away rough patches and create a smooth edge. Make sure to apply gentle pressure and work in one direction to avoid damaging the material.
- Router: For more intricate projects or when working with certain materials, a router can be a useful tool. It allows you to create decorative edges or chamfers that not only smooth the cut but also add a finished touch to your workpiece.
Ensuring The Line’s Accuracy
To ensure the line’s accuracy, there are a few key factors to consider. Here are some tips to help you achieve a precise cut:
- Measurement: Double-check your measurements before making the cut. Use a reliable measuring tool such as a tape measure or a ruler to ensure accuracy. It’s always better to measure twice and cut once!
- Guide: Creating a guide or a straight edge can greatly assist in maintaining a straight line. You can use a clamped piece of wood or a specialized cutting guide to ensure your saw or blade follows a straight path.
- Steady hand: Taking your time and keeping a steady hand while cutting is vital. Avoid rushing or applying too much force, as this can cause the blade to veer off course. Maintain a firm grip on the tool and let it do the work.
By following these tips for smoothing the cut edges and ensuring the line’s accuracy, you can achieve professional-looking results every time you cut a straight line. Taking the time for these finishing touches will make a noticeable difference in the overall quality of your projects.
Frequently Asked Questions
How Can I Cut A Straight Line Without A Ruler?
To cut a straight line without a ruler, you can use a straight edge guide, such as a piece of wood or a cardboard template. Simply align the guide along the desired cutting line and run your cutting tool along it for a clean, straight cut.
What Is The Best Tool For Cutting A Straight Line?
The best tool for cutting a straight line depends on the material you are cutting. For paper, a craft knife or paper trimmer is recommended. For fabric, a rotary cutter with a straight edge ruler is ideal. And for wood, a circular saw or miter saw with a guide can give you precise straight cuts.
How Do I Ensure A Straight Cut With A Hand Saw?
To ensure a straight cut with a hand saw, use a pencil to mark your cutting line and make a small notch at the starting point. Then, position the saw blade in the notch and start cutting with slow and steady strokes, following the marked line.
Maintain a firm grip and stay focused on your cutting path.
Conclusion
In mastering the art of cutting a straight line, practice and patience are essential. By following the tips and techniques provided in this blog post, you can achieve precision and accuracy in your cutting projects. Remember to use the right tools and take your time to ensure clean, straight cuts.
With dedication and practice, you can become a proficient straight line cutter.