DIY Wood Countertops: How to Build, Seal, and Maintain Them (Real Costs)
A DIY wood countertop costs roughly $8-15 per square foot in materials, compared to $40-100 installed for granite or quartz – but the wood you pick and the sealer you use afterward decide whether it lasts ten years or warps at the sink within one.
This guide walks through the parts most tutorials skip: how hard maple, red oak, and walnut actually compare for a food-prep surface, the real sanding-and-sealing sequence (not just “apply oil”), why the sink cutout is where almost every wood countertop failure starts, and what each finish option really costs you in upkeep over a year.
Why Build Your Own Wood Countertop
Labor is the biggest line item on any countertop quote, and it’s the one a DIY build removes entirely. A pro-installed butcher block countertop typically runs $40-60 per square foot with fabrication and installation; buying rough or surfaced lumber and building it yourself brings that down to roughly $8-15 per square foot for common species like red oak or soft maple, before finish. Beyond cost, building it yourself means you choose the exact board thickness, edge profile, and finish rather than picking from a fabricator’s limited stock options.
Best Food-Safe Sealer for Wood Countertops
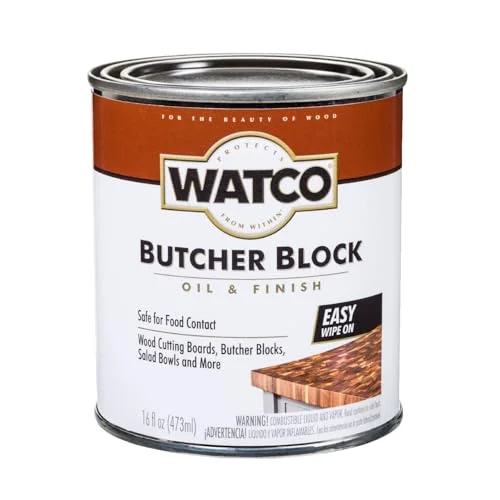 |
Watco Butcher Block Clear Oil & Finish – $18.98 A penetrating oil finish rated safe for direct food contact once cured – the right first sealer for a new wood countertop before you decide whether to add a harder topcoat.
|
Personalization is the other reason people go this route. A stock butcher block top comes in fixed widths and a handful of stains; a homemade one can match your exact cabinet run, mix wood species for a two-tone look, or add a drainboard groove or juice channel that no off-the-shelf option offers.
Choosing the Right Wood Species
Hardness matters more here than looks, because a countertop takes daily abuse a table or shelf never sees. Janka hardness ratings give a useful comparison: hard maple rates around 1,450 lbf, white/red oak around 1,290-1,360 lbf, black walnut around 1,010 lbf, and pine (sometimes used for a rustic look) drops to roughly 380-420 lbf – soft enough to dent from a dropped can.
Open-Grain vs. Closed-Grain Woods
Oak is a popular, affordable choice, but it’s an open-grain wood – its pores are large enough to trap food particles and moisture if the sealer coat thins out. Maple and cherry are closed-grain, which is why commercial butcher blocks are almost always maple: fewer places for bacteria or liquid to get in. If you do use oak, plan on an extra sealer coat and more frequent reapplication near the sink and prep zones.
Edge-Grain vs. End-Grain Construction
Most DIY countertops are edge-grain: boards stood on edge and glued face-to-face, showing long grain lines on top. It’s easier to build, uses less lumber, and is plenty durable for a countertop that isn’t used as a chopping block. End-grain (true butcher-block) construction, where you look down onto the end fibers, self-heals from knife cuts but takes roughly three to four times the lumber and glue-up time – worth it only if you actually plan to cut directly on the surface regularly.
Tools and Materials You’ll Need
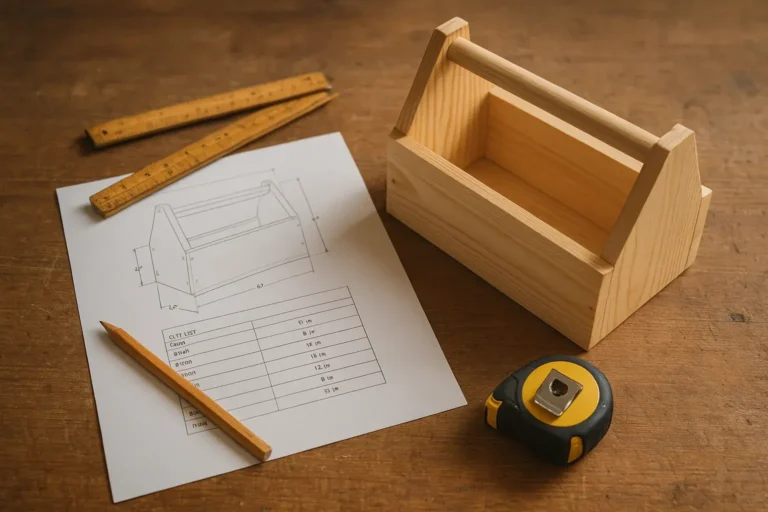
Get accurate measurements first: length and width of each run, plus the sink or cooktop cutout location, before buying a single board. Add a 1/8-inch overhang allowance on any edge that meets a wall or appliance, since solid wood expands and contracts slightly with humidity and needs room to move.
| Tools | Materials |
|---|---|
|
|
Wear safety glasses and a dust mask during cutting and sanding – hardwood dust from maple and oak is a known respiratory irritant with repeated exposure.
Step-by-Step Build and Installation
1. Mill and Glue Up the Boards
Rip your boards to width, alternate the end-grain direction of adjacent boards to help the panel stay flat, and dry-fit the whole run before adding glue. Apply waterproof glue to both mating edges, clamp every 8-10 inches along the length, and let it cure a full 24 hours before unclamping – rushing this step is the most common reason a glued-up top later develops visible seams.
2. Flatten and Cut to Size
Run the panel through a planer or use a router sled to flatten both faces, then cut it to final dimensions with a straightedge guide. Cut the sink and cooktop openings now, using the appliance’s own template – never eyeball this cut, since undersized openings mean the appliance won’t drop in and oversized ones leave gaps that trap water.
3. Rout the Edge Profile
A simple 1/4-inch roundover or chamfer is easier to keep sealed than a sharp 90-degree edge, since finish tends to wear thin fastest on sharp corners. Sand the routed edge to match the top’s final grit before finishing.
4. Attach with Room to Move
Fasten the top to the cabinet frame using figure-8 fasteners or slotted screw holes, not glue or fixed screws straight through the top. Solid wood expands and contracts across its width with seasonal humidity changes; a rigidly fastened top will eventually crack at a joint or pull cabinets out of square.
Sanding and Sealing: Where Most DIY Countertops Fail
Sand in stages – 80 grit to remove mill marks and glue squeeze-out, then 120, then 150, then finish at 220 grit for a finish coat that will see food contact. Skipping grits leaves swirl marks that show through under oil finishes especially. Vacuum the dust, then wipe the entire surface with a tack cloth before applying any sealer; trapped dust under a coat of finish is a common, avoidable defect.
Picking a Sealer: The Trade-Offs That Actually Matter
Every wood countertop finish trades durability against food-contact safety, and most articles gloss over this: food-grade mineral oil or a pure oil finish like the one above needs reapplication every 3-4 weeks with daily kitchen use, but it’s safe to cut directly on and simple to touch up. Polyurethane is far more water- and scratch-resistant and can go a decade between coats, but it is not rated for direct food contact once you cut through the film – it’s a good choice for a countertop used mainly for prep with a cutting board, not one you chop directly on. A two-component hardwax oil (Rubio Monocoat and similar professional finishes) sits in between: one or two coats, cures in about 24 hours, and typically only needs a light maintenance coat once a year, at a higher up-front cost per can than mineral oil.
Sealing Around the Sink: The Highest-Failure Spot
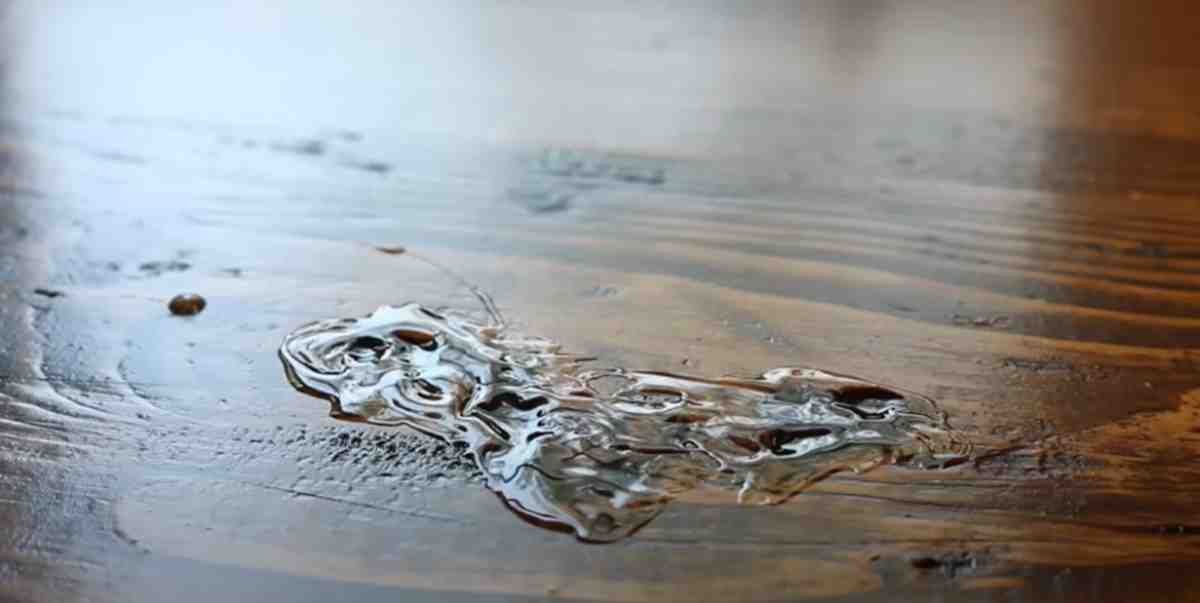
The sink cutout is where wood countertops fail first, because it’s the one place water sits against exposed end grain for hours at a time. Run a bead of 100% silicone sealant (not caulk with acrylic fillers) around the entire sink perimeter before dropping it in, and check that bead annually – a gap you can see light through means water is getting underneath. If you’re installing an undermount sink, seal the exposed wood edge with two extra coats of your chosen finish before mounting; that edge is nearly impossible to re-seal properly once the sink is in place.
Maintenance and Cost Over Time
Daily care is simple: wipe with warm water and mild dish soap, dry the surface fully rather than letting it air-dry, and use a food-grade mineral oil reapplication on whatever schedule your chosen finish calls for. Always use a cutting board for chopping and trivets for hot pans, even on a finish rated for both – it extends the interval between recoats. Use coasters to stop water rings from forming around glasses.
Ongoing cost differs a lot by finish choice: mineral oil runs about $10-15 per 12 oz bottle and you’ll go through several a year with daily reapplication near the sink; a hardwax oil system costs more upfront (often $60-90 per kit) but one bottle can cover several years of light annual maintenance coats. Either way, the ongoing cost of a wood countertop is still lower over a 10-year span than resealing or replacing a laminate top that’s delaminated at the seams.
Common Mistakes to Avoid
- Using standard interior wood glue instead of a waterproof Type I/II glue – a kitchen countertop glue line needs to survive repeated wetting, which interior-only glue isn’t rated for.
- Skipping end-grain sealing at cut edges and the sink cutout – end grain absorbs water many times faster than face grain, and it’s the spot builders forget because it isn’t visible once installed.
- Fastening the top rigidly instead of allowing for wood movement – this is the most common cause of a cracked seam six months to a year after installation.
- Choosing oak for a heavy food-prep surface without extra sealing – its open grain needs more attention than maple or cherry, not less.
Frequently Asked Questions
How Can I Seal My Wood Countertops Properly?
Sand through 80, 120, 150, and 220 grit before finishing, then apply a food-safe sealer like mineral oil, a hardwax oil, or polyurethane in multiple thin coats. Mineral oil needs reapplication roughly every 3-4 weeks with regular use; a hardwax oil system typically needs only one light maintenance coat a year.
What Is The Best Way To Clean Wood Countertops?
Wipe daily with warm water and mild dish soap, then dry the surface completely rather than air-drying. Avoid harsh chemical cleaners and standing water, both of which break down the sealer faster than normal use.
Are Wood Countertops Durable For Daily Kitchen Use?
Yes, with proper care – closed-grain hardwoods like maple hold up well to daily use. Use a cutting board rather than cutting directly on the surface, use trivets for hot cookware, and keep the sealer reapplied on schedule, especially near the sink.
Can I Install Wood Countertops Myself?
Yes. The build itself – milling, gluing up boards, cutting to size, routing edges, and attaching with movement allowance – is achievable with a table saw, router, and clamps. The sink cutout and its sealing are the steps most likely to go wrong, so measure against the actual appliance template and don’t skip the extra sealant coats around that opening.
Conclusion
A DIY wood countertop comes down to three decisions that matter more than the rest: pick a closed-grain hardwood like maple if the surface will see heavy food prep, don’t skip the extra sealing at the sink cutout and end grain, and choose a finish based on how often you’re willing to reapply it rather than which one looks best on day one. Get those three right and a solid-wood countertop built for $8-15 a square foot will outlast plenty of countertops that cost five times as much.
Sponsored / affiliate links. As an Amazon Associate I earn from qualifying purchases. I may earn additional commission from eligible campaigns.