Metal Door Trim: Types, Costs, and How to Install It
Metal door trim — usually aluminum, stainless steel, or Galvalume steel — covers the gap between the jamb and wall for $2 to $6 per linear foot in materials, but exterior runs need a rust-resistant finish that interior trim doesn’t. Skip that and it corrodes within a season near a rain-exposed threshold. This guide covers the four trim profiles, the standard 1/8– to 1/4-inch reveal, and the 7-step install.
Quick Answer
To install metal door trim, cut aluminum, steel, or bronze trim to the frame’s measurements, leave a 1/8- to 1/4-inch reveal between the trim and jamb, run a bead of caulk along the frame, and secure it with 4d–6d finish nails spaced about 16 inches apart. Materials run $2–$6 per linear foot; installed cost runs $5–$10 per linear foot.
Why Choose Metal Door Trim?
Best Metal Door Trim Kit Pick

Aluminum Door Frame Casing Kit, Custom Cut to Your Size – $123.49
A no-hole-installation aluminum casing kit sized to your exact opening — matches the minimalist, no-nail look this guide’s design section describes.
- Best for: A complete pre-cut aluminum casing kit sized to your exact door opening
- Why we picked it: Adhesive-based, no-nail install fits the seamless modern look covered in the Design Ideas section
- Main drawback: Costs more than raw trim stock, and you need accurate opening measurements before ordering
Compare more metal door trim options
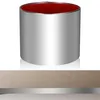
 Option 1 Brixwell Aluminum J Channel, Deep Nose, 48″ – $17.43
|
 Option 2 Stainless Steel Peel-and-Stick Baseboard Trim – $19.99
|
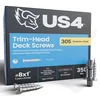 Option 3 US4 Stainless Trim Head Screws, #8 x 1″ – $27.95
|
As an Amazon Associate we earn from qualifying purchases.
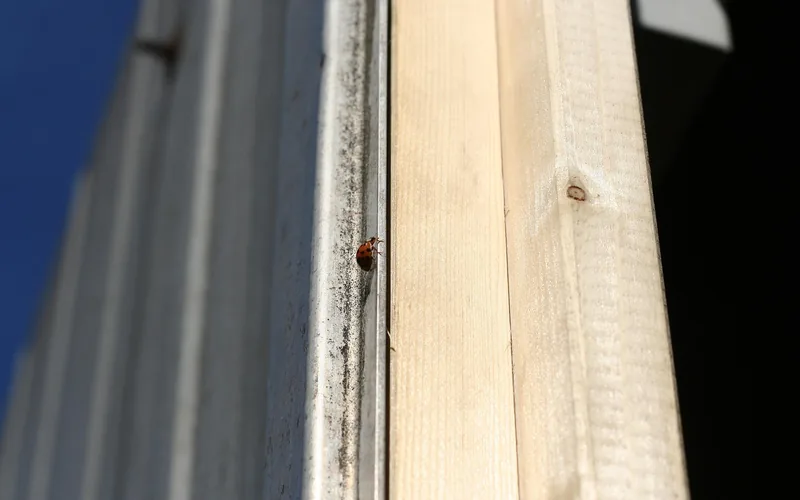
Metal trim protects the exposed edge where a door frame meets the wall, and unlike wood casing it won’t split, rot, or need repainting every few years. It also works with steel doors set into wood frames, where a matching metal casing reads as one continuous material instead of a wood-to-metal mismatch.
Modern and Stylish
A slim metal profile reads as intentional and contemporary, especially in brushed nickel, matte black, or polished chrome finishes that contrast against a painted door.
Durable and Corrosion-Resistant — If You Pick the Right Metal
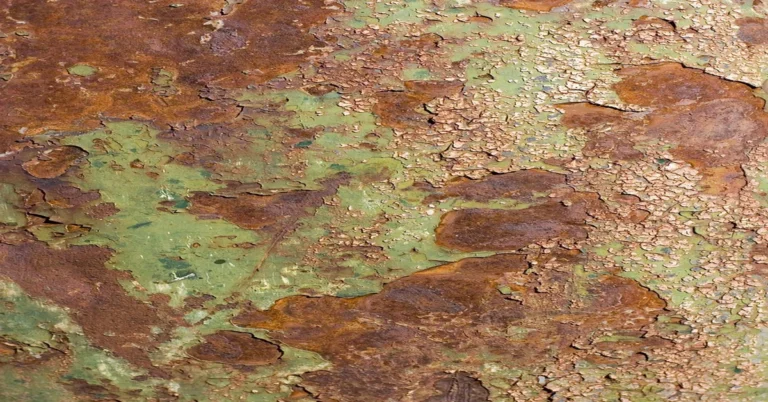
Stainless steel and Galvalume-coated steel resist rust in most climates; plain (uncoated) steel doesn’t, and will show surface rust within a year in a humid or coastal location. Aluminum never rusts but can pit and dull faster than stainless in salt-air environments.
Types of Metal Door Trim: Material and Profile
Door trim metal comes in a handful of base materials and, separately, a handful of physical profiles — and most buying guides only cover the first.
Materials
Stainless steel is the most corrosion-resistant option and holds a sleek, modern look with minimal upkeep. Aluminum is roughly a third the weight of steel, won’t rust, and can be painted, which makes it the easiest metal to color-match to an existing door. Bronze costs more than either but develops a protective patina over time instead of corroding, which is why it shows up on older commercial entries that are still original decades later.
Trim Profiles: J-Channel, Jamb, Z-Trim, and Valley Trim
These are the shapes the metal is bent into, and picking the wrong one for the job is the most common DIY mistake this guide’s old version skipped entirely:
- J-channel — a J-shaped profile that caps a raw panel edge; the standard choice where trim meets siding or a flat opening.
- Jamb trim — runs along the vertical and top edges of the door opening itself, the profile most homeowners mean by “door trim.”
- Z-trim — bridges two panels at different depths, used where trim steps down or overlaps a transition.
- Valley trim — a shallow V-shaped channel at inside corners that directs water away from the frame instead of letting it pool.
(Steel & Stud breaks these profiles down in more depth if you’re trimming a full metal-sided structure rather than a single door.)
| Trim Material | Installed Cost/Linear Ft | Rust/Rot Risk | Best For |
|---|---|---|---|
| Aluminum | $5–$8 | Never rusts; can pit near salt air | Budget modern look, paintable |
| Stainless steel | $7–$10 | Very low | High-traffic exterior doors |
| Bronze | $10+ | Patinas instead of corroding | Traditional/period entries |
| Wood (pine/MDF) | $5–$10 | Rots without repainting | Interior-only, traditional homes |
📊 Metal door trim materials run $2–$4/linear ft for interior applications and $3–$6/linear ft for exterior; fully installed with labor, expect $5–$10/linear ft. — Source: Fixr.com, Door Trim Installation Cost Guide (2026)
Installing Door Trim Metal
Installing door trim metal is a straightforward weekend project once the trim is cut to size. This section covers the reveal spec most guides skip, the tools you need, and the 7-step process.
The Reveal: The Spec Most Guides Skip
Before cutting anything, set your reveal — the small offset between the trim edge and the door jamb, rather than mounting the trim perfectly flush. A 1/8-inch to 1/4-inch reveal is standard (This Old House) and hides small gaps in the jamb itself that a flush mount would expose.
Preparation and Tools
Gather these before you start:
- Metal door trim, pre-cut or cut to length
- Tape measure and pencil
- 4d–6d finish nails (or a 15-gauge finish nailer)
- Hammer or nail gun
- Level
- Exterior-grade caulk and caulking gun
- Safety goggles and gloves
Step-by-Step Installation
- Measure the frame: measure the height and width of the door opening where the trim will sit.
- Mark the reveal: mark a 1/8-inch to 1/4-inch line back from the jamb edge as your install guide.
- Cut the trim: cut the metal trim to length with a fine-tooth blade or aviation snips, wearing goggles and gloves.
- Apply caulk: run a bead of exterior caulk along the frame where the trim will sit for a weatherproof seal.
- Position the trim: set the trim against the reveal line and check it with a level before nailing.
- Secure the trim: drive finish nails about every 16 inches along the jamb side of the trim.
- Finish: wipe off excess caulk and confirm every nail head is set flush.
Maintenance and Care
Metal door trim needs less upkeep than wood, but it isn’t maintenance-free. A quick wipe-down a few times a year prevents the two failure points that actually shorten its life: trapped grit that scratches the finish, and standing moisture at the base where rust starts.
Cleaning Methods
Dust with a soft cloth first to remove loose grit — wiping over grit is what causes most surface scratches. For grime, use mild soap and warm water; avoid abrasive pads. For water spots or mineral deposits, a 1:1 white vinegar and water solution cuts them without damaging the finish.
Avoiding Common Issues
- Skip harsh chemicals — solvent-based cleaners can strip a painted or anodized finish.
- Keep the base dry — standing water at a threshold is where uncoated steel trim starts rusting first.
- Add felt pads on frequently-opened doors to stop the trim from scuffing where the door edge brushes past it.
Design Ideas With Door Trim Metal
Metal trim reads very differently depending on how it’s finished and paired. Two approaches cover most homes.
Minimalist Approach
A slim, low-profile trim in matte black or brushed nickel against a white or neutral door creates contrast without competing with the rest of the room — the trim should read as a clean line, not a focal point.
Contrasting Finishes
Pairing a polished chrome trim with a brushed brass handle (or vice versa) adds intentional visual interest. If you’re finishing the door itself to match, see how to repaint a metal door for prep and primer steps that hold up alongside a metal casing.

Metal Trim vs. Wood Trim: Which Should You Use?
If your existing wood door trim is still in good shape, metal doesn’t need to replace it — the two materials solve different problems. Wood is cheaper up front and easier to paint any color; metal costs more but skips the repainting cycle and won’t rot at an exterior threshold. If your current frame is damaged rather than just outdated, fix the door frame itself before trimming over it — metal trim over a rotted or cracked jamb only hides the problem temporarily.
Frequently Asked Questions About Metal Door Trim
How much does door trim metal cost?
Materials run $2–$4 per linear foot for interior trim and $3–$6 for exterior trim. Fully installed with labor, budget $5–$10 per linear foot, according to 2026 cost data from Fixr.com. Bronze trim typically costs more than aluminum or stainless steel.
What is metal door trim actually called?
It’s most often called door casing — the trim that covers the gap between a door jamb and the surrounding wall. “Door trim metal” and “metal door casing” refer to the same thing; casing is the term you’ll see used at most trim and molding suppliers.
Can you put metal trim over an existing wood door trim?
Yes, if the wood trim underneath is flat, solid, and not rotted — metal trim can be installed directly over it the same way it goes over bare framing, using construction adhesive or trim screws instead of nails driven into failing wood. If the existing trim is soft, cracked, or damp, remove it first; covering rot with metal only traps the moisture.
Does metal door trim rust?
Plain steel trim rusts within a year in humid or coastal climates. Stainless steel and Galvalume-coated steel resist rust in nearly all conditions, and aluminum doesn’t rust at all, though it can pit in salt air. For an exterior door, stainless or Galvalume is the safer default over uncoated steel.
What are the benefits of using door trim metal?
Metal door trim resists rot, insect damage, and warping the way wood trim doesn’t, and it holds a finish longer without repainting. It’s also low-maintenance — an occasional wipe-down is usually enough — and it adds a cleaner, more modern line than painted wood casing.
How do I install door trim metal?
Measure the door frame, mark a 1/8– to 1/4-inch reveal back from the jamb edge, cut the trim to size, run a bead of caulk along the frame, position the trim against the reveal line, and secure it with finish nails spaced about every 16 inches. Wipe off excess caulk once the trim is level and secured.
Conclusion
Metal door trim costs more up front than wood, but it skips the repainting cycle and won’t rot at a threshold — as long as you pick a rust-resistant material (stainless or Galvalume) for exterior runs, hold a consistent 1/8-inch to 1/4-inch reveal, and seal the seam with caulk before nailing it down.
Sponsored / affiliate links. As an Amazon Associate I earn from qualifying purchases. I may earn additional commission from eligible campaigns.