How to Repaint a Metal Door: Treat Rust First, Then Prime and Paint
To repaint a metal door correctly, treat every spot of rust before you open a primer can — sand it down to bare steel or use a chemical rust converter — then apply a rust-inhibiting metal primer (never a leftover wood or wall primer) and two thin coats of an exterior-rated metal enamel. Painting over active rust is the single most common reason a metal door repaint fails: the corrosion keeps spreading under the new film and bubbles the finish within a year, sometimes months. This guide walks through confirming you actually have a solid metal door (not a fiberglass-clad look-alike), the real rust-treatment-before-priming sequence, and which primer and topcoat combination actually holds up outdoors.
Treat the Rust Before You Touch a Primer Can
Every guide agrees you need a rust-inhibiting primer. Fewer explain that the primer only works on a surface where the rust has already been dealt with — it is not a substitute for that step. You have two real options: mechanical removal (sanding or a wire wheel down to bright, bare steel) or chemical conversion (a rust converter that reacts with iron oxide and turns it into a stable, paintable black compound). Sanding is faster on small spots and gives you a visual guarantee — you can see bare metal. A converter such as Corroseal or Rust-Oleum’s Reformer spray is the better call on pitted or hard-to-reach areas (hinges, raised panel edges) where sanding would take a lot of effort for a marginal result; most cure in under 24 hours and need no sanding afterward. What doesn’t work is scuffing the surface lightly and painting straight over rust that’s still active — the paint film traps moisture against the metal and the rust keeps eating through from underneath, which is exactly why so many “fresh paint jobs” on metal doors bubble and flake within a season.
Best Rust-Inhibiting Primer for This Job
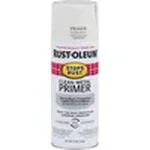 |
Rust-Oleum Stops Rust Clean Metal Primer Spray – $6.48 An oil-based primer formulated for bare or lightly rusted metal — the exact step this section covers before any topcoat goes on.
|
Confirm You Actually Have a Metal Door
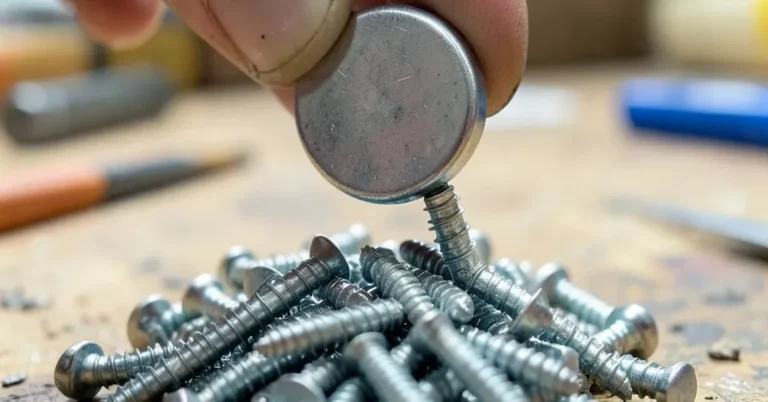
This step gets skipped constantly, and it matters: a lot of “wood-look” entry doors are actually fiberglass-clad over a wood or foam core, not solid steel, even though they can look and feel similar from a few feet away. The quick test is a refrigerator magnet — hold it against the door’s flat panel. If it grabs firmly, you have real steel and everything in this guide applies directly. If it doesn’t stick at all, or only sticks weakly near the hinges (where a steel reinforcement plate sometimes hides under fiberglass skin), you’re dealing with a composite door. Fiberglass doesn’t rust, so skip the rust-treatment steps, but it also doesn’t want a metal-specific primer — use a primer rated for fiberglass/composite surfaces instead, or you’ll get poor adhesion and premature peeling on a surface that was never rusting in the first place. If your door turns out to be a wood-grain composite and you want to keep that faux-wood look rather than a solid color, our guide on painting a metal door to look like wood covers that finish separately.
Cleaning, Sanding, and Masking
Once you know what you’re working with and any rust has been sanded or converted, wash the whole door with a mild detergent solution to strip off grime, chalking paint residue, and any wax or silicone residue from old cleaners — silicone residue in particular will cause fisheyes (small craters) in the new paint if it isn’t removed. Rinse thoroughly and let the door dry completely; painting over even slight surface moisture traps it under the primer. Scuff-sand the entire surface, not just the rust spots, with 220-grit sandpaper so the new primer has some texture to grip — a perfectly smooth factory finish is actually harder for primer to bond to than a lightly scuffed one. Remove the door hardware (knobs, kickplates, hinges if you can get to them) rather than taping around it; a piece of hardware taped over never gets a clean line, and it’s one more surface you’d otherwise have to mask carefully. Tape off the surrounding trim, glass, and weatherstripping with painter’s tape. If you’d rather leave the door hanging on its hinges instead of pulling it, our guide to painting a metal front door without removing it covers hinge-safe masking so you don’t get primer or paint on the jamb.
Why a Wood Primer Won’t Do the Job Here
It’s tempting to grab whatever primer is already open in the garage, but a wood or general-purpose wall primer is built to soak into porous fibers, not bond to and seal a non-porous, oxidizing metal surface. It won’t inhibit rust at all — it just sits on top as a slightly better-adhering layer of the same problem. A true metal primer is formulated differently: most rust-inhibiting metal primers are either oil-based alkyds or, for heavier corrosion, a two-part epoxy, and both chemically bond to bare steel and contain rust-inhibiting pigments (zinc phosphate is a common one) that actively slow re-corrosion under the film, rather than just physically covering it. Apply the primer in thin, even coats — heavy, dripping coats trap solvent underneath and take far longer to cure properly, sometimes never fully hardening in the thick spots. Let it dry to the full recoat window on the can, not just dry-to-touch, before moving on to the topcoat; touching the two together too early is a common cause of the topcoat lifting the primer in patches later.
Painting: Technique and Why the Topcoat Has to Be Exterior-Rated
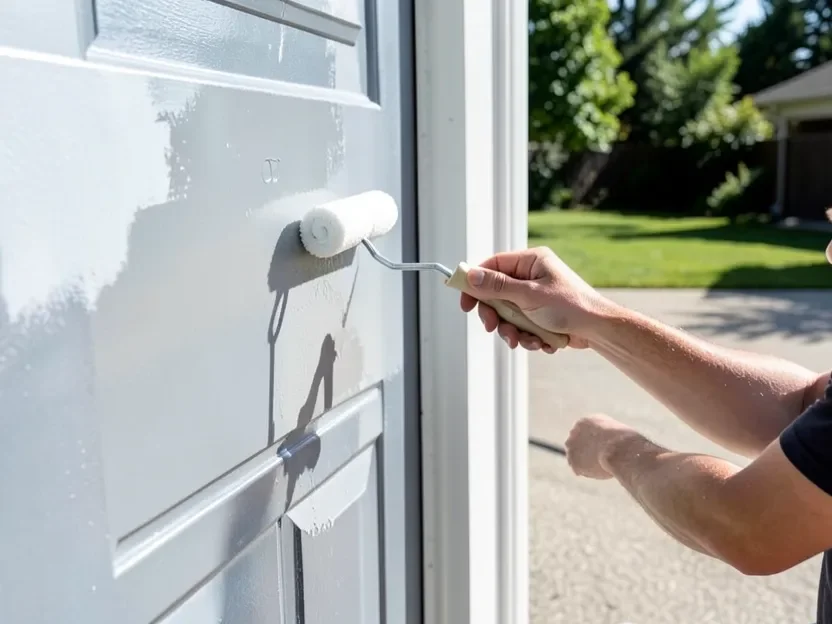
For an exterior door, the topcoat needs to be an actual exterior-rated enamel — direct-to-metal paint or a metal-specific enamel — not leftover interior wall paint. Indoor paints aren’t formulated with the UV-resistant resins and flexible binders that handle direct sun, temperature swings, and rain the way an exterior product does; used outdoors they chalk, fade, and crack far faster, often within a single season of hard sun exposure. Work with a good angled sash brush for the panel edges, hinges, and recessed areas, and a small foam or short-nap roller for the flat sections, since a roller with too much nap leaves an orange-peel texture on a door that’s meant to look smooth up close. Load the brush or roller lightly and apply in thin coats — two thin coats consistently outperform one thick one, both in appearance and in how well the finish resists chipping, because a thick single coat cures unevenly and stays softer at the base longer. Work from the recessed panels outward to the flat field areas so you’re not dragging a wet edge back over paint that’s already started to set.
Drying Time Between Coats and Before Rehanging Hardware
Most oil-based metal primers are dry to the touch in 15–30 minutes but need several hours before a topcoat can go over them without softening — check the specific recoat window printed on the can rather than guessing, since it varies by product and by humidity/temperature on the day. Between the two topcoats, give the paint the full recoat time listed on the label, usually a few hours in good drying weather; painting the second coat over a first coat that’s only surface-dry will trap solvent and cause slow, soft curing that shows up later as tackiness or fingerprints in the finish. Once the final coat is dry to the touch, wait for the paint’s full cure time (often 24–72 hours depending on the product) before reattaching hardware or closing the door against the jamb weatherstripping, since anything pressed against a not-fully-cured finish can leave a permanent impression.
Frequently Asked Questions
Do I need to remove rust before repainting a metal door?
Yes. Rust needs to be sanded down to bare metal or treated with a chemical rust converter before any primer goes on. Painting directly over active rust doesn’t stop it — the corrosion keeps spreading underneath the new paint film and typically bubbles or flakes the finish within a year.
Can I use a wood primer on a metal door?
No. Wood and general wall primers are made to soak into porous fibers and don’t bond properly to metal or inhibit rust. Use a primer specifically labeled for metal, ideally one with rust-inhibiting pigments, so it chemically bonds to bare steel and actively slows future corrosion.
How can I tell if my door is real metal or fiberglass?
Hold a refrigerator magnet against a flat panel. It will grab firmly on solid steel. If it doesn’t stick, or only sticks weakly near the hinges, the door is likely a fiberglass-clad composite over a wood or foam core, which needs a fiberglass-rated primer instead of a metal one.
How many coats of paint does a metal door need?
One coat of rust-inhibiting metal primer followed by two thin coats of exterior-rated enamel. Two thin topcoats consistently hold up better than one thick coat, since a thick single coat cures unevenly and stays softer underneath, making it more prone to chipping.
Conclusion
A metal door repaint that actually lasts comes down to sequence: confirm you’re really working with steel and not a fiberglass-clad look-alike, deal with every spot of rust before priming, use a primer and topcoat made for metal rather than whatever’s already open in the garage, and give each coat its full recoat and cure time. Skip the rust step or swap in a generic primer and the same problem just resurfaces under the new paint. If you’re wondering whether other metal around your home needs the same treatment, our overview of painting different metal types breaks down what steel, aluminum, galvanized steel, and stainless steel each actually need. If your door has a separate metal frame or trim piece, see our guide to metal door trim options so the two finishes match, or browse our full woodworking projects and tips guide for more painting and home-repair projects.
Sponsored / affiliate links. As an Amazon Associate I earn from qualifying purchases. I may earn additional commission from eligible campaigns.
 Wensilon 3/8" x 4" Black Rust Resistant Epoxy Coated Plated Large Diameter Concrete Screw Actual Thickness 1/2"(12mm) for Anchoring to Masonry, Brick or Block (100 pcs)Wensilon 5/16" x 3" Black Rust Resistant Epoxy Coated Plated Large Diameter Concrete Screw Actual Thickness 3/8"(10mm) for Anchoring to Masonry, Brick or Block (50 pcs)