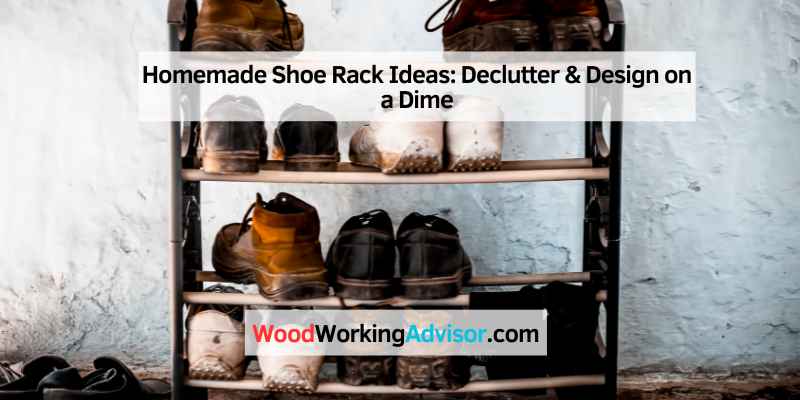
Homemade Shoe Rack Ideas: Declutter & Design on a Dime
Create a homemade shoe rack using simple materials for a cost-effective storage solution. Organize your shoes efficiently at home with a DIY shoe rack.
Finding the perfect storage solution for your shoes can be a challenge, especially if you have limited space. A homemade shoe rack is a practical and budget-friendly option that allows you to customize the design to suit your needs. By using common materials like wood, PVC pipes, or even cardboard, you can create a shoe rack that fits perfectly in your space.
Not only does a DIY shoe rack help you keep your footwear organized, but it also adds a personal touch to your home decor. In this blog post, we will explore different homemade shoe rack ideas and provide step-by-step instructions on how to make your own. Let’s dive in and get creative with your shoe storage!
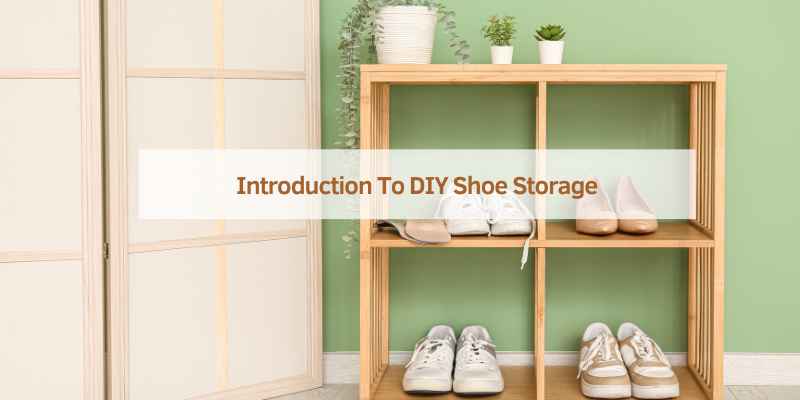
Introduction To DIY Shoe Storage
Why Go Homemade?
Making your own shoe rack is a great way to showcase your creativity while ensuring your shoes are organized and easily accessible.
Benefits Of A Tidy Shoe Space
A tidy shoe space not only enhances the aesthetic appeal of your home, but it also saves time by allowing you to locate your footwear swiftly. Furthermore, it contributes to a clutter-free environment, promoting a sense of calm and order.
 DIY Shoe Storage” width=”800″ height=”400″ />
Materials You’ll Need
Making your own homemade shoe rack can be a rewarding and practical project. To get started, you’ll need to gather the right materials and tools. Here’s a breakdown of what you’ll need:
Basic Tools
- Measuring tape
- Saw (hand saw or power saw)
- Drill and drill bits
- Sandpaper
- Screwdriver
- Wood glue
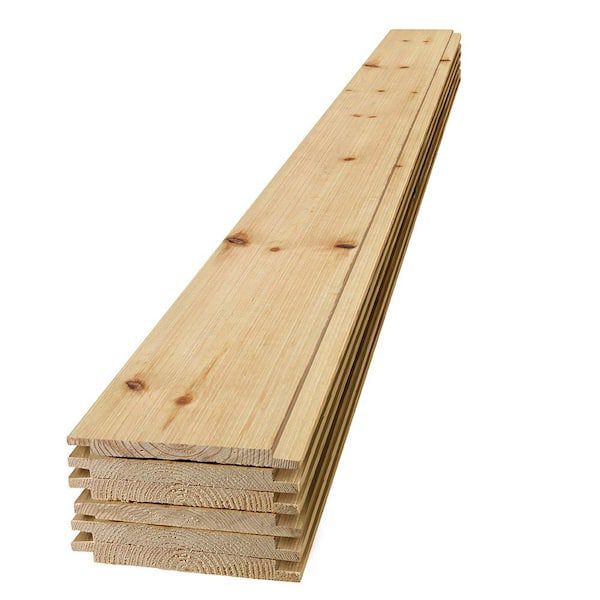
Choosing The Right Materials
When it comes to the materials for your homemade shoe rack, select sturdy and durable options. Here are the main materials you’ll need:
| Material | Usage |
|---|---|
| Wood boards | For constructing the frame and shelves |
| Plywood | For backing and additional support |
| Screws and nails | For securing the pieces together |
| Wood stain or paint | For finishing touches |
Simple Wooden Crate Shoe Rack
Craft your own homemade shoe rack with a simple wooden crate shoe rack. Organize footwear stylishly.
If you are looking for a budget-friendly and stylish shoe storage solution, a homemade wooden crate shoe rack is a great option. With just a few simple steps, you can create a functional and unique shoe rack that fits your space and style perfectly.
Preparation And Assembly
To make a simple wooden crate shoe rack, you will need a few wooden crates, sandpaper, wood glue, and screws. Here are the steps to follow:
- Sand the wooden crates to remove any rough edges or splinters.
- Stack the crates on top of each other in the desired configuration.
- Apply wood glue to the bottom of each crate to secure them together.
- Insert screws through the sides of the crates for added stability.
- Allow the glue to dry completely before using the shoe rack.
Customization Tips
One of the best things about a wooden crate shoe rack is that it can be easily customized to fit your style and needs. Here are a few tips to help you make your shoe rack unique:
- Paint or stain the crates in a color that matches your decor.
- Add decorative elements like stencils or decals to the sides of the crates.
- Attach hooks or knobs to the sides of the crates to hang bags or accessories.
- Place a cushion on top of the shoe rack to create a cozy seating area.
With these simple steps and customization tips, you can create a functional and stylish shoe rack that fits your needs and style perfectly. So why not give it a try and make your own wooden crate shoe rack today!
Hanging Shoe Organizers: A Vertical Solution
Hanging Shoe Organizers provide a space-saving solution for shoe storage. Vertical storage not only maximizes space but also keeps shoes easily accessible.
Selecting Durable Materials
- Prioritize sturdy materials like metal or high-quality fabric for longevity.
- Ensure hooks or hangers are strong to support the weight of shoes.
Step-by-step Guide
- Choose a suitable location to hang the organizer.
- Measure the space to ensure a proper fit.
- Install hooks or hangers securely on the wall or door.
- Hang the shoe organizer and arrange shoes neatly.
Pvc Pipe Shoe Holder
Looking for a creative and budget-friendly solution to organize your shoe collection? Consider making a PVC Pipe Shoe Holder. This DIY shoe rack is not only practical but also adds a unique touch to your home decor.
Cutting And Assembly
- Cut PVC pipes into desired lengths using a saw.
- Assemble the pieces into a grid or ladder-like structure.
- Connect the pipes using PVC connectors for stability.
Decorative Finishes
- Spray paint the PVC pipes in a color of your choice.
- Add decorative elements like stickers or washi tape.
- Personalize with labels or stenciled designs.
Ladder Shoe Shelf: A Stylish Twist
This homemade shoe rack adds a stylish twist to your storage solutions with a ladder shoe shelf. It’s a unique and functional addition to any home, providing space for multiple pairs of shoes without taking up too much floor space.
If you’re looking for a unique and stylish way to store your shoes, a ladder shoe shelf might be just what you need. This DIY shoe rack is not only functional but also adds a touch of rustic charm to your decor. The ladder design allows you to store your shoes vertically, saving space and making it easy to find the pair you need. In this post, we’ll show you how to create your own ladder shoe shelf and provide tips for finding the perfect ladder setup and spacing.
Finding The Perfect Ladder
The first step in creating your ladder shoe shelf is finding the perfect ladder. Look for a ladder that is sturdy and can support the weight of your shoes. Wooden ladders are a great choice for this project because they are strong and have a natural, rustic look. You can find ladders at your local hardware store or online. Make sure to measure the space where you plan to place your ladder and choose a ladder that fits comfortably in that space.
Setup And Spacing
Once you have your ladder, it’s time to set it up and start spacing your shoes. The spacing will depend on the size of your shoes, but a general rule of thumb is to allow at least six inches of space between each shelf. You can use a tape measure to mark the spacing on your ladder before you begin. When you’re ready to start organizing your shoes, place the ladder against a wall and start placing your shoes on the shelves. You can arrange them by style, color, or season to make it easy to find the pair you need.
If you have a lot of shoes, you can create multiple ladder shoe shelves and stack them on top of each other. This will not only save space but also create an eye-catching display in your home. You can also add hooks to the sides of your ladder to hang bags or accessories.
In conclusion, a ladder shoe shelf is a stylish and functional way to store your shoes. With the right ladder setup and spacing, you can create a unique and eye-catching display in your home. So why not give it a try and see how it can transform your shoe organization game!
Under-the-bed Storage Solutions
Maximize your space with homemade shoe racks for under-the-bed storage solutions. Keep your shoes organized and easily accessible while freeing up valuable closet space. Create a clutter-free and efficient storage solution with this simple and practical DIY project.
Maximizing Hidden Space
When it comes to maximizing storage space in your home, one area that often gets overlooked is under the bed. This hidden space presents a perfect opportunity to declutter and organize your belongings, especially when it comes to shoes. With a homemade shoe rack designed specifically for under-the-bed storage, you can make the most of this unused area and keep your shoes easily accessible.
Easy Access Design
One of the key advantages of a homemade shoe rack for under-the-bed storage is its easy access design. Rather than rummaging through boxes or bags of shoes piled on top of each other, a shoe rack allows you to neatly organize your shoes for quick and effortless retrieval. No more searching for a matching pair or damaging your shoes in the process. With a shoe rack, you can easily see and reach the shoes you want, saving you time and frustration.
Moreover, an under-the-bed shoe rack ensures that your shoes remain in good condition. The rack provides proper air circulation, preventing moisture build-up and potential damage to your footwear. By keeping your shoes off the floor and away from dust and dirt, you can extend their lifespan and maintain their quality for longer.
Additionally, an under-the-bed shoe rack can be customized to fit your specific needs. Whether you have a large shoe collection or just a few pairs, you can design the rack to accommodate your shoes perfectly. You can choose to include dividers or compartments to keep different types of shoes separate, making it even easier to find the pair you’re looking for.
Furthermore, creating a homemade shoe rack for under-the-bed storage is a cost-effective solution. Instead of purchasing a pre-made shoe organizer, you can use materials you already have or repurpose items around the house. This not only saves you money but also allows you to customize the rack to match your personal style and home decor.
In conclusion, utilizing under-the-bed storage solutions, such as a homemade shoe rack, is an effective way to maximize space and keep your shoes organized and easily accessible. With its easy access design, customizable features, and cost-effective nature, a shoe rack for under-the-bed storage offers a practical solution to decluttering your living space and maintaining the condition of your shoes.
Recycled Pallet Rack
If you’re looking for an eco-friendly and budget-friendly option for your shoe storage needs, a recycled pallet rack is the perfect solution. Not only does it add a rustic charm to your space, but it also allows you to repurpose materials that would otherwise go to waste. In this section, we will guide you through the process of sourcing pallets safely and provide you with step-by-step assembly instructions.
Sourcing Pallets Safely
When sourcing pallets for your DIY shoe rack, it’s important to prioritize safety. Here are a few tips to ensure you select the right pallets:
- Look for pallets that are clean, dry, and free from any signs of damage or rot.
- Avoid pallets that have been treated with chemicals or have visible stains.
- Choose pallets made from hardwood such as oak or maple, as they are more durable and less likely to splinter.
- Inspect the pallets for any protruding nails or sharp edges. Sand them down if necessary to prevent any accidents.
Assembly Instructions
Now that you have your pallets ready, it’s time to assemble your shoe rack. Follow these simple steps:
- Clean and sand the pallets to remove any dirt or rough surfaces.
- Measure the available space in your entryway or closet to determine the size of your shoe rack.
- Using a saw, cut the pallets to the desired length. You can also remove some of the boards to create wider shelves.
- Arrange the pallets in a vertical or horizontal position, depending on your preference.
- Secure the pallets together using screws or nails. Make sure they are firmly attached to avoid any wobbling.
- If desired, paint or stain the pallets to match your existing decor.
- Let the paint or stain dry completely before placing your shoes on the rack.
Voila! Your recycled pallet shoe rack is now ready to use. Not only have you created a functional storage solution, but you’ve also contributed to reducing waste and embracing a sustainable lifestyle. Give your entryway a unique touch while keeping your shoes organized and easily accessible.
Care And Maintenance
To keep your homemade shoe rack in top condition, regularly dust and wipe it with a damp cloth. Apply a wood polish or conditioner every few months to maintain its shine and durability. Proper care and maintenance will ensure your shoe rack lasts for years to come.
Routine Cleaning Tips
Keeping your homemade shoe rack clean is essential to prolong its lifespan and ensure it remains functional. Regular cleaning not only keeps the rack looking good but also prevents dirt and grime buildup that can damage the shoes. Here are some routine cleaning tips to keep in mind:
- Vacuum the rack regularly to remove dust and debris.
- Wipe the rack down with a damp cloth to remove any spills or stains.
- Avoid using harsh chemicals that can damage the rack’s finish or cause discoloration.
- Apply a coat of furniture polish or wax to keep the rack looking shiny and new.
Longevity Hacks
To ensure your homemade shoe rack lasts for years to come, you need to take a few additional steps to maintain it. Here are some longevity hacks to consider:
| Longevity Hack | Description |
|---|---|
| Store shoes properly | Make sure shoes are stored in their designated spot on the rack to prevent overcrowding and damage. |
| Protect from moisture | Avoid placing the shoe rack in areas with high humidity or moisture, as this can cause warping or mold growth. |
| Inspect regularly | Check the shoe rack regularly for any signs of wear and tear, such as loose screws or broken slats, and make repairs as needed. |
| Avoid overloading | Don’t overload the shoe rack beyond its weight capacity, as this can cause it to buckle or collapse. |
By following these routine cleaning tips and longevity hacks, you can ensure your homemade shoe rack remains in excellent condition for years to come.
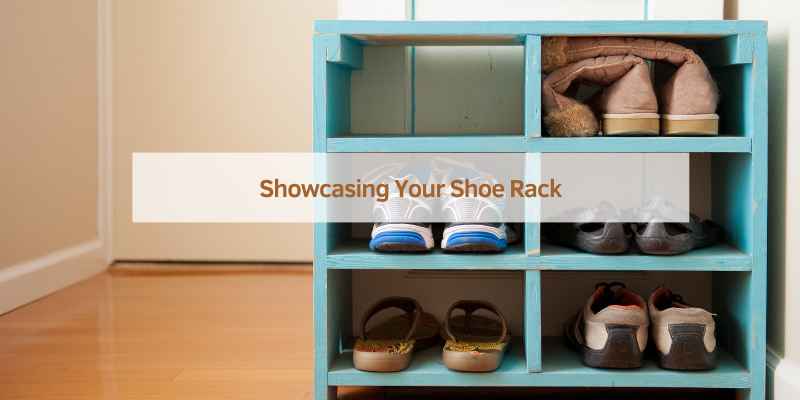
Showcasing Your Shoe Rack
Placement Ideas
Place the shoe rack in the entryway for easy access.
Accentuating With Accessories
Add a decorative rug underneath for a stylish touch.
Frequently Asked Questions
How To Build A Homemade Shoe Rack?
Building a homemade shoe rack is a simple DIY project. Start by measuring the space and gathering the necessary materials such as wood, screws, and a drill. Cut the wood to the desired size, assemble the pieces, and secure them with screws.
Finally, sand and paint the rack for a finished look.
What Are The Benefits Of A Homemade Shoe Rack?
A homemade shoe rack offers several benefits. Firstly, it allows you to customize the design and size to fit your needs. Secondly, it can save space and keep your shoes organized. Additionally, it is a cost-effective solution compared to buying a pre-made shoe rack.
Lastly, it gives you a sense of satisfaction and accomplishment.
How Many Pairs Of Shoes Can A Homemade Shoe Rack Hold?
The number of pairs of shoes a homemade shoe rack can hold depends on its size and design. On average, a standard-sized shoe rack can hold around 10 to 15 pairs of shoes. However, if you opt for a larger or multi-tiered design, it can accommodate more pairs of shoes.
What Are The Different Types Of Homemade Shoe Racks?
There are various types of homemade shoe racks you can consider. Some popular options include a wooden shoe rack with shelves, a PVC pipe shoe rack, a repurposed ladder shoe rack, or a hanging shoe organizer. Choose a design that suits your space and personal style.
Conclusion
Incorporating a homemade shoe rack into your home decor can be a practical and stylish solution. With a touch of creativity and minimal resources, you can craft a personalized storage unit that perfectly suits your space and needs. Embracing the DIY approach not only adds a unique touch to your home but also provides a sense of accomplishment.
By customizing a shoe rack to your preferences, you can enhance organization and elevate the aesthetic appeal of your living space. Whether you opt for a rustic, industrial, or minimalist design, the process of creating a homemade shoe rack allows you to express your personality and ingenuity.
So, roll up your sleeves and embark on this DIY project to transform your home and streamline your footwear storage.