How Many Coats of Polyurethane: Achieving a Flawless Finish with Optimized Application
When it comes to finishing wooden surfaces, such as furniture or flooring, polyurethane is a popular choice. It provides a protective and durable coating that enhances the beauty of the wood while preserving its natural look. But how many coats of polyurethane should you apply to achieve the best results? Let’s find out.
Understanding Polyurethane
Polyurethane is a versatile and durable finish that comes in two main types: water-based and oil-based. Water-based polyurethane dries quickly, has a low odor, and is easy to clean up with water. On the other hand, oil-based polyurethane takes longer to dry, has a stronger odor, and requires mineral spirits for cleanup. Both types of polyurethane offer similar protection, and the number of coats needed for each type is generally the same.
The First Coat
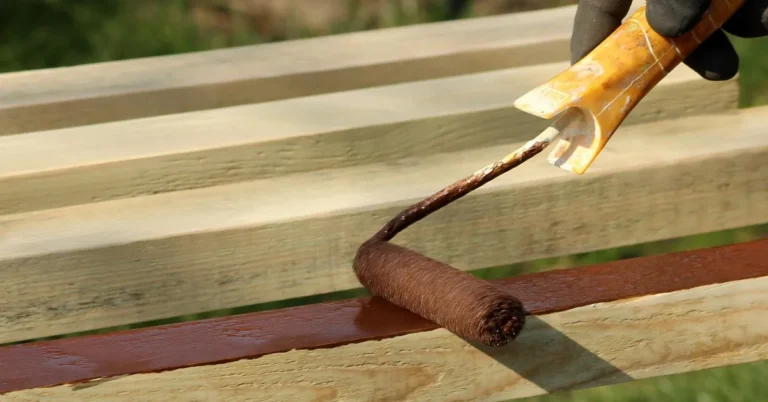
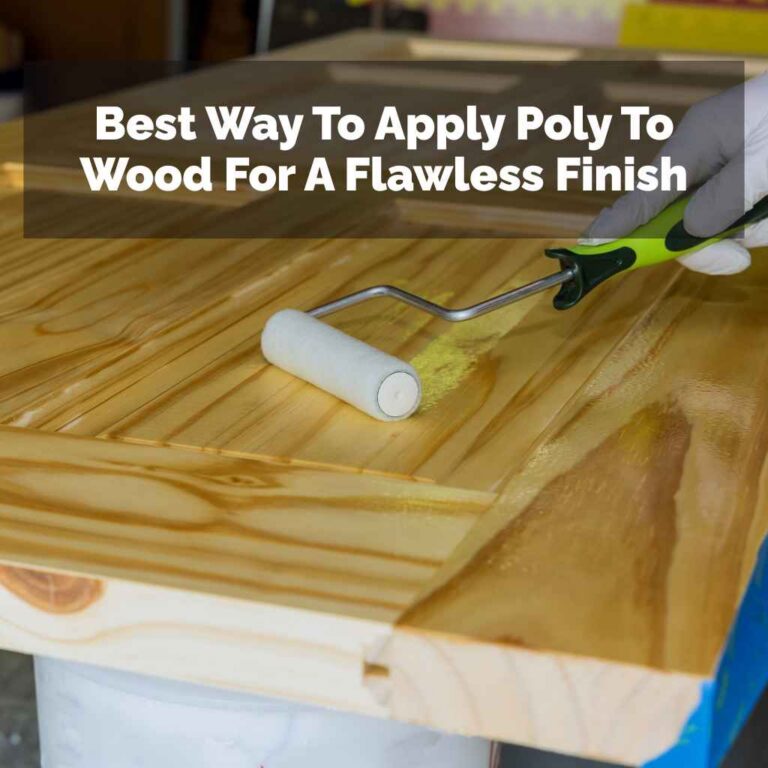
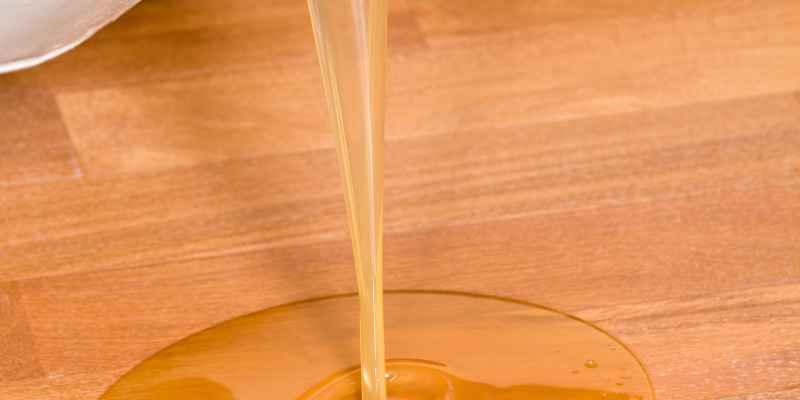
The first coat of polyurethane serves as a foundation and prepares the wood for subsequent coats. It helps to seal the wood and create a smooth surface for better adhesion of subsequent layers. When applying the first coat, it is important to follow the manufacturer’s instructions, usually stated on the can. Generally, you will want to apply a thin and even coat using a brush or a cloth. Allow it to dry completely before moving on to the next step.
The Subsequent Coats
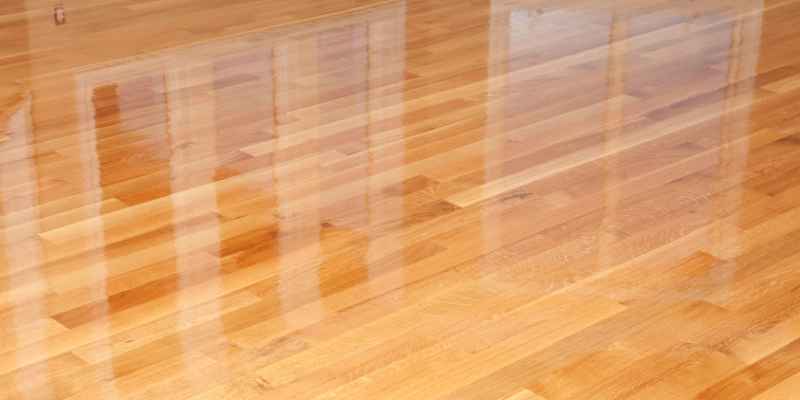
The number of coats of polyurethane needed can vary depending on the desired level of protection and the type of wood being finished. As a general guideline, two to three coats of polyurethane are typically sufficient for most projects. However, certain factors may influence the number of coats required.
An essential factor to consider is the level of wear and tear the wood surface will endure. For high-traffic areas, such as floors, additional coats may be necessary to ensure optimal durability. Keep in mind that each coat adds another layer of protection, so more coats can provide greater resistance to scratches, stains, and moisture.
The type of wood being finished is another important aspect to consider. Some woods, like pine or softer hardwoods, may absorb the first coat more, resulting in a less even finish. In such cases, an extra coat or two may be needed to ensure full coverage and a smooth surface.
Additionally, it is crucial to sand lightly between each coat to create a better bond for subsequent layers. This helps to remove imperfections and allows the next coat to adhere properly. Following this step will ensure a professional-looking finish.
Factors Affecting Drying Time
The drying time between coats of polyurethane can vary depending on several factors, including temperature, humidity, and the type of polyurethane used. Always refer to the manufacturer’s instructions for specific drying times. As a general rule of thumb, water-based polyurethane dries faster than oil-based polyurethane.
How Many Coats Does Each Project Actually Need?
The “two to three coats” rule of thumb is a reasonable starting point, but the right number depends heavily on what the piece is and how it will be used. Use this table as a planning guide, then adjust based on how the wood absorbs the first coat.
| Project | Recommended Coats | Why |
|---|---|---|
| Hardwood floors (high traffic) | 3–4 | Constant foot traffic, grit, and furniture movement wear through thin films quickly. |
| Dining or coffee tables | 3 | Regular contact with cups, plates, and cleaning cloths needs a thicker moisture barrier. |
| Cabinets and shelving | 2–3 | Lower wear than floors or tables, but still benefits from a sealed, wipeable surface. |
| Picture frames or decorative pieces | 1–2 | Little to no physical contact means less protection is needed. |
| Outdoor-adjacent furniture (covered porch) | 4+ | Extra coats help resist humidity swings and UV-driven breakdown of the film. |
Softer woods like pine, poplar, and fir tend to soak up the first coat unevenly, which is why many finishers treat that first application as a sanding sealer rather than a finish coat and budget for one extra pass over what a dense hardwood like oak or maple would need.
Step-by-Step: Applying Polyurethane the Right Way
- Sand the bare wood up through 220-grit and remove all dust with a tack cloth or vacuum before the first coat touches the surface.
- Thin the first coat slightly (many finishers cut it 10–15% with the appropriate thinner) so it penetrates rather than sitting on top as a sealer coat.
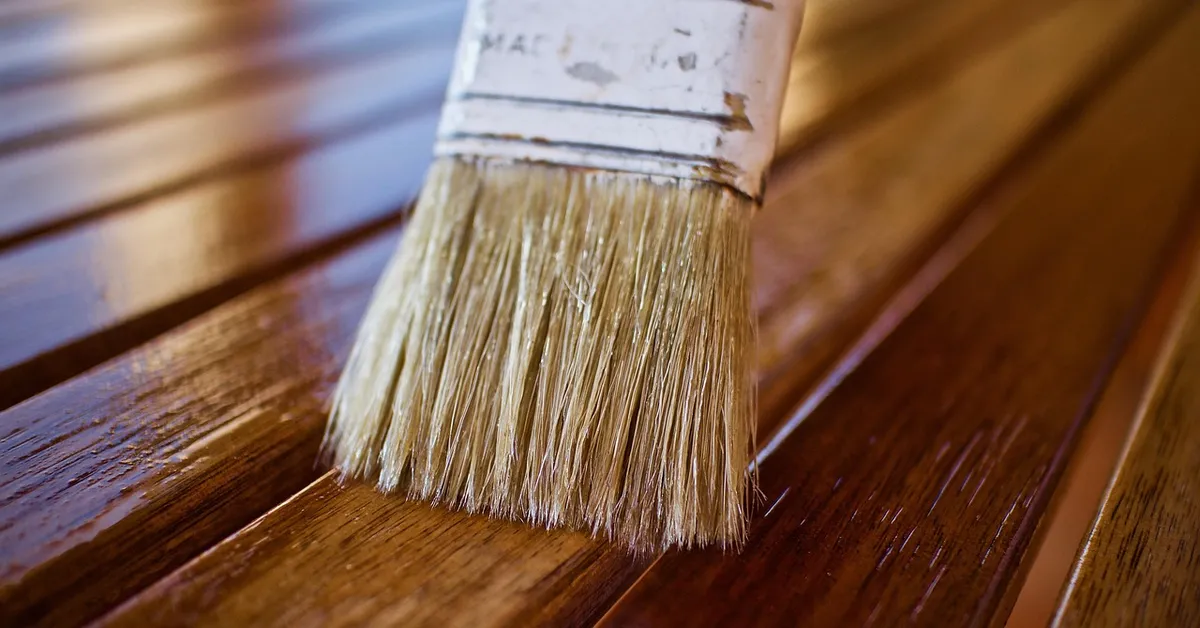
- Apply in thin, even passes with the grain using a natural-bristle brush for oil-based products or a synthetic brush for water-based formulas. Avoid overworking the finish once it starts to tack up.
- Let each coat cure fully, not just dry to the touch, before sanding — recoating too early can trap solvent and cause a soft, cloudy film.
- Scuff-sand between coats with 320- or 400-grit sandpaper or a fine synthetic abrasive pad to knock down dust nibs and give the next coat a mechanical bond.
- Wipe with a tack cloth after every sanding step — skipped dust removal is the single most common cause of a gritty final finish.
- Apply the final coat in the thinnest, most even pass of the whole job, since this is the layer that shows every brush mark and piece of debris.
Common Mistakes That Ruin a Polyurethane Finish
- Shaking the can: This introduces bubbles that show up in the finish. Stir gently instead.
- Applying too thick a coat: Thick coats dry on the surface before the layer underneath cures, leading to wrinkling, tackiness, and a longer overall cure time.
- Skipping the scuff-sand: Coats applied over a glossy, unsanded prior layer often peel or delaminate later.
- Working in high humidity or cold temperatures: Both slow curing dramatically and can cause a hazy, milky appearance, especially with water-based products.
- Recoating too soon: Trapped solvent under a skinned-over top layer can stay soft for weeks and never fully harden.
Frequently Asked Questions
Is 2 coats of polyurethane enough?
For low-contact items like picture frames or decorative shelves, two coats can be enough. For tables, cabinets, and especially floors, three or more coats provide meaningfully better durability.
Can you put too many coats of polyurethane?
Yes. Beyond 4–5 coats you get diminishing returns on protection, and a very thick film becomes more prone to cracking, cloudiness, and difficult repairs down the road. Most projects top out at 3–4 coats.
Do you sand the final coat of polyurethane?
No — the final coat is left as applied. Sanding happens between coats, not after the last one, unless you are correcting a specific defect and plan to apply an additional coat afterward.
Why does my polyurethane look cloudy after multiple coats?
Cloudiness is usually trapped moisture or solvent from recoating too soon, or applying in humid/cold conditions. Let each coat cure the full time listed on the can, not just until it feels dry to the touch.
Final Thoughts
When it comes to applying polyurethane, it is better to err on the side of caution and apply one additional coat if unsure. Remember, the number of coats required differs from project to project. It is essential to assess the specific circumstances and desired outcome when determining the ideal number of coats for your polyurethane application.
In conclusion, two to three coats of polyurethane are typically recommended for most wood finishing projects. However, factors such as the type of wood and the level of wear and tear should be taken into account. Investing time and effort into proper application and allowing ample drying time between coats will ensure a beautiful and long-lasting finish on your wooden surfaces.
Sponsored / affiliate links. As an Amazon Associate I earn from qualifying purchases. I may earn additional commission from eligible campaigns.