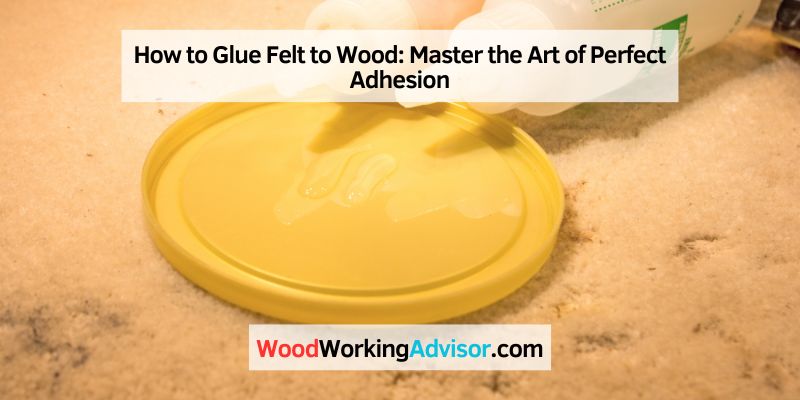
How to Glue Felt to Wood: Master the Art of Perfect Adhesion
To glue felt to wood, apply a strong adhesive and press the felt firmly onto the wood surface.
Choosing The Right Glue
To effectively glue felt to wood, it’s crucial to choose the right adhesive to ensure a strong and durable bond. A high-quality craft glue or a multipurpose adhesive can be suitable for this task. Prior to application, ensure the surfaces are clean and dry for optimal adhesion.
Felt can be a flexible and versatile material to work with, and gluing it to wood is a common step in many craft and DIY projects. However, choosing the right glue is crucial to ensure a secure and long-lasting bond between the felt and wood surfaces. In this article, we will explore some important considerations for both wood and felt, as well as the different options for adhesive types.
Considerations For Wood And Felt
Wood:
- Choose a smooth and clean wood surface for better adhesive adherence.
- Avoid using glue on porous or rough wood surfaces, as it may not provide a strong bond.
- Ensure the wood is dry and free of any dirt or dust particles that could affect the bond.
Felt:
- Consider the thickness and density of the felt when selecting the glue, as thicker felt may require a stronger adhesive.
- Ensure the felt is clean and free of any loose fibers or debris before applying the glue.
- Test a small area of the felt with the chosen glue to ensure it does not cause any discoloration or damage to the fabric.
Options For Adhesive Types
When it comes to gluing felt to wood, various adhesive options are available, each with its own strengths and characteristics. Here are some popular choices:
| Adhesive Type | Best for |
|---|---|
| Craft Glue | – Small craft projects – Lightweight felt – Quick-drying – Easy to use |
| Fabric Glue | – Thicker or heavier felt – Permanent bond – Washable and flexible |
| Spray Adhesive | – Large surfaces – Even application – Fast-drying – Minimal mess |
| Hot Glue | – Instant bonding – Versatile – Stronghold – Not recommended for delicate fabrics |
Remember to read the instructions on the adhesive packaging and follow them carefully. Consider your project’s requirements and the materials you are working with to choose the most suitable adhesive for gluing felt to wood.

Credit: www.amazon.com
Preparing The Surfaces
Preparing the surfaces is an important step when gluing felt to wood. By properly sanding and cleaning the wood, as well as cleaning and cutting the felt, you can ensure a strong and secure bond between both materials.
Sanding And Cleaning Wood
Before gluing felt to wood, it is crucial to sand the surface to ensure smoothness and remove any rough patches that could hinder the adhesive’s effectiveness. Follow these simple steps:
- Begin by using coarse sandpaper to address any significant imperfections on the wood. Sand in the direction of the wood grain for an even finish.
- Switch to a finer grit sandpaper and continue sanding in the same direction. This will help create a smooth surface for better adhesion.
- Once the sanding is complete, wipe away any dust or debris using a tack cloth or a damp cloth.
Cleaning the wood surface is equally important, as it removes any dirt or oils that could prevent the adhesive from properly bonding with the wood. Here’s how you can effectively clean the wood:
- Prepare a mild soap solution by mixing a few drops of dish soap with warm water.
- Dip a clean cloth or sponge into the soapy water and wring it out to remove any excess moisture.
- Gently wipe down the wood surface, ensuring you cover every area. Pay extra attention to corners and edges to remove any stubborn dirt or grime.
- After cleaning, wipe the wood surface with a clean, damp cloth to remove any soap residue.
- Allow the wood to air dry completely before moving on to the next step.
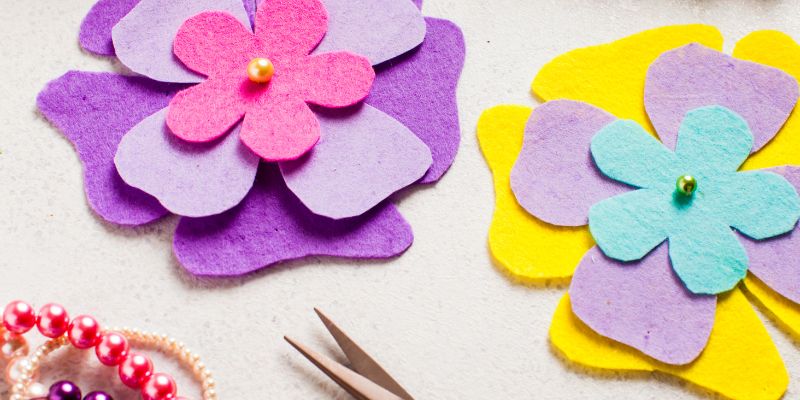
Cleaning And Cutting Felt
When it comes to gluing felt to wood, preparing the felt surface is just as crucial as preparing the wood. Follow these steps for cleaning and cutting the felt:
- Start by inspecting the felt for any dirt or debris. If you notice any, gently brush or vacuum the felt to remove the unwanted particles. This will ensure a clean and smooth surface for the adhesive to bond with.
- Measure and mark the felt according to the size needed for your project.
- Using a sharp pair of scissors, carefully cut along the marked lines. Take your time and make precise cuts for the best results.
By taking the time to properly sand, clean, and cut both the wood and felt surfaces, you are setting the foundation for a strong and successful bond. With the surfaces prepared, you are now ready to move on to the next step of gluing the felt to wood.
Applying The Glue
When applying felt to wood, it is essential to use the correct type of adhesive in order to ensure a strong and long-lasting bond. Applying the glue properly is crucial for achieving a smooth and professional finish. In this section, we will discuss the process of applying the adhesive to wood and then applying the felt, ensuring a secure and durable attachment.
Applying The Adhesive To Wood
To start, it’s important to choose the right type of adhesive for the project. Craft glue or wood glue are suitable options for attaching felt to wood. Ensure the wood surface is clean and free from any dust or debris. Spread a thin, even layer of adhesive onto the surface of the wood using a small brush or a spatula. Take care not to apply too much glue, as this can cause seepage and affect the fabric. Let the adhesive set for a few minutes until it becomes tacky to the touch.
Applying The Felt To Wood
After the adhesive has reached the tacky stage, carefully place the felt onto the wood surface. Press down firmly on the entire surface to ensure a strong bond. Smooth out any wrinkles or bubbles using gentle, even pressure. If the project involves multiple pieces of felt, it’s best to work one section at a time. Once in place, allow the felt to dry completely for the recommended time specified on the adhesive label, typically 24 hours.
Ensuring A Strong Bond
When it comes to gluing felt to wood, ensuring a strong bond is crucial for the longevity and durability of your project. Without a secure adhesive connection, the felt may start to peel or loosen over time, diminishing the overall quality and appearance of your finished product. In this article, we will explore two key techniques to help guarantee a robust bond between felt and wood: clamping and drying, and testing adhesion.
Clamping And Drying
One effective way to ensure a strong bond between felt and wood is by utilizing clamping and allowing proper drying time. This method is especially useful when working with larger or more complex projects, such as upholstery or creating felt-covered furniture.
To begin, apply a generous amount of adhesive to the surface of the wood and the backside of the felt, ensuring even coverage. Next, carefully position the felt onto the wood, ensuring proper alignment and avoiding any wrinkles or bubbles. Once in place, use clamps or heavy objects to apply consistent pressure on the bonded areas. This pressure helps the adhesive penetrate the fibers of the felt and create a secure bond with the wood.
Allow sufficient time for the adhesive to dry completely before removing the clamps or objects. This drying period is vital as it allows the adhesive to fully cure and develop a strong bond. Follow the manufacturer’s instructions for the specific adhesive product you are using, as drying times may vary. Avoid the temptation to rush this step, as premature removal of clamps or objects could weaken the bond and compromise the overall integrity of your project.
Testing Adhesion
Before considering your felt and wood project is complete, it is essential to test the adhesion of the bond to ensure its strength and reliability. This simple step provides peace of mind by allowing you to address any potential issues before they become more challenging to fix.
Start by lightly tugging or pulling at the edges of the felt. If the felt remains securely in place without any noticeable movement or lifting, your bond is likely strong. However, if you encounter any areas where the adhesive seems to be failing or the felt easily peels away, you may need to reinforce these specific spots.
In such cases, carefully reapply adhesive to the trouble areas, following the same clamping and drying process previously described. This additional step will enhance the bond and ensure a secure connection between the felt and wood.
Tips For A Professional Finish
When gluing felt to wood, achieving a professional-looking finish is key. Whether you’re working on a craft project or upholstering furniture, these tips will ensure your end result is flawless. From trimming excess felt to applying a protective finish, these techniques will help you achieve a clean and polished appearance. Read on to discover how you can take your felt and wood projects to the next level.
Trimming Excess Felt
Once you’ve glued the felt to the wood, you may notice some excess material. Trimming this away can give your project a neater and more refined look. To do this, follow these easy steps:
- Carefully inspect the edges of the felt to identify any overhang.
- Use a sharp pair of fabric scissors to trim away the excess felt, following the contour of the wood.
- Take your time to ensure a clean and even cut, making small adjustments as needed.
- Dispose of the trimmed felt scraps to keep your workspace tidy.
By taking the time to trim away any excess felt, you’ll create a professional and harmonious finish that enhances the overall appearance of your project.
Applying A Protective Finish
In order to protect your feet and wood project from wear and tear, it’s important to apply a protective finish. This will not only increase durability but also enhance the aesthetic appeal. Follow these steps to achieve the perfect protective finish:
- Choose a suitable protective finish, such as clear varnish or sealant, that works well with both felt and wood.
- Apply a thin and even layer of the protective finish using a brush or sponge, following the grain of the wood.
- Allow the finish to dry according to the product instructions. This will ensure optimal results.
- Inspect the surface for any imperfections or missed spots, and apply an additional coat if necessary.
By applying a protective finish to your felt and wood project, you’ll not only shield it from potential damage but also give it a polished and professional appearance.
Frequently Asked Questions For How To Glue Felt To Wood
What Glue Is Best For Wood And Felt?
The best glue for wood and felt is a strong adhesive like epoxy or wood glue, as they bond well to both materials. These glues provide a secure and long-lasting hold for your wood and felt projects.
How Do You Get Felt To Stick To Wood?
To get felt to stick to wood, follow these steps:
1. Clean the wood surface thoroughly.
2. Apply a layer of adhesive, such as a glue or adhesive spray, evenly on the wood.
3. Press the felt firmly onto the wood, ensuring it is in the desired position.
4. Allow the adhesive to dry completely before handling.
5. If necessary, apply additional adhesive to any loose areas for secure attachment.
What Is The Best Adhesive For Fabric To Wood?
The best adhesive for fabric to wood is a strong, multipurpose glue designed for both materials. Look for a waterproof, clear-drying adhesive for long-lasting and secure bonding.
How Do You Glue Roof Felt To Wood?
To glue roof felt to wood, follow these steps:
1. Prepare the surface by cleaning it thoroughly.
2. Apply an adhesive specifically designed for roof felt and wood.
3. Spread the adhesive evenly on the wood surface.
4. Press the roof felt onto the adhesive, starting from one end and working towards the other.
5. Smooth out any wrinkles or bubbles and allow the adhesive to dry completely.
Conclusion
To sum up, gluing felt to wood is a simple yet effective process that can add a touch of warmth and protection to your wooden surfaces. By carefully following the steps outlined in this guide, you can ensure a secure and durable bond that will last for years to come.
So, go ahead and give it a try!