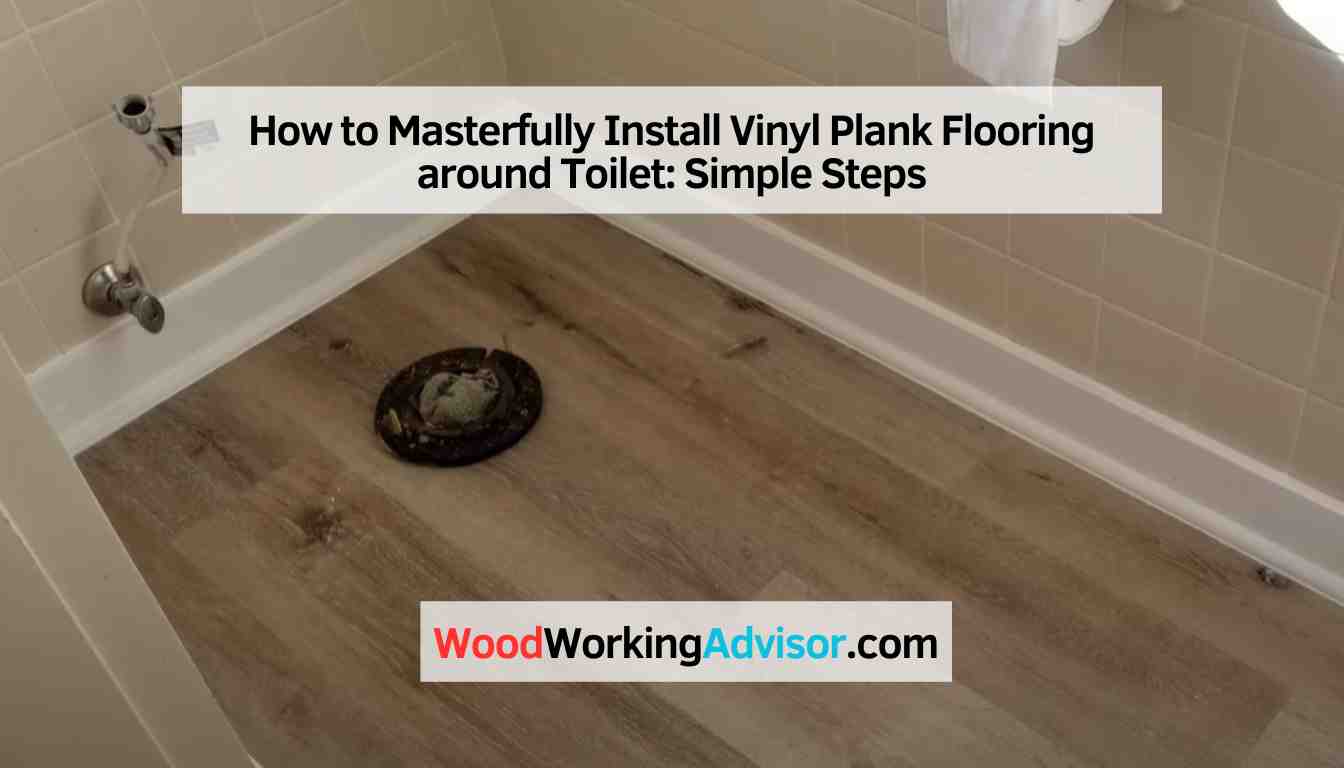
How to Masterfully Install Vinyl Plank Flooring around Toilet: Simple Steps
To install vinyl plank flooring around a toilet, first, remove the old flooring and ensure the subfloor is clean and dry. Fit the planks tightly around the toilet base, leaving a small gap for expansion.
Then, continue installing the planks as normal, ensuring they are securely locked together. Use a jamb saw to cut the planks to fit around door frames and other obstacles. Finally, install matching molding around the edges to cover the expansion gap and provide a finished look.
Vinyl plank flooring has become a popular choice for many homeowners due to its durability and ease of installation. However, when it comes to installing vinyl plank flooring around a toilet, some additional steps are needed to ensure a seamless and professional finish. In this guide, we will walk you through the process of installing vinyl plank flooring around a toilet, providing you with the necessary steps and tips to achieve a flawless result. So, let’s get started!
Step 1: Prepare The Area Around The Toilet
In the first step of installing vinyl plank flooring around a toilet, it is crucial to properly prepare the surrounding area. This entails removing the old flooring, cleaning the subfloor, and ensuring that it is level and smooth before proceeding with the installation.
Remove The Existing Flooring
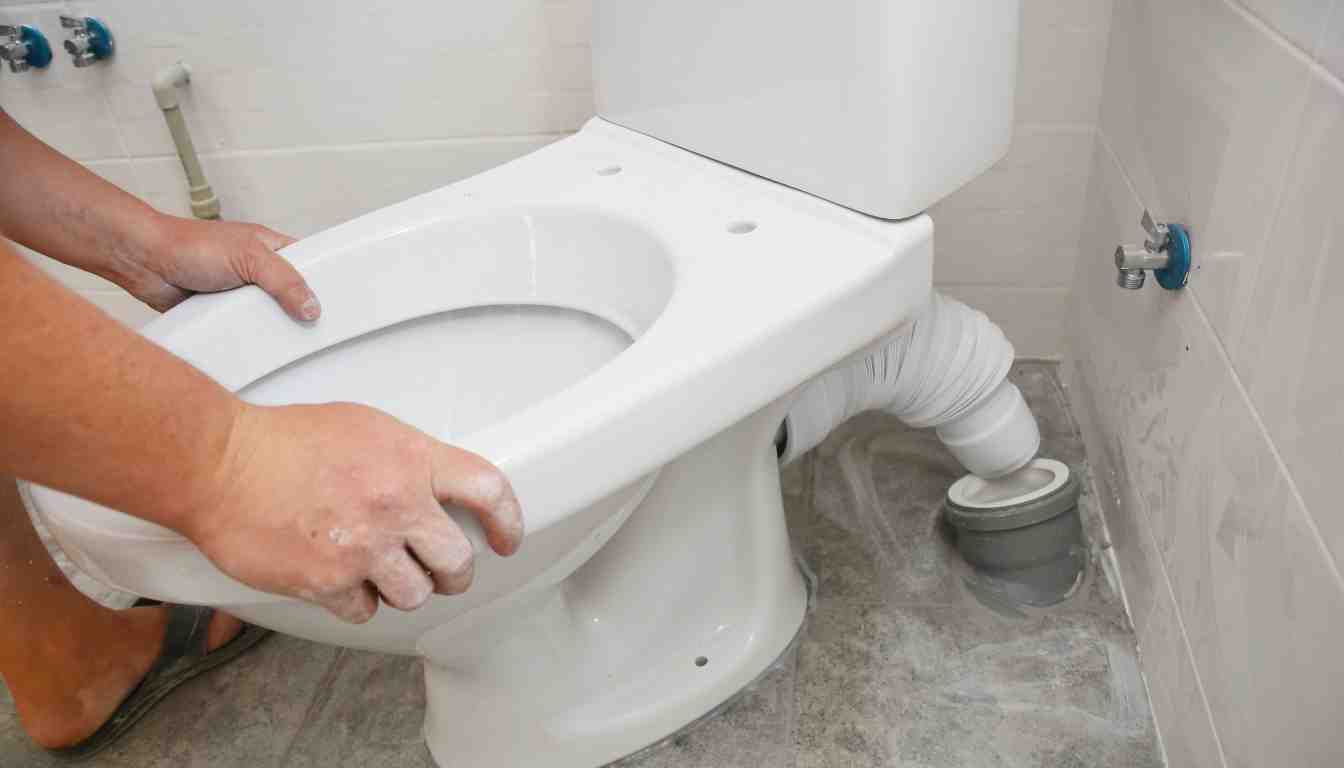
The first step in installing vinyl plank flooring around a toilet is to remove the existing flooring. Begin by turning off the water supply to the toilet and flushing it to empty the tank and bowl. Use a wrench to disconnect the water supply line from the base of the toilet, making sure to have a towel or bucket ready to catch any excess water.
Next, carefully remove the toilet by loosening the bolts securing it to the floor. Gently rock the toilet back and forth to break the seal with the wax ring, then lift it off and set it aside in a safe location. Be cautious when lifting the toilet, as it can be heavy and fragile.
Clean And Level The Subfloor
Once the toilet and old flooring have been removed, it’s important to clean and level the subfloor before installing the vinyl planks. Use a scraper or putty knife to remove any adhesive or debris left behind from the previous flooring. Ensure that the subfloor is free from any bumps or unevenness.
If necessary, use a leveling compound to fill in any low spots or imperfections on the subfloor. Follow the manufacturer’s instructions for mixing and applying the leveling compound, and allow it to dry completely before proceeding with the installation.
Measure And Mark The Areas For The Flooring Planks
Now it’s time to measure and mark the areas where the vinyl plank flooring will be installed. Begin by finding the center point of the toilet drain hole. Measure the distance from the center point to the nearest wall and use this measurement to determine the starting point for laying the flooring planks.
Using a chalk line or straightedge, mark a line on the subfloor from the starting point towards the nearest wall. Repeat this process for each side of the toilet to create a square or rectangular outline where the planks will be installed. This will help guide your installation and ensure a symmetrical layout.
Remember to account for expansion gaps by leaving a small amount of space between the marked outline and the actual walls.
Step 2: Cut And Install The Vinyl Plank Flooring
Step 2 of installing vinyl plank flooring around the toilet involves measuring, cutting, and installing the planks. This is an important step that requires precision to ensure a seamless and professional-looking installation. In this section, we will guide you through the process of measuring and cutting the planks to fit around the toilet, laying the first row of planks, and continuing the installation around the toilet. Let’s get started!
Measure And Cut The Planks To Fit Around The Toilet
Before you begin cutting the planks, ensure that the area around the toilet is clean and free of any debris. Measure the space between the toilet base and the wall, allowing for an expansion gap of around ¼ inch on both sides. This will give the planks room to expand and contract with temperature changes.
Using these measurements, mark and cut the planks using a straight edge and a utility knife. Make sure to cut the planks carefully to achieve clean and accurate edges. Remember, measure twice and cut once to avoid any wastage of materials.
To cut the planks, place them on a stable surface such as a cutting mat or plywood. Align the straight edge with the marked line and apply pressure while cutting. For a clean cut, make several passes with the utility knife, gradually making the cut deeper until you can easily snap the plank apart.
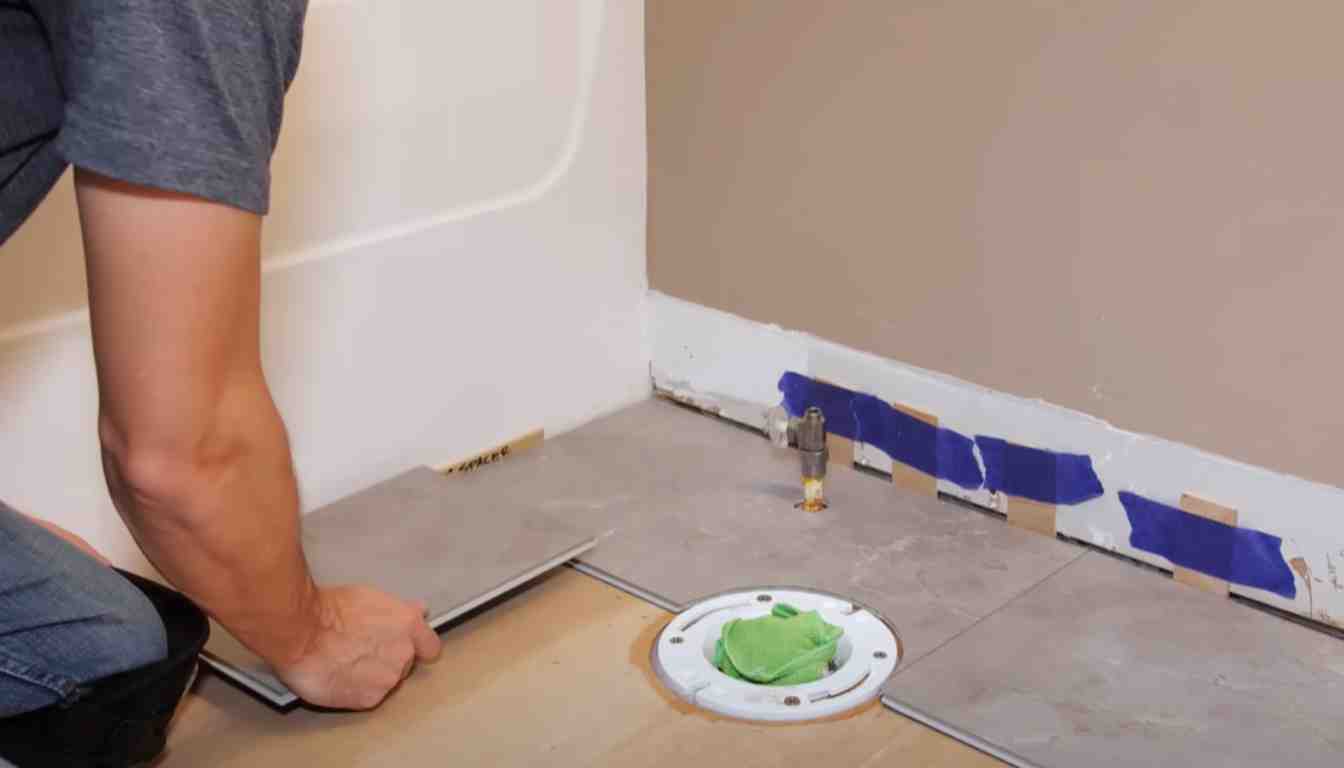
Lay The First Row Of Planks
Begin by laying the first row of planks along one side of the toilet, leaving a small expansion gap between the planks and the wall. Insert spacers to maintain the expansion gap throughout the installation process. This will prevent the planks from buckling or warping in the future.
Ensure that the planks are aligned and laying flat. Use a mallet or rubber mallet to gently tap the planks together, creating a snug fit. Be careful not to apply excessive force to avoid damaging the planks.
Continue laying the first row until you reach the toilet. Measure and cut the last plank of the row to fit snugly against the toilet base while leaving the desired expansion gap. Remember to use a straight edge and a utility knife for precise cuts.
Continue Installing The Planks Around The Toilet
Once the first row is in place, it’s time to continue the installation around the toilet. Start by measuring and cutting the planks for the next row. Remember to stagger the end joints of each plank to create a more natural and aesthetically pleasing look.
As you proceed, ensure that each plank is tightly fitted against the previous row. Use a tapping block or a scrap piece of plank to gently tap the planks into place. Check for any gaps or misalignments and make adjustments as necessary.
Repeat this process until you have completed the installation of the vinyl plank flooring around the toilet. Take your time and double-check your measurements and cuts to achieve a professional and seamless finish.
Step 3: Finish The Installation
After completing the installation steps, the final stage is finishing the installation of vinyl plank flooring around the toilet. This crucial step ensures a seamless and professional appearance in your bathroom.
Now that you have successfully prepped the bathroom floor and installed the majority of your vinyl plank flooring, it’s time to complete the process and add those final touches. Follow these steps to ensure a seamless and professional-looking finish.
A. Trim And Install The Molding
Before you can consider your vinyl plank flooring installation complete, you’ll need to trim and install the molding around the edges of the room. This is essential for a polished and finished look. Here’s how to do it:
- Measure and cut the molding pieces to the required lengths, ensuring they fit snugly against the baseboards.
- Using finishing nails or adhesive, secure the molding to the wall, making sure it is aligned with the edge of the vinyl plank flooring.
- Repeat this process for all remaining walls, trimming the molding as necessary to accommodate any corners or angles.
B. Apply Adhesive Or Use Click-lock System
Depending on the type of vinyl plank flooring you have chosen, you will either need to apply adhesive or utilize a click-lock system to secure the remaining pieces in place. Here’s what you need to know:
For adhesive:
- Apply the recommended adhesive to the flooring and press each plank firmly into place, ensuring a tight seal.
- Continue installing the planks, working your way towards the toilet area.
- Be sure to follow the manufacturer’s guidelines for adhesive application and drying time.
For click-lock system:
- Align the tongue and groove edges of the planks, using a gentle tapping motion to lock them together.
- Continue installing the planks, ensuring a snug fit and maintaining the proper pattern.
- Check for any gaps or loose pieces, making any necessary adjustments along the way.
C. Allow The Flooring To Acclimate And Settle
Once all the planks have been installed, it’s important to allow the flooring to acclimate and settle in its new environment. This will help prevent any potential issues down the line. Here’s what you should do:
- Leave a gap of at least 1/4 inch between the edge of the flooring and the wall to allow for expansion.
- Avoid walking on the newly installed flooring for at least 24 hours to give it time to adjust and settle.
- Check for any visible imperfections or loose planks, fixing or replacing them as needed.
By following these steps, you can confidently complete the installation of vinyl plank flooring around your toilet, creating a beautiful and durable flooring solution for your bathroom.
Conclusion
Installing vinyl plank flooring around a toilet may initially seem like a daunting task, but with proper guidance and careful execution, it can be achieved with ease. By following the steps outlined in this blog post, you can ensure a seamless and professional installation result.
From removing the old flooring to cutting and fitting the vinyl planks around the toilet, every detail has been covered to help you accomplish a beautiful and hassle-free project. So, what are you waiting for? Get started and transform your bathroom floor today!