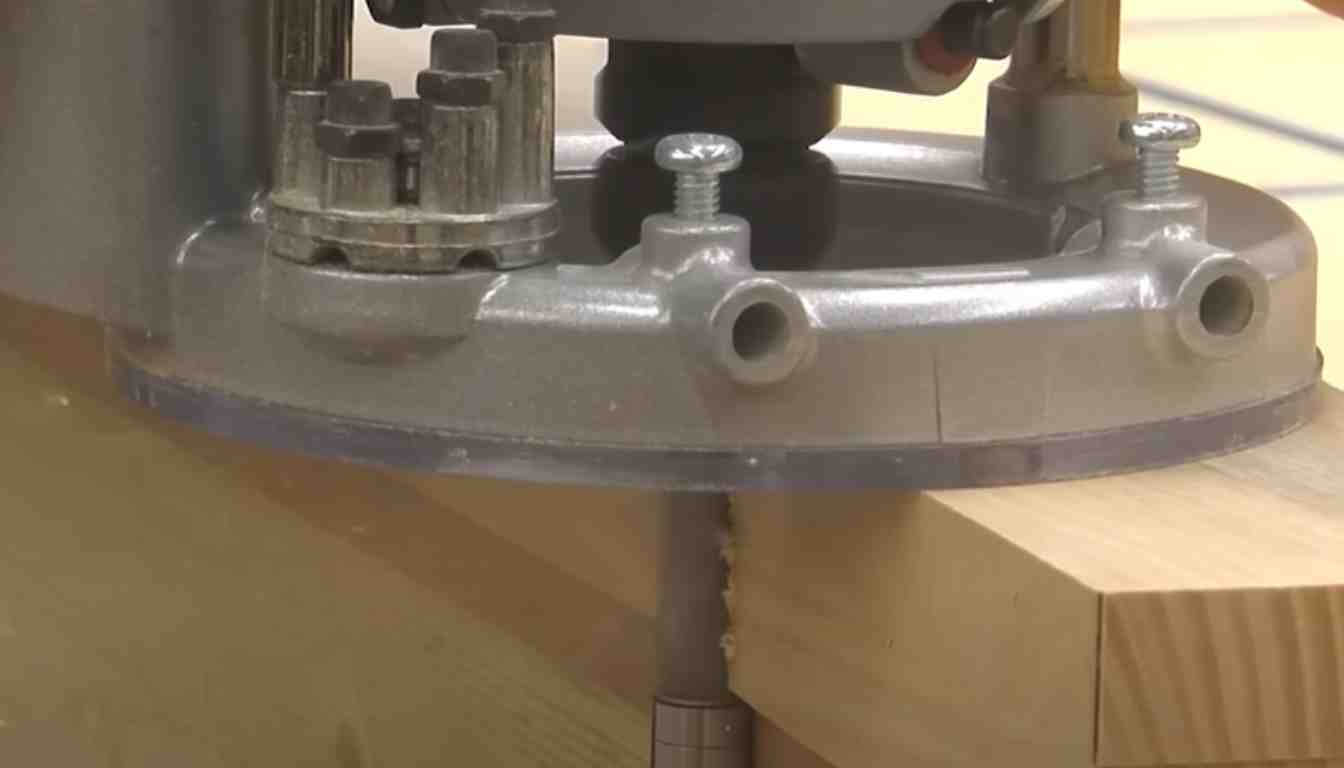
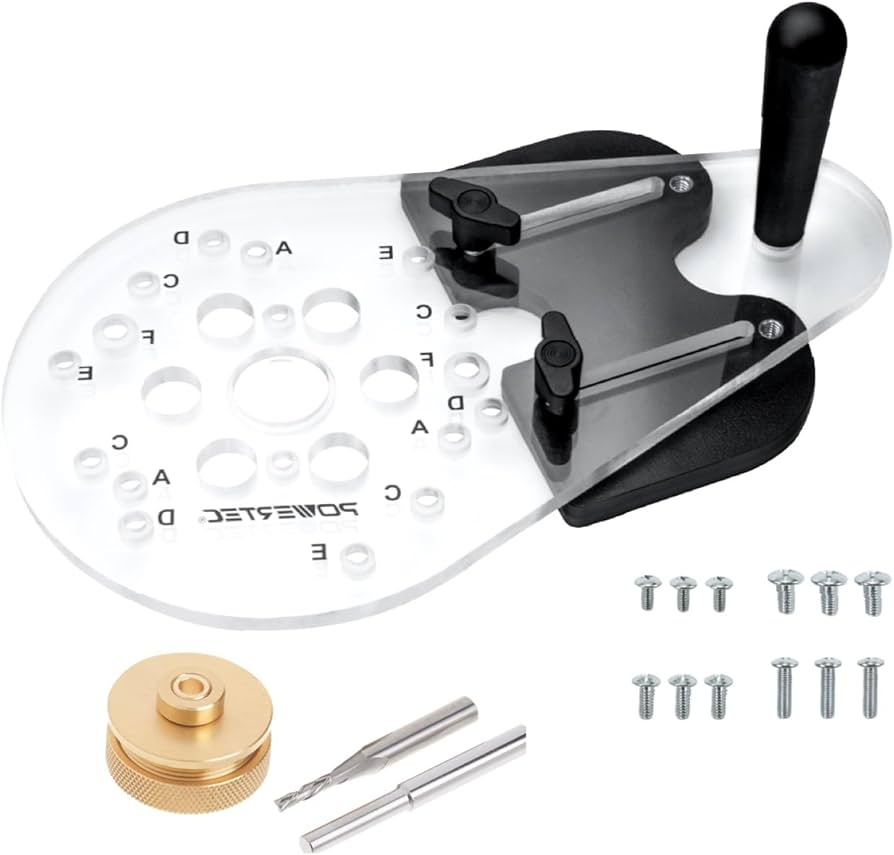
To route a straight edge, use a straight edge guide with your router for precise cuts. This technique ensures accurate results.
Routing a straight edge is a crucial skill for woodworking enthusiasts and professionals alike. By utilizing a straight edge guide with your router, you can achieve clean and precise cuts consistently. This method not only enhances the accuracy of your work but also saves time and effort.
In this guide, we will explore the step-by-step process of routing a straight edge effectively. Whether you are a seasoned woodworker or just starting, mastering this technique will elevate the quality of your projects. Let’s delve into the essential tips and tricks for routing a straight edge with finesse and precision.
Choosing The Right Material
Wood Selection
Wooden straight edges are common and easy to work with. Choose hardwoods like maple for durability.
Avoid softwoods like pine that may warp over time.
Metal Straight Edges
Metal straight edges are ideal for precise and long-lasting routing. Select stainless steel for corrosion resistance.
Ensure the metal edge is straight and smooth to avoid damaging the workpiece.

Preparing The Work Surface
Surface Cleaning
Before routing a straight edge, it is essential to ensure the work surface is clean to prevent any debris or dust from affecting the accuracy of the cut.
Securing The Wood
Additionally, securing the wood firmly in place helps to maintain stability during the routing process, resulting in a precise and straight edge cut.
Using Handheld Tools
When it comes to achieving a perfectly straight edge, using handheld tools is an effective and accessible method. With the right techniques, a hand saw and chiseling can produce precise and clean results. In this section, we’ll delve into the best practices for utilizing these handheld tools to route a straight edge with accuracy and finesse.
Hand Saw Techniques
When using a hand saw to route a straight edge, it’s crucial to maintain a steady and even stroke. Position the saw at the starting point of the cut and gently apply pressure as you begin to guide the blade along the marked line. Keep the saw level and ensure smooth, continuous movements to prevent any jarring or deviation from the intended path.
Chiseling Tips
For precision chiseling, ensure that the chisel’s bevel is facing upwards, and the cutting edge is aligned with the marked line. Gently tap the chisel with a mallet to create a shallow groove along the edge, gradually increasing the depth with subsequent passes. Take your time to carefully remove the waste material, checking the straightness of the edge frequently to maintain accuracy.
Mastering Power Tools
The router is a versatile power tool that can be used for various woodworking tasks. It is commonly used to shape decorative edges, cut grooves and dadoes, and create intricate joinery. When it comes to routing a straight edge, the router can be your go-to tool. With the right techniques and setup, you can easily achieve straight and clean edges on your wood pieces.
While the router is an excellent tool for routing a straight edge, the table saw can also be used for this purpose. The table saw offers precise and controlled cuts, making it ideal for creating straight edges on large and heavy pieces of wood. By using a rip fence or a straight edge guide, you can guide your wood piece through the table saw, ensuring a straight and even cut every time.
Finishing Touches
Once you have successfully routed a straight edge on your project, it’s time to give it the finishing touches. This involves two essential steps: sanding and smoothing, and applying a protective finish. Let’s delve into each step in detail.
Sanding And Smoothing
Sanding and smoothing are crucial to achieve a flawless and polished surface. Start by using medium-grit sandpaper to remove any rough edges or imperfections. Remember to sand the entire surface evenly to maintain consistency.
After the initial sanding, switch to fine-grit sandpaper for a smoother finish. This will help eliminate any remaining roughness or visible marks left from the previous sanding step. Be gentle and use light pressure to avoid over-sanding and damaging the wood.
As you sand, periodically check the straightness of your edge using a straightedge tool or a level. This will ensure that you haven’t unintentionally altered the straightness of the edge during the sanding process.
Applying Protective Finish
Once the sanding is complete, it’s time to apply a protective finish to enhance the durability and aesthetics of your straight edge. There are various finishes available, such as polyurethane, varnish, or lacquer. Choose a finish that suits your project and follow the manufacturer’s instructions for application.
Before applying the protective finish, make sure the surface is clean and free from dust and debris. Use a tack cloth or a soft, lint-free cloth to remove any particles that could mar the finish.
Using a brush, roller, or spray, apply the protective finish evenly across the entire surface. Work in small sections and ensure no areas are missed. Allow the first coat to dry completely before applying additional coats, if necessary.
Once the final coat is applied, let the finish cure for the recommended time mentioned on the product label. This will ensure the finish fully hardens, providing optimal protection and longevity to your straight edge.
Congratulations! You have now successfully completed the routing process and added the finishing touches to your straight edge. Now, it’s ready to be incorporated into your woodworking project.

Credit: www.amazon.com
Frequently Asked Questions For Routing A Straight Edge
How Do You Route A Straight Edge?
To route a straight edge, clamp a straight-edge guide to your workpiece and install a straight router bit. Then, run the router along the guide for a precise cut. Always use caution and proper safety equipment when operating power tools.
Can You Use A Router To Get A Straight Edge?
Yes, you can use a router to get a straight edge by running it along a straight edge guide or fence.
Can Edge Banding Be Routed?
Yes, edge banding can be routed to achieve clean, precise edges for woodworking projects.
How Do You Router The Edge Of A Board?
To router the edge of a board, secure it in a workbench and run the router along the edge. Use a straight or chamfer bit for straight edges, and a round-over bit for curved edges. Always work with the grain and wear safety goggles.
Conclusion
Routing a straight edge can elevate your woodworking projects to a professional level. By following the techniques and tips outlined you can achieve precise and clean results. Keep practicing and experimenting with different router bits and methods to find what works best for you.
Enjoy the process and strive for perfection in your craftsmanship.


