How to Lighten Stained Wood: 7 Methods (With Bleach Ratios)
Steel wool, sanding, and natural agents lighten stained wood gently, but only oxalic acid and two-part bleach change the wood’s own color — and each needs the right ratio to work without damage. Picking the wrong method wastes an afternoon, and steel wool can leave black iron-stain spots on oak. This guide compares all seven methods, with real mixing ratios, dry times, and a decision table for choosing the right one.
[Insert your Affiliate Disclosure reusable block here]
Quick Answer
Start with the gentlest method: 0000 steel wool or fine sandpaper lightens a stained surface without chemicals. For a real color change, use oxalic acid (30g per liter of warm water) on water and rust stains, or a two-part A/B wood bleach on the wood’s overall tone. Test any method on a hidden spot first.
Tools and Materials You’ll Need
Best Wood Bleach Pick
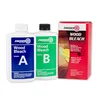
Zinsser Wood Bleach Kit, 2-Step Brightening System
A pre-measured two-part A/B kit for when steel wool and natural agents aren’t enough to lighten the wood’s own color.
- Best for: stained wood that needs a real color change, not just a surface refresh
- Why we picked it: pre-measured two-step system removes the mixing-ratio guesswork of buying lye and peroxide separately
- Main drawback: only lightens overall tone — won’t lift a localized water or rust stain as well as oxalic acid
Compare more lightening supplies
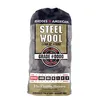 Option 1 Homax #0000 Steel Wool Pads (12-Pack)
|
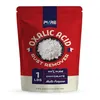 Option 2 Ecoxall Oxalic Acid Fine Powder, 99% Pure
|
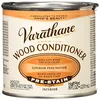 Option 3 Varathane Premium Pre-Stain Wood Conditioner
|
As an Amazon Associate we earn from qualifying purchases.
- 60, 80, 150, and 220-grit sandpaper
- 0000-grade steel wool
- Neoprene or nitrile gloves and chemical splash goggles
- A non-metal (glass or plastic) mixing container
- Oxalic acid crystals and/or a two-part A/B wood bleach kit
- White vinegar (neutralizes two-part bleach)
- Baking soda (neutralizes oxalic acid)
- A pre-stain wood conditioner
- Clean rags and a synthetic-bristle brush
Assessing Your Wood Before You Start
Before you touch the wood, check three things: the species, any existing finish, and the surface condition. Getting these wrong is the most common reason a lightening method “doesn’t work.”
Wood Species Changes the Outcome
Species matters more than most guides admit. Open-pore woods like oak and ash lighten evenly with steel wool and oxalic acid. Dense, oily woods like cherry, mahogany, and rosewood resist bleaching and can come out blotchy — their natural pigment often redevelops within days as the wood is exposed to air. If you’re working with one of those, test a hidden spot first and expect to repeat the treatment.
Check for an Existing Finish
Varnish, polyurethane, or wax seals the wood and blocks every lightening method covered here — none of them, including bleach, can penetrate a sealed surface. If you’re not sure whether a piece is finished, rub a hidden spot with denatured alcohol on a rag: a sealed finish won’t absorb it, while bare or oil-finished wood will darken slightly where you rubbed.
Look for Damage First
Scratches, watermarks, or dents absorb chemicals differently than the surrounding wood, which can leave uneven lightening if you skip this check. Fix gouges with wood filler and let it cure before you start; deal with water rings separately with oxalic acid, since sanding alone rarely removes them.
How to Lighten Stained Wood: Compare Your Options
Most guides only cover one method. In practice, the right choice depends on how much lighter you need the wood and how much risk you’re willing to take. Here’s how the five core methods actually compare, based on what each one chemically does to the wood.
| Method | What It Actually Does | Best For |
|---|---|---|
| Steel wool (0000) | Physically buffs off surface stain; doesn’t touch wood color | Light touch-ups; safest option, but avoid on oak |
| Sanding (60-220 grit) | Removes stain and finish down to bare wood | Full stain removal before restaining |
| Natural agents (vinegar, peroxide, sun) | Mild chemical lift on surface stain only | Slight lightening without harsh chemicals |
| Oxalic acid | Dissolves iron and mineral deposits; doesn’t change base wood tone | Water rings, rust stains, gray weathering |
| Two-part A/B bleach | Oxidizes lignin — the only method that lightens the wood itself | Dramatic overall lightening; driftwood or whitewash prep |
Method 1: Steel Wool (Safest Option)
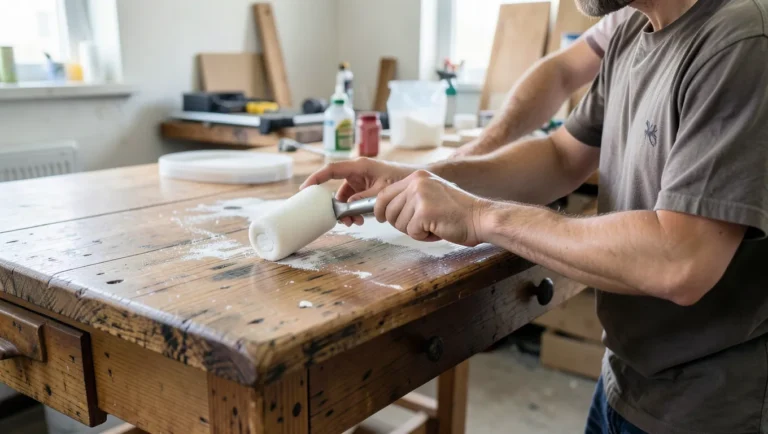
Steel wool buffs off surface stain without cutting into the wood, which makes it the lowest-risk method on this list. Dampen a pad of 0000-grade steel wool (the finest grade made) in warm water and work with light pressure along the grain, checking your progress often. It won’t drastically change dark stain, but it lightens gradually and you can stop the moment it looks right.
Skip this method on oak. Oak is high in tannins, and steel wool fragments left in the grain react with the tannin to create small black spots — the same reaction that makes ebonized oak. If you use steel wool on oak, vacuum the dust thoroughly and wipe with a tack cloth before it sits overnight.
Method 2: Sanding
Sanding removes stain by removing wood, so it’s the most aggressive mechanical method — but it’s also the most predictable. Clean the surface first, then work through grits in order: 60 or 80 grit to cut through the stain, 150 grit to smooth the scratches the coarse grit leaves, and 220 grit for a finish-ready surface. Always sand with the grain, and vacuum between grits so leftover coarse particles don’t scratch the next pass.
Method 3: Natural Lightening Agents
Natural agents give a mild lift without the safety gear chemical bleach requires. They won’t match what oxalic acid or two-part bleach can do, but they’re a reasonable first try before reaching for anything stronger.
- Vinegar and baking soda: mix equal parts into a paste, apply to the stain, let sit a few minutes, then scrub gently with a soft brush and rinse.
- Diluted hydrogen peroxide: mix 1:1 with water, apply, and let sit for a few minutes before wiping with a damp cloth. Repeat if needed.
- Sunlight exposure: place the piece in direct sun and rotate it periodically. This works well for outdoor furniture but can also fade wood unevenly if you forget to rotate it.
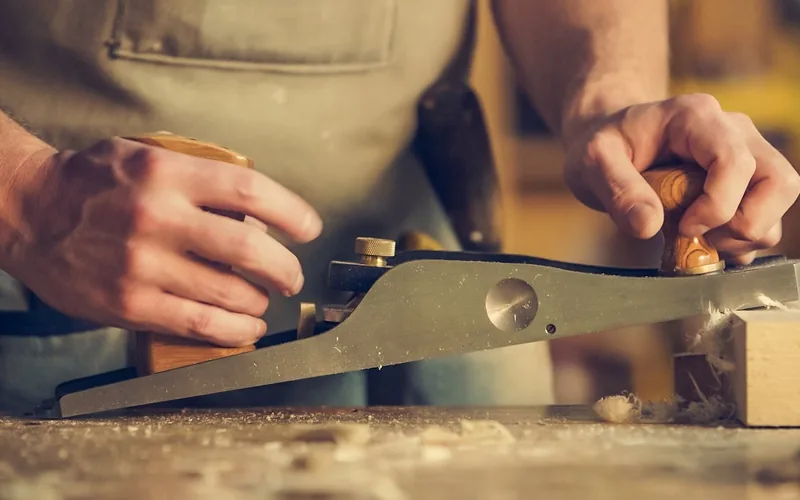
This short video walks through a natural, no-bleach approach to lightening wood on a furniture flip — a good visual reference before you commit to a chemical method:
Method 4: Oxalic Acid
Oxalic acid targets water rings, rust marks, and gray weathering — it dissolves the iron and mineral deposits causing those stains without changing the color of the surrounding wood. Mix 30 grams of oxalic acid crystals per liter of warm water for standard staining, or 60 grams per liter for heavy staining, in a glass or plastic container only (never metal). Apply evenly and let it dry completely; if the stain is still visible after 24 hours, apply a second fresh solution.
Neutralize with a baking soda solution (2 tablespoons per liter of water), leave it in contact for 5 minutes, then rinse. Let the wood dry for a full 24 hours before sanding.
Method 5: Two-Part A/B Wood Bleach
This is the only method on this list that changes the wood’s own color rather than just lifting a stain, because it oxidizes the lignin in the wood fiber itself. Use it when steel wool, sanding, and natural agents haven’t lightened the wood enough — typically for a dramatic overall color change like turning red oak toward a white oak tone.
Apply Part A (sodium hydroxide) with a synthetic-bristle brush, then apply Part B (hydrogen peroxide) while Part A is still wet — never mix them together in a container first unless your kit’s instructions say to, and never use a metal container, since sodium hydroxide reacts with many metals. Let the wood dry 4 to 8 hours in warm, low-humidity conditions, or 12 to 24 hours if it’s cool or humid. You can repeat the application up to three times, letting the wood dry completely between coats. Neutralize with a 50:50 white vinegar and water solution for 5 minutes, then rinse.
Both components cause skin burns on contact, so wear neoprene gloves, chemical splash goggles, and a waterproof apron, and work outdoors or in a well-ventilated space. According to the Occupational Safety and Health Administration (OSHA), proper personal protective equipment is the first line of defense when handling corrosive chemicals like these. For the complete step-by-step, safety checklist, and a wood-species compatibility table, see our full guide to how to bleach wood.
📊 Two-part A/B bleach is the only lightening method that oxidizes lignin — the pigment-bearing compound in wood fiber itself. Every other method on this page works on the stain layer, not the wood underneath. Source: wood chemistry data compiled from manufacturer application guides.
“The mistake I see most often in the shop is reaching for two-part bleach first. Nine times out of ten, 0000 steel wool or a light 220-grit pass gets the job done with none of the neutralizing, drying, and re-sanding that bleach demands — save the strong stuff for when you actually need to change the wood’s own color, not just knock a stain back a shade.”
Finishing Touches After Lightening Wood
Neutralizing Agents Post-Treatment
Skipping neutralization is the most common reason a new finish fails after lightening. Leftover chemical residue is alkaline and can make a new stain or topcoat peel, discolor, or fail to cure properly. Follow the neutralizing steps above for whichever method you used, then let the wood dry completely — a full 24 hours, minimum — before moving on.
Stain, Seal, or Varnish: Decision Guide
Lightened wood is more porous than it was before, so apply a pre-stain wood conditioner first if you’re restaining — it prevents the blotchy absorption that raw, lightened wood is prone to. If you want to see the exact shade before committing, our Varathane wood stain color chart shows how popular colors look on lightened wood. For a natural look, a clear sealant preserves the new lighter tone; a water-based polyurethane keeps it from yellowing the way an oil-based topcoat can.
Maintaining the Lighter Wood Appearance
Regular dusting with a soft cloth, coasters under hot or wet items, and out-of-direct-sun placement all help the lightened finish last. For a full care routine beyond the first few weeks, see our wood care and maintenance guide.
Frequently Asked Questions
How Do You Lighten a Wood Stain That Is Too Dark?
Start with 0000 steel wool or fine sandpaper to lift surface stain gently. If the color underneath is still too dark, use oxalic acid for iron and water stains or a two-part A/B wood bleach to lighten the wood’s own tone. Always test on a hidden area first.
Does Stained Wood Lighten Over Time?
Yes. Exposure to light and air gradually lightens most stains, though the extent depends on the wood species and the stain used. Regular maintenance and refinishing can help you maintain — or intentionally shift — the color you want.
Can You Use Regular Household Bleach to Lighten Wood?
Not effectively. Household chlorine bleach disinfects and can fade some dye-based stains, but it doesn’t oxidize lignin, so it won’t change the wood’s own color the way two-part A/B bleach does. Use it for killing mold or mildew, not for lightening wood tone.
Does Steel Wool Work as Well as Sanding to Lighten Wood?
No, but that’s often the point. Steel wool is gentler and easier to control in small increments, while sanding removes more material faster and works better for full stain removal. Use steel wool for a subtle lightening touch-up and sanding when you need to get back to bare wood.
Will Stain Get Lighter As It Dries?
Yes, stain typically looks lighter once dry because the solvent that carried the pigment evaporates. Judge the final color only after the stain has fully cured, not while it’s still wet.
Is Two-Part Wood Bleach Safe to Use Indoors?
Only with real ventilation. Sodium hydroxide and hydrogen peroxide both cause skin and eye burns, and the fumes need airflow. Open windows and use a fan, or move the piece outdoors if you can — and always wear neoprene gloves and chemical splash goggles.
Conclusion
Match the method to the problem: steel wool or sanding for a gentle surface refresh, oxalic acid for water and rust stains, and two-part A/B bleach when you need to change the wood’s own color. Test on a hidden spot, follow the mixing ratios above, and always neutralize before you refinish.
Sponsored / affiliate links. As an Amazon Associate I earn from qualifying purchases. I may earn additional commission from eligible campaigns.