How to Effortlessly Remove a Section of Laminate Flooring: Expert Tips
To remove a section of laminate flooring, carefully lift and disassemble the boards with a pull bar. Begin by disconnecting the adjacent boards to access the section needing removal.
Are you looking to update your home’s flooring but unsure how to remove a section of laminate flooring? Maybe a section is damaged, and you need to replace it without disturbing the entire floor. Fear not, as with some simple steps and basic tools, you can easily remove a section of laminate flooring and have your floor looking good as new in no time.
Let’s dive into the process of safely and efficiently removing a section of laminate flooring to help you achieve the desired results.
Choosing The Right Tools
Choosing the Right Tools: Removing a section of laminate flooring requires the use of the right tools to ensure a smooth and efficient process. Having the necessary tools on hand will make the task easier and help you achieve the desired results.
Eseential Tools
- Utility Knife: Used to score and cut the laminate flooring for removal.
- Flat Head Screwdriver: Helps to pry up the edges of the flooring.
- Pry Bar: Enables you to lift and remove larger sections of the laminate flooring.
Additional Tools
- Hammer: Can assist in gently tapping the pry bar to separate the flooring.
- Gloves: Protect your hands from sharp edges and splinters during the removal process.
- Safety Goggles: Ensure eye protection from any debris that may fly up.
Credit: refloor.com
Preparing The Work Area
Preparing the Work Area: Before removing a section of laminate flooring, it is essential to properly prepare the work area to ensure a smooth and efficient process.
Clearing The Space
- Remove any furniture or obstacles from the immediate area to provide ample space for the removal process.
- Clean the floor surface to avoid any debris or dust interfering with the removal of the laminate flooring.
Checking For Obstructions
- Inspect the flooring for any potential obstructions such as nails, screws, or uneven surfaces.
- Ensure there are no electrical wires or pipes running beneath the flooring that could be damaged during the removal.
Lifting And Removing The Boards
Removing a section of laminate flooring can seem like a daunting task, but with the right techniques, it can be a straightforward process. Lifting and removing the boards is a crucial step in this process, as it requires precision and care to prevent damage to the surrounding flooring. By following the proper methods, you can successfully remove the section of laminate flooring without causing any unnecessary damage. Here’s a guide on how to lift and remove the boards effectively.
Starting Point
Before you begin lifting and removing the boards, it’s essential to identify the starting point. Choose a corner of the laminate flooring section where you can easily access the edges of the boards. This will allow you to start the removal process without causing damage to the adjacent boards.
Techniques For Removal
- Use a utility knife or a laminate flooring cutter to cut through the edge of the first board. This will help in separating it from the adjacent boards.
- Gradually lift the cut board using a pry bar, starting from the edge where the cut was made. Apply gentle pressure to prevent any splintering or cracking.
- Continue the process by lifting and removing the subsequent boards, ensuring each board is detached from the surrounding ones without causing any damage.
- Once all the targeted boards are lifted, carefully inspect the subfloor to ensure it’s free of any debris or adhesive residue.
Credit: www.thisoldhouse.com
Dealing With Underlying Issues
When removing a section of laminate flooring, it’s important to address any underlying issues that may have caused the need for removal. This involves carefully assessing the floor and ensuring that any problems such as water damage or uneven subfloor are resolved before proceeding with the removal process to avoid future issues.
Removing a section of laminate flooring is not always as straightforward as it seems. While the surface might appear intact, there could be underlying issues that need to be addressed before you can proceed. Inspecting the subfloor and addressing any damage is crucial to ensuring a successful removal process. Here, we’ll guide you through these steps to help you tackle any underlying issues and make your laminate flooring removal a smooth and hassle-free experience.
Inspecting The Subfloor
Before you start removing the section of laminate flooring, it’s important to inspect the subfloor for any potential problems. A thorough inspection will help you identify any issues and determine the best course of action. Here are a few key points to keep in mind during the inspection process:
- Check for moisture or water damage: Look for any signs of moisture, such as discoloration or warping, as this can indicate a water leak or plumbing issue that needs to be addressed before proceeding with the removal.
- Assess the condition of the subfloor: Examine the subfloor for any signs of damage, such as cracks or rotting wood. These issues should be repaired before continuing with the removal process.
- Ensure a level surface: Measure the flatness of the subfloor using a level. Uneven areas can cause problems when installing new flooring, so it’s important to address any irregularities.
Addressing Damage
Once you’ve inspected the subfloor, it’s time to address any damage you’ve uncovered. Repairing or replacing damaged areas will prevent further issues and provide a solid foundation for the new flooring. Here are some steps to help you tackle common subfloor problems:
- Mend cracks or holes: Fill any cracks or holes in the subfloor with a suitable filler material. Smooth it out and let it dry completely before moving forward.
- Replace damaged sections: If the subfloor has extensive damage that cannot be repaired, consider replacing the affected areas. This ensures a strong and stable surface for the new flooring.
- Treat mold or mildew: If you find any signs of mold or mildew during the inspection, treat the affected areas with a proper cleaning solution or consult a professional for guidance.
By thoroughly inspecting the subfloor and addressing any underlying issues, you’ll be well-prepared to remove a section of laminate flooring. Taking the time to do these steps properly will result in a successful removal process and set the stage for a seamless installation of your new flooring. Remember, preparation is key, and by following these guidelines, you can achieve a professional-looking outcome for your flooring project.
Finishing And Cleaning Up
After successfully removing a section of laminate flooring, it’s important to pay attention to the finishing touches and cleaning up the area to achieve a seamless look and restore the space to its former glory. Here are the essential steps to follow for a tidy and polished finish:
Trimming Edges
Once the damaged section of laminate flooring has been removed, it’s crucial to neatly trim the edges of the surrounding laminate to ensure a smooth and professional appearance. To do this:
- Carefully measure the width of the gap left by the removed section using a tape measure.
- Transfer this measurement onto a spare piece of laminate flooring that matches the existing floor.
- Use a fine-toothed handsaw or a jigsaw to cut along the marked line.
- Make sure to cut precisely to create a seamless fit.
- Once the piece is cut, carefully slot it into the gap, aligning the edges with the surrounding flooring.
- If necessary, gently tap the piece into place using a rubber mallet.
Cleaning The Area
Aside from achieving a seamless look, it’s essential to clean the area thoroughly to remove any dust, debris, or adhesive residue. Here’s how you can effectively clean the area:
- Begin by sweeping the entire floor to remove loose dirt and dust particles. Use a broom or a vacuum cleaner for this task.
- Once the loose debris is cleared, use a damp mop or cloth to clean the floor. Ensure the mop or cloth is only slightly wet to prevent excess moisture from damaging the laminate.
- You can use a mild cleaning solution specifically designed for laminate flooring, following the manufacturer’s instructions. Avoid using excessive water or harsh chemicals that may harm the surface.
- If there are any stubborn stains or adhesive residue, treat them with a specialized laminate floor cleaner or with a mixture of warm water and mild soap.
- After cleaning, thoroughly dry the area with a clean towel or allow it to air dry. Excess moisture can harm the laminate flooring.
By following these steps to trim the edges and clean the area, you can complete the process of removing a section of laminate flooring with a professional finish and maintain the overall aesthetic appeal of your space.
Frequently Asked Questions On How To Remove A Section Of Laminate Flooring
How Do You Remove One Piece Of Laminate Flooring?
To remove one piece of laminate flooring, carefully lift the edge with a putty knife. Gently pull up the board, ensuring not to damage the surrounding planks.
Can You Replace Just Sections Of Laminate Flooring?
Yes, you can replace just sections of laminate flooring without needing to redo the entire floor.
Can You Take Up Part Of A Laminate Floor?
Yes, you can remove part of a laminate floor. Use a utility knife to lift up the damaged section, then replace it.
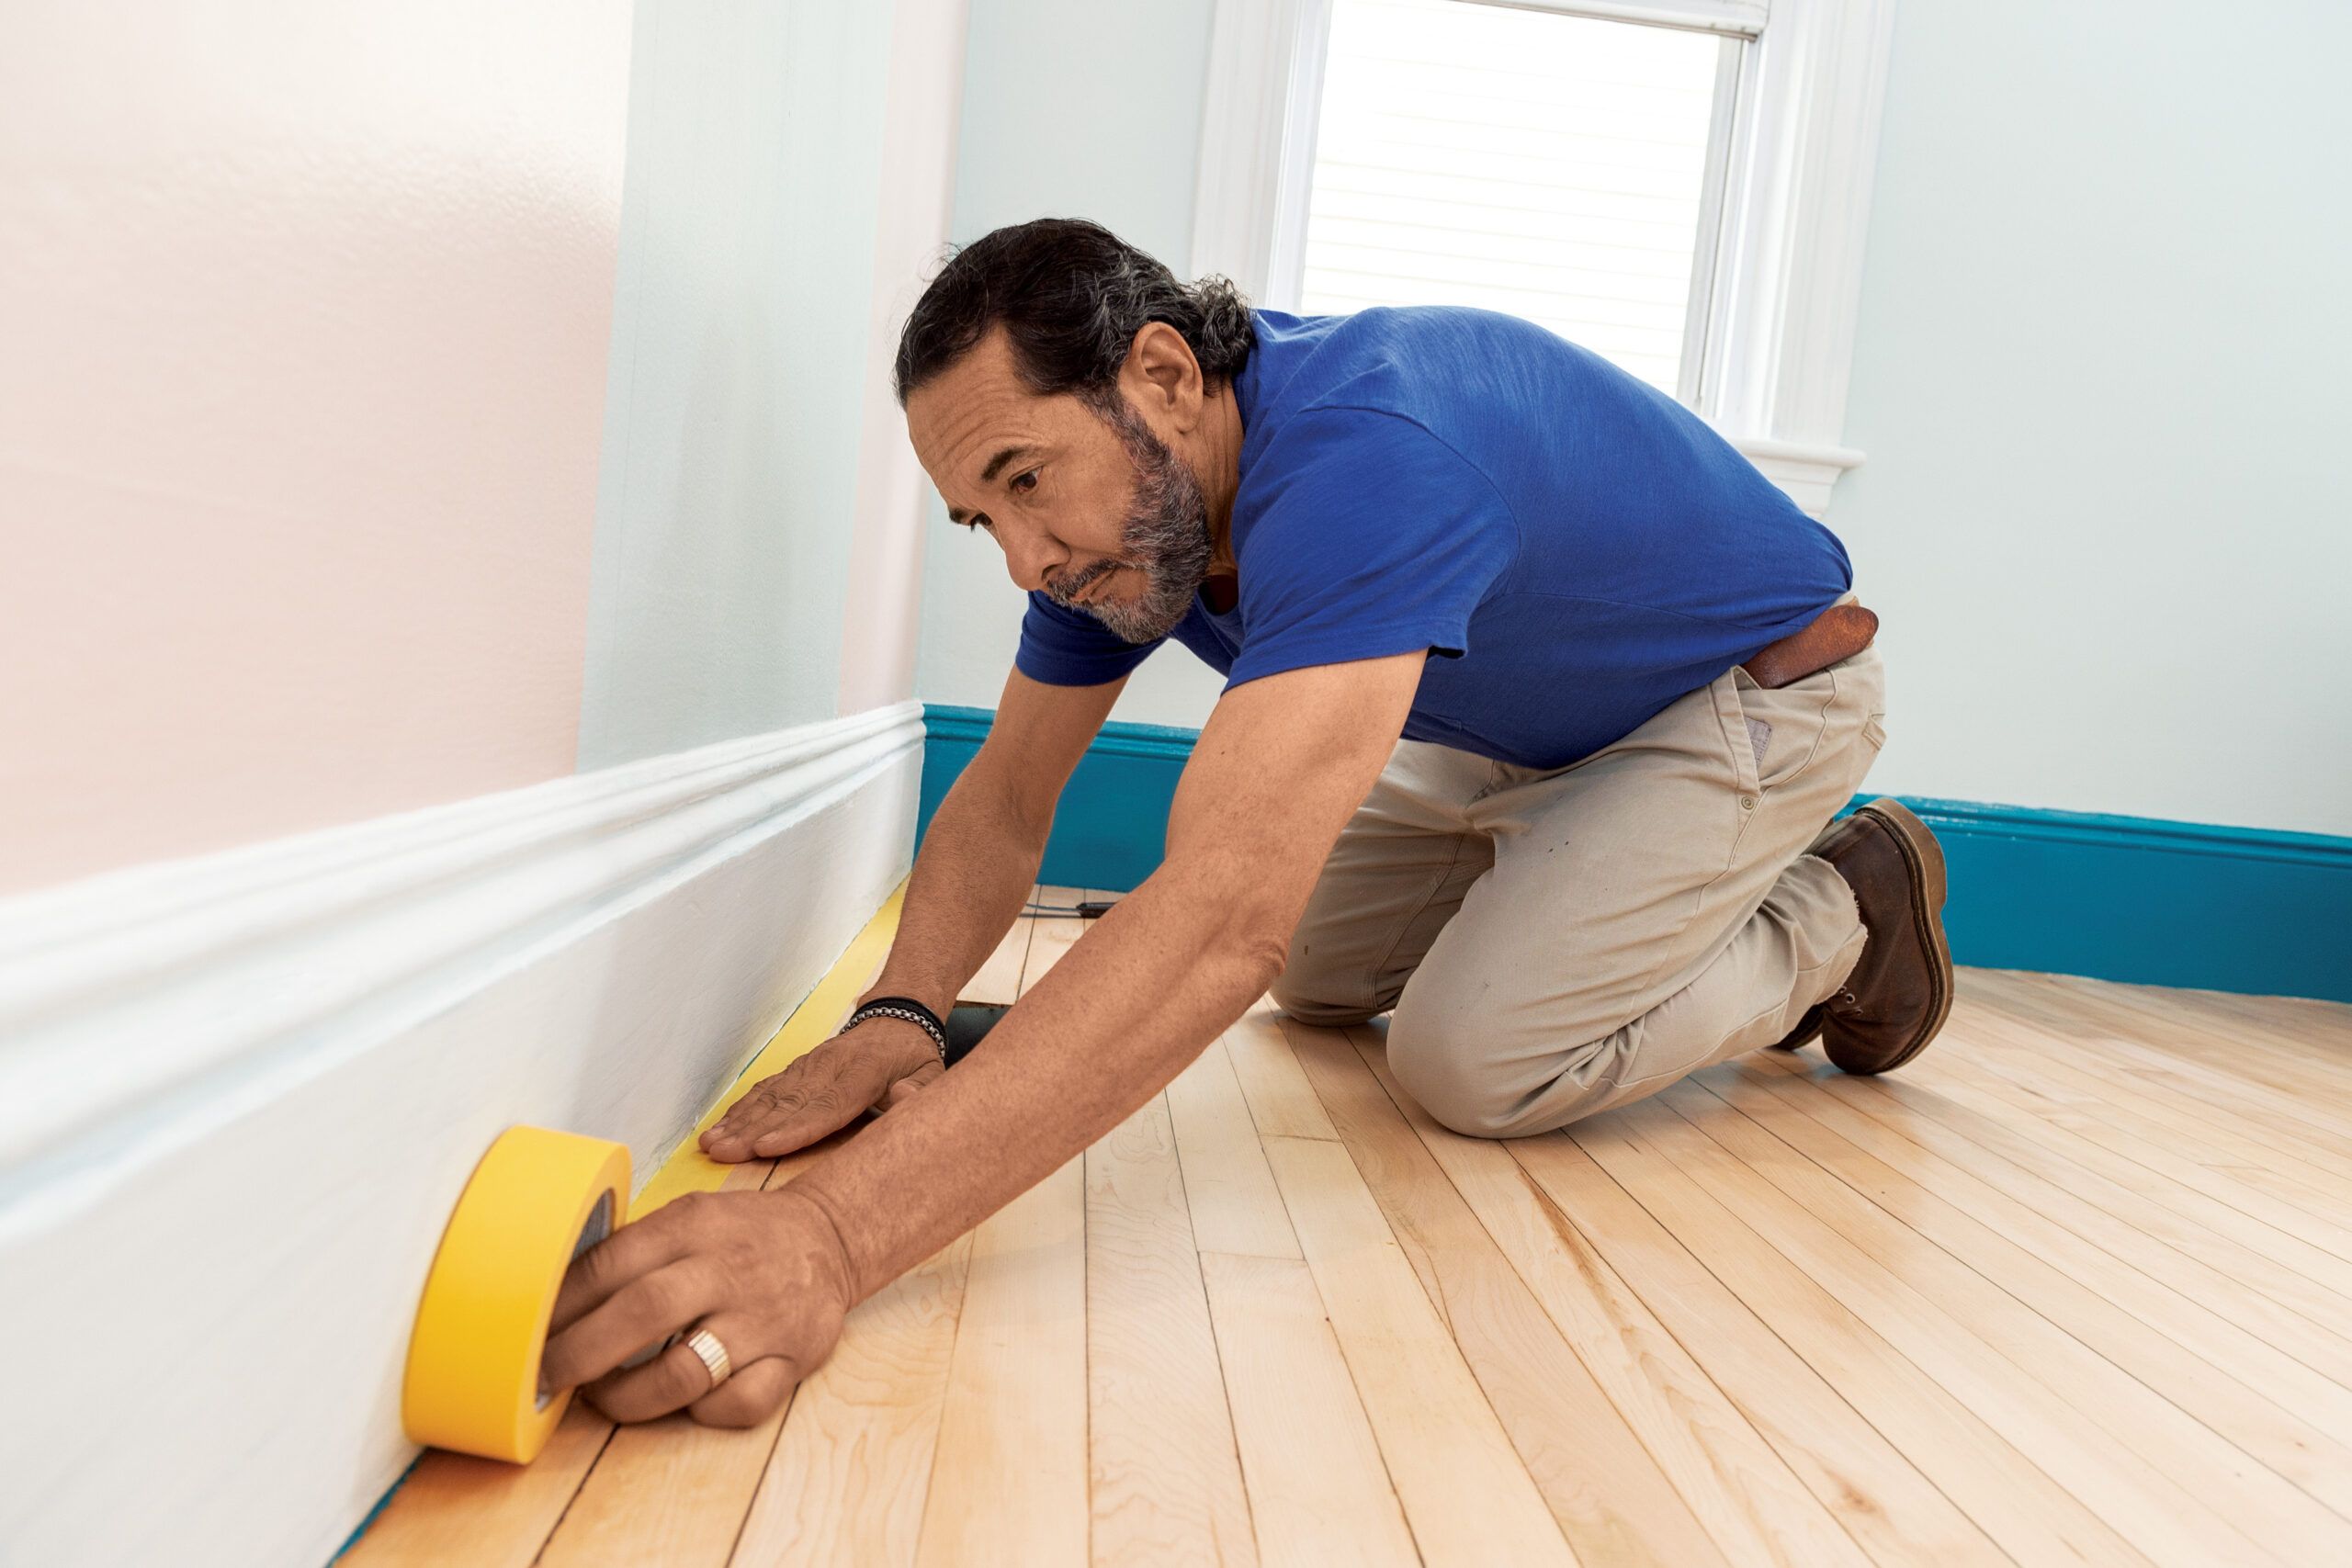
How Do You Lift A Section Of Laminate Flooring?
To lift a section of laminate flooring, start by removing the baseboard along the edge of the flooring. Then, use a pry bar or a putty knife to gently lift the planks, taking care not to damage them. Once lifted, you can replace or repair the flooring as needed.
Conclusion
Removing a section of laminate flooring can be a straightforward process if done carefully. With the right tools and techniques, you can successfully replace damaged or outdated sections without needing a professional. By following the steps outlined in this guide, you can easily tackle this DIY project and refresh the look of your home.