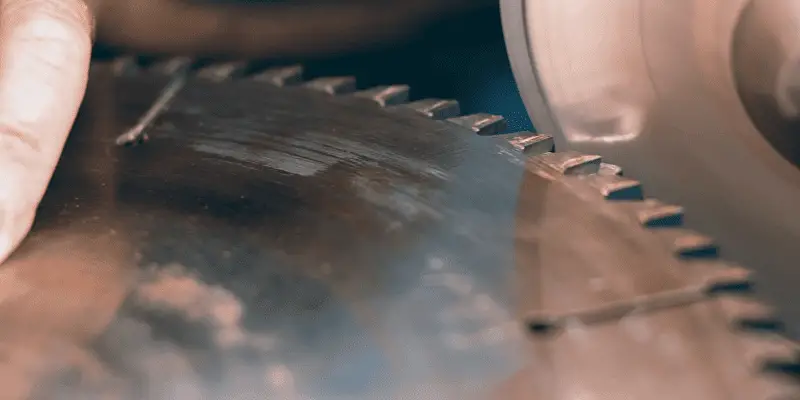
To remove a circular saw blade, first, disconnect the saw from its power source and place it on a sturdy surface. Then, loosen the arbor nut with a wrench, removing any holding pins if present.
Once the nut is loose, use a blade-changing tool to hold the blade in place while you remove the nut completely. Carefully slide the blade off the arbor, taking note of its orientation before installing a new blade.
Step 1: Gathering The Necessary Tools And Safety Equipment
Gathering the necessary tools and safety equipment is the first step in removing a circular saw blade. Safety goggles should be worn to protect your eyes from any flying debris. Work gloves are recommended to protect your hands from sharp edges and potential injuries. An adjustable wrench is required to loosen and remove the blade. If applicable, a blade removal tool specific to your saw model may be necessary.
Step 2: Preparing The Saw For Blade Removal
When removing a circular saw blade, safety should always be the top priority. Start by disconnecting the saw from its power source to avoid any accidental starts or injuries. Ensure the blade guard is secured in the open position to provide access to the blade.

Step 3: Loosening The Blade Arbor Nut
To remove the circular saw blade, you need to follow a few important steps. In Step 3, loosen the blade arbor nut. Start by locating the arbor nut, which is usually located on the right side of the saw blade. Then, use an adjustable wrench to turn the nut counterclockwise to loosen it. Make sure to hold the blade firmly in place with one hand while loosening the nut with the other hand. Once the nut is loose enough, you can remove it completely. It is important to note that the method of loosening the blade arbor nut may vary depending on the model of your circular saw, so refer to the user manual for specific instructions.
Step 4: Removing The Circular Saw Blade
To remove the circular saw blade, you need to follow Step 4, which involves sliding the blade off the arbor shaft. Before doing so, ensure there are no additional retaining hardware components holding the blade in place. Carefully disconnect the power source before starting the blade removal process to avoid any accidents. Next, locate the arbor lock button or lever, commonly found near the blade housing or handle. Press or hold the arbor lock button or lever to prevent the blade from spinning while loosening the retaining nut. Using a wrench, turn the retaining nut counterclockwise until it is loose enough to remove by hand. Gently slide the blade away from the arbor shaft, making sure not to touch the sharp teeth. Dispose of the old blade properly and prepare for the installation of a new circular saw blade.
Step 5: Installing A New Blade Or Finalizing The Blade Removal
Ensuring the new blade is compatible: Before installing a new blade or finalizing the blade removal, it is important to ensure that the new blade is compatible with your circular saw. Check the specifications on the packaging or refer to the manufacturer’s guidelines to make sure the blade is the correct size and type for your particular saw model.
Tightening the arbor nut: Once you have confirmed the compatibility of the new blade, securely tighten the arbor nut to hold the blade in place. Use a wrench or a specialized tool, following the instructions provided by the manufacturer. A properly tightened arbor nut will prevent the blade from becoming loose during use, ensuring safety and optimal performance.
Testing the saw with the new blade: After installing the new blade and tightening the arbor nut, it is recommended to perform a test with the circular saw. This will allow you to ensure that the blade is properly aligned and functioning correctly. Turn on the saw and make a few test cuts to check for smooth operation and accuracy. If the saw performs as expected, you can consider the blade replacement process to be successfully completed.
:max_bytes(150000):strip_icc()/cleaning-saw-blades-1398304-hero-9ef1044c08e64e93a069c62d7310c93f.jpg)
Credit: www.thespruce.com
Frequently Asked Questions On How To Remove Circular Saw Blade
Are Circular Saw Blades Reverse Threaded?
No, circular saw blade threads are not reverse threaded.
How Do You Loosen A Bolt On A Circular Saw?
To loosen a bolt on a circular saw, use an adjustable wrench or socket wrench to turn it counterclockwise. Apply steady, firm pressure while maintaining a tight grip on the tool.
How Do You Remove The Pitch From A Circular Saw Blade?
To remove the pitch from a circular saw blade, use a solvent like mineral spirits or oven cleaner. Soak the blade for a few minutes, then scrub it with a brush or toothbrush. Rinse and dry the blade thoroughly before using again.
How Do You Remove A Circular Saw Blade?
To remove a circular saw blade, first, unplug the saw and secure it to prevent movement. Use a wrench to loosen the arbor nut and remove it. Hold the blade with a piece of wood while loosening the nut to prevent it from spinning.
Replace the blade with a new one, taking care to align the teeth in the correct direction.
Conclusion
Removing a circular saw blade can be a simple task if you follow the right steps. By taking the necessary precautions and using the correct tools, you can effectively remove the blade without any hassle. Remember to secure the blade and take your time during the process to ensure safety.
With these tips in mind, you’ll be able to change your circular saw blade with ease. Happy sawing!


4 thoughts on “How to Remove Circular Saw Blade in 5 Easy Steps”