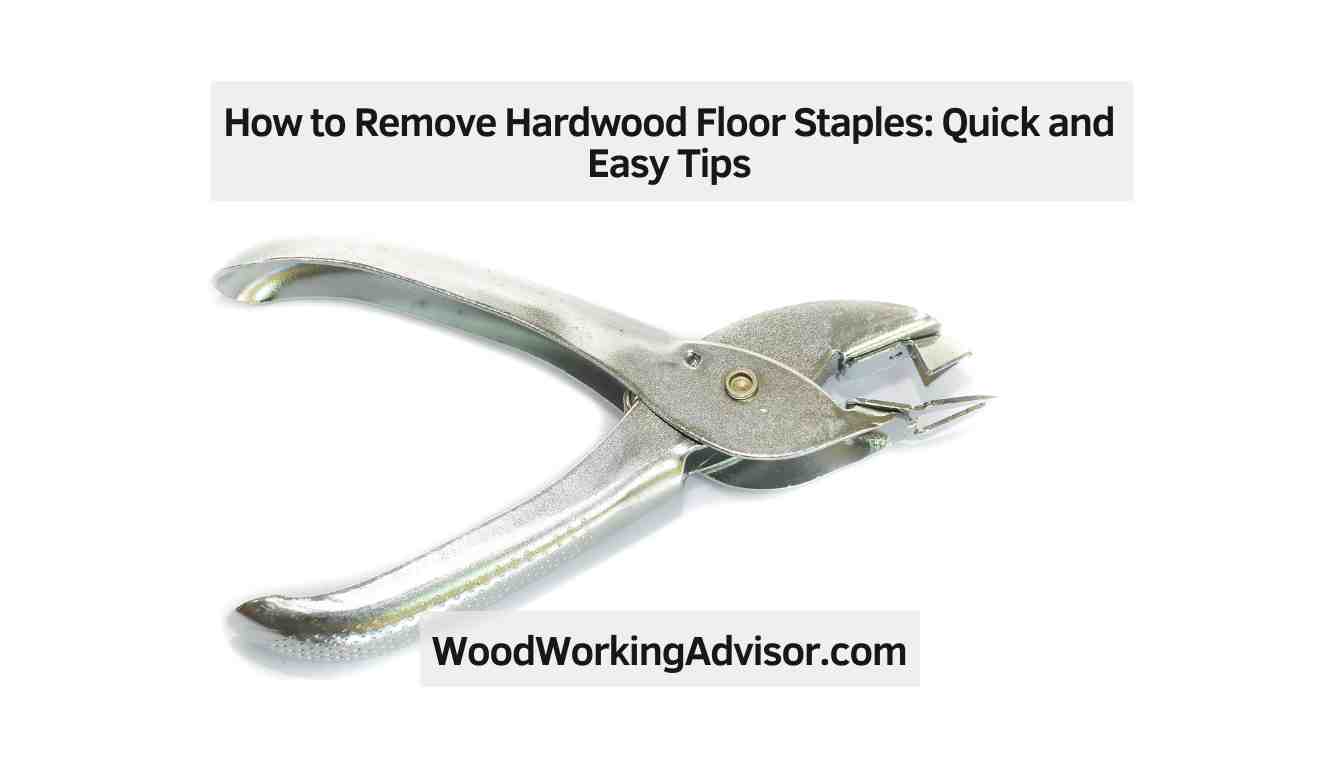
How to Remove Hardwood Floor Staples (3 Methods That Work)
Hardwood floor staples come out fastest with a floor scraper held at a 15-20 degree angle — but broken or deeply embedded staples need end-nipping pliers or a nail set punch. Most hardwood floors hold 1.5 to 2.2 staples per square foot; leaving even one broken staple risks slicing new underlayment during installation. This guide covers the floor scraper bulk method, needle-nose pliers for precision, end-nipping cutters for broken staples, and finishing steps to seal the holes.
Quick Answer
Use a floor scraper at 15-20 degrees (dull side down) for bulk removal, needle-nose pliers for individual staples, and end-nipping pliers for broken ones flush with the surface. Most solid hardwood floors hold 8-10 staples per square foot. A 100-sq-ft room typically takes 2-3 hours. Always wear safety glasses — staples fly when scraped.
Choosing the Right Tools
Best Floor Staple Remover Pick
Staple Remover Tool, Heavy Duty Upholstery Staple Puller for Carpet, Furniture, Wood & Floor
A heavy-duty staple puller with angled double prongs that slide cleanly under hardwood floor staples without marring the surface — priced under $5.
- Best for: Budget-conscious homeowners removing staples from hardwood or carpet subfloor
- Why we picked it: Angled prong design provides proper leverage to lift staples without tearing wood fibers
- Main drawback: Handle length limits reach — not ideal for very large rooms without frequent repositioning
Compare more floor staple remover options
 Option 1 Zenith by Danco Floor Lifter ZN700201, Ultimate Demolition and Remodeling Multi-
|
 Option 2 Jokari Industrial Strength 14-Inch Staple Remover Tool
|
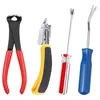 Option 3 4 Pcs Upholstery Staple Remover Tack Puller Nail Remover Tool Set
|
As an Amazon Associate we earn from qualifying purchases.
Matching the right tool to the situation makes the difference between a fast cleanup and a floor full of damage. A floor scraper with a 4-inch blade (dull side down) moves quickly across large areas right after carpet removal. Needle-nose pliers work best for precision in tight rows or around wall edges. End-nipping pliers handle the stubborn cases: a staple crown that snapped off at surface level. For a full comparison of tools by speed, floor risk, and best use case, see the table below.
| Tool | Speed | Floor Risk | Best For |
|---|---|---|---|
| Floor scraper (dull side) | Fast — bulk | Low if flat angle | Rooms over 50 sq ft, right after carpet removal |
| Needle-nose pliers | Slow — one at a time | Minimal | Wall edges, tight rows, precision areas |
| Heavy-duty staple remover | Moderate | Low | Staples sitting slightly proud of the surface |
| End-nipping pliers | Moderate | Very low | Broken staple crowns flush or below surface |
| Nail set punch | Fast to set | None | Legs too deep to grip — bury and fill |
Staple Remover
A heavy-duty floor staple remover — sometimes called a tack lifter or CS Osborne-style lever tool — slides its forked tip beneath the staple’s crown and pops it out with a short lever action. It works well on staples that sit slightly proud of the surface. The low-profile head fits between boards without marring the finish. Apply gentle downward pressure on the handle rather than forcing it — most crowns release with light leverage.
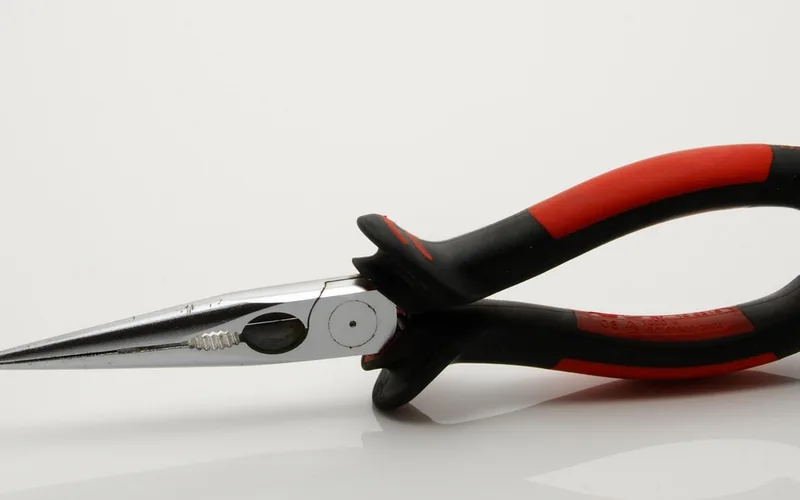
Needle-nose Pliers
Needle-nose pliers provide a firm grip on individual staples. Grasp the crown as close to the wood surface as possible, rock gently side-to-side to break the grip, and pull straight out along the angle the staple went in. Never yank straight up — that torque splinters the wood fiber around the staple legs. For hardwood floors you plan to keep, precision matters more than speed.
Floor Scraper (Dull Side Down) — Fastest Method
A 4-inch floor scraper with the blade flipped to its dull side is the fastest tool for rooms larger than 50 square feet. Hold it at a shallow angle — roughly 15 to 20 degrees, nearly flat to the floor — and push it forward. The blade catches the staple crown and rips it free. Wear safety glasses: staples become projectiles during this method. The dull-side rule is critical; the sharp edge gouges subfloor material and creates high spots that make new flooring squeak.
Preparing the Work Area
Clear all furniture and sweep the floor thoroughly. Good lighting is critical: hardwood floor staples sit close to the surface and are easy to miss in shadow. Mark staple rows with chalk if the pattern is irregular.
Clearing the Floor Surface
Remove baseboards if possible to access wall-adjacent staples. Sweep or vacuum loose debris and residual carpet padding — padding tends to hide staples that sit almost flush with the surface. Work in 4×4-foot grid sections and complete each fully before moving on.
Ensuring Proper Lighting
Set up a work light at a low angle to create raking light across the floor. Raking light casts small shadows behind raised staple crowns, making them visible from across the room. Without raking light, nearly-flush staples are invisible until you kneel on one.
Safety Gear
Wear knee pads — 1-2 hours on hard oak without them is genuinely punishing. Safety glasses are required when using a floor scraper; staple crowns become small projectiles under scraper pressure. Work gloves protect against sharp staple ends during cleanup.
Removing Hardwood Floor Staples
Work in grid sections of roughly 4×4 feet. Complete each section fully before moving on — leaving random missed staples guarantees you will miss them entirely when the floor is cleared. For most hardwood floors, expect 1.5 to 2.2 staples per square foot for solid oak or maple installed per National Wood Flooring Association spacing guidelines (8-10 inches apart).
Identifying the Staples
Look for metal crowns that sit 1/16 to 1/8 inch above the surface. In older installations, surface-level staples blend with the wood grain. Run your palm lightly across the boards — you will feel them before you see them. Use chalk to mark rows of staples before you start pulling, so you can track your progress systematically.
Using the Floor Scraper (Bulk Method)
Hold the scraper nearly flat — 15 to 20 degrees — with the dull blade edge leading. Push forward with steady pressure. After each pass, sweep up the staples immediately so you do not kneel on them. Follow up each scraped section with pliers to catch any crowns the scraper missed; the scraper typically clears 80-90% in the first pass.
Using the Staple Remover
Slide the forked base of the staple remover under the crown, with the forked tips on either side of the crown’s center. Press the handle down to lever the staple upward. If the crown is too flush to get the fork under, use a flathead screwdriver to lift it slightly first, then slide the remover in. The screwdriver-first approach works on staples embedded during original floor installation when they were driven with a pneumatic nailer.
Utilizing Needle-nose Pliers
Grip the staple crown at wood level. Rock it gently from side to side — not up and down — to loosen the legs in the wood fiber. Then pull straight out in the direction the legs point. Pulling at the wrong angle bends the legs and leaves half the staple embedded in the wood, creating a difficult broken-staple situation you now have to solve separately.
Dealing with Stubborn and Broken Staples
Broken crowns and deeply embedded staples are the most time-consuming part of any staple removal job. Having the right tool for each specific case — rather than forcing the wrong tool — saves more time than moving faster with the wrong approach.
Applying Lubricant
For staples embedded more than 1/8 inch below the surface, apply a small drop of WD-40 or silicone spray to each staple. Let it penetrate for 2-3 minutes. The lubricant reduces friction along the leg and significantly lowers the force needed for removal, which also lowers the risk of snapping the crown off.
Using End-nipping Pliers (Best for Broken Staple Crowns)
When a staple crown breaks off, the legs remain flush with or below the surface and standard pliers cannot grip them. End-nipping pliers (also called end-nipper or end-cutting pliers) have a rounded jaw face designed to grip right at the surface. Position the jaws flush with the wood, grip one leg, and pull with steady upward pressure. Their rounded back face does not dig into the wood surface the way straight-jaw pliers do. This is the tool flooring professionals reach for on every broken staple — standard pliers on a broken staple almost always make the problem worse.
Nail Set Punch — Last Resort for Deeply Buried Legs
If a leg is too deep or too far below the surface for any pliers to grip, use a nail set punch and hammer. Position the tip on the leg and drive it 1/16 inch below the surface. Fill the hole with latex wood filler, let dry, and sand smooth. This method leaves no sharp metal proud of the surface, which is the only real goal when new flooring goes on top — the buried leg poses no structural risk and will never be felt or seen.
Using a Small Pry Bar
For staples that have partially lifted from age but have not come fully free, slide a thin pry bar under the crown and apply gentle upward pressure. Tap the pry bar handle with a rubber mallet rather than forcing it — uncontrolled force cracks the board edge. Place a thin scrap of plywood between the pry bar and the floor surface to protect the wood.
“In our shop we always flip the floor scraper to the dull side before starting — using the sharp edge seems faster until you realize it is gouging quarter-inch trenches in the subfloor. The dull side takes more passes but leaves a surface the new flooring installer will not complain about. For broken crowns, end-nipping pliers every time.”
Finishing Touches
Once all staples are out or flush-set, inspect the subfloor for raised edges and high spots before laying new flooring. Run your palm across every section one last time — raised staple legs and filler-proud holes both cause squeaking under new hardwood.
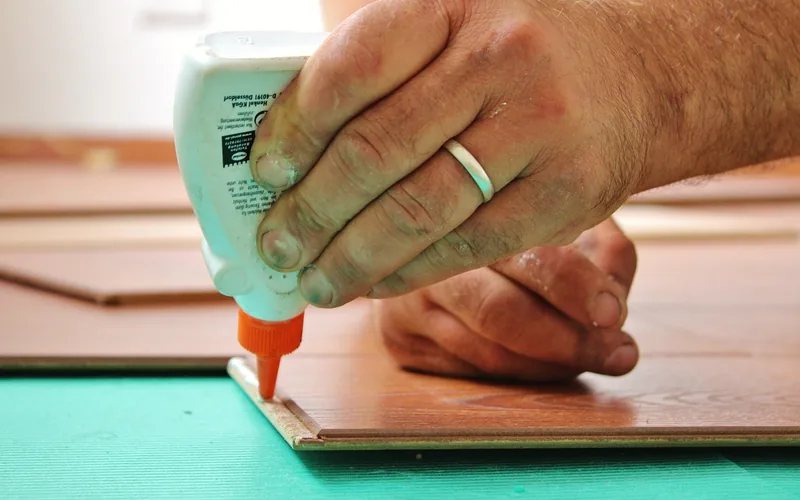
Filling Nail Holes
Apply latex wood filler to all staple holes using a putty knife, pressing it slightly proud of the surface to account for shrinkage as it cures. For deeper holes from broken staple repairs, apply in two thin coats rather than one thick coat — thick applications shrink more and may leave a depression. Let each coat dry fully before sanding.
Sanding the Floor
Sand the filled holes with 80-grit sandpaper first, then finish with 120-grit to match the surrounding surface. Always sand following wood grain direction — cross-grain sanding leaves visible scratches. For very small holes, sawdust mixed with wood glue creates a nearly invisible fill that matches the floor color naturally.
Frequently Asked Questions
How do you remove hardwood floor staples without damaging the floor?
Use a floor scraper with the blade flipped to the dull side, held nearly flat at 15-20 degrees. For individual staples, grip the crown with needle-nose pliers and rock side-to-side before pulling — never yank straight up. Working at the angle the staple entered minimizes wood fiber damage around the legs.
What is the fastest way to remove floor staples?
A floor scraper pushed along the floor at a low angle removes staples in bulk faster than any hand tool, especially right after carpet removal when staples are loosened but the subfloor is clean. Expect to follow up with pliers on 10-20% of staples the scraper misses in a single pass.
How do you remove broken staples from hardwood floors?
Broken staple legs left flush with the surface require end-nipping pliers — their rounded jaw grips right at floor level without marring the wood. For legs driven below the surface, use a nail set punch to drive them fully below and fill the resulting hole with latex wood filler. Never leave a broken leg proud of the surface under new flooring.
Can I use a floor scraper to remove staples from hardwood floors?
Yes, but flip the blade to its dull side and keep the scraper nearly flat at 15 to 20 degrees. The sharp edge gouges subfloor material and creates high spots that cause new flooring to squeak or gap. The dull side is equally effective at lifting staple crowns and leaves the surface clean.
How long does it take to remove staples from a hardwood floor?
A 100-square-foot room with solid hardwood typically takes 2-3 hours using a scraper-first-then-pliers approach. Rooms where staples have been in place for many years or where breaking occurred take longer — expect 4-5 hours. Rooms right after fresh carpet removal, where staples are still slightly loose, often take under 2 hours.
Removing hardwood floor staples takes the right tool order: floor scraper for bulk, pliers for precision, end-nipping cutters for broken crowns, and a nail set punch for anything still below the surface. Wearing knee pads and safety glasses makes the work significantly less painful and safer. For related hardwood floor work, see our guides on how to remove tack strips from hardwood floors and how to remove urine stains from hardwood floors.
Sponsored / affiliate links. As an Amazon Associate I earn from qualifying purchases. I may earn additional commission from eligible campaigns.