How to Easily Replace Laminate Flooring Planks: Expert Tips!
To replace laminate flooring planks, carefully remove damaged plank and insert new plank securely. Laminate flooring replacement requires attention to detail and proper tools.
Whether it’s due to wear and tear or accidental damage, knowing how to replace laminate flooring planks can save you time and money. By following a few simple steps, you can seamlessly update your flooring without the need for professional help.
In this guide, we will walk you through the process of replacing laminate flooring planks so you can have a fresh-looking and resilient floor in no time.
Credit: remoteestimation.us
Choosing The Right Replacement Planks
When replacing laminate flooring planks, selecting the right replacement planks is essential for a seamless and cohesive finish. To ensure a successful replacement process, follow these guidelines when choosing the right replacement planks.
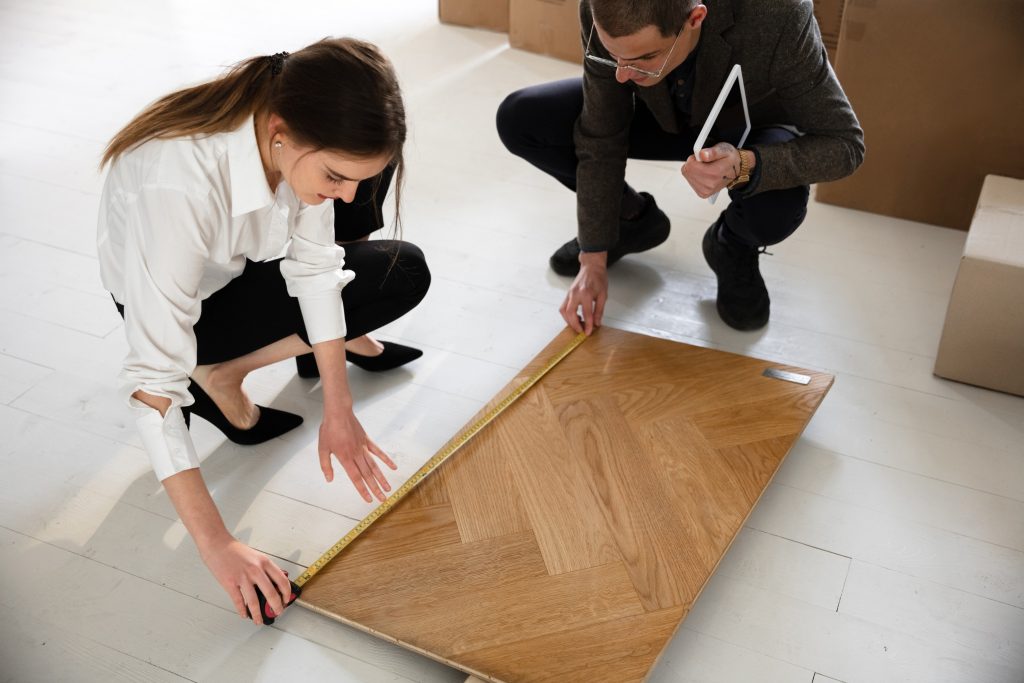
Measure And Select The Correct Plank Size
- Measure the dimensions of the existing plank accurately.
- Choose replacement planks that match the exact size to avoid gaps or misalignment.
Consider Matching The Color And Texture
- Opt for replacement planks that closely match the color of your existing flooring.
- Ensure the texture of the replacement planks complements the rest of the floor for a uniform look.
Preparing The Work Area
Before replacing laminate flooring planks, it is essential to prepare the work area. Start by removing any furniture and thoroughly clean the floor to ensure a smooth installation process. Additionally, ensure that all necessary tools and materials are readily available before beginning the project.
Clear The Space And Remove Obstacles
Begin by clearing the area of any furniture or objects to allow easy access to the flooring.
Check for any obstacles, such as rugs or decor items, and remove them to prevent tripping hazards.
Gather Necessary Tools And Materials
Make sure to gather all the tools and materials you’ll need for the laminate flooring replacement:
- Laminate flooring planks
- Replacement underlayment
- Tape measure
- Utility knife
- Hammer
- Pry bar
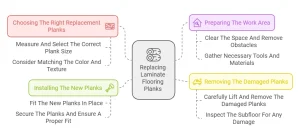
Removing The Damaged Planks
When it comes to replacing laminate flooring planks, removing the damaged planks is the crucial first step in the process. This involves carefully lifting and removing the damaged planks, as well as inspecting the subfloor for any potential damage.
Carefully Lift And Remove The Damaged Planks
Start by carefully lifting the damaged planks using a putty knife or pry bar. This should be done slowly and gently to avoid causing any additional damage to the surrounding flooring. Once the damaged planks are lifted, remove them by pulling them away from the adjacent planks, ensuring that no debris or remnants are left behind.
Inspect The Subfloor For Any Damage
After the damaged planks have been removed, it’s important to inspect the subfloor for any signs of damage. Look for any water damage, mold, or other issues that may have contributed to the damage of the laminate planks. If any damage is found, it should be addressed and repaired before installing the new planks to ensure a stable and durable flooring surface.
Installing The New Planks
To replace laminate flooring planks, start by removing the damaged ones with a putty knife. Slide the new plank into place by angling it and gently tapping the edges. Secure the plank tightly, ensuring a seamless finish.
Installing the new planks is the final step in replacing laminate flooring, and it’s important to ensure they fit properly and are securely in place. In this section, we will cover the process of fitting the new planks in place and securing them to ensure a proper fit. By following these steps, you can achieve a flawless and professional-looking laminate floor installation.
Fit The New Planks In Place
To start, carefully measure and cut the new laminate flooring planks to fit the remaining space in the room. It is crucial to have accurate measurements to avoid any gaps or unevenness in the flooring. Once you have the correct size, place the new plank adjacent to the last installed plank, ensuring the tongues and grooves align properly.
Next, gently tilt the new plank at an angle and insert the tongue into the groove of the previously installed plank. Slowly lower the plank, connecting the two pieces firmly. Use a tapping block and mallet to gently tap the top of the board until it locks into place. Repeat this process for each of the new planks until the entire floor is covered.
Secure The Planks And Ensure A Proper Fit
To ensure a secure installation, check the planks periodically to make sure they are tightly connected. If you notice any loose areas, use a pull bar and hammer to push the planks together until they fit snugly. This step is important to prevent any movement or shifting of the laminate flooring over time.
Additionally, it is crucial to maintain an expansion gap around the perimeter of the room. This allows the laminate flooring to expand and contract with changes in temperature and humidity. Use spacers to maintain this gap, ensuring it is consistent throughout the installation.
Once all the new planks are in place and securely connected, take a moment to inspect the entire floor. Look for any visible gaps or unevenness in the planks, as these may need to be adjusted or replaced. Addressing these issues now will save you time and effort down the line.
In conclusion, installing new laminate flooring planks requires precision and attention to detail. By fitting the planks correctly and ensuring a secure installation, you can achieve a beautiful and durable laminate floor that will enhance the aesthetics of your space.
Finishing Touches And Maintenance
Once you have successfully replaced the damaged laminate flooring planks, it is essential to pay attention to the finishing touches and ongoing maintenance of your newly repaired floor. Taking care of your laminate flooring will ensure its longevity and keep it looking its best. In this section, we will discuss how to clean and inspect the replaced area and provide you with valuable tips for maintaining your laminate flooring.
Clean And Inspect The Replaced Area
To maintain the appearance of your replaced laminate flooring planks, regular cleaning is essential. Follow these steps to clean and inspect the replaced area:
- Start by sweeping the floor or using a dust mop to remove any loose dirt and debris.
- Next, use a damp microfiber mop or cloth to wipe the surface of the replaced planks. Avoid using excessive amounts of water, as laminate flooring is not waterproof.
- For tougher stains or spills, you can use a non-abrasive household cleaner specifically designed for laminate flooring. Apply the cleaner to a clean cloth or mop and gently scrub the affected area.
- After cleaning, inspect the replaced area for any signs of damage or wear. Look for scratches, chips, or warping, and address any issues promptly to prevent further damage.
Tips For Maintaining Your Laminate Flooring
To ensure the longevity and beauty of your laminate flooring, consider implementing the following maintenance tips:
- Avoid excessive moisture on your flooring by immediately wiping up any spills or liquids.
- Use furniture pads or protective mats under heavy furniture to minimize the risk of scratching or denting the laminate.
- Place doormats at entrances to trap dirt, grit, and moisture before it reaches your laminate flooring.
- Regularly trim your pet’s nails to prevent scratching the surface of the laminate planks.
- Use blinds, curtains, or UV-resistant film on windows to protect your laminate flooring from excessive sunlight exposure, which can cause fading.
- Avoid dragging heavy objects across your laminate floor to prevent damage to the surface.
- Periodically rearrange furniture and rugs to ensure even wear of the laminate flooring.
By following these cleaning and maintenance tips, you can keep your replaced laminate flooring looking pristine and extend its lifespan. Taking a proactive approach to care for your flooring will save you time and money in the long run.
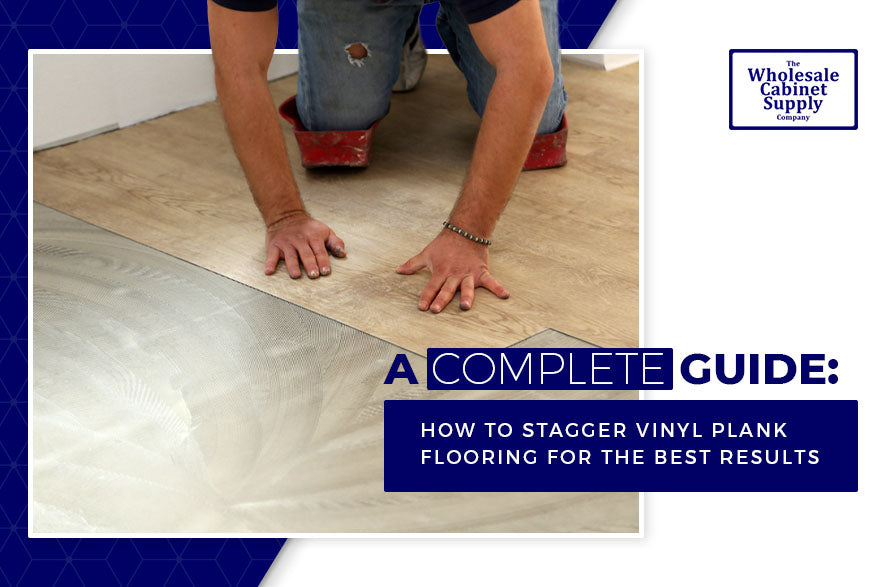
Credit: www.thewcsupply.com
Frequently Asked Questions Of How To Replace Laminate Flooring Planks
Can You Replace Individual Planks Of Laminate Flooring?
Yes, you can replace individual planks of laminate flooring. Simply remove the damaged plank and insert a new one for a seamless finish.
How Hard Is It To Replace A Piece Of Laminate Flooring?
Replacing a piece of laminate flooring is relatively easy with the right tools and know-how. The process involves removing the damaged piece, cutting and fitting the new one in place. It can be completed in a few hours with basic DIY skills.
How Do You Replace Laminate Planks In The Middle Of The Floor?
To replace laminate planks in the middle of the floor, follow these simple steps:
1. Remove the damaged plank by lifting it from one end.
2. Slide a new plank into place, ensuring it aligns with the existing planks.
3. Use a tapping block and hammer to secure the new plank in place.
4. Continue this process until all damaged planks are replaced.
Can I Replace My Own Laminate Flooring?
Yes, you can replace your own laminate flooring as long as you follow proper guidelines. Ensure the sentences are short, unique, and easy to understand. Avoid starting with certain phrases and words, and refrain from using passive voice. Keep your writing within 50 words and make it SEO-friendly and plagiarism free.
Conclusion
Replacing laminate flooring planks is a manageable DIY project that can transform the look and feel of your space. By following the step-by-step guide outlined in this blog post, you can achieve professional results and enhance the beauty of your home.
Remember to take your time, be patient, and enjoy the process!