How to Restore Old Wood Furniture: Clean, Repair or Refinish?
To restore old wood furniture, first work out whether the finish is still sound. If it is, clean it, repair the damage, and revive the finish. Stripping is only for finishes that are peeling, sticky or crazed. Stripping a sound finish on an antique can strip away value that no new coat of varnish brings back. This guide shows how to test the finish, repair common damage, strip safely, and repaint.
Restore or Refinish? Test Before You Strip
Best No-Strip Finish Restorer
 |
Howard Restor-A-Finish, 16 Fl Oz, Walnut, $10.98 A wipe-on, wipe-off restorer for the “revive it, don’t strip it” route described below. It is made to blend minor scratches and remove white heat rings without removing the existing finish.
|
As an Amazon Associate we earn from qualifying purchases.
Restoring keeps the original finish and repairs it. Refinishing removes the finish down to bare wood. Most “needs refinishing” pieces turn out to need a deep clean and a finish reviver, which takes an afternoon instead of a weekend. Antiques deserve extra caution: dealers and collectors often pay more for original finish, so get a quick appraisal before stripping anything old or valuable.
The 60-Second Finish Test
Knowing the finish tells you what will damage it. Pick a hidden spot, such as the underside of a tabletop, and dab a cotton swab of denatured alcohol on it. Then repeat with lacquer thinner on a different hidden spot.
| Reaction on a hidden spot | Likely finish | What it means |
|---|---|---|
| Denatured alcohol softens or smears it | Shellac | Easy to repair, but alcohol spills and hot dishes mark it |
| Alcohol does nothing, lacquer thinner softens it | Lacquer | Repairs blend in well; keep lacquer thinner off the rest of the piece |
| Neither one affects it | Varnish or polyurethane | Hard film; spot repairs are harder, so cleaning and reviving is the safer plan |
| Surface is oily and dull, no film | Oil or wax finish | Often just needs cleaning and a fresh coat of oil or wax |
What to Do Based on the Damage
| What you see | Best route |
|---|---|
| Dull, dirty, hazy, sticky wax buildup | Clean and revive; no stripping |
| Light scratches and white heat rings | Restore; spot repair and reviver |
| Dents in solid wood | Steam them out; see the repair steps below |
| Finish peeling, crazed, alligatored or tacky | Strip and refinish |
| Dark black stains that go through the finish | Strip, then bleach or refinish |
| Veneer lifting or bubbling | Reglue veneer first; do not soak or over-sand |
| Wobbly chair or loose joints | Reglue before any finish work |
If loose joints are the main problem, our guides on regluing loose chair rungs and patching damaged veneer cover the repair. For isolated scratches and rings, see how to repair a furniture finish, which goes deeper on spot repairs than this whole-piece guide.
Safety Checks Before You Sand or Strip
Two checks matter on any older piece. First, lead: paint made before 1978 can contain lead, and dry sanding it creates toxic dust. Use a lead test kit from a hardware store, and if it tests positive, do not dry-sand; strip chemically or hire a lead-safe pro. Second, veneer: old veneer can be paper-thin, so sand by hand with light pressure and stop the moment the old finish is gone.
Choose strippers with care too. The EPA banned the sale of methylene chloride paint removers to consumers in 2019 because of deaths from fume exposure, so look for citrus or benzyl alcohol based gels instead. They work more slowly but are far safer indoors. Even then, work with the doors open, wear chemical-resistant gloves, and spread oil-soaked rags flat to dry or keep them in a sealed metal can, because they can heat up and ignite.
How to Restore Wood Furniture Step by Step
You will need mineral spirits, clean cotton rags, a soft brush, 0000 steel wool, fine sandpaper (220 grit), wood filler or fill sticks, paste wax, and a finish restorer. Work in a ventilated space with the piece away from direct sun.
- Document and disassemble. Photograph the piece, then remove drawers, pulls and hinges. Bag and label hardware so it goes back in the same holes.
- Clean off the buildup. Wipe with a rag dampened with mineral spirits to dissolve old wax and grime, working with the grain. Follow with a damp cloth and a drop of mild dish soap, then dry immediately. Many “damaged” finishes turn out to be only dirty.
- Fix the structure. Reglue loose joints and clamp them until the glue has fully set before you touch the surface.
- Repair the surface damage. Use the techniques in the next section for dents, scratches and rings.
- Revive the finish. Wipe on a finish restorer with a soft cloth, working along the grain, and wipe off the excess as the label directs.
- Protect it. Finish with a thin coat of paste wax, let it haze, and buff with a clean cloth.
Fixing Dents, Scratches and Water Rings
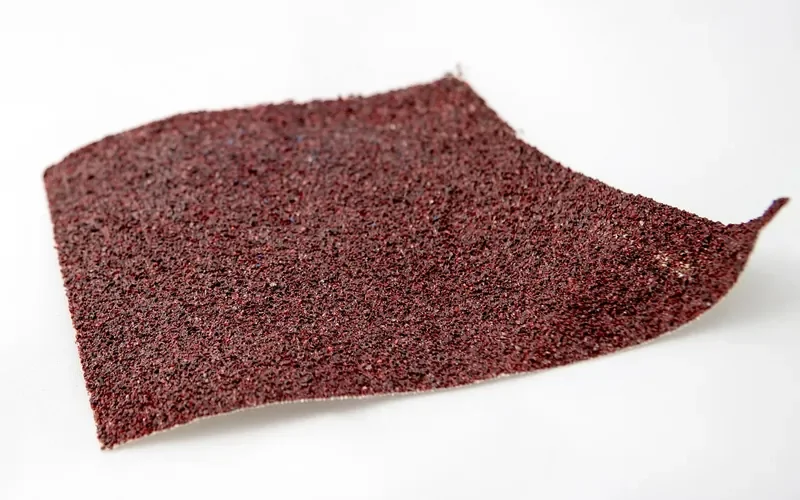
Dents: If the wood fibers are crushed but not cut, steam can swell them back. Lay a damp cloth over the dent and touch it with a hot iron for a few seconds at a time, checking often. Steam raises dents; it does not straighten a warped board, so do not use an iron on warping.
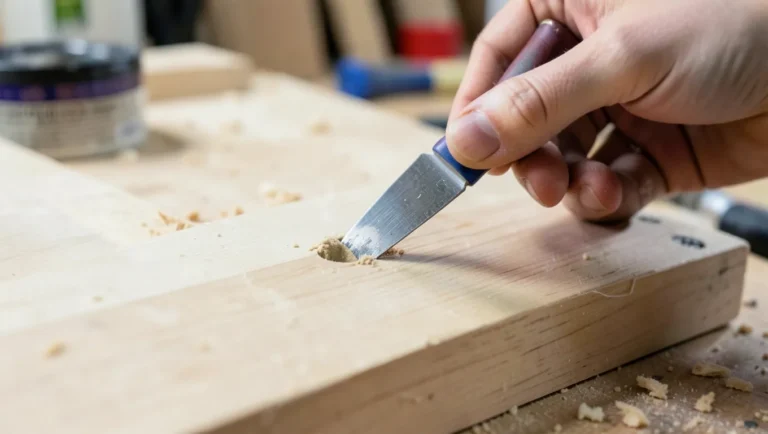
Scratches: Surface scratches that have not gone through the finish often disappear under a tinted restorer or a matching wax stick. For deeper gouges, press in a color-matched wax fill stick or hard wax filler, and level it with a credit card.
White rings: A white ring usually means moisture is trapped in the finish, not in the wood. Wipe on a restorer, or rub lightly with 0000 steel wool and paste wax along the grain. A dark ring that survives these steps has reached the wood itself and usually means stripping and bleaching that area.
A popular home remedy is mixing vinegar and olive oil. In practice it mostly leaves a temporary sheen and does not remove moisture trapped in the finish, so a reviver and wax is a better bet.
What About Warped Wood?
Tabletops and doors cup and bow as humidity changes, and no quick trick reverses that. Mild cupping often settles once the room humidity stays steady through a season. Serious warping, or a split in a solid top, is a job for a furniture restorer, because forcing it flat with clamps can crack it.
When You Do Need to Strip and Refinish
If the finish is peeling, crazed, sticky, or stained black underneath, restoration will not hold, and stripping is the right call. Here is the basic process.
- Apply a citrus or benzyl alcohol stripper in a thick, even coat and let it work for the time on the label.
- Scrape with the grain using a plastic scraper so you do not gouge the surface, and use steel wool or a brush for carved detail.
- Clean off the residue with mineral spirits or the cleaner the manufacturer specifies, and let the wood dry completely.
- Sand to a smooth base by hand, moving from 120 to 150 and then 180 or 220 grit, always with the grain.
- Stain if you want a color change, using a pre-stain conditioner on blotch-prone woods such as pine, maple and cherry.
- Apply the topcoat in thin coats, sanding lightly between coats once dry and wiping off the dust.
Your finish choice shapes how the piece wears and how repairable it is later.
| Finish | Look | Repairability | Best use |
|---|---|---|---|
| Shellac | Warm, thin film | Very easy to spot repair | Antiques, low-wear pieces |
| Wipe-on polyurethane | Clear to amber film | Harder to blend | Tables and desks that see daily wear |
| Danish or tung-type oil | Natural, low sheen | Easy to re-oil | Pieces where you want the wood to show |
| Water-based topcoat | Clear, does not amber | Moderate | Light woods and painted pieces |
For help picking between the two most common options, read our comparison of Danish oil vs polyurethane and the full wood finishing guide.
Reviving Old Furniture With Paint
Paint is a good answer when veneer is too damaged to refinish, when pieces do not match, or when the item has little value to preserve. It is the wrong choice for a valuable antique with sound original finish. Prep decides whether it lasts.
- Clean and degrease the whole piece, since old wax and polish prevent paint from sticking.
- Scuff-sand the surface with 180 to 220 grit just enough to dull the shine; you are creating tooth, not removing the finish.
- Prime. On tannin-rich woods such as oak, mahogany and cherry, use a stain-blocking primer; our list of the best shellac-based primers covers the options.
- Paint in two thin coats rather than one thick one, and let each dry fully.
- Seal high-use surfaces such as tabletops with a clear topcoat, then let the piece cure for several weeks before heavy use.
When to Call a Professional
Hire a restorer if the piece is a valuable antique, if veneer is missing in large areas, if a solid top has split, or if you see fresh sawdust-like powder under small round holes, which suggests active insect damage. A short consultation can cost far less than a mistake on a piece you cannot replace.
Caring for Restored Furniture
Dust with a soft dry cloth and avoid silicone sprays that build up on the finish. Keep pieces out of direct sun and away from heating vents, which fade and dry the surface. Use coasters and pads under hot or wet items, and add a thin coat of paste wax once or twice a year. For more upkeep guidance, see our wood care and protection guide.
Frequently Asked Questions
Can you restore wood furniture without stripping it?
Yes, if the existing finish is intact. Clean off wax and grime with mineral spirits, repair scratches and rings, then revive the finish with a wipe-on restorer and a coat of paste wax. Stripping is only needed when the finish is peeling, sticky, crazed, or stained black underneath.
What is the difference between restoring and refinishing furniture?
Restoring keeps the original finish and repairs or revives it. Refinishing removes the old finish down to bare wood and applies a new one. Restoration preserves patina and original material, which matters most on antiques and veneered pieces.
How do I tell what finish is on old furniture?
Dab denatured alcohol on a hidden spot with a cotton swab. If the finish softens, it is likely shellac. If only lacquer thinner softens it, it is likely lacquer. If neither affects it, it is probably a varnish or polyurethane.
Do I need to prime old furniture before painting it?
Usually yes. Clean and scuff-sand the piece first, then prime with a bonding primer. On oak, mahogany, and other tannin-rich woods, a stain-blocking primer such as a shellac-based one helps stop stains bleeding through light paint colors.
Is it safe to sand old painted furniture?
Not always. Paint on pieces made before 1978 may contain lead. Test it with a lead check kit first, and if it is positive, do not dry-sand. Use a chemical stripper or hire a lead-safe professional instead.
Restoring a piece well comes down to restraint: test the finish, clean first, repair only what is damaged, and strip only when the finish has actually failed.
Sponsored / affiliate links. As an Amazon Associate I earn from qualifying purchases. I may earn additional commission from eligible campaigns.