
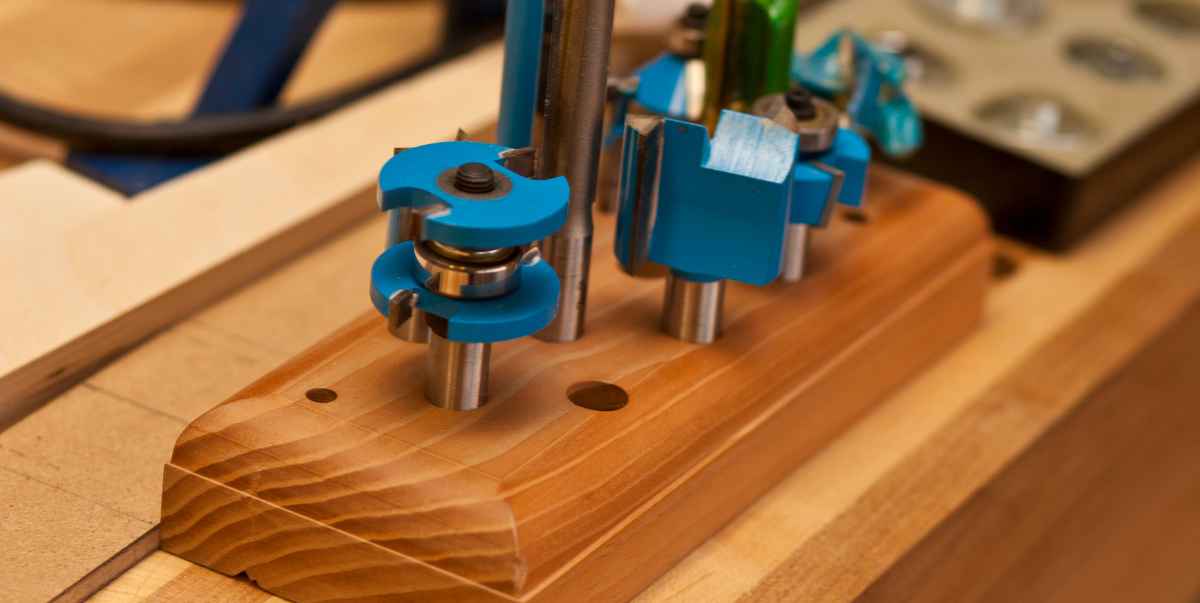
How To Round Edges Of Wood Without A Router: Expert Tips & Tricks
To round edges of wood without a router, you can use sandpaper and a sanding block. By gradually sanding the edges in a circular motion, you can achieve a smooth and rounded finish.
Using Sandpaper
When it comes to woodworking, rounding the edges of your wooden projects adds a touch of elegance and safety. While a router is commonly used for this purpose, not everyone has access to one. The good news is that you can still achieve smooth, rounded edges using sandpaper. In this article, we’ll guide you through the process of rounding edges without a router, focusing on the technique of using sandpaper.
Choosing The Right Grit
To begin this DIY woodworking technique, the first step is to choose the right grit sandpaper for the job. Grit refers to the coarseness of the sandpaper. Finer grits are suitable for smoothing and polishing, while coarser grits are ideal for shaping and removing material. Here’s a general guide to help you determine the appropriate grit for your project:
| Grit Range | Best Use |
|---|---|
| 80-100 | Heavy stock removal, shaping rough edges |
| 120-150 | Smoothing rough surfaces, removing deep scratches |
| 180-220 | Surface leveling, preparing for finishing |
| 320-400 | Final smoothing, removing fine scratches |
| 600-1200 | Polishing, achieving a glossy finish |
Applying The Sandpaper
Once you’ve chosen the appropriate grit sandpaper, it’s time to start rounding the edges of your wood. Here’s a step-by-step guide on applying the sandpaper:
- Hold the sandpaper firmly with one hand and wrap it around a small, cylindrical object like a dowel or a paint roller.
- Hold the wood piece securely with your other hand, ensuring it doesn’t slip while you work.
- Begin sanding the edge of the wood using long, smooth strokes. Apply even pressure and work in a back-and-forth or circular motion, depending on the shape you desire.
- Regularly check the progress by running your fingers along the edge. Feel for any rough spots or sharp edges that need further sanding.
- As you sand, periodically turn the sandpaper or adjust the position of the wood to ensure even wear and prevent uneven rounding.
- Once you’re satisfied with the smoothness and shape of the edge, switch to a finer grit sandpaper to refine the finish.
Remember to wear protective goggles and a dust mask while sanding to prevent any potential eye irritation or inhalation of wood dust. It’s also a good practice to periodically clean the sandpaper to prevent clogging, ensuring optimal performance.
Using sandpaper to round the edges of your wood not only allows you to achieve professional-looking results but also demonstrates your resourcefulness and creativity. So, grab your sandpaper and start transforming your woodworking projects with smooth and elegant edges today!
Using A Chisel
Learn how to round the edges of wood without a router by using a chisel. This simple technique allows you to achieve smooth, rounded edges for your woodworking projects.
Using a chisel is another effective method to round the edges of wood without using a router. This technique allows you to achieve smooth and rounded edges with precision. In this blog post, we will guide you on how to use a chisel for this purpose, ensuring you get the desired results. First, let’s start by selecting the right chisel.
Selecting The Right Chisel
It’s crucial to choose the appropriate chisel for rounding wood edges. Here are some factors to consider when selecting the right chisel:
1. Blade Size: Opt for a chisel with a blade size that matches the radius you want to achieve. Remember, a smaller blade is suitable for tighter curves, while a larger blade is better for larger rounded edges.
2. Bevel Angle: Look for a chisel with a bevel angle between 25-30 degrees. This angle will provide the best cutting action and help prevent tear-out as you round the edges.
3. Handle Comfort: Ensure the chisel you choose has a comfortable and ergonomic handle. This will give you better control and reduce hand fatigue during the carving process.
Once you have selected the appropriate chisel, the next step is marking and cutting the edges.
Marking And Cutting The Edges
1. Marking: Start by marking the area you want to round on the wood. Use a pencil or marking knife to create clear and precise lines. These lines will act as a guide for your chisel.
2. Clamping: Secure the wood in a vice or clamp to prevent it from moving while you work. This will ensure stability and safety during the chiseling process.
3. Chisel Position: Hold the chisel at a 45-degree angle to the wood, with the beveled side facing up. Position it just slightly away from the marked edge to avoid cutting into the wood too deeply.
4. Chiseling: Using a mallet or a hammer, gently tap the chisel to create small and controlled cuts. Start from one end and work your way towards the other, making sure to follow the marked lines.
5. Gradual Shaping: Take your time and make shallow cuts, gradually increasing the depth of each pass. This method will help you achieve a smoother and more rounded edge.
6. Finishing Touches: Once you have rounded the edges to your desired shape, use sandpaper or a file to smooth out any rough spots or imperfections. This will give your rounded edges a polished and professional finish.
Remember, safety should always be a priority when using a chisel. Wear protective goggles and gloves, and exercise caution to prevent accidents while working with sharp tools.
By following these steps and using a chisel correctly, you can easily round the edges of wood without a router. This method requires patience and precision, but the results will be well worth it. Happy woodworking!
Note: Always practice on scrap wood before attempting to round the edges of your final project. This will allow you to perfect your technique and avoid any mistakes on the actual piece.
Using A File
I’m about to let you in on a little secret: you don’t always need a router to round the edges of your wood projects. In fact, using a file can be an effective and budget-friendly alternative. In this post, we’ll explore how to round edges of wood without a router using a tool that you may already have in your toolbox – a file.
Selecting The Right File
Before you jump into the process of rounding the edges of your wood, it’s important to choose the right file. Not all files are created equal, and each type serves a specific purpose. When it comes to rounding edges, a half-round file is your best bet.
Half-Round File: A half-round file has a flat side and a curved side, making it ideal for rounding wood edges. The shape allows for easy maneuverability and smooth, even strokes. It’s important to select a file with a smooth, sharp edge to ensure clean and professional results.
Applying The File To The Edges
Now that you have your half-round file ready, it’s time to start rounding the edges of your wood. Follow these simple steps:
- Secure the Wood: Place your wood piece securely in a vise or clamp. This will prevent any unwanted movement and ensure your safety during the process.
- Start with the Corners: Begin by filing the corners of the wood to remove any sharp edges. Use gentle strokes, applying light pressure to avoid damaging the wood.
- Work in Sections: Divide the length of the wood into manageable sections. This will help you maintain control and avoid overdoing it in one area. Round each section by using the curved side of the file, moving in a smooth, consistent motion along the edge.
- Check Your Progress: Take breaks during the process to inspect your work. Feel the edges with your fingers to ensure they are smooth and even. Continue filing until you achieve your desired level of rounding.
- Smooth Out Any Imperfections: If you notice any rough spots or imperfections, use sandpaper or a sanding block to further refine the edges. Gradually work your way through progressively finer grits to achieve a polished finish.
Rounding the edges of wood without a router is a technique that can be easily mastered with a file and some patience. By selecting the right file and following the correct filing techniques, you’ll be able to achieve rounded edges and create professional-looking wood projects without spending a fortune on additional tools.
Using A Spokeshave
When it comes to woodworking, achieving smooth, rounded edges can add a touch of finesse to your projects. While using a router is a popular method for rounding wood edges, not everyone has access to one. But don’t worry, there are alternative techniques you can use, such as a spokeshave. In this guide, we’ll delve into the process of rounding edges of wood without a router using a spokeshave.
Adjusting The Blade Depth
To get started with using a spokeshave, the first step is to adjust the blade depth. The blade of a spokeshave is the cutting edge that shaves off wood as you run it along the edges. By adjusting the blade depth, you can control how much wood is removed, allowing you to achieve the desired roundness.
To adjust the blade depth, follow these steps:
- Place the spokeshave on a flat surface with the blade facing upwards.
- Locate the adjusting screws or knobs on either side of the spokeshave.
- Loosen the screws or knobs to release the blade.
- Slide the blade up or down to adjust the depth.
- Tighten the screws or knobs to secure the blade in place.
By carefully adjusting the blade depth, you can ensure that only a small amount of wood is shaved off with each pass, allowing for precise control over the rounding process.
Shaving The Edges Smoothly
Once you have adjusted the blade depth, you are ready to start shaving the edges of the wood smoothly. Follow these steps:
- Hold the spokeshave firmly with one hand on the handles and the other hand on the body of the spokeshave.
- Position the blade against the wood edge at a slight angle.
- Push the spokeshave forward, applying even pressure as you move along the edge.
- Continue the forward motion, taking care to maintain a consistent angle and pressure.
- Repeat the process, making multiple passes until you achieve the desired roundness.
| Tip #1 | Maintain a steady hand and apply consistent pressure to ensure an even shave along the entire edge. |
|---|---|
| Tip #2 | Take your time and make several light passes rather than trying to remove too much wood in one go. |
| Tip #3 | Keep the spokeshave at a slight angle to avoid digging into the wood. |
By following these steps and tips, you can round the edges of wood smoothly using a spokeshave. Remember to practice on scrap wood first to get the hang of it before working on your actual project. So, go ahead and give it a try!

Conclusion
Rounding the edges of wood without a router is a simple, cost-effective solution for DIY enthusiasts. By using alternative methods, such as sanding, filing, or using a roundover bit on a power drill, you can achieve smooth and rounded edges that enhance the aesthetic appeal and safety of your woodworking projects.
So, don’t let the lack of a router limit your creativity – explore these techniques and enjoy the results!