How to Seal Live Edge Wood: Expert Tips and Tricks
To seal live edge wood, begin by sanding the surface to remove any rough edges, then clean it thoroughly. Apply a sealant, such as wood sealer or epoxy resin, using a brush or sponge in smooth, even strokes, following the direction of the grain.
Allow the sealant to dry completely before applying a second coat if necessary.
Understanding Live Edge Wood
Live edge wood is a unique and rustic choice for furniture and decor. When it comes to sealing live edge wood, it’s important to follow proper steps to protect and enhance its natural beauty for years to come.
What Is Live Edge Wood?
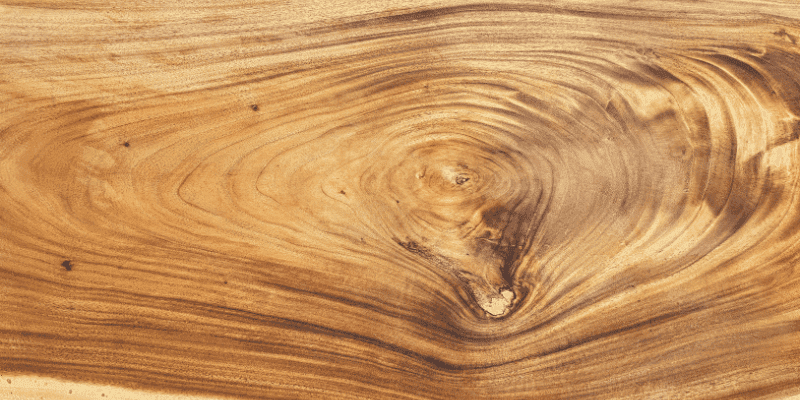
Live edge wood refers to the natural, unfinished edge of a piece of lumber that has been used in a project or furniture design. It is the untouched, raw side of the wood that gives a unique and rustic appearance to the finished product.
Unlike traditional woodwork that involves smoothing and shaping all edges, live edge wood celebrates the natural imperfections and irregularities found in the original tree trunk. It provides a sense of depth, character, and a connection to nature.
Live edge wood is often used in various home decor and furnishing projects. Its popularity has surged in recent years due to its organic and authentic appeal. When incorporated into furniture pieces, it adds a touch of warmth, uniqueness, and a natural element to any room.
Whether it’s a dining table, a coffee table, or even a shelving unit, live edge wood beautifully showcases the natural beauty of the wood grain and the distinctive shapes of the tree.
The Appeal Of Live Edge Wood In Home Decor
Live edge wood has become a popular choice among homeowners and interior designers alike. Its natural appeal and unique characteristics lend themselves to a wide range of home decor styles. Here are some reasons why live edge wood is highly sought after:
- Authenticity: Live edge wood brings an authentic, organic feel to any space. The natural imperfections and irregularities of the wood create a one-of-a-kind piece that can’t be replicated with machine-made furniture.
- Warmth and Natural Beauty: The grain patterns, knots, and figuring found in live edge wood add warmth and beauty to a room. Each piece tells a story and becomes a focal point, creating a sense of connection to nature.
- Versatility: Live edge wood can be incorporated into various decor styles, from rustic and farmhouse to modern and contemporary. It effortlessly complements different materials, colors, and textures, making it an adaptable choice for any interior design concept.
- Bespoke Design: Since each live edge wood piece is unique, it allows for one-of-a-kind, custom-made designs. This level of personalization ensures that homeowners can have a truly special and tailored piece that fits their style and preferences.
- Sustainability: Utilizing live edge wood promotes sustainability by repurposing fallen or salvaged trees. This environmentally friendly approach to sourcing materials adds an extra layer of appeal for those who prioritize eco-conscious choices.
Live edge wood offers a captivating and distinctive aesthetic appeal that has captivated homeowners and designers. Its raw, untouched edges and natural beauty make it a versatile choice for various home decor projects. Whether incorporated into furniture pieces or used as architectural elements, live edge wood brings a touch of warmth, authenticity, and a connection to nature into any space.
So, if you’re looking to add a unique and eye-catching element to your home, consider incorporating live edge wood into your next decor project.
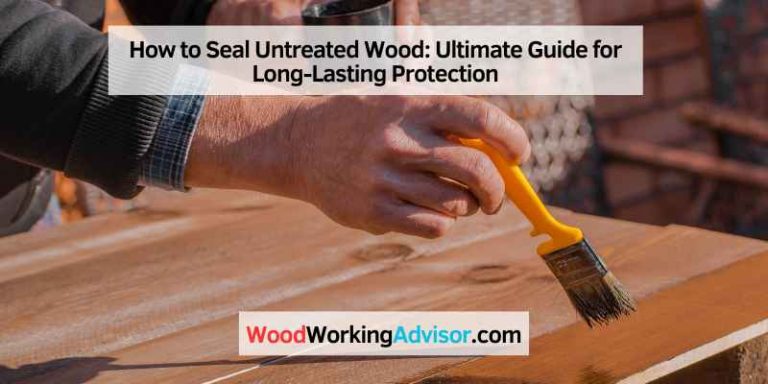
Preparing Live Edge Wood For Sealing
To prepare live edge wood for sealing, start by sanding the edges to smooth out any rough areas. Next, apply a wood conditioner to enhance the wood’s ability to absorb the sealant. Finally, choose a suitable sealant and carefully apply it to protect the wood and bring out its natural beauty.
Choosing The Right Piece Of Live Edge Wood
When it comes to sealing live edge wood, choosing the right piece is crucial. Here are some key considerations to keep in mind:
- Look for a piece that has a desirable shape and size for your project. Whether it’s a table, shelf, or any other live edge wood item, ensure that the piece fits your requirements.
- Consider the wood species. Different species have different characteristics, such as color and grain pattern. Choose a species that aligns with your aesthetic preferences.
- Inspect the wood for any signs of damage, such as rot or insect infestation. It is essential to work with a healthy piece of wood to ensure long-lasting results.
- Take note of the moisture content of the wood. Slightly air-dried or kiln-dried wood is ideal for sealing, as it reduces the risk of warping or cracking.
Removing Bark And Sanding The Surface
Before you can seal live edge wood, it’s essential to prepare the surface properly. Follow these steps:
- Start by removing the bark from the edges and any other areas you want to seal. Use a chisel, a scraper, or a wire brush to carefully peel away the bark. This process not only enhances the appearance but also prevents the bark from loosening over time, which could affect the sealing process.
- Once the bark is removed, sand the surface of the live edge wood. Begin with a coarse-grit sandpaper to remove any roughness, working your way towards finer grits for a smoother finish. This step helps to create a clean and even surface for the sealing process.
- Don’t forget to sand the edges of the wood as well. Pay close attention to any irregularities or rough spots, as they can affect the final result. Take your time and ensure that all surfaces are adequately sanded.
- After sanding, use a tack cloth to remove any dust and debris from the surface. This ensures that the wood is clean and ready for the next step in the sealing process.
Filling Cracks And Imperfections
Live edge wood often comes with natural cracks, knots, or other imperfections. Before sealing, it’s important to address these issues. Follow these steps for a smoother finish:
- Inspect the wood carefully for any significant cracks or holes that need filling. This step ensures that the surface is even and ready for sealing.
- Choose an appropriate wood filler that matches the color and characteristics of the live edge wood. Apply the filler to the cracks and imperfections, ensuring even coverage.
- Use a putty knife or a scraper to level the filler with the surface of the wood. Smooth out any excess filler and make sure the surface is flush, allowing for a seamless sealing process.
- Once the filler has dried, sand the area lightly to blend it with the rest of the wood surface. Be careful not to oversand, as this can damage the wood or remove too much filler.
- Finally, use a tack cloth to remove any remaining dust and debris before proceeding to the sealing process.
Remember, thorough preparation is the key to achieving a beautiful and long-lasting seal for your live edge wood. Take your time, follow these steps, and you’ll be ready to proceed with the sealing process.
Selecting The Right Sealant For Live Edge Wood
Choosing the right sealant for live edge wood is essential to protect and enhance its natural beauty. Consider factors such as durability, moisture resistance, and UV protection to ensure long-lasting results for your project.
When it comes to sealing live edge wood, choosing the right sealant is crucial in protecting the wood while enhancing its natural beauty. With various options available, it can be overwhelming to determine the most suitable sealant for your project.
To help you make an informed decision, we’ve outlined the types of sealants for live edge wood, factors to consider when choosing a sealant, and the pros and cons of different options.
Types Of Sealants For Live Edge Wood:
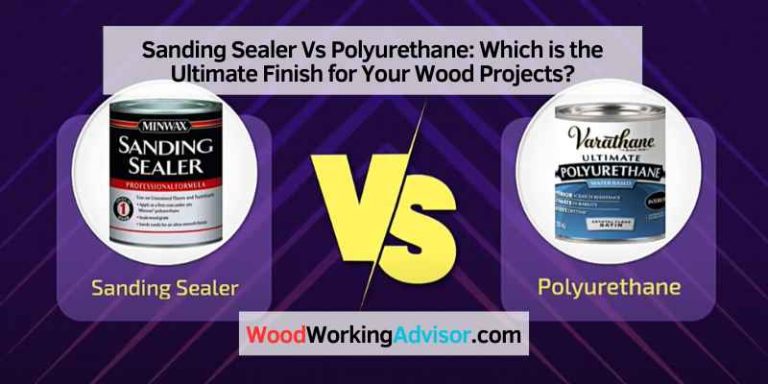
- Polyurethane: This sealant provides a clear, durable finish that is resistant to scratches, water, and heat. It offers excellent protection and enhances the natural color of the wood. Additionally, polyurethane is available in both oil-based and water-based formulas, allowing you to choose the one that suits your preferences.
- Tung Oil: Tung oil is a popular choice for sealing live edge wood due to its natural and eco-friendly properties. It penetrates deep into the wood, enhancing its grain and providing a protective finish that is resistant to water and UV light. Tung oil also offers a warm, matte finish that brings out the wood’s natural beauty.
- Epoxy Resin: Epoxy resin is a versatile sealant that provides a highly durable and glossy finish. It is often used to fill cracks or voids in live edge wood, creating a smooth and seamless surface. Epoxy resin is resistant to moisture, heat, and chemicals, making it an excellent option for both indoor and outdoor applications.
- Danish Oil: Danish oil is another popular choice for sealing live edge wood. It penetrates the wood fibers, enhancing the grain and providing a natural yet protective finish. Danish oil is easy to apply and offers a satin-like sheen, giving the wood a warm and inviting appearance. However, it may require periodic reapplication for optimal protection.
Factors To Consider When Choosing A Sealant:
- Appearance: Consider the desired look and finish for your project. Some sealants offer a clear and glossy finish, while others enhance the natural color and provide a matte appearance.
- Durability: Evaluate the level of protection needed based on the wood’s application and environment. Consider factors such as resistance to scratches, water, UV light, and heat.
- Ease of Application: Determine the level of experience and expertise required to apply the sealant. Some options may require multiple coats or specific application methods.
- Maintenance: Consider the long-term maintenance requirements of the sealant. Some may require periodic reapplication, while others offer long-lasting protection with minimal upkeep.
- Environmental Impact: If environmental sustainability is important to you, consider choosing sealants that are eco-friendly and non-toxic.
Pros And Cons Of Different Sealants:
Polyurethane:
Pros: Provides excellent protection, enhances natural color, available in different formulas, resistant to scratches, water, and heat.
Cons: Can be challenging to apply evenly, may require sanding between coats.
Tung Oil:
Pros: Enhances wood grain, natural and eco-friendly, offers a matte finish, resistant to water and UV light.
Cons: Requires multiple coats for optimal protection, takes longer to dry compared to some sealants.
Epoxy Resin:
Pros: Highly durable and glossy finish, fills cracks and voids, resistant to moisture, heat, and chemicals.
Cons: Requires careful mixing and application, limited working time, can be more expensive than other sealants.
Danish Oil:
Pros: Enhances wood grain, easy to apply, offers a satin-like sheen, requires minimal maintenance.
Cons: May require periodic reapplication for optimal protection.
Now that you have an understanding of the different sealants available for live edge wood, as well as the factors to consider and their respective pros and cons, you can confidently select the most suitable sealant for your project. If you’d rather skip sealant entirely for a natural look, see our guide on choosing a clear finish for wood, or if your slab still has bark you want to keep, check how to finish live edge wood with bark. Remember to consider the appearance, durability, ease of application, maintenance, and environmental impact to ensure the desired outcome and protection for your live edge wood.
Filling Deep Cracks And Voids With Epoxy Resin
Live edge slabs often have deep cracks, knots, or bark-pocket voids that a brushed-on sealant can’t fill. For those, deep-pour epoxy resin (also called casting resin) is the right tool — it has a lower viscosity and slower cure than tabletop epoxy, which lets it fill a deep gap without trapping heat and cracking. Tabletop epoxy, by contrast, is meant to be poured in thin layers of about 1/8″ or less; forcing it into a deep crack can cause it to overheat, smoke, or crack as it cures.
- Apply a seal coat first. Brush a very thin layer of mixed epoxy over the whole surface, including inside the cracks, before the main pour. Wood is porous and holds trapped air; a thick pour heats that air, which then escapes as bubbles rising through the resin. A thin seal coat lets that air escape before it can spoil the final pour.
- Warm the surface lightly. A torch or heat gun on a low setting thins the resin slightly and encourages any remaining bubbles to rise and pop before the seal coat sets. Let the seal coat go tacky (usually 4-8 hours) before the next pour.
- Pour in thin layers, not all at once. Plan on roughly 1/4″ deep per pour for wider cracks, or up to 1/2″-3/4″ for narrow cracks (1/4″ wide or less). Wait 3-12 hours between pours at 70-75°F before adding the next layer.
- Pop bubbles as you go. After each pour, let the resin self-level for a couple of minutes, then sweep a torch quickly over the surface (about one foot per second) to break the surface tension and release trapped air. Don’t linger in one spot — the goal is a quick pass, not sustained heat.
Best Deep-Pour Epoxy Pick
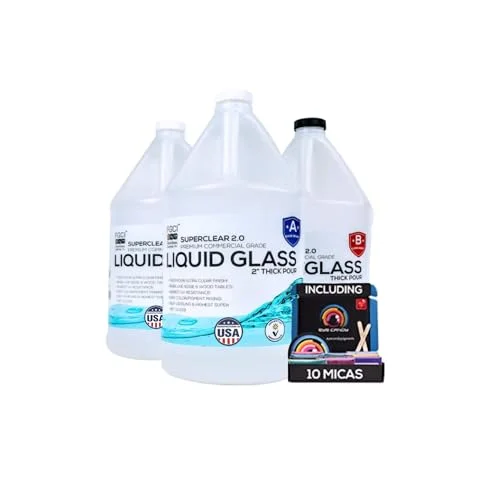
Superclear Liquid Glass Deep Pour Epoxy Resin Kit
Low-viscosity casting resin formulated for 2-4″ single-pour depth, built for exactly the crack- and void-filling job described above.
- Best for: deep cracks, knots, and bark-pocket voids in live edge slabs
- Why we picked it: low-viscosity deep-pour formula releases trapped air on its own, cutting down on torch work
- Main drawback: longer cure time than tabletop epoxy, so patience between coats matters
Compare more epoxy-pour essentials
 Option 1 Butane Micro Torch
|
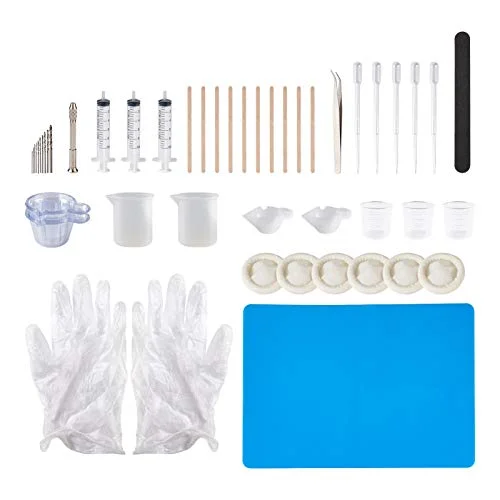 Option 2 121-Piece Epoxy Mixing & Application Kit
|
 Option 3 UV-Resistant Clear Protective Spray
|
As an Amazon Associate we earn from qualifying purchases.

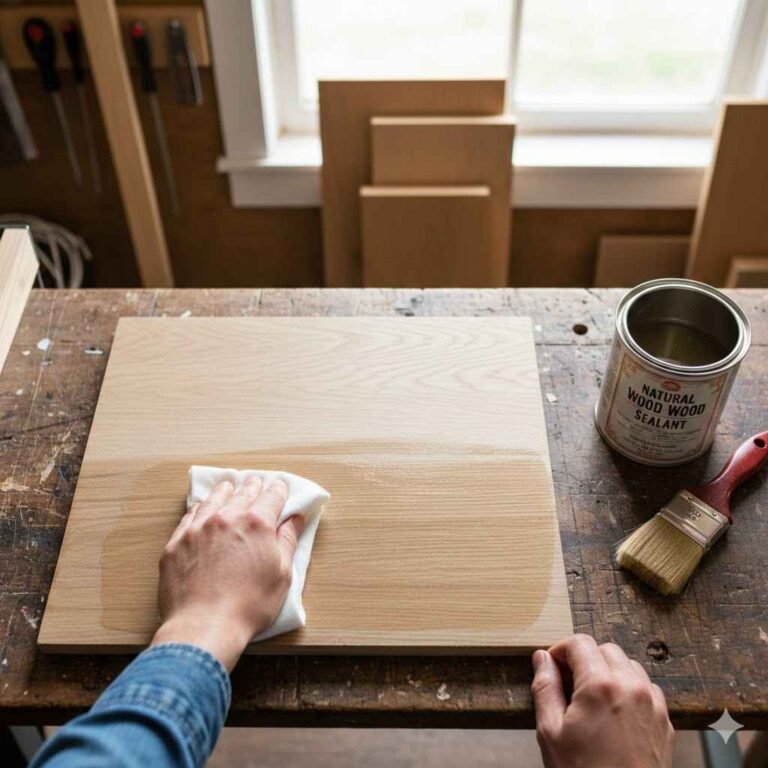
Applying The Sealant
Learn how to seal live edge wood effectively by applying the sealant. Follow these easy steps to preserve and protect your woodwork for long-lasting beauty.
Step-By-Step Guide To Applying Sealant On Live Edge Wood
To ensure the proper preservation and protection of your live edge wood, applying a sealant is crucial. Follow this step-by-step guide to achieve a flawless finish:
- Prepare the Wood Surface: Before applying the sealant, make sure the live edge wood is clean and free from dust or debris. Use a soft cloth or a brush to gently remove any particles.
- Choose the Right Sealant: Select a sealant specifically designed for wood surfaces. Options include oil-based sealants, water-based sealants, and epoxy resin. Consider the desired finish, maintenance requirements, and the specific type of wood you are working with.
- Apply the First Coat: Using a brush, apply the first coat of sealant to the live edge wood. Start at one end and work your way along the grain, ensuring even coverage. Be careful not to leave any brush marks or excessive pooling.
- Allow Drying Time: Follow the manufacturer’s instructions regarding drying time. Typically, it’s best to let the first coat dry completely before applying additional coats. This ensures proper adhesion and a smooth finish.
- Sand Between Coats: Once the first coat is dry, lightly sand the surface using fine-grit sandpaper. This helps remove any imperfections or raised wooden fibers, creating a smoother surface for the next coat of sealant.
- Apply Subsequent Coats: Repeat the application process for additional coats of sealant. Ensure each coat is applied in the same manner as the first, maintaining an even and consistent finish. Multiple thin coats are preferable to one thick coat for optimal results.
Techniques For Achieving An Even Finish
To achieve a professional and uniform look when sealing live edge wood, consider these techniques for an even finish:
- Brushing Technique: When applying the sealant with a brush, use long, smooth strokes along the wood grain. This helps distribute the sealant evenly and minimizes unsightly brush marks.
- Wiping Technique: An alternative to brushing is using a lint-free cloth or sponge to apply the sealant. This technique works well for water-based sealants and allows for a more controlled and even application.
- Back Brushing: After applying the sealant, use a dry brush to lightly smooth out any excess or pooling. This technique helps distribute the sealant evenly and can remove air bubbles, resulting in a more even finish.
Tips For Avoiding Common Mistakes
To ensure a successful sealing process without any hiccups, keep these tips in mind to avoid common mistakes:
- Read the Instructions: Always read and follow the manufacturer’s instructions for the specific sealant you are using. This includes proper application techniques, recommended drying times, and any safety precautions.
- Avoid Overlapping Strokes: When applying subsequent coats of sealant, be mindful not to overlap the strokes too much. This can result in uneven buildup and an inconsistent finish.
- Don’t Rush the Drying Time: Patience is key when sealing live edge wood. Rushing the drying process can result in tacky or sticky surfaces, compromising the overall finish. Allow each coat sufficient time to dry completely before proceeding.
- Maintain Good Ventilation: Ensure you are working in a well-ventilated area when applying sealant. Proper ventilation allows for better airflow, expedites drying, and minimizes the risk of fumes accumulating.
Remember, proper application and technique are vital when sealing live edge wood. Following these step-by-step instructions, employing effective techniques, and avoiding common mistakes will help you achieve an impeccable and long-lasting finish on your woodwork.
Curing And Finishing Live Edge Wood
Learn how to effectively seal live edge wood with our easy-to-follow steps. From choosing the right sealant to applying it evenly, we’ll guide you through the process to ensure your live edge wood is protected and looks its best.
When it comes to sealing live edge wood, there are a few essential steps to follow in order to ensure a durable and beautiful finish. Curing and finishing the wood is crucial for protecting it from moisture, enhancing its natural beauty, and increasing its longevity.
Let’s take a closer look at the necessary steps involved in this process:
Allowing The Sealant To Cure Properly
Properly curing the sealant is crucial for achieving a long-lasting finish. Here’s what you need to do:
- Apply the sealant evenly on the surface of the live edge wood using a brush or roller.
- Give the sealant sufficient time to cure as per the manufacturer’s instructions. This can typically range from a few hours to a couple of days, depending on the type of sealant used.
- Ensure that the wood is placed in a well-ventilated area during the curing process to allow for proper air circulation.
- Avoid touching or moving the wood until the sealant has completely cured to prevent any damage or imperfections.
Applying Additional Coats Of Sealant For Enhanced Protection
Adding extra coats of sealant not only provides enhanced protection but also enhances the aesthetic appeal of your live edge wood. Here’s how to go about it:
- Lightly sand the surface of the wood with fine-grit sandpaper to create a smooth and even base for the additional coats.
- Apply subsequent coats of sealant following the same process as earlier, ensuring even coverage.
- Allow each coat to dry fully before applying the next one. Multiple coats may be necessary depending on the type of sealant and the desired level of protection.
- Take your time and be patient throughout the process to achieve a professional-looking finish.
Adding A Final Finish To Enhance The Wood’S Natural Beauty
To truly bring out the natural beauty of your live edge wood, applying a final finish is essential. Here’s what you need to know:
- Choose a finish that complements the wood type and the desired look. Options include clear varnish, wood oil, or wax.
- Apply the finish evenly using a brush, cloth, or sponge, following the specific instructions provided by the manufacturer.
- Allow the finish to dry completely, typically within a few hours to a couple of days, before using or displaying the wood.
- Regularly maintain the finish by cleaning with a damp cloth or following the recommended care instructions for the specific finish used.
By carefully following these steps, you can ensure that your live edge wood is properly sealed, protected, and showcases its natural beauty. Take your time, follow the instructions, and enjoy the satisfying results of your efforts.
Maintaining Sealed Live Edge Wood
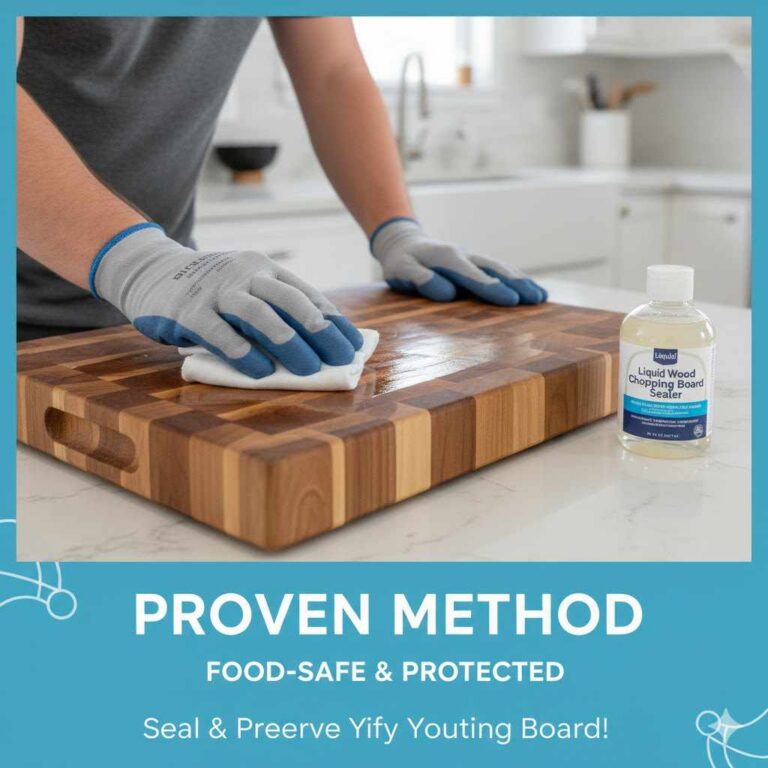
Sealing live edge wood is crucial for its maintenance. By using a sealant specifically designed for wood, you can protect the surface from moisture, dirt, and other potential damage, while also enhancing its natural beauty. Regular maintenance is essential to keep your live edge wood looking its best for years to come.
Sealing live edge wood not only enhances its natural beauty but also protects it from environmental factors and ensures its longevity. However, to maintain the sealed live edge wood, proper cleaning, periodic resealing, and preventing damage are essential. Follow these guidelines to care for and preserve the seal over time:
Cleaning And Caring For Sealed Live Edge Wood
- Use a soft, lint-free cloth or a microfiber cloth to dust the surface regularly.
- For deeper cleaning, mix mild dish soap with warm water and dampen a soft cloth with the solution. Gently wipe the surface, ensuring not to saturate the wood.
- Avoid abrasive or harsh cleaning products, as they can damage the seal.
- Remove any spills immediately to prevent staining or damage to the seal. Blot the spill gently with a clean cloth to absorb the moisture.
- Dry the wood thoroughly after cleaning to avoid moisture seeping into the seal.
How Often To Reseal The Wood
- The frequency of resealing depends on the specific type of sealant used and the conditions the wood is exposed to.
- As a general guideline, it is advisable to reseal live edge wood once a year for optimal protection and preservation.
- However, if the wood is subject to heavy usage or prolonged exposure to moisture, it may be necessary to reseal more frequently.
- Monitor the condition of the seal regularly and look for signs of wear or damage. If you notice the seal wearing off or the wood becoming more susceptible to staining, it is time to reseal.
Preventing Damage And Preserving The Seal Over Time
- Place protective pads or coasters under objects to avoid direct contact with the sealed wood.
- Use trivets or heat-resistant mats when placing hot dishes or pans on the surface.
- Avoid dragging or sliding objects across the wood, as it can scratch the seal.
- Keep the wood away from direct sunlight, as prolonged exposure can cause fading or discoloration.
- Maintain a consistent humidity level in the room to prevent the wood from drying out or warping.
- Apply a fresh coat of sealant if you notice any areas where the seal has worn off or become damaged.
By following these simple guidelines for cleaning, resealing, and preventing damage, you can ensure that your sealed live edge wood remains beautiful and protected throughout the years. Regular maintenance will help preserve the natural allure of the wood while extending its lifespan.
Expert Tips And Tricks For Sealing Live Edge Wood
Discover expert tips and tricks for sealing live edge wood! Learn the essential steps to properly seal your wood, ensuring its longevity and beauty in any project. From choosing the right sealant to applying it with precision, this comprehensive guide has got you covered.
Expert Advice For Achieving Professional-Looking Results:
- Start by sanding the live edge wood to ensure a smooth surface for better sealant absorption.
- Choose the right type of sealant based on the wood species, desired finish, and the intended use of the finished product.
- Apply the sealant in thin, even coats using a brush or a cloth to avoid streaks or excess buildup.
- Allow each coat to dry completely before applying the next layer.
- Sand lightly between coats to achieve a smooth and professional finish.
- Consider using a sealant with UV protection if the finished piece will be exposed to sunlight, to prevent discoloration and damage.
- Apply multiple coats for added durability and protection.
- Follow the manufacturer’s instructions regarding drying time, temperature, and recommended number of coats.
Troubleshooting Common Issues During The Sealing Process:
- Prevent streaks and bubbles by applying the sealant in long, even strokes in the direction of the wood grain.
- If the sealant appears too thick or drippy, thin it with a little bit of mineral spirits or water as recommended by the manufacturer.
- To avoid uneven coloring, apply the sealant evenly and ensure that all areas are covered.
- If the sealant does not adhere well or is peeling off, sand the surface lightly and reapply a new coat.
- In case of over-application or excess buildup, gently sand the surface to remove the excess sealant.
- If the sealant is not drying properly, check the temperature and humidity levels in the area. Ensure proper ventilation and consider using a fan to expedite the drying process.
Innovative Techniques And Hacks For Sealing Live Edge Wood:
- Use a sanding sealer before applying the final sealant to enhance the wood’s natural beauty and provide a smoother finish.
- Seal the end-grain areas with extra care as they tend to absorb more sealant compared to the flat surfaces. Apply additional coats to minimize uneven absorption.
- Use a foam brush instead of a traditional brush for more control and even application of sealant.
- Experiment with different sealant finishes, such as matte, satin, or glossy, to achieve the desired aesthetic appeal.
- Mix an all-in-one stain and sealant product to save time and achieve a colored finish while sealing the wood.
- If you’re working with large pieces, seal each section individually instead of trying to coat the whole project at once.
- If the live edge wood has natural cracks or voids, consider using epoxy resin as a sealant to add stability and enhance the visual appeal.
- Apply a topcoat over the sealed live edge wood for added protection and a polished look.
Remember, with the right techniques and attention to detail, sealing live edge wood can transform your project into a stunning piece that will last for years to come.
After 12+ years finishing live edge pieces in my own shop, the mistake I see most is rushing the epoxy cure between coats — pour too soon and you trap a cloudy layer you can’t sand out later. Slow down, let each thin layer go tacky first, and the extra day or two of patience is the difference between a glassy fill and a hazy one.
Frequently Asked Questions On How To Seal Live Edge Wood
What Is The Best Sealer For Live Edge Wood?
The best sealer for live edge wood is a clear epoxy resin. It provides a durable and glossy finish.
How Do I Protect My Live Edge Table?
To protect your live edge table, follow these steps:
1. Apply a clear protective finish to seal and protect the wood.
2. Use coasters or placemats to prevent water and heat damage.
3. Avoid direct sunlight exposure to prevent fading or discoloration.
4. Regularly clean and polish the table using non-abrasive cleaners to maintain its natural beauty.
How Do You Treat And Stain Live Edge Wood?
To treat and stain live edge wood, follow these steps:
1. Prepare the wood surface by sanding it gently to remove any roughness.
2. Apply a wood conditioner to ensure even stain absorption.
3. Choose a wood stain color and apply it in long, smooth strokes.
4. Allow the stain to penetrate the wood for the recommended time, then wipe off any excess.
5. Apply multiple coats of clear finish to protect the wood and enhance its beauty.
6. Let the finish dry completely before using or installing the live edge wood.
How Do You Seal Live Edge Wood?
To seal live edge wood, start by sanding the surface to remove any rough spots. Apply a coat of wood conditioner to ensure even absorption. Next, use a brush or rag to apply a wood sealer, following the wood grain.
Allow it to dry, then lightly sand and apply a second coat. Finally, finish with a clear wood finish for added protection and a polished look.
Can I Use Epoxy Resin To Seal Live Edge Wood?
Yes — epoxy resin is the best option specifically for filling deep cracks, knots, and bark-pocket voids that a brushed sealant can’t reach. Use a low-viscosity deep-pour (casting) epoxy for gaps deeper than about 1/8″, apply a thin seal coat first, and pour in layers of roughly 1/4″ at a time to avoid trapping heat and cracking.
Conclusion
Sealing live edge wood is a crucial step in preserving its natural beauty and ensuring its longevity. By following the proper techniques and using the right products, you can enhance the wood’s grain and protect it from the elements. Applying a quality sealant will create a barrier against moisture, dirt, and UV rays, preventing warping, discoloration, and degradation.
Remember to clean the surface thoroughly before sealing and apply multiple coats for maximum protection. It’s important to choose a sealant that is specifically designed for live edge wood to achieve the desired result. Whether you’re working on a live edge table, shelves, or any other project, the extra effort put into sealing will pay off in the long run.
So, go ahead and bring out the natural beauty of live edge wood while ensuring its durability with proper sealing techniques. Happy woodworking!