How to Stack Wood in a Fire Pit (4 Methods Compared)
Stack wood in a fire pit using the teepee, log cabin, lean-to, or cross-stack method — but only with seasoned wood under 20% moisture, or the pile will smoke instead of burn. Tightly packed or unseasoned logs choke off airflow and can smolder for 20+ minutes without catching. This guide covers all four methods, how to test moisture before you build, and the fire pit safety steps most guides skip.
What You’ll Need Before You Stack
Best Moisture Meter Pick

TopTes TS-630 Digital Wood Moisture Meter
Pin-type meter with a tricolor backlit display — green, orange, or red readings tell you in seconds whether a log is under the 20% threshold for a clean burn.
- Best for: Confirming firewood is actually seasoned before you build a stack
- Why we picked it: Tricolor display removes the guesswork of reading a percentage number under firelight
- Main drawback: Pins only read a few millimeters deep, so test more than one spot on thick splits
Compare more fire pit stacking gear
 Option 1 Long-Neck Electric Arc Lighter
|
 Option 2 BSLSVGE Firewood Carrier Bag
|
 Option 3 RAPICCA Fireproof Leather Gloves
|
As an Amazon Associate we earn from qualifying purchases.
- Seasoned hardwood logs split to roughly 3–6 inches in diameter — smaller splits catch faster than whole rounds because more surface area is exposed to the flame.
- Kindling and tinder — dry twigs, cardboard strips, or fatwood; avoid glossy paper, which burns too fast to transfer heat to the logs.
- A long lighter or match to reach the base of the stack without leaning over the fire.
- A moisture meter (optional but useful) to confirm your wood reads under 20% before you build — wet wood is the single biggest reason fire pit stacks smoke and stall.
Choosing the Right Firewood
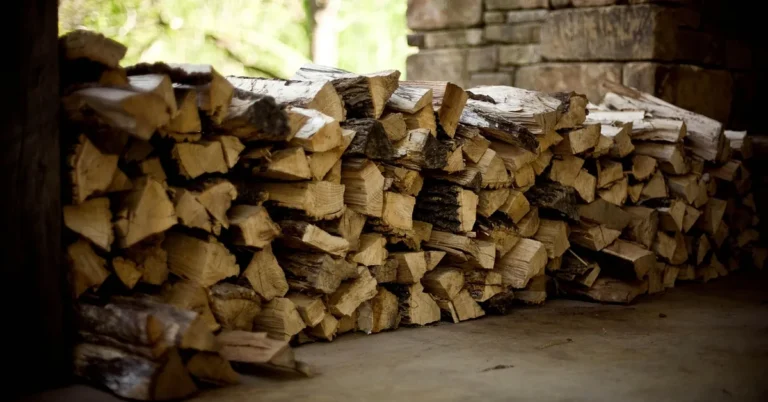
Seasoned hardwood is wood that has dried outdoors for at least six months until its internal moisture drops below 20% — that condition is what lets it ignite easily and burn hot instead of hissing and smoking. Oak, hickory, maple, and birch are the standard choices among our wood burning guides because they burn longer and produce more consistent heat than softwoods like pine.
- Skip green or wet wood. High moisture content means the fire spends its energy boiling off water before it can actually burn, which is why unseasoned stacks smoke heavily and struggle to stay lit.
- Never burn treated, painted, or engineered wood. Burning treated wood releases arsenic and other chemical residues into the smoke.
- Oak needs more patience than other hardwoods. Depending on split size and climate, oak can take 6 to 18 months to fully season, longer than softer hardwoods like birch or maple.
If you store your own supply between fires, stacking firewood correctly for seasoning is what determines whether it’s actually ready to burn by the time you need it — a fire pit stack and a long-term storage stack solve two different problems.
The 4 Stacking Methods for a Fire Pit
Each method trades off ignition speed against burn length. Pick based on whether you want flames fast or a steady bed of coals that lasts.
Teepee Method
- Place kindling and tinder in the center of the fire pit.
- Lean smaller split logs against each other around the kindling in a cone shape, leaving an opening to light the center.
- Add progressively larger logs to the outside of the cone as the fire catches.
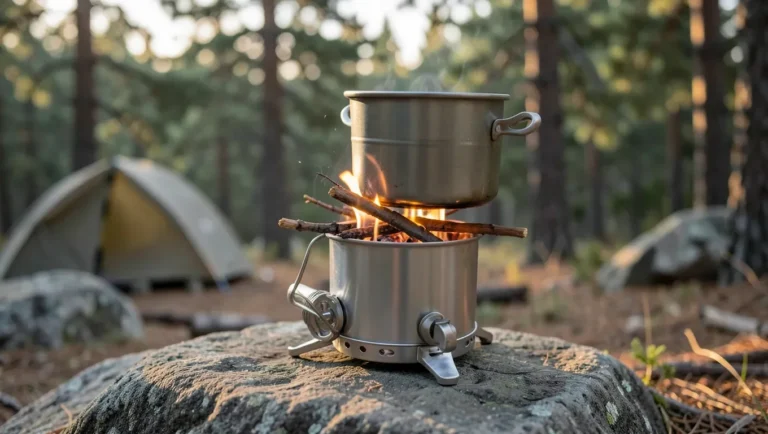
The cone shape funnels heat upward and pulls air in from the base, so a teepee stack usually catches within a few minutes — it’s the fastest method here, but it collapses inward once the base logs burn through, so you’ll rebuild the shape as it burns.
Log Cabin Method
- Lay two logs parallel to each other with a few inches of space between them.
- Stack two more logs on top, perpendicular to the first pair, forming a square.
- Continue alternating layers, placing kindling in the center as you build.
- Leave gaps between each log for airflow.
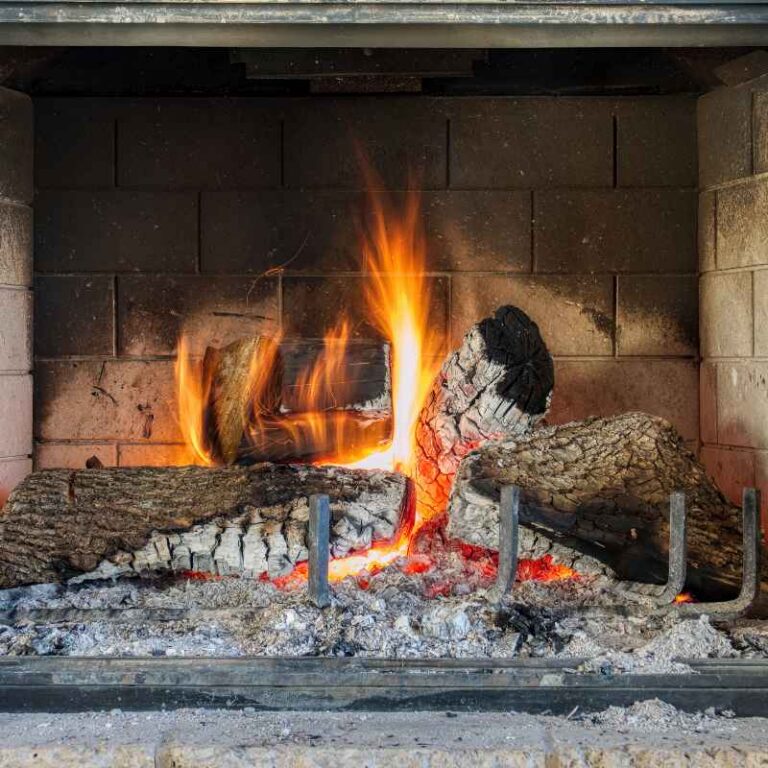
Because the structure stays upright as it burns instead of collapsing, log cabin stacks build a wider, longer-lasting bed of coals than a teepee — the better choice if you’re settling in rather than just getting warm fast.
Lean-To Method
- Drive or wedge one thick log or a metal fire pit grate stake into the ground or against the pit’s edge at a slight angle.
- Lean kindling and smaller logs against it, angled into the wind.
- Light the kindling on the downwind side so the flame is pushed into the stack rather than away from it.
This is the method to use on a breezy evening — the angled logs act as a windbreak for the kindling, which a teepee or log cabin stack doesn’t provide. It’s less common in guides but genuinely useful the first time wind keeps blowing your match out.
Cross-Stack Method
- Lay several logs side by side in a row across the base of the pit.
- Layer more logs on top, perpendicular to the row beneath, crisscross-style.
- Keep consistent gaps between logs at every layer for air circulation.
A cross-stack burns evenly across its whole width rather than concentrating heat in the center, which makes it a good option when you want consistent heat spread for a group sitting around the pit.
| Method | Ignition Speed | Wind Resistance | Best For |
|---|---|---|---|
| Teepee | Fast | Low | Quick flames, needs rebuilding as it burns |
| Log Cabin | Moderate | Moderate | Long, steady coal bed for sitting around |
| Lean-To | Moderate | High | Windy evenings |
| Cross-Stack | Moderate | Moderate | Even heat spread for a group |
Getting the Airflow Right
Airflow is the gap-driven path that lets oxygen reach burning wood — without it, a fire pit stack smolders and produces smoke instead of clean flame. Most beginner fire pits fail for one reason: the logs are stacked too tightly.
- Use a fire pit with an elevated grate where possible — raising the wood off the pit floor lets air reach it from below, not just the sides.
- Leave finger-width gaps between logs at every layer of whichever method you’re using.
- Keep the stack below the rim of the pit. A pile built above the rim blocks its own airflow and throws sparks further than the pit is designed to contain.
📊 Seasoned firewood should read below 20% moisture on a pin-type meter. Above that, water inside the wood boils off as steam before the wood itself can ignite — the visible result is thick white smoke and a stack that won’t hold a flame. — Source: U.S. Department of Energy wood-burning guidance
Fire Pit Safety While You Build and Light Your Stack
Stacking method matters less than basic fire safety, and it’s the part most stacking guides skip entirely. Cover these before you strike a match.
- Keep at least 10 feet of clearance between the fire pit and any structure, fence, or overhanging branch.
- Never leave a burning fire pit unattended — even a low bed of coals can reignite if wind picks up or a log shifts.
- Keep water or sand within reach the entire time the pit is lit, not just for extinguishing at the end.
- Extinguish completely before leaving — drown the coals, stir, and drown again until there’s no hissing and the area is cool to the back of your hand held above it.
- Check local burn restrictions before lighting; some areas suspend open burning during dry conditions regardless of fire pit design.
Common Mistakes When Stacking a Fire Pit
- Packing logs too tightly. It looks tidy but suffocates the fire — always leave visible gaps.
- Using wood straight from a fresh-cut tree. Green wood can carry 50% or more moisture content and simply won’t sustain a flame no matter how it’s stacked.
- Ignoring wind direction. Lighting on the upwind side blows your flame away from the kindling instead of into it — light from downwind.
- Building above the rim of the pit. This blocks airflow to the base of the stack and increases spark-throw risk.
Lighting Your Stack
- Build the base: Arrange your logs using whichever method fits tonight’s conditions, leaving the kindling accessible at the center or downwind edge.
- Add kindling and tinder: Tuck dry tinder against the kindling where the flame will have the shortest path to the smallest wood.
- Light from the base: Ignite the tinder at the lowest point of the stack so the flame naturally climbs upward through the kindling into the logs.
- Feed the fire in layers: Once the kindling catches and the first logs are burning, add additional logs gradually rather than all at once, which can smother a young flame.
If a firelog product is part of your stack, position it with the printed arrows on the wrapper seam facing down, and light directly at that seam — the wrapper is designed to catch fastest at that exact point.
Keeping the Fire Going
Once the fire is established, add new logs in the same pattern you started with rather than dropping them in randomly — a log cabin stack stays a log cabin stack as you feed it. Add wood before the coal bed drops too low; restarting a fire that’s fully died back takes longer than maintaining one that’s still glowing.
How well the fire keeps burning comes down to the same two things covered above: consistent airflow gaps and dry wood. A well-built stack that follows both needs far less tending than one that doesn’t.
Frequently Asked Questions
How do you position logs in a fire pit?
Start with two logs on the grate in an X shape with the top log angled upward, then build outward using the teepee, log cabin, lean-to, or cross-stack method depending on how fast you want it to catch and whether wind is a factor.
What’s the best way to stack wood in a fire pit for a quick fire?
The teepee method lights fastest because the cone shape funnels air and heat straight up through the kindling at the center. Expect it to need rebuilding sooner than a log cabin stack as the base logs burn through.
How do you keep a fire pit stack from smoking?
Heavy smoke almost always means the wood is above 20% moisture. Test with a moisture meter before building, leave gaps between every log for airflow, and avoid packing the stack tightly — all three fix smoking stacks in most cases.
Is it safe to leave a fire pit unattended while it burns down?
No. A fire pit should never be left unattended, even once flames have died down to coals — a gust of wind or a shifting log can reignite a fire that looks finished. Stay nearby with water or sand until it’s fully extinguished.
How many logs do you need for a 2-hour fire pit burn?
For a standard 30-inch fire pit, plan on roughly 8 to 10 split hardwood logs (3–6 inches in diameter) to establish and maintain a fire for about two hours, feeding in 2–3 additional logs every 30–40 minutes as the coal bed burns down.
How do you stack firewood so it dries before burning?
That’s a separate question from fire pit stacking — for seasoning, split logs and stack them off the ground on a crisscross base with the top covered but the sides open to wind and sun for at least six months, testing with a moisture meter before you burn.
Conclusion
The method matters less than two fundamentals: seasoned wood under 20% moisture and consistent airflow gaps between every log. Pick the teepee for a fast start, log cabin or cross-stack for a longer sit, and lean-to when wind is working against you — then keep water or sand within reach until the pit is fully out.
Sponsored / affiliate links. As an Amazon Associate I earn from qualifying purchases. I may earn additional commission from eligible campaigns.