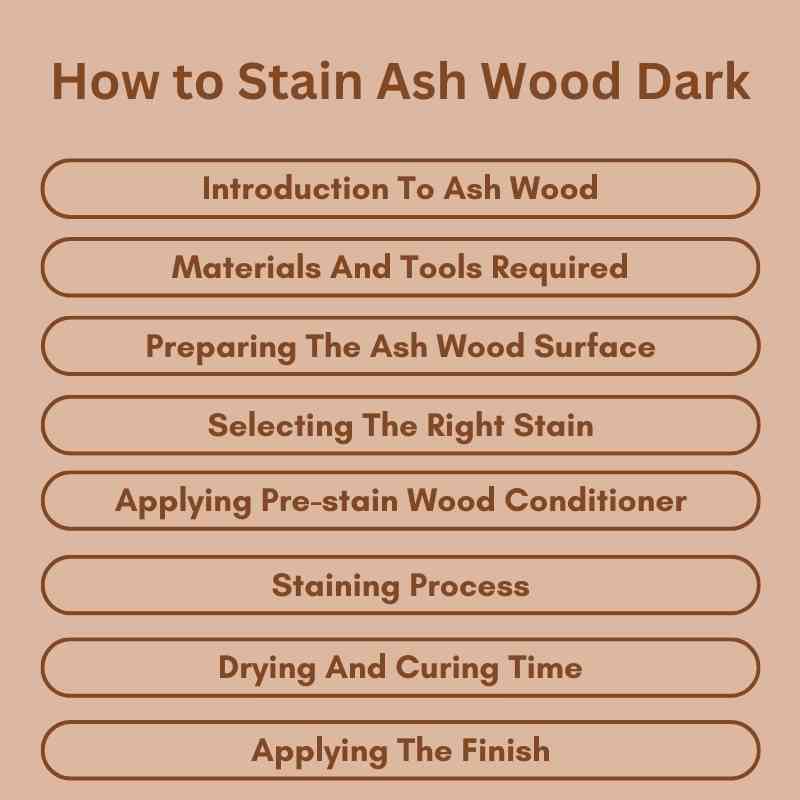
How to Stain Ash Wood Dark: A Step-by-Step Guide
To stain ash wood dark, start by sanding the surface to create a smooth texture. Apply a pre-stain wood conditioner before using a dark wood stain for even results.
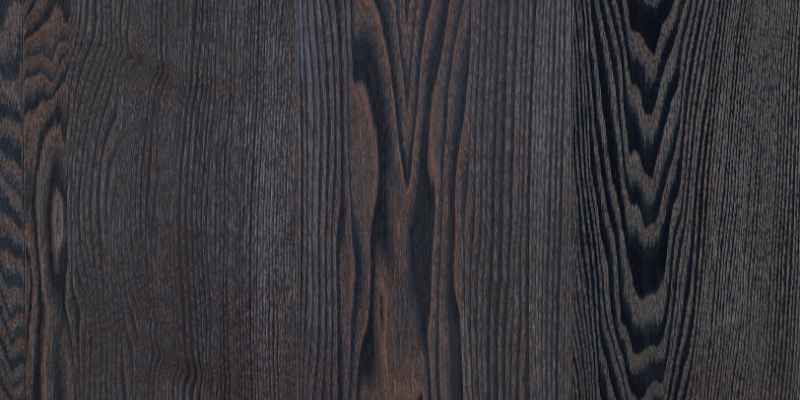
Staining ash wood can transform its light hue into a rich, dark finish. This process enhances the wood’s natural grain and character. Ash is known for its durability and strength, making it a popular choice for furniture and cabinetry. Proper preparation is key to achieving a deep, uniform color.
Using a wood conditioner helps the stain absorb evenly, preventing blotchiness. Whether you want a dramatic look or a subtle deepening of color, selecting the right stain and technique is essential. Follow these steps for a beautiful, dark-stained ash wood that adds elegance to any space.
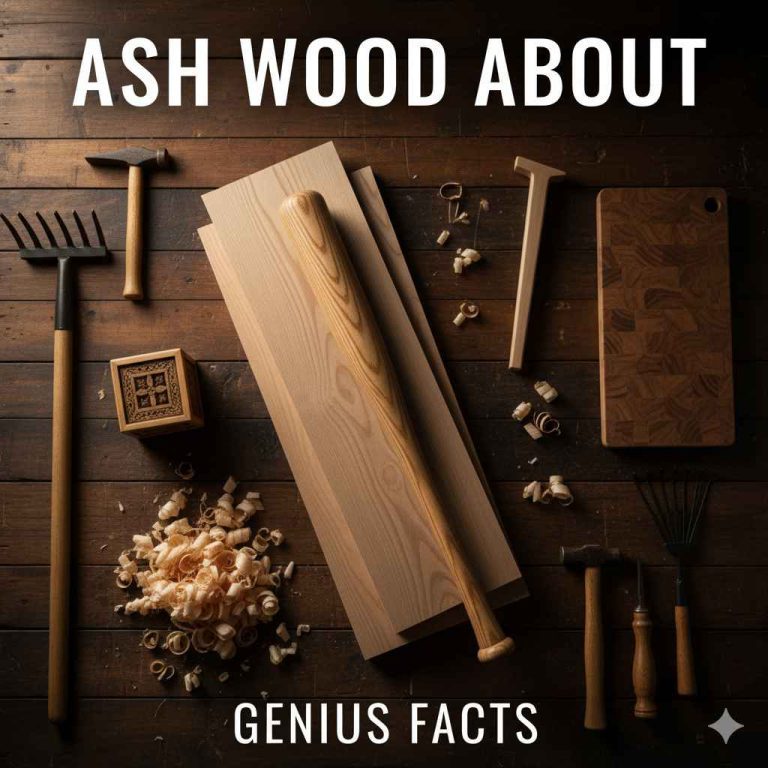
Introduction To Ash Wood
Ash wood is known for its strength and flexibility. It has a light color, usually ranging from pale yellow to light brown. The grain is straight and has a beautiful texture, making it popular for furniture and flooring.
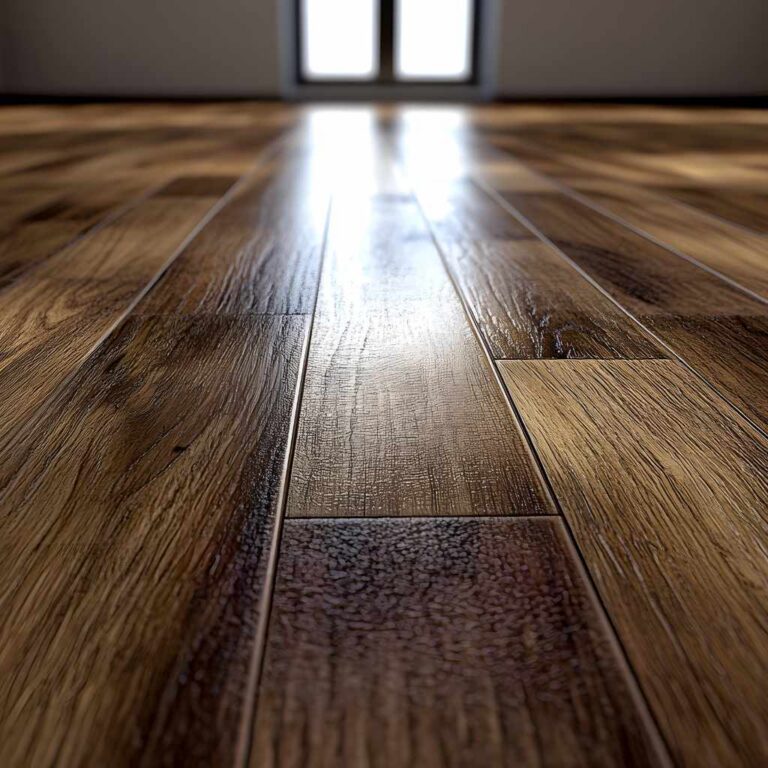
Staining ash wood dark can enhance its natural beauty. Dark stains highlight the wood’s grain and give it a rich, elegant appearance. This process also helps to protect the wood from moisture and UV damage. Dark stains can also hide minor imperfections.
Choosing a dark stain can create a warm and inviting atmosphere in any space. Dark-stained ash wood can complement various decor styles, from modern to rustic. The result is a stunning finish that adds value to your wood products.
Materials And Tools Required
Gather essential materials and tools for staining ash wood dark. You’ll need sandpaper, a high-quality wood stain, brushes, and rags. Prepare your workspace with protective gear to ensure a smooth application process.
List Of Materials
- Ash wood surface
- Wood stain (dark shade)
- Wood conditioner
- Clean rags
- Sandpaper (fine grit)
Choosing The Right Brushes And Applicators
Selecting the right brush or applicator is important. Use a natural bristle brush for best results. A foam applicator works well too. Both help apply stain evenly. Avoid synthetic brushes; they can leave streaks.
For tight areas, use a small brush. It helps reach corners easily. Test different tools on scrap wood before starting. This ensures a perfect finish on your ash wood.
Preparing The Ash Wood Surface
Start by cleaning the ash wood surface. Use a damp cloth to wipe away dust and debris. Make sure the wood is completely dry before proceeding.
Sanding is crucial for a smooth finish. Use medium-grit sandpaper to remove rough spots. Follow up with fine-grit sandpaper for a polished look. Sand in the direction of the wood grain. This helps avoid scratches and ensures an even surface.
After sanding, clean the surface again. This removes any dust particles created during sanding. A clean surface allows for better staining results.
Selecting The Right Stain
Choosing the right stain for ash wood is essential. Different types of stains can change the look. Here are some common types:
- Oil-Based Stains: These provide a deep color and are durable.
- Water-Based Stains: These dry quickly and have less odor.
- Gel Stains: These work well on vertical surfaces and give even color.
- Varnish Stains: These combine stain and finish for protection.
Testing stain colors on scrap wood is important. This helps see how the wood absorbs the stain. Different wood grains can affect the final shade. Always test in a hidden area first.
Applying Pre-stain Wood Conditioner
Using a pre-stain wood conditioner is key for darkening ash wood. It helps the wood absorb the stain evenly. Without it, some areas may become too dark or too light. This can ruin the final look of your project.
The main purpose of a pre-stain conditioner is to prevent blotchiness. It prepares the wood surface for better stain absorption. Always apply the conditioner before staining for the best results.
For application techniques, follow these simple steps:
- Choose a high-quality conditioner suitable for ash wood.
- Use a clean, lint-free cloth or brush to apply it.
- Work the conditioner into the wood, following the grain.
- Let it sit for about 5-15 minutes.
- Wipe off any excess before staining.
Staining Process
Staining ash wood can be simple with the right tips. Start by preparing the surface. Sand the wood to remove any rough spots. Clean off the dust before applying stain. Choose a high-quality wood stain for best results.
Use a clean cloth or brush to apply the stain. Work in small sections for an even finish. Always follow the wood grain to avoid streaks. Allow the stain to soak in for a few minutes. Wipe off any excess with a clean cloth.
Test the stain on a scrap piece first. This helps to see how the color turns out. Adjust the number of coats to achieve your desired shade. Remember, patience is key for a beautiful finish.
Drying And Curing Time
For the best results, drying ash wood requires specific conditions. Keep the temperature between 60°F to 80°F. Humidity levels should be around 30% to 50%. This environment helps the stain to set properly.
The curing duration varies based on the stain used. Generally, allow 24 to 48 hours for the stain to dry completely. After applying the stain, avoid heavy use for at least one week. This will ensure the stain fully adheres and protects the wood.
| Condition | Ideal Range |
|---|---|
| Temperature | 60°F to 80°F |
| Humidity | 30% to 50% |
| Stain Drying Time | 24 to 48 hours |
| Heavy Use Wait Time | 1 week |
Applying The Finish
Choosing the right finish is key for staining ash wood. Oil-based stains provide rich colors and durability. Water-based stains dry faster and are easier to clean up. Consider the transparency of the stain. A transparent stain shows wood grain, while a solid stain covers imperfections.
For best results, test the stain on a scrap piece first. This helps to see the final color. Finishing techniques vary by product. Brushing gives a smooth finish, while ragging can create a unique look. Always follow the manufacturer’s instructions for best results.
Maintenance Tips For Stained Ash Wood
Regular cleaning is key for maintaining stained ash wood. Use a soft cloth to remove dust and dirt. Avoid harsh chemicals that can damage the finish. A mixture of warm water and mild soap works well. Wipe the surface gently and dry it quickly.
Touch-up strategies can help keep your wood looking great. For small scratches, use a matching wood stain marker. Apply it carefully to the affected area. Let it dry completely before touching. For larger areas, consider applying a new coat of stain. Follow the manufacturer’s instructions for the best results.
Frequently Asked Questions
How Do You Prepare Ash Wood For Staining?
To prepare ash wood for staining, start by sanding it with fine-grit sandpaper. This removes imperfections and opens the wood’s pores. Clean the surface to eliminate dust and debris. You may also apply a wood conditioner to ensure even absorption of the stain.
What Type Of Stain Works Best On Ash Wood?
Oil-based stains are often recommended for ash wood. They penetrate deeply and enhance the wood grain beautifully. Water-based stains can also be used, providing quicker drying times and easier cleanup. Ultimately, the choice depends on your desired finish and application method.
How Long Does Ash Wood Stain Take To Dry?
Typically, ash wood stain takes about 4 to 6 hours to dry. However, drying times can vary based on the product and environmental conditions. For best results, allow the stain to cure overnight before applying a topcoat. Always check the manufacturer’s instructions for specific guidance.
Can You Stain Ash Wood Dark?
Yes, you can stain ash wood dark successfully. Dark stains highlight the wood grain while providing a rich finish. Make sure to apply multiple coats for a deeper color. Test the stain on a small area first to ensure you achieve your desired shade.
Conclusion
Staining ash wood can transform its natural beauty into something truly stunning. By following the right techniques, you can achieve a rich, dark finish. Remember to choose high-quality stains and apply them carefully for the best results. Enjoy your newly stained ash wood and the enhanced elegance it brings to your space.