Crafting a Custom Cutting Board: Transforming Wood with Your Own Hands
To make a cutting board from wood, select a hardwood like maple or walnut for durability. Cut the wood to size, sand it smooth, and apply food-safe finish.
A cutting board made from wood is a timeless and practical addition to any kitchen. Not only does it provide a sturdy surface for chopping and slicing, but it also adds a touch of natural elegance to the culinary space.
Here, we’ll guide you through the process of creating your own wooden cutting board. Whether you’re a seasoned woodworker or just starting out, this DIY project can be both rewarding and functional. By carefully following these steps, you’ll be able to craft a custom cutting board that meets your specific needs and style preferences. Let’s get started on this satisfying and useful woodworking endeavor.
Credit: www.etsy.com
Choosing The Right Wood
When it comes to creating a cutting board from wood, choosing the right type of wood is crucial to ensure durability and longevity. Whether you are a beginner or a seasoned woodworker, understanding the differences between hardwood and softwood, as well as the importance of grain orientation, is essential in making an informed decision for your project.
Hardwood Vs. Softwood
Hardwood and softwood are two main categories of wood often used for crafting cutting boards. Hardwood, such as maple, cherry, or walnut, is known for its dense and durable nature, making it ideal for withstanding regular use in the kitchen. Softwood, such as pine or cedar, is less dense and more susceptible to damage, making it less suitable for cutting board construction.
Grain Orientation
When creating a cutting board, it’s essential to consider the orientation of the wood grain. End-grain boards, constructed with the ends of the wood facing upward, provide a highly durable and resistant surface for chopping and cutting. In contrast, edge-grain boards, where the wood is arranged with the edges facing up, are less durable and prone to showing wear and tear over time.
Designing Your Cutting Board
When designing your cutting board, it’s essential to consider key elements such as size, shape, patterns, and inlays. Each of these aspects not only adds functionality but also enhances the aesthetic appeal of your cutting board. Let’s delve into each of these factors to help you create the perfect cutting board for your needs.
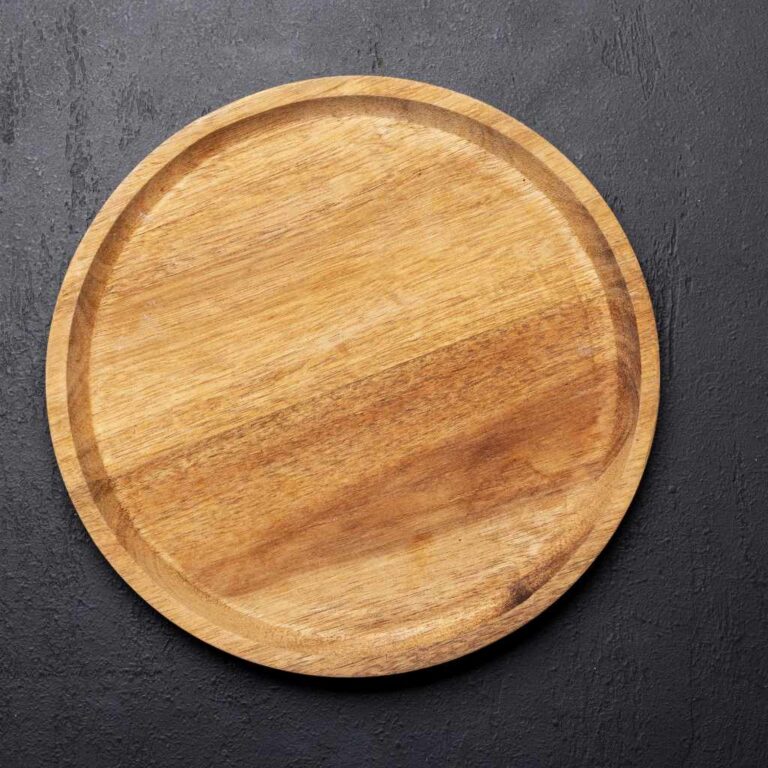
Size And Shape
A crucial consideration when designing your cutting board is the size and shape. The dimensions of the cutting board should be thoughtfully chosen based on your specific requirements. For instance, a larger cutting board may be ideal for preparing extensive meals, while a smaller one may be more suitable for everyday use. The shape, whether rectangular, round, or unconventional, can also contribute to the functionality and add a unique touch to the design.
Patterns And Inlays
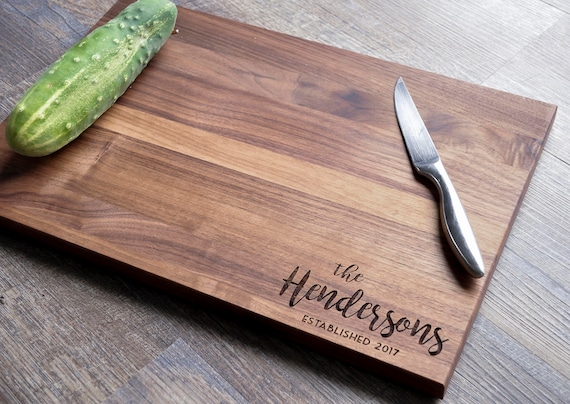
Adding patterns and inlays to your cutting board can elevate its appearance and make it stand out in the kitchen. Whether it’s a simple geometric pattern or an intricate design, incorporating these elements can add personality to the board. Inlays, such as a contrasting wood or decorative material, can also create a visually stunning effect, making your cutting board a work of art in addition to its practical use.
Tools And Materials Needed
To craft a cutting board from wood, gather essential tools like a saw, sandpaper, and food-safe finish. Ensure proper materials include hardwood lumber in desired dimensions and safety gear. This project requires attention to detail and patience for a functional and visually appealing result.
To create a cutting board from wood, you will need a few essential tools and materials. These items are key to ensuring a successful and safe woodworking project. Here is a breakdown of what you will need:
Essential Tools
1. Table saw
2. Router
3. Clamps
4. Sandpaper
5. Tape measure
Safety Gear
1. Safety glasses
2. Dust mask
3. Ear protection
Remember, having the right tools and safety gear is crucial for a smooth woodworking experience.
Crafting Process
The crafting process of making a cutting board from wood involves several key steps that turn a simple piece of lumber into a functional and beautiful kitchen tool. Each step requires attention to detail and precision to ensure the final product is of the highest quality.
1. Cutting And Shaping
The first step in the crafting process is cutting and shaping the wood to the desired size and design. This involves measuring the dimensions of the cutting board and marking the wood accordingly. Using a saw, carefully cut along the marked lines to create the primary shape of the board.
Once the basic shape is achieved, it’s time to focus on the finer details such as rounding the edges and corners. This not only enhances the aesthetic appeal of the cutting board but also makes it safer to handle. To achieve smooth and rounded edges, a router or sanding tool can be used.
2. Sanding And Finishing
After the cutting and shaping process, the next step is sanding the wood to create a smooth and even surface. Start with coarse-grit sandpaper to remove any rough edges or imperfections. Gradually progress to finer-grit sandpaper to achieve a polished finish.
Once the sanding is complete, it’s time for the finishing touches. Applying a food-safe finish not only adds durability to the cutting board but also enhances its natural beauty. There are various finishes available, such as mineral oil, beeswax, or a combination of both. These finishes penetrate the wood, providing protection against moisture and preventing the growth of bacteria.
All in all, the crafting process of making a cutting board from wood requires patience, precision, and a keen eye for detail. By carefully following each step, you can create a stunning cutting board that will not only serve as a functional kitchen tool but also add a touch of craftsmanship to your culinary experience.
Maintaining Your Cutting Board
Once you have made a cutting board from wood, it is important to know how to properly maintain it. Regular cleaning and sanitizing, as well as oiling and conditioning, will help to keep your cutting board in optimal condition for years to come.
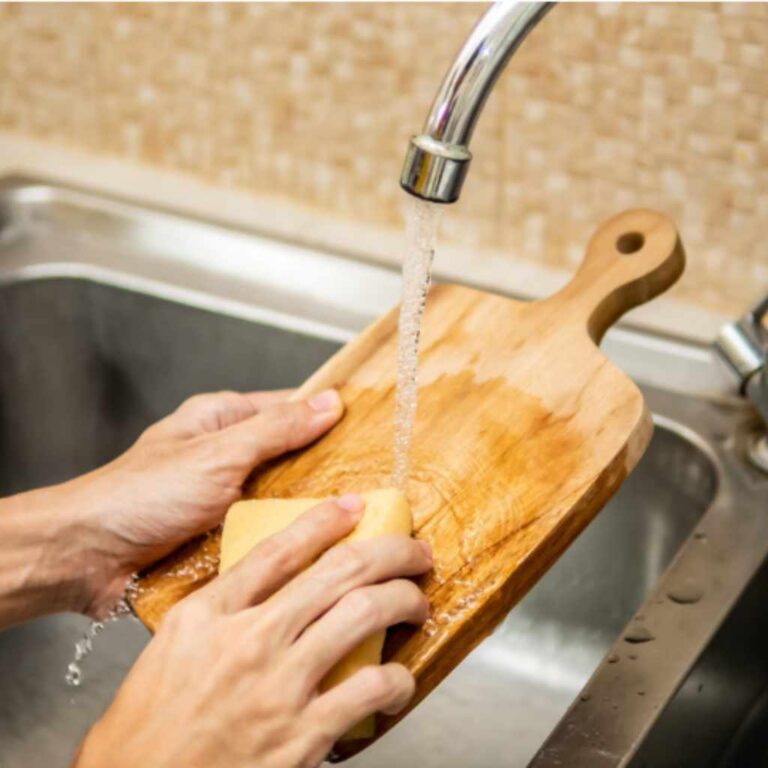
Cleaning And Sanitizing
To clean your cutting board, start by rinsing it with hot water to remove any loose food particles. Then, use a mild dish soap and a sponge or brush to scrub the surface of the board. Pay special attention to any stains or odors, as these can be removed by using a paste made from baking soda and water. Rinse the board thoroughly with hot water, and pat it dry with a clean towel or let it air dry completely.
To sanitize your cutting board, you can use a mixture of one part vinegar and four parts water. Pour the solution onto the board, and let it sit for a few minutes. Then, rinse the board with hot water, and pat it dry. Another option is to use a solution of one teaspoon of bleach mixed with one quart of water. Apply the solution to the board, and let it sit for a few minutes before rinsing and drying.
Oiling And Conditioning
Oiling your cutting board helps to prevent it from drying out and warping. It also creates a protective barrier that repels water and inhibits the growth of bacteria. To oil your cutting board, start by choosing a food-grade oil such as mineral oil or coconut oil.
- Apply a thin layer of oil to the entire surface of the board using a clean cloth or paper towel.
- Gently rub the oil into the wood, making sure to cover all areas.
- Let the oil sit on the board for a few hours or overnight, allowing it to penetrate the wood.
- Wipe off any excess oil with a clean cloth, ensuring the board is not left sticky or greasy.
Conditioning your cutting board can help to maintain its appearance and prolong its lifespan. This can be done by applying a wood conditioner or a mixture of beeswax and mineral oil. Follow the manufacturer’s instructions for the specific product you are using.
By following these simple steps for cleaning, sanitizing, oiling, and conditioning your cutting board, you will ensure that it remains in great condition and provides a safe surface for all your food preparation needs.
:max_bytes(150000):strip_icc()/blanc-creatives-hand-crafted-cookware-B7L8mwnV4bxBSCchHT8ryk-0622-9f4d5ec2aa694d298d2fc714d6c94939.jpg)
Credit: www.marthastewart.com
Frequently Asked Questions Of Make A Cutting Board From Wood
Can You Make A Cutting Board Out Of Any Wood?
Yes, you can make a cutting board out of any wood. However, some woods are better suited for this purpose. Hardwood like maple, cherry, and walnut are ideal due to their durability and resistance to moisture and bacteria. Softwoods like pine are not recommended for cutting boards.
What Is The Best Type Of Wood For A Cutting Board?
The best type of wood for a cutting board is hardwood, such as maple, walnut, or cherry. These woods are durable, have tight grains, and are less likely to harbor bacteria. Additionally, they are easier on knives, making them ideal for food preparation.
How Do You Make A Wooden Cutting Board Food Safe?
To make a wooden cutting board food safe, regularly oil it using mineral oil or beeswax. Avoid using vegetable or olive oils to prevent rancidity. Clean with warm soapy water and dry promptly. Apply a baking soda and water paste to remove stains.
Avoid soaking or putting in the dishwasher.
What Wood Should Not Be Used For Cutting Boards?
Avoid using softwoods like pine or cedar for cutting boards as they are more prone to scratching and absorbing odors. Instead, opt for hardwoods such as maple, walnut, or cherry, which offer durability and resistance to bacteria.
Conclusion
Crafting a wooden cutting board offers a rewarding experience. Enhance your kitchen with a personalized touch. Woodworking projects like this are not only functional but also aesthetically pleasing. Embrace the art of DIY and create a unique addition to your culinary space.
Let your creativity shine through in every slice.