Plans for a Cutting Board: Easy DIY Designs for Beginners
Plans for a cutting board involve selecting the desired wood, determining the dimensions and shape, and designing the board’s pattern or style. A cutting board can be customized to fit specific needs, such as incorporating a juice groove or handles for easy transportation.
The choice of wood is important, as it should be durable and resistant to moisture and bacteria. The dimensions and shape should be determined based on personal preference and the intended use of the cutting board. Designing the pattern or style adds a unique touch to the board, whether it’s a simple minimalist design or an intricate pattern.
Overall, careful planning ensures a functional and aesthetically pleasing cutting board.
Introduction To DIY Cutting Boards
Why Make Your Own?
Making your own cutting board can be a rewarding and practical endeavor. It allows you to customize the size, shape, and material according to your preferences, and you can create a unique piece that reflects your personal style. Additionally, crafting your own cutting board can be a cost-effective and environmentally friendly alternative to purchasing one from a store.
Tools And Materials Needed
Before embarking on your DIY cutting board project, it’s important to gather the necessary tools and materials. The basic tools required include a saw, sandpaper, clamps, and a router for creating smooth edges. As for materials, you’ll need a high-quality hardwood such as maple, walnut, or cherry, along with food-safe wood glue and finish. It’s essential to prioritize safety by using protective gear, such as goggles and gloves, throughout the construction process.
 Cutting Boards” width=”800″ height=”400″ />
Choosing The Right Wood
When it comes to choosing the right wood for your cutting board, it’s essential to consider the type of wood that will best suit your needs. Different types of wood offer various characteristics that can impact the durability, appearance, and functionality of your cutting board. Understanding the pros and cons of each wood type will help you make an informed decision.
Types Of Wood
There are several types of wood commonly used for cutting boards, each with its unique features:
- Maple
- Walnut
- Cherry
- Bamboo
Pros And Cons
| Wood Type | Pros | Cons |
|---|---|---|
| Maple | Durable, resistant to cuts and scratches | May dull knives more quickly |
| Walnut | Beautiful dark color, natural anti-bacterial properties | Softer wood, may show cut marks more prominently |
| Cherry | Rich, reddish-brown color, durable | May darken with age and use |
| Bamboo | Renewable, eco-friendly, harder than most hardwoods | May dull knives, not ideal for heavy chopping |
Simple Design Ideas
When it comes to creating a cutting board, the design plays a crucial role in both functionality and aesthetics. Here are some simple design ideas that you can consider:
Basic Rectangle
A classic choice, the basic rectangle cutting board is versatile and easy to work with.
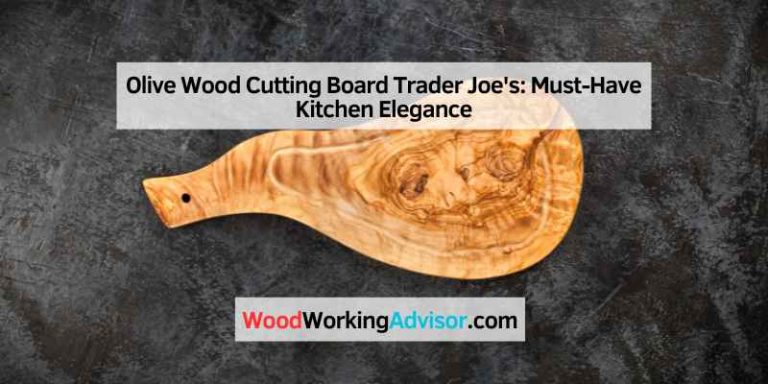
Circle With Handle
If you prefer a unique touch, a circle cutting board with a handle can add both style and convenience to your kitchen.
Step-by-step Guide To Your First Cutting Board
This step-by-step guide provides detailed plans for creating your first cutting board. Follow the instructions carefully to create a unique and functional addition to your kitchen.
If you’re interested in creating a beautiful and functional cutting board, this step-by-step guide will help you get started. With just a few tools and some basic woodworking skills, you can create a cutting board that will last for years. Follow these simple steps to create your first cutting board.
Cutting the Wood
The first step in creating a cutting board is to choose the wood you want to use. You’ll need a hardwood that is both durable and attractive, such as maple or walnut. Once you have your wood, you’ll need to cut it to the desired size and shape. You can use a table saw or a handheld circular saw to make the cuts. Make sure to measure and mark your cuts carefully to ensure accuracy.
Sanding and Shaping
After cutting the wood, the next step is to sand and shape it. Start with a coarse sandpaper to remove any rough spots or imperfections in the wood. Then, gradually work your way up to a finer grit sandpaper to achieve a smooth finish. Once the wood is sanded, you can shape it using a router or a handheld sander. Be sure to wear protective gear, such as goggles and a dust mask, to keep yourself safe.
Finishing Touches
The final step in creating your cutting board is to add the finishing touches. You can use a food-grade oil or wax to protect the wood and give it a beautiful finish. Apply the oil or wax according to the manufacturer’s instructions, and be sure to let it dry completely before using your cutting board.
Creating a cutting board is a fun and rewarding project that will allow you to showcase your woodworking skills. By following these simple steps, you can create a cutting board that is both beautiful and functional. So, grab your tools and get started today!
Personalizing Your Cutting Board
Elevate your culinary game by customizing your cutting board with unique designs and personalized touches. Create detailed plans for a cutting board that reflects your style and adds a personal touch to your kitchen space. Let your creativity shine through in this practical yet stylish kitchen essential.
Engraving Techniques
Engrave your cutting board with initials or a special date.
Color And Pattern Ideas
Consider vibrant colors or classic wood patterns for a unique touch.
Maintenance And Care
To maintain the longevity of your cutting board, it’s important to have a care plan in place. Regularly oiling the board, wiping it down after each use and avoiding soaking it in water are all important steps to keep it in good condition.
A well-cared for cutting board will not only last longer but also ensure food safety.
A cutting board is an essential tool in any kitchen. It provides a safe and sanitary surface for food preparation and protects your knives from damage. However, to ensure that your cutting board lasts for years to come, it is important to maintain and care for it properly. In this blog post, we will discuss the three key aspects of cutting board maintenance and care: cleaning, oiling, and storing.
Cleaning
To keep your cutting board clean, it is important to wash it after each use. Use hot, soapy water and a non-abrasive sponge to scrub the surface of the cutting board thoroughly. Rinse the board with hot water and dry it with a clean towel. Avoid soaking the cutting board in water, as this can cause it to warp or crack. Additionally, never put your cutting board in the dishwasher, as the high heat and water pressure can damage it.
Oiling
Oiling your cutting board regularly will help to protect it from moisture and prevent it from drying out and cracking. To oil your cutting board, first, make sure it is clean and dry. Then, apply a food-grade mineral oil to the surface of the board, using a clean cloth or paper towel. Let the oil soak into the wood for a few hours or overnight. Wipe off any excess oil with a clean towel before using the cutting board again.
Storing
When storing your cutting board, it is important to keep it in a dry, cool place. Never store your cutting board in direct sunlight or near a heat source, as this can cause it to warp or crack. Additionally, avoid stacking heavy objects on top of the cutting board, as this can also cause it to warp. If you have a wooden cutting board, consider standing it on its edge to allow air to circulate around it and prevent moisture buildup.
In conclusion, proper maintenance and care are essential for prolonging the life of your cutting board. By following these simple steps for cleaning, oiling, and storing your cutting board, you can ensure that it remains a valuable tool in your kitchen for years to come.
Troubleshooting Common Issues
While cutting boards are a staple in every kitchen, they are not immune to common issues that can arise over time. Understanding how to troubleshoot and address these problems can help prolong the lifespan of your cutting board, ensuring it remains in top condition for years to come. In this section, we will explore some of the most common issues faced by cutting board owners and provide you with simple solutions to fix them.
Cracks And Splits
Cracks and splits in a cutting board can not only affect its appearance but also compromise its functionality. These issues can occur due to excessive moisture exposure or improper maintenance. To address cracks and splits:
- Assess the severity of the damage. Small cracks can often be repaired, while larger splits may require a replacement.
- If the cracks are minor, sand the surface using fine-grit sandpaper to smooth out the imperfections.
- Apply food-safe wood glue to the cracks, ensuring it penetrates the gaps. Use a clamp to hold the board together until the glue dries completely.
- Once the glue has dried, sand the area again to achieve a smooth finish.
- Regularly oil your cutting board to prevent further cracks and splits.
Warping
Warping is a common issue that can occur when a cutting board is exposed to uneven moisture or heat. If you notice your cutting board has started to warp, follow these steps to rectify the problem:
- Thoroughly clean and dry the cutting board.
- Place the board on a flat surface, such as a countertop.
- Position heavy objects, like books or weights, on the warped areas.
- Leave the board under pressure for at least 24 hours to allow it to regain its shape.
- Once the warping has been corrected, maintain the board by regularly oiling it to prevent future warping.
Stains And Odors
Over time, cutting boards can develop stains and retain unpleasant odors, particularly if they are not cleaned properly. To eliminate stains and odors:
- Wash the cutting board with hot, soapy water, ensuring you scrub all areas thoroughly.
- For stubborn stains, create a paste using baking soda and water. Apply the paste to the stained areas and let it sit for a few minutes before scrubbing.
- Rinse the board well and allow it to air dry completely.
- To remove lingering odors, rub the board with a cut lemon or sprinkle it with salt and let it sit for a few minutes before rinsing.
- Regularly sanitize your cutting board by using a mixture of vinegar and water.
By addressing these common issues promptly and following proper maintenance practices, you can ensure your cutting board remains in excellent condition, providing you with a reliable and hygienic surface for all your food preparation needs.
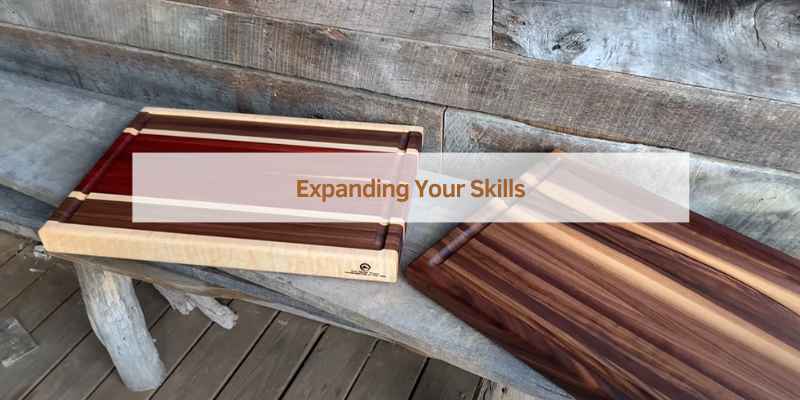
Expanding Your Skills
When it comes to woodworking, there’s always room to expand your skills and take your projects to the next level. One way to do this is by exploring advanced designs and incorporating other materials into your work. In this section, we’ll discuss some exciting possibilities for expanding your skills when creating cutting boards.
Advanced Designs
Advanced designs offer a great opportunity to showcase your creativity and craftsmanship. By stepping outside the traditional rectangular shape, you can create cutting boards with unique and eye-catching designs. Some advanced designs you can experiment with include:
- Geometric patterns: Incorporate triangles, hexagons, or other geometric shapes into your cutting board design for a modern and visually appealing look.
- Curved edges: Instead of straight edges, consider adding curves to your cutting board design. This not only enhances the aesthetics but also allows for more comfortable handling.
- Custom shapes: Let your imagination run wild and create cutting boards in the shape of animals, fruits, or any other object that inspires you.
Incorporating Other Materials
Adding other materials to your cutting board can bring a whole new dimension to your woodworking skills. Here are some materials you can consider incorporating:
- Marble or granite: By combining wood with marble or granite accents, you can create a stunning contrast that adds elegance to your cutting board.
- Resin: Mixing resin with wood allows you to create captivating designs with vibrant colors and a glossy finish.
- Metal accents: Adding metal inlays or handles can provide a unique and contemporary touch to your cutting board design.
Remember, when incorporating other materials, it’s important to consider their functionality and durability in a kitchen environment. Ensure that the materials you choose are food-safe and can withstand the rigors of cutting and chopping.
Frequently Asked Questions
What Are The Best Wood Types For Making A Cutting Board?
When choosing wood for a cutting board, opt for hardwoods like maple, cherry, walnut, or teak. These woods are durable, have a tight grain structure, and are less prone to harboring bacteria.
How Should I Maintain And Care For My Cutting Board?
To maintain your cutting board, regularly oil it with food-grade mineral oil or a blend of mineral oil and beeswax. Avoid soaking the board in water and always dry it upright to prevent warping.
Are There Different Cutting Board Designs To Consider?
Yes, cutting boards come in various designs such as end-grain, edge-grain, and face-grain. End-grain boards are the most durable and knife-friendly, while edge-grain boards are more affordable and easier to maintain.
Can I Use A Cutting Board For Other Purposes Besides Cutting?
While primarily used for cutting, cutting boards can also serve as serving platters for charcuterie, cheese, or fruits. Just ensure to clean and sanitize the board thoroughly before repurposing it.
Conclusion
To sum up, creating a cutting board can be a fulfilling and practical project for any DIY enthusiast. By following the right plans and using quality materials, you can craft a durable and stylish cutting board that will enhance your kitchen space.
Whether for personal use or as a thoughtful gift, the possibilities are endless. Start planning your cutting board project today!