Kitchen Cabinet Sliding Drawers (Cost: DIY vs Pro Install)
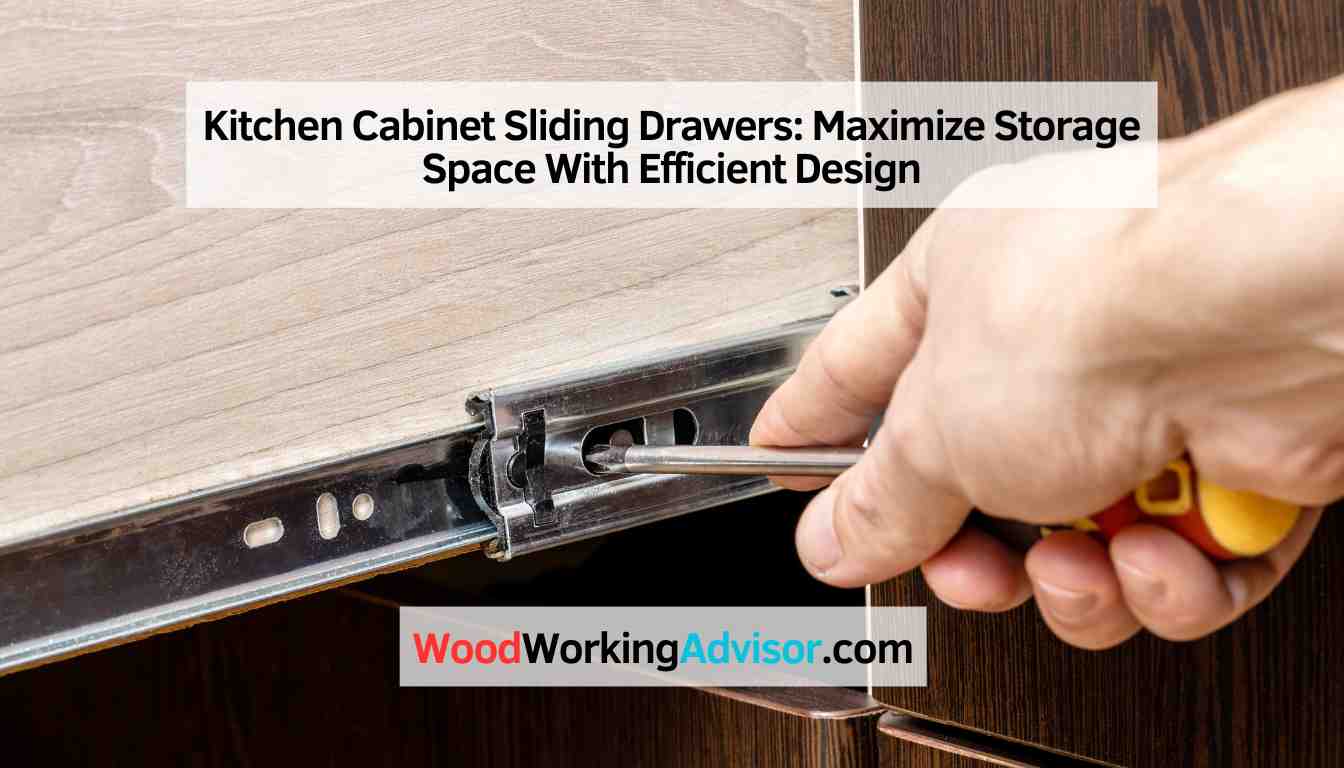
Kitchen cabinet sliding drawers — also called pull-out or roll-out shelves — let you reach the back of a cabinet without kneeling, and DIY installs run $50 to $90 per shelf versus $100 to $300 professionally. Skip weight-rated hardware and a loaded drawer can sag, since most slides top out near 75 to 100 lbs. This guide covers real costs, full-extension versus soft-close slides, no-drill retrofit kits, and how to size drawers for your cabinet.
What Are Kitchen Cabinet Sliding Drawers Called?
Best No-Drill Pull-Out Organizer Pick
AmzAge No-Drill Adhesive Pull-Out Cabinet Organizer
A metal-mesh sliding tray that mounts with adhesive strips instead of screws — no drilling into the cabinet floor.
- Best for: Renters and first-time retrofits in frameless cabinets
- Why we picked it: Full-extension ball-bearing slides and a 15-minute no-drill install match this guide’s fastest DIY option
- Main drawback: Adhesive mount needs a flat, clean cabinet floor — not for cabinets with a center support rail
Compare more sliding drawer options
 Option 1 Heavy-Duty Adhesive Pantry Shelf
|
 Option 2 PAKETA 4-Pack Expandable Organizer
|
 Option 3 3-Rail Heavy-Duty Slide-Out Drawer
|
As an Amazon Associate we earn from qualifying purchases.
Kitchen cabinet sliding drawers are metal-railed trays that pull straight out of a base cabinet on ball-bearing slides, giving full-fold access to the space instead of forcing you to reach or kneel into a dark cabinet interior. The same product is sold under several names — pull-out shelves, slide-out shelves, roll-out trays, and roll-out shelves — so if a listing or contractor uses a different term, they usually mean the same hardware. They work in both framed and frameless cabinet boxes, though the mounting method differs between the two.
How Much Do Kitchen Cabinet Sliding Drawers Cost?
A DIY sliding drawer install costs $20 to $50 per shelf in materials alone, or roughly $50 to $90 per shelf once you count a full afternoon of labor at a fair hourly rate. Hiring a pro runs $100 to $300 per shelf, since that price bundles precision measuring, hardware matched to your cabinet box, and cleanup if anything needs to be re-cut.
| Install method | Cost per shelf | Time needed | Best for |
|---|---|---|---|
| DIY with retrofit kit | $20–$50 (materials) | 4–6 hours | Comfortable with basic tools |
| DIY, full cost of time | $50–$90 | 4–6 hours | Budget-focused, one or two cabinets |
| Professional install | $100–$300 | Same day | Whole-kitchen retrofits, no drilling confidence |
📊 DIY installs run $50–$90 per shelf versus $100–$300 professionally installed — Source: Bob Vila and Angi cost guides, 2026
Full-Extension vs Soft-Close Slides: Which Should You Choose?
Most kitchen cabinet sliding drawers use one of two slide types, and picking the wrong one is the most common regret homeowners report after installing. Full-extension slides let the drawer pull completely clear of the cabinet opening so you can see and reach every item in the back — the better choice for pots, pans, and small appliances. Soft-close slides use a hydraulic damper to ease the drawer shut silently instead of slamming, which matters more in a busy kitchen with kids or pets but doesn’t affect how far the drawer extends.
Weight capacity matters more than most buying guides mention. Standard full-extension kitchen slides from major manufacturers — Blum, Accuride, and Fulterer are the three most common brands in cabinet hardware — are typically rated for 75 to 100 lbs per drawer. A drawer stacked with cast iron cookware can approach that limit fast, so check the weight rating printed on the slide packaging before loading heavy pans into a retrofit drawer.
| Slide type | Extension | Noise | Best for |
|---|---|---|---|
| Full-extension | 100% (fully clears cabinet) | Standard close | Pots, pans, small appliances |
| Soft-close | Usually full or 3/4 | Silent, no slam | Kitchens with kids, pets, or shared walls |
No-Drill Retrofit Kits: The Fastest DIY Option
You don’t need to drill into your cabinet box to add a sliding drawer. Adhesive-mount retrofit kits use a nano adhesive strip on the underside of a metal-mesh or basket-style tray — peel the backing, press it onto a clean, dry cabinet floor, and the drawer is ready to load, usually in under 15 minutes per shelf. This is the better option for renters, anyone who wants to avoid damaging cabinet interiors, or a first sliding-drawer project before committing to drilled-in rail hardware.
The tradeoff: adhesive kits generally hold less weight than drilled full-extension slides and work best in frameless cabinets with a flat, unobstructed floor. If your cabinet floor has a center support rail or an uneven surface, a drilled slide kit — mounted with the correct cabinet screws for your box material — is the more reliable choice. See our guide to cabinet screws vs. wood screws for which fastener holds best in particleboard versus solid wood cabinet boxes.
Choosing The Right Size
Measure the cabinet’s interior width, depth, and height at the narrowest point before buying anything — face frames, center stiles, and hinge hardware all eat into the usable opening on framed cabinets. Leave at least 1/2 inch of clearance on each side for the slide hardware itself, and check whether your cabinet is framed or frameless, since adhesive no-drill kits are generally built for frameless boxes only. If you want a second storage option instead of a full drawer swap, our guide to bracket ideas for shelves covers fixed-shelf alternatives.
Installing Sliding Drawers Step by Step
Once you’ve picked a slide type and measured the cabinet, the drilled-in install itself is a half-day project for one cabinet:
- Remove the cabinet door and any fixed shelf: This clears full access to the interior and gives you room to work with a drill.
- Mark slide height on both side walls: Use a level to mark identical heights on the left and right interior walls — this is the single step where small errors cause the most trouble later.
- Attach the cabinet-side slide rails: Screw each rail to its marked line, checking level again before fully tightening.
- Attach the drawer-side rails to the tray: Follow the manufacturer’s screw pattern; most kits include a paper template for this.
- Engage the drawer into the rails and test the glide: Push the drawer in and pull it fully out several times before loading anything.
- Reattach the cabinet door: Adjust the door hinges if the new hardware changed the interior clearance.
“The mistake I see most often on retrofit drawer slides is mounting the two side rails at slightly different heights — even 1/8 inch of difference causes binding that no amount of lubricant fixes. Always mark both walls with a level before driving a single screw.”
Maintenance and Troubleshooting
Wipe the tracks and tray with a damp cloth and mild detergent every few months, and apply a silicone-based lubricant to the slide mechanism — not the drawer bottom — if it starts to feel stiff. Avoid oil-based lubricants, which attract dust and grime over time and eventually make sticking worse.
- Sticking drawer: Check for debris in the track first, then confirm the mounting screws haven’t loosened before adding more lubricant.
- Drawer sits crooked: Loosen the slide screws slightly, re-level with a torpedo level, and retighten — this is almost always a height-mismatch issue from installation.
- Squeaking under load: A dry silicone spray on the ball-bearing channel usually resolves this in one application; wipe off excess so it doesn’t collect dust.
Frequently Asked Questions
What are kitchen cabinet sliding drawers also called?
Kitchen cabinet sliding drawers go by several names in stores and installation guides: pull-out shelves, slide-out shelves, roll-out trays, and roll-out shelves. They’re the same hardware — a metal-railed tray that pulls fully out of a base cabinet — regardless of which term a specific retailer or contractor uses.
How much does it cost to install pull-out drawers in kitchen cabinets?
A DIY install costs $20 to $50 per shelf in materials, or about $50 to $90 per shelf once labor time is factored in. Professional installation runs $100 to $300 per shelf, which typically includes precision measuring and hardware matched to your specific cabinet box.
Can I install kitchen cabinet sliding drawers without drilling?
Yes. No-drill retrofit kits use an adhesive nano-film strip on the underside of the tray instead of screws, so the cabinet floor stays undamaged — a common choice for renters. These kits generally hold less weight than drilled full-extension slides and work best on a flat, unobstructed frameless cabinet floor.
What are the benefits of kitchen cabinet sliding drawers?
Sliding drawers give full visibility and reach to items at the back of a cabinet instead of forcing you to kneel and dig through a dark interior. Most full-extension slides are rated for 75 to 100 lbs, which comfortably handles stacked cookware, small appliances, or bulk pantry goods.
Can I retrofit my existing cabinets with sliding drawers?
Yes, most base cabinets can be retrofitted with either a drilled slide kit or a no-drill adhesive kit. Measure the interior width, depth, and height first, and confirm whether your cabinet is framed or frameless, since that determines which kit style will fit correctly.
Conclusion
Kitchen cabinet sliding drawers pay for themselves in convenience fast, whether you go with a $30 no-drill adhesive tray or a $300 professional full-extension install. Match the slide type and weight rating to what you’re actually storing, measure twice before buying hardware, and the retrofit will outlast the cabinets themselves.
Sponsored / affiliate links. As an Amazon Associate I earn from qualifying purchases. I may earn additional commission from eligible campaigns.