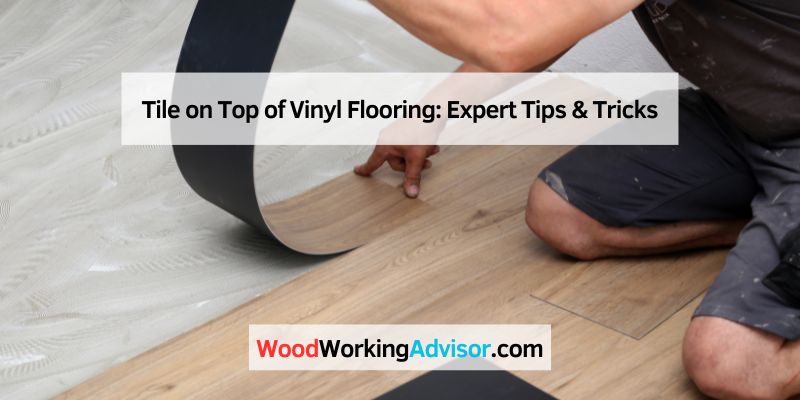
Tile on Top of Vinyl Flooring: Expert Tips & Tricks
Are you considering a home makeover and wondering if you can lay tile on top of your existing vinyl flooring? You’re not alone.
Many homeowners like you are looking for cost-effective and efficient ways to refresh their spaces without the hassle of tearing out old floors. What if I told you that this seemingly daunting task could actually be simpler than you think?
Imagine transforming your room with minimal mess and maximum impact. We’ll explore the possibilities, benefits, and crucial considerations when it comes to installing tile over vinyl. Stay with us, and you might just find the perfect solution to elevate your home’s aesthetic while saving time and money. Ready to uncover the secrets? Let’s dive in.
Choosing The Right Tile
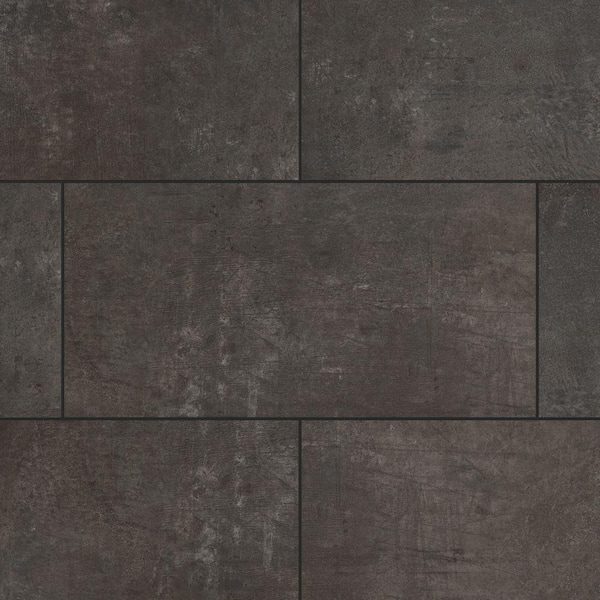
Selecting the right tile is crucial. Ceramic tiles are popular. Easy to clean and maintain. Porcelain tiles are strong. Suitable for heavy foot traffic. Glass tiles offer shine and elegance. Perfect for walls. Stone tiles bring a natural feel. They are unique and beautiful. Vinyl tiles are budget-friendly. Great for temporary solutions.
Durability is vital for tiles. Porcelain tiles resist water and stains. Ceramic tiles are good for kitchens. Stone tiles are long-lasting. They add a rustic look. Glass tiles are delicate but stylish. Vinyl tiles can wear out quickly. Choose tiles based on your needs. Consider the room style. Match tiles with furniture colors. Mix and match for unique designs.
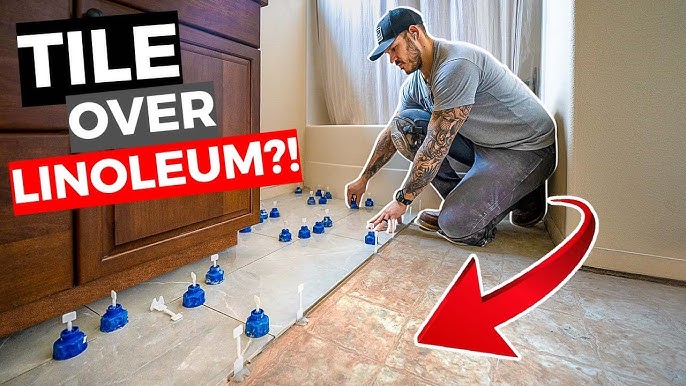
Credit: www.youtube.com
Preparing Vinyl Flooring
Clean the vinyl floor before adding tiles. Use a gentle cleaner to remove dirt and grime. Check for any damage like cracks or holes. Fix these with patch kits. Smooth surfaces help tiles stick better. Don’t skip this step. It is important for good results.
Ensure the floor is flat. Uneven floors cause problems later. Use a level tool to check. Fill dips with leveling compound. Sand down any high spots. A flat surface ensures tiles stay in place. Spend time making it right. It saves trouble later.
Tools And Materials Needed
Using the right tools makes the job easier. A tape measure is important for accurate measurements. Tile spacers help keep tiles evenly spaced. A tile cutter is needed to cut tiles to fit. Notched trowels spread the adhesive evenly. A rubber mallet taps tiles into place without breaking them. Level ensures tiles lie flat. Safety goggles protect your eyes from dust and debris.
Choose materials that are strong and durable. Ceramic tiles are popular and long-lasting. Thin-set mortar is a good adhesive for tiles. Use a grout that matches your tile color. Tile sealer helps protect tiles from stains. Vinyl primer prepares the vinyl surface for tiling. Tile backer board provides a stable base. Underlayment can be used for extra support.
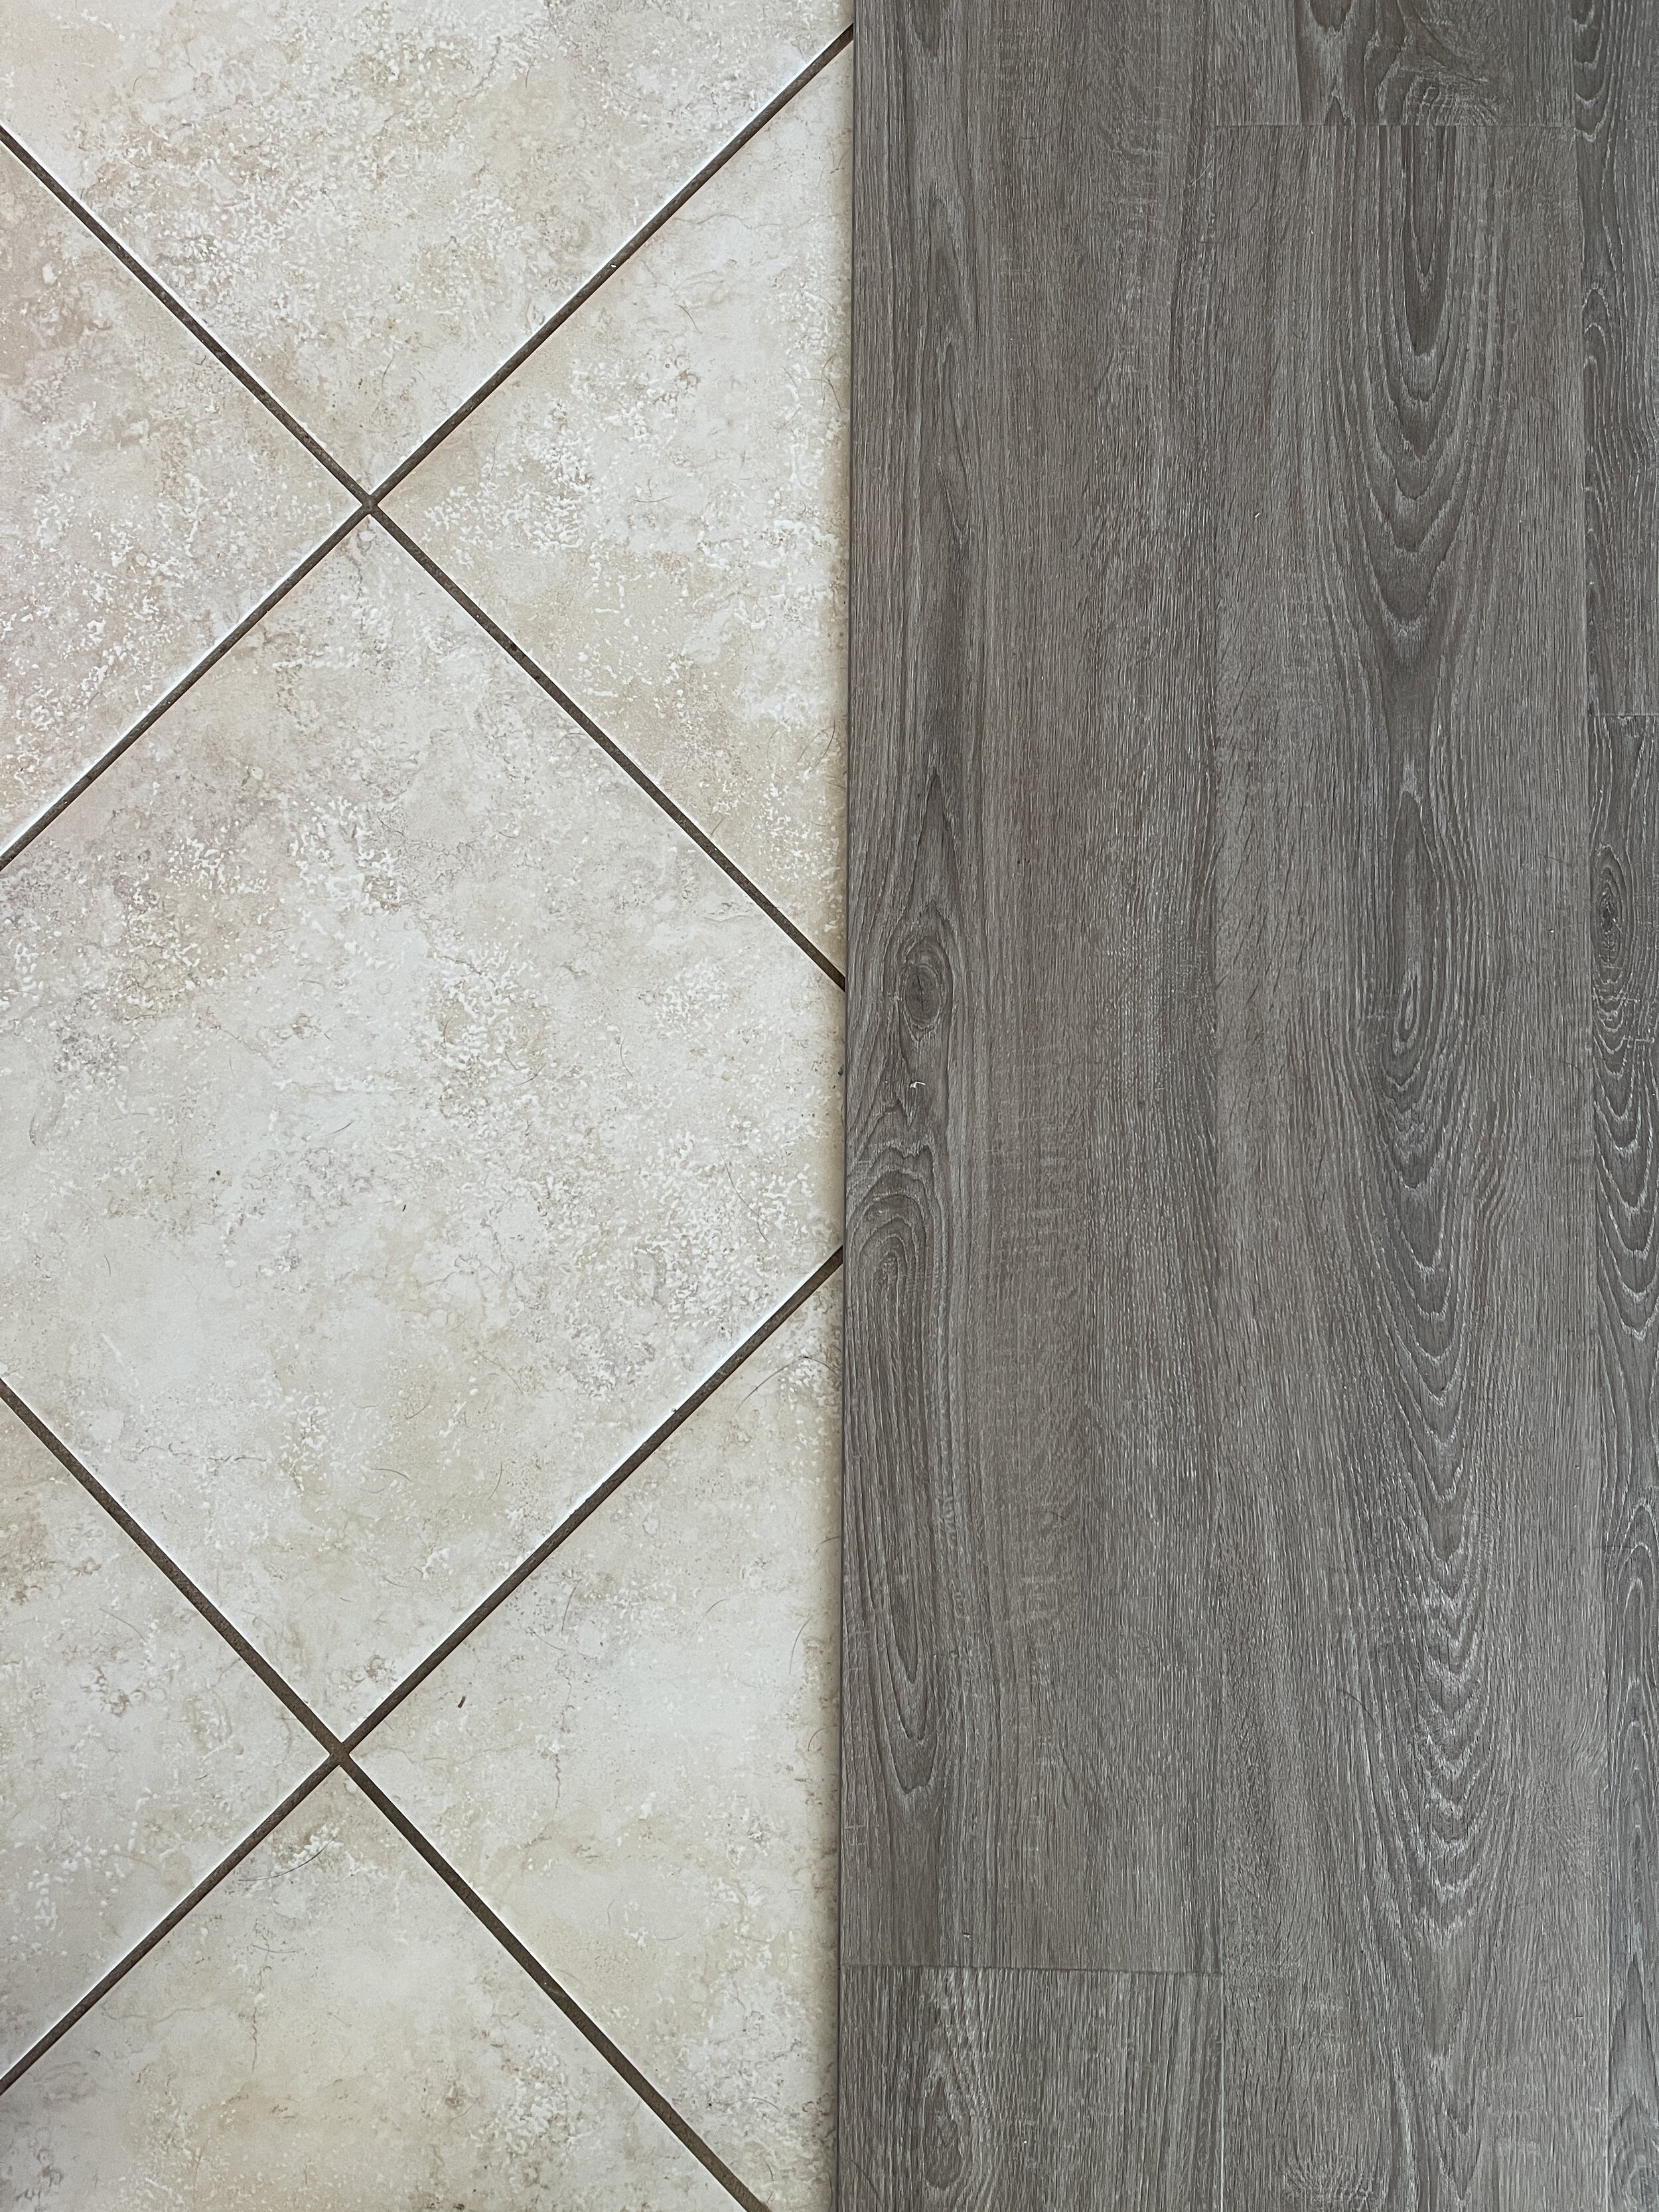
Credit: mrsashleyfrench.com
Installation Process
Installing tile over vinyl flooring involves cleaning the vinyl surface thoroughly. Next, apply a high-quality adhesive. Carefully lay the tiles, ensuring they are level and evenly spaced. Let the adhesive dry before grouting the tiles to finish the installation process.
Laying Out The Tiles
Start by cleaning the vinyl floor. Ensure it is free of dust. Measure the floor dimensions. Plan tile placement before starting. Use a chalk line to mark the center. Begin laying tiles from the center. Work towards the edges of the room. Leave space between tiles for grout. Check tile alignment frequently. Adjust if needed to keep lines straight. This ensures a professional look.
Adhesive Application
Select an adhesive suitable for vinyl floors. Spread adhesive evenly on the floor. Use a trowel for best results. Cover small sections at a time. Press tiles firmly onto the adhesive. Ensure full contact with the floor. Avoid air bubbles under the tiles. Remove excess adhesive immediately. Allow adhesive to set before applying grout. Follow manufacturer’s instructions for drying time.
Grouting And Finishing
Grouting and finishing tiles on top of vinyl flooring requires careful preparation and technique. Ensure the vinyl is clean and intact before starting. Using the right grout prevents moisture issues and ensures a smooth finish.
Choosing The Right Grout
Picking the best grout is important. It keeps tiles strong and safe. Epoxy grout works well. It is waterproof and lasts long. Cement-based grout is also good. It is easy to use. Match grout color with tiles. This makes it look nice. Always buy extra grout. You might need it later.
Sealing For Longevity
Sealing tiles helps them last. Sealant protects tiles from dirt and water. Use a brush or roller to apply it. Let it dry for a day. Repeat sealing every year. It keeps tiles shiny and new. Check for cracks often. Fix them fast to avoid damage.
Common Mistakes To Avoid
Placing tiles incorrectly can cause big problems. Tiles may not fit well if done wrong. This can lead to cracks or damage. Make sure each tile is straight and level. Use a measuring tape and level to check. This helps in placing tiles in the right spot. Crooked tiles look bad and may break. Always double-check before setting the tile.
Skipping floor prep can lead to issues later. Always clean the floor before starting. Dirt or dust makes tiles stick poorly. Use a vacuum or broom to clear the floor. Check for bumps or uneven spots. These can cause tiles to crack. Fix these before laying tiles. A smooth surface is key for a strong tile floor.
Maintaining Your Tile Floor
Clean your tile floor often. Use a soft broom to sweep. This removes dirt and dust. Mop the floor with warm water. Add a few drops of mild soap. Rinse the mop often. Dry the floor with a soft cloth. This prevents water spots. Avoid harsh cleaners. They can damage the tiles. Check the grout lines. Clean them with a small brush. Use a mixture of water and baking soda.
Place rugs in high-traffic areas. They protect the tiles. Use furniture pads under heavy items. This stops scratches. Wipe up spills quickly. This prevents stains. Keep sharp objects off the floor. They can chip the tiles. Regularly check for loose tiles. Fix them soon. This keeps the floor safe.

Credit: www.spoak.com
Frequently Asked Questions
Can You Tile Over Vinyl Flooring?
Yes, you can tile over vinyl flooring if it’s in good condition. Ensure the vinyl is clean, dry, and firmly adhered. Consider using a special adhesive designed for tiling over vinyl to ensure a secure bond. Proper preparation will lead to a successful tiling project.
What Are The Benefits Of Tiling Over Vinyl?
Tiling over vinyl is cost-effective and time-saving. It eliminates the need to remove the existing floor, reducing labor. This method minimizes mess and disruption. Additionally, tiles offer durability and enhance the aesthetic appeal of the space.
Do I Need To Prepare Vinyl Before Tiling?
Yes, preparation is crucial for tiling over vinyl. Clean the vinyl thoroughly to remove dirt and grease. Check for damages or loose spots. Sand the surface lightly to enhance adhesion. Proper preparation ensures a smooth and long-lasting tile installation.
Is Special Adhesive Needed For Tiling?
Using special adhesive is recommended when tiling over vinyl. It ensures better adhesion between the tiles and the vinyl surface. Choose an adhesive formulated for this purpose. It enhances durability and prevents tiles from lifting or shifting over time.
Conclusion
Choosing tile over vinyl flooring offers many benefits. Tiles provide durability and style. They’re easy to clean and maintain. Vinyl can serve as a solid base for tiles. This saves time and effort in floor prep. Ensure your vinyl is well-adhered before tiling.
It’s important for a strong bond. Consider floor height changes when tiling over vinyl. This avoids unexpected issues later. Always consult a flooring expert if unsure. A well-planned project ensures a beautiful result. Happy tiling!