Can You Paint Over Water Sealant? What Actually Sticks (and What Peels)
In most cases, no — paint does not adhere well over a water sealant, because a water sealant’s whole job is to repel liquids, and that same hydrophobic barrier repels wet paint too. The exception is a sealant that’s specifically labeled “paintable” (most water-based acrylic sealers), or one that’s fully cured, sanded, and coated with a bonding primer built for hard-to-stick surfaces. Skip that prep over a silicone- or oil-based water repellent like Thompson’s Water Seal, and the paint will bead, crawl, or peel within a season.
Not every water sealant behaves the same way, though, and the fix depends on which kind you’re dealing with. This guide walks through why paint fights a sealed surface, how to tell your sealant type apart, how long to wait before you touch it with a brush, and the exact prep steps that make paint actually stick.
Can You Paint Over Water Sealant? The Short Answer
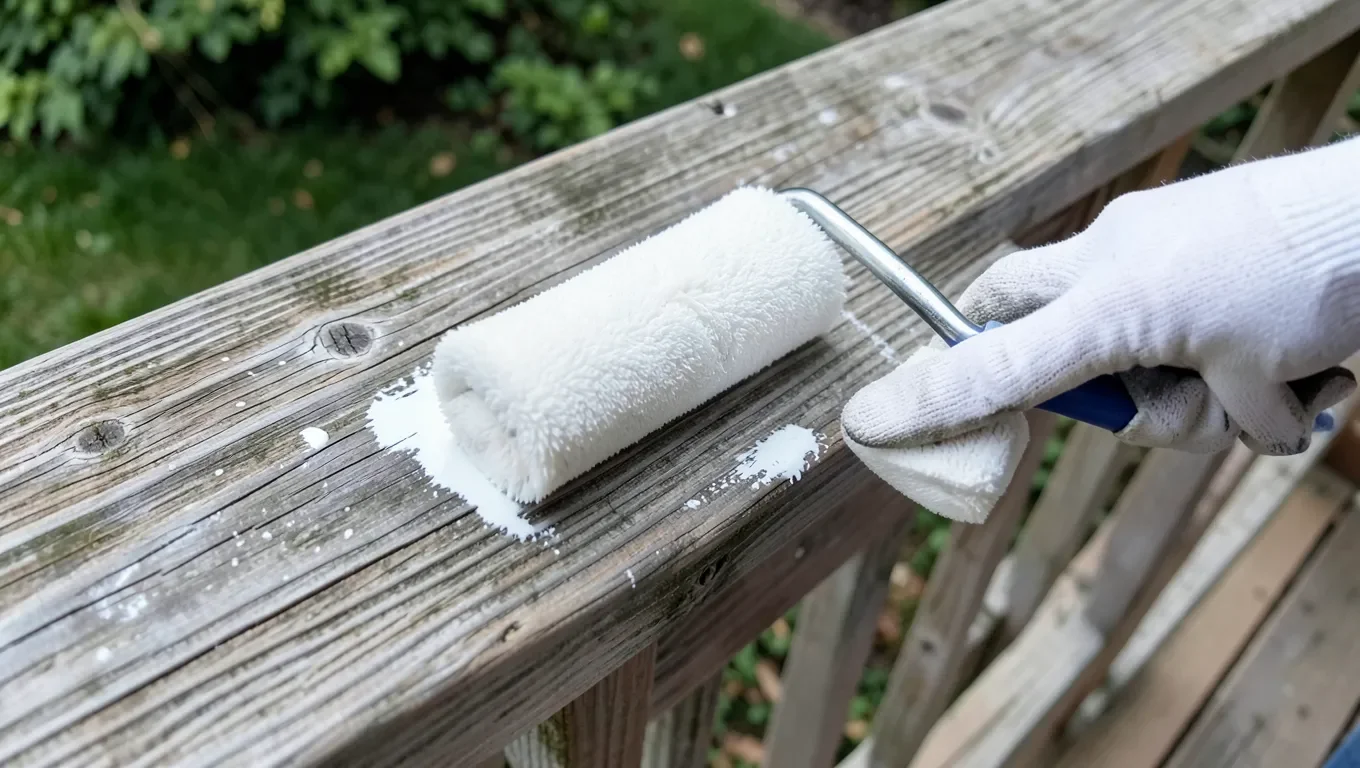
Generally, no — not without prep. A water sealant works by leaving a thin, water-shedding film (often silicone- or wax-based) on top of the wood, concrete, or masonry. Paint needs some tooth or absorbency to grip a surface, and a sealant is engineered to deny it exactly that. If you roll paint straight onto a freshly sealed deck rail, expect beading, fisheye spots, or a coat that peels off in sheets within weeks.
That said, “generally no” isn’t “never.” A water-based, paintable sealer will usually take paint fine once it’s cured. A silicone- or oil-based repellent needs sanding and a bonding primer before paint has any real chance of holding. The right primer makes the difference between a paint job that lasts and one that’s peeling by next spring — here’s the one we’d reach for first.
Best Bonding Primer for Painting Over a Sealed Surface
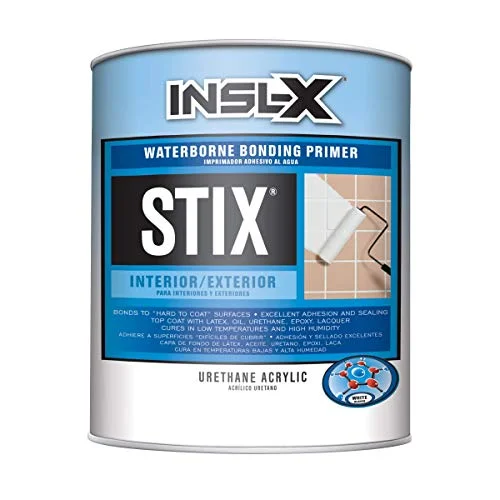 |
INSL-X Stix Acrylic Waterborne Bonding Primer, 1 Quart – $26.99 Built to bond to exactly the “hard-to-coat” surfaces this guide is about — glossy, water-repelled wood, masonry, and other sealed materials that normal primer slides off of.
|
Why Paint Fights With a Water Sealant
Wet paint needs a surface it can grip and, ideally, soak into slightly at the edges. A water sealant is designed to do the opposite: it fills the wood’s pores or forms a thin surface film so water can’t penetrate. Silicone- and oil-based sealants go a step further by leaving a slick, low-surface-energy layer — the same property that makes water bead up and roll off also makes wet paint bead up and roll off. Instead of bonding to the wood underneath, the paint is only ever touching the sealant, and that bond is weak by design.
There’s a second problem if you paint too soon: a sealant that hasn’t fully cured is still releasing solvent as it dries. Trap that solvent under a coat of paint and it has to escape somehow — usually as cracking, bubbling, or a soft, tacky paint film that never fully hardens.
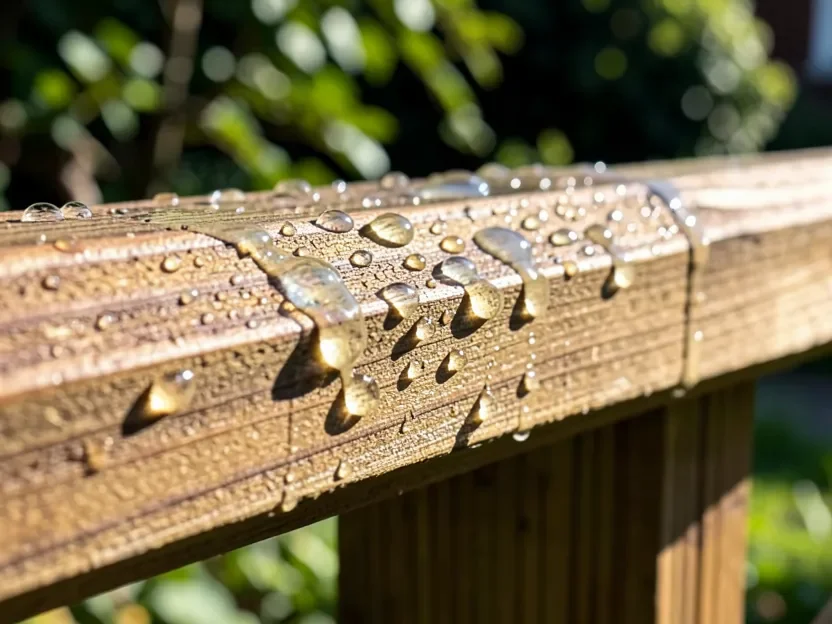
An easy way to check whether a sealant is still actively repelling water — and therefore still fighting your paint — is a simple bead test. Flick a few drops of water onto the surface. If they bead up and sit on top like the photo below, the hydrophobic layer is still fully active and paint will struggle to grip it. If the water soaks in or flattens out within a minute or two, the sealant has worn down enough that paint has a much better chance of holding.
Does It Depend on the Type of Water Sealant You Used?
Yes — “water sealant” covers several different chemistries, and they don’t all resist paint the same way:
- Silicone- and oil-based water repellents (Thompson’s Water Seal, Rain Guard, and most clear “water seal” products) — these are the hardest to paint over. Their whole purpose is a hydrophobic film, so paint needs sanding and a bonding primer at minimum. If this is your product, our full Thompson’s Water Seal painting guide covers the brand-specific cure times and primer choice in more depth.
- Acrylic- or latex-based “paintable” wood sealers — many of these are formulated to accept a topcoat once cured, since they’re often used as a pre-stain or pre-paint conditioner rather than a standalone finish. Check the product label for “paintable” or “primer/sealer” wording.
- Masonry and concrete waterproofing membranes — these are built to stay flexible and keep bridging hairline cracks, which is the opposite of what most paint films want to do. They generally need an elastomeric or masonry-specific coating rated to bond over a membrane, not a standard exterior paint.
- Liquid rubber coatings — the thickest, most rubbery of the bunch, and the least paint-friendly. Ordinary paint has almost nothing to grip and will flex and crack away from the rubber film. If you want color, a pigmented liquid rubber or elastomeric coating made for the purpose is a better route than paint.
If you’re not sure which category your sealant falls into, check the product label for “hydrophobic,” “water repellent,” or “waterproofing” (harder to paint) versus “paintable,” “conditioner,” or “sealer-primer” (easier to paint).
How Long to Wait Before Painting Over Water Sealant
Cure time varies by product, so the manufacturer’s label is the final word — but as a general range, water-based acrylic sealers are often ready for a topcoat in a few days, while oil- or silicone-based repellents can need a full 30 days outdoors to cure completely before paint goes anywhere near them. Painting early is the single most common cause of the cracking and peeling people run into — the solvent is still working its way out of the film, and trapping it under paint just forces the problem to the surface later.
Temperature and humidity slow cure time down further. A sealant applied in cool, damp weather can take noticeably longer to fully cure than the same product applied on a warm, dry week, so treat the label’s stated cure time as a minimum, not a guarantee.
How to Prep a Sealed Surface So Paint Actually Sticks
- Confirm the sealant has fully cured — check the product’s stated cure time, and run the water-bead test above as a second check.
- Clean the surface with soap and water or a mild degreaser to strip dirt, pollen, and any wax or oil residue, then let it dry completely.
- Sand or scuff the surface with medium-grit sandpaper (120–150 grit works well on wood) until the sheen dulls. This physically opens up the slick film so primer has something to grip.
- Re-run the water-bead test after sanding — if water still beads tightly, keep sanding or degreasing until it doesn’t.
- Apply a bonding primer made for hard-to-coat or glossy surfaces, not a standard multi-purpose primer, and let it cure fully per the label.
- Paint in thin, even coats, letting each one dry completely before the next. A thick first coat is more likely to crack over a marginal bond than several thin ones.
Choosing the Right Primer and Paint
A bonding primer — sometimes labeled a “stick primer” or “adhesion primer” — is the key ingredient here, because standard primer is designed to soak into a porous surface, and a sealed surface isn’t porous anymore. Look for a primer that specifically lists glossy, hydrophobic, or “hard-to-coat” surfaces on the label.
Match paint type to primer type: an oil-based bonding primer pairs with an oil-based topcoat, and a water-based (acrylic/latex) bonding primer pairs with a latex topcoat. Mixing the two — latex paint over an oil-based primer that hasn’t fully cured, for instance — can cause its own adhesion problems on top of whatever the sealant already left behind. When in doubt, a water-based acrylic bonding primer under a water-based exterior paint is the more forgiving combination for most DIY projects.
Frequently Asked Questions About Painting Over Water Sealant
Can you paint directly over a wet or uncured water sealant?
No. Painting over wet or uncured sealant traps solvent underneath the paint film, which commonly causes cracking, bubbling, or a coat that never fully hardens. Always wait for the full cure time on the sealant’s label before painting, and check with a water-bead test if you’re unsure.
Does sanding actually help paint stick to a sealed surface?
Yes. Sanding scuffs up the slick, hydrophobic film a water repellent leaves behind, giving primer physical tooth to grip instead of sliding across a smooth surface. It won’t remove a heavy-duty sealant entirely, but it’s usually enough prep to make a bonding primer hold.
Can you paint over a masonry or concrete waterproofing membrane?
Only with the right product. Standard exterior paint tends to crack over a flexible waterproofing membrane, since the membrane is designed to move and bridge cracks. An elastomeric coating or masonry paint rated for use over a waterproofing membrane is the safer choice.
Is it better to strip a water sealant instead of painting over it?
Stripping gives the most reliable result, since it removes the hydrophobic barrier entirely rather than working around it. It’s worth the extra step on a highly visible surface or one that will take heavy wear; for a smaller or less critical area, a full sand-and-bonding-primer prep is usually enough.
Conclusion
Paint and water sealant are working against each other by design, so the honest answer to “can you paint over water sealant” is: not reliably, unless you match the prep to the sealant type. A paintable, water-based sealer just needs to cure first. A silicone- or oil-based water repellent needs full cure time, a sanding pass, a water-bead test to confirm the surface is actually ready, and a bonding primer built for hard-to-coat surfaces. Skip any of those steps and the paint job is likely to bead, peel, or crack loose within a season regardless of how careful the topcoat application was.
Sponsored / affiliate links. As an Amazon Associate I earn from qualifying purchases. I may earn additional commission from eligible campaigns.