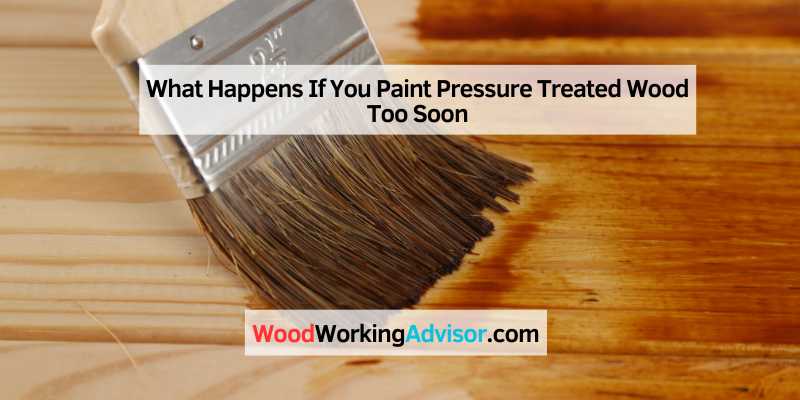
What Happens If You Paint Pressure Treated Wood Too Soon
Painting pressure treated wood too soon can cause the paint to blister and peel over time. It is crucial to allow the wood to dry completely before painting it.
Once the wood has absorbed water on the surface, it is ready for paint. Using the correct type of paint and primer is also essential for ensuring a successful outcome. Pressure treated wood is commonly used in outdoor projects such as decks, fences, and furniture.
The treatment process involves treating the wood with chemicals to protect it from rot, decay, and insect infestation. However, painting pressure treated wood too soon can cause problems. The paint may not adhere properly, resulting in a patchy and uneven finish. We will discuss the effects of painting pressure treated wood too soon and how to avoid these problems. We will also cover tips on how to properly prepare and paint pressure treated wood to achieve a beautiful and long-lasting finish.
Overview Of Painting Pressure Treated Wood
Painting pressure treated wood too soon can cause the paint to peel off or not adhere properly. It is important to wait for the wood to dry completely before painting, which can take three to four months. Using the correct type of paint and primer is also crucial for a successful painting job on pressure treated wood.
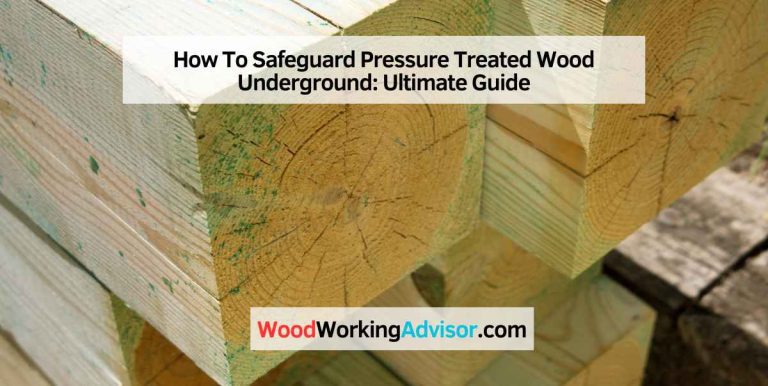
Pressure-treated wood is commonly used for outdoor structures such as decks, fences, and wood retaining walls because of its durability and resistance to decay and insects. However, pressure-treated wood contains chemicals that can interfere with the adhesion of paint, and painting too soon after treatment can result in a poor finish and shortened lifespan of the paint.
Types of Pressure Treated Wood
There are two types of pressure-treated wood: air-dried and kiln-dried. Air-dried wood is often more moist and can take longer to dry, whereas kiln-dried wood typically has lower moisture content and dries faster. This variation is important to consider when it comes to painting pressure-treated wood.
Importance of Proper Drying
The most important factor to consider before painting pressure-treated wood is the drying time. Pressure-treated wood can take up to four months to dry depending on the level of moisture content, wood type, and climate conditions. Proper drying allows the wood to stabilize and prepares it for painting.
Risks of Painting Too Soon
If you paint pressure-treated wood too soon, the paint may not adhere properly, resulting in a patchy and uneven finish. Additionally, the chemicals in the wood can react with the paint causing it to blister and peel. As a result, you may have to sand and repaint the surface, shortening the lifespan of the paint.
Before painting pressure-treated wood, it is crucial to allow the wood to dry completely. Once the wood has stabilized, use a high-quality exterior primer and paint that is specifically designed for pressure-treated wood. By taking these steps, you can ensure the paint will adhere properly and provide optimal protection for your outdoor structure.
How To Assess Moisture Levels
Painting pressure treated wood too soon can lead to a patchy and uneven job. It’s crucial to ensure that the wood is completely dry before applying paint or stain. Using a moisture meter to assess moisture levels can help determine if the wood is ready for painting.
If you’re working with pressure-treated wood, it’s important to make sure it’s dry enough before applying paint or stain. If not, the moisture inside the wood can cause the paint or stain to bubble, peel, or flake off over time. The question is, how do you assess the moisture levels to determine if the wood is dry enough to paint or stain? In this article, we’ll cover three methods for assessing moisture levels in pressure-treated wood: using a moisture meter, performing a dryness test, and tips for accurate readings.
Using A Moisture Meter
One way to determine the moisture content of pressure-treated wood is by using a moisture meter. This device measures the moisture levels by penetrating the wood’s surface and providing a reading on a scale. To use a moisture meter, follow these steps:
- Insert the probes into the wood’s surface or use a pinless meter to place it on the surface.
- Wait for the device to take a reading and check the moisture level on the scale.
- If the reading is higher than 15 percent, the wood is too wet to paint or stain.
- If the reading is lower than 15 percent, the wood is dry enough for paint or stain.
Dryness Test
Another way to assess the moisture content of pressure-treated wood is by performing a dryness test. This involves placing a small piece of aluminum foil or plastic wrap on the surface of the wood and taping the edges down securely. Wait for 24 hours, then remove the foil or plastic and check for condensation. If there is any moisture or condensation under the foil or plastic, the wood is not dry enough to paint or stain.
Tips For Accurate Readings
To get the most accurate moisture readings, follow these tips:
- Allow the wood to acclimate to the surrounding environment for at least 48 hours before taking any measurements.
- Take readings from multiple areas of the wood to ensure consistency.
- Use a moisture meter with pins or needles that penetrate the wood’s surface for more accurate readings.
- If using a pinless meter, make sure it is in contact with the wood surface and held in place for at least 30 seconds.
- Ensure the probes or pins are clean and free of debris before taking measurements.
Assessing the moisture levels of pressure-treated wood is a crucial step to ensure a successful paint or stain job. Follow these methods and tips to accurately measure the moisture content and get the best results.
Preparing The Wood For Painting
When it comes to painting pressure-treated wood, it’s important to wait until the wood is dry enough to accept paint or stain. If you paint pressure-treated wood too soon, you risk a patchy, uneven paint job. Make sure to use the correct type of paint and primer for the best end product.
Cleaning The Wood:
Pressure-treated wood is often used outdoors, subjecting it to dirt and grime that accumulates over time. Before painting, it’s important to clean the wood properly. Scrubbing the surface with a mild detergent and water using a stiff-bristle brush is usually sufficient. Rinse the wood with a garden hose and allow it to dry completely before proceeding with the painting process.
Sanding The Surface:
To ensure the paint adheres to the pressure-treated wood properly, sanding the surface is critical. Start by rough sanding the wood with coarse-grit sandpaper before gradually moving to finer grit sandpaper. Sanding helps remove any rough edges, splinters, and burrs left over from the pressure treatment process. After sanding, make sure to clean the surface as sawdust can impede the adhesion of the paint.
Choosing The Right Paint And Primer:
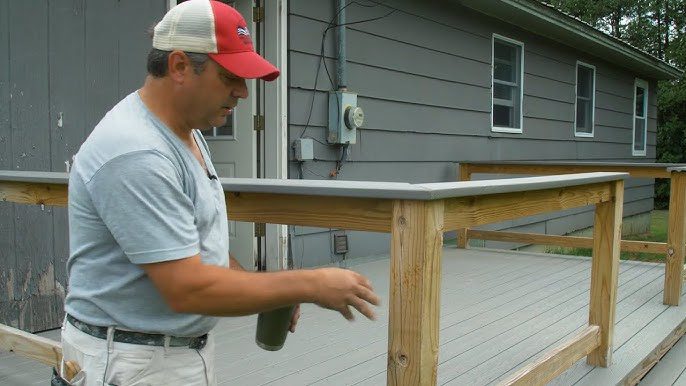
Not all paints and primers are suitable for pressure-treated wood. Choose a high-quality outdoor primer and paint that works well with treated wood. Never use indoor paint, as it can fade and peel quickly when exposed to outdoor elements. Apply primer before painting to help the paint adhere to the wood surface.
In conclusion, Proper preparation of pressure-treated wood is essential before painting it, and it can prevent painting problems such as peeling, flaking, or chipping. Starting by cleaning the wood, then sand the surface, and choosing the right paint and primer are necessary steps to ensure a long-lasting finish that will improve the wood’s appearance and protect it from the elements.
Best Practices For Painting Pressure Treated Wood
Painting pressure treated wood too soon can result in a poor finish, uneven color, peeling, and cracking. It is important to wait until the wood is fully dry before painting, which can take three to four months. Use the correct type of paint and primer for the best results.
Painting pressure-treated wood is essential to protect it from external factors like rain, sunlight, and moisture. However, painting too soon after the wood is pressure-treated can lead to issues such as bubbling, peeling, or cracking. In this article, we will discuss best practices for painting pressure-treated wood while ensuring longevity and aesthetics.
Waiting for Proper Drying
Before painting pressure-treated wood, it’s crucial to ensure that the wood is dried appropriately. Pressure-treated wood needs time to dry and settle after it is treated with chemicals. It can take about two to three months for the wood to dry thoroughly, depending on the weather conditions. Don’t rush this process, or else you’ll end up creating irreversible damage to your wood structures. In case of confusion, use a moisture meter to test whether the wood is dry or not.
Avoiding Heat Guns
Don’t use heat guns to dry the wood as it can create cracks, splits, or warping in the wood. Heat guns may speed up the drying process, but the resulting damage can require much repair and sometimes, replacement of wood. Additionally, over-exposure to heat can cause the chemicals in the wood to vaporize, leading to fumes that can be dangerous for inhaling.
Applying Multiple Coats
When you decide to paint pressure-treated wood, make sure to use suitable paint and primer products that adhere to the surface. Applying multiple coats of primer and paint is recommended to achieve the desired shade and protection. Make sure to apply one coat at a time and wait for it to dry before applying another. Also, don’t forget to stir the paint and primer well before using them.
In conclusion, painting pressure-treated wood too soon can damage the wood’s structure, causing it to rot, split, or peel. Follow the best practices mentioned in this article, including waiting for proper drying, avoiding heat guns, and applying multiple coats of paint and primer. Taking the necessary precautionary measures and investing time in the process will ensure that your pressure-treated wood lasts for years and looks fantastic.
Tips For Maintaining Painted Pressure Treated Wood
It is important to wait before painting pressure treated wood to avoid an uneven finish. The wood should be allowed to dry for several months before painting or staining. Once it has properly dried, use the correct type of paint and primer for the best results, ensuring that the wood is protected against rot and weather damage.
Reated Wood Properly
Maintaining painted pressure treated wood can be tricky if you’re not well-versed in the process. Many DIY enthusiasts rush into painting pressure treated wood without taking the necessary precautions, such as allowing it to dry completely and inspecting it for damages. This is a recipe for disaster since paint won’t stick to moist or damaged wood, leading to an uneven and patchy appearance that will cost you time and money. Here are some tips for maintaining painted pressure treated wood so that your outdoor surfaces look great and last longer.
Regular Cleaning
Regular cleaning is essential for painted pressure treated wood since it’s exposed to harsh outdoor elements like rain, snow, and dirt. Use a pressure washer or garden hose to clean the wood’s surface, or use a mild soap solution if the wood is heavily soiled. Scrub the surface with a soft-bristled brush to remove any dirt or debris, and rinse it with clean water. Allow the wood to dry completely before repainting, touching up, or applying a sealant.
Inspecting For Damage
Inspecting painted pressure treated wood regularly is crucial, as it will identify any damages on the surface or wood structure. Look for cracks, warping, or rotting on the wood’s surface, and replace affected boards immediately. Also, take note of any paint chips, scratches, or peeling that will require touch-ups or repainting. Inspecting painted pressure treated wood can be a tedious process, but it’s worth it in the long run since it prevents further damage and extends the wood’s lifespan.
Touching Up And Repainting
Touching up and repainting painted pressure treated wood is a necessary maintenance step to ensure that it looks great and lasts longer. Scrape off any loose paint chips with a putty knife, sand the surface to smooth it out, and clean it thoroughly. Apply a primer on the surface and allow it to dry according to the manufacturer’s instructions. Then, apply a top coat of exterior latex paint, using a brush or roller to get into tight spots. Allow it to dry completely before using the surface again.
In conclusion, maintaining painted pressure treated wood requires regular cleaning, inspecting for damage, touching up, and repainting. By following these tips, you can extend your painted pressure treated wood’s lifespan and keep it looking great for years to come.
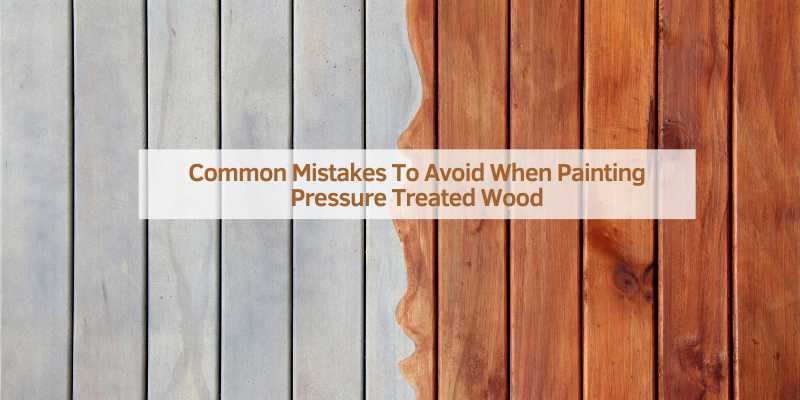
Common Mistakes To Avoid When Painting Pressure Treated Wood
Painting pressure treated wood too soon can result in a patchy, uneven finish. It’s important to wait until the wood has fully dried, which can take three to four months, before applying paint or stain. Using the correct type of primer and paint is also crucial for a successful end result.
ready to paint or stain? Rushing the Drying Process, Using Low-Quality Paints, and Neglecting Maintenance are common mistakes people make when painting pressure treated wood. Rushing the drying process is a frequent error, and people tend to assume that the wood is ready for painting as soon as they get it from the store. However, it is vital to wait up to three to four months for the wood to air-dry entirely. Otherwise, the moisture trapped in the wood can cause it to expand, leading to warping, rot, and even paint failure.
Additionally, using low-quality paints is another mistake people make, leading to flaking, peeling, and chipping of paint. Therefore, invest in high-quality paint to ensure that your project lasts longer. Lastly, neglecting maintenance is another common mistake people make when painting pressure treated wood. Proper maintenance ensures that the wood stays in good condition for an extended period, preventing rot, cracks, and other damages.
Frequently Asked Questions Of What Happens If You Paint Pressure Treated Wood Too Soon
How Long Should Pressure-treated Lumber Cure Before Painting?
Pressure-treated lumber should cure for three to four months before painting to ensure that it dries completely. It’s crucial to wait until the wood absorbs water on the surface before painting. Use the appropriate paint and primer to ensure the best results.
Will Pressure-treated Wood Rot If You Paint It?
Yes, you can paint pressure-treated wood easily using high-quality exterior primer and latex paint. However, you should wait until it dries first, wash and scrub off all the excess treatment chemicals that seep out, and then let it dry once more before applying primer and paint.
If you paint it too soon or before it’s fully dried, the paint may not dry properly or may blister and peel over time.
What Happens If You Stain New Pressure-treated Wood Too Soon?
Wait for pressure-treated wood to thoroughly dry before staining it to avoid uneven and patchy results. It’s crucial to let the wood dry completely before any application of paint or stain. Doing so will prevent the paint from not drying, blistering, or peeling over time, which could affect the longevity of the finish.
How Do You Know When Pressure-treated Wood Is Dry?
To ensure pressure-treated wood is dry and ready for painting, use a moisture meter to test the moisture content. Wait until the moisture content is below 15% before painting, which typically takes three to four months. Avoid painting too soon, as it can lead to uneven patches and peeling.
Conclusion
To conclude, painting pressure treated wood too soon can lead to undesirable results such as peeling and blistering of the paint, ultimately affecting the wood’s longevity. It is essential to wait for the wood to dry thoroughly before painting or staining it.
Kiln-dried pressure-treated lumber is a better option to consider as it reduces the waiting time. Therefore, it is always best to follow instructions carefully and use the right products to ensure that your project is a success and the wood lasts for years to come.