5/8 Plywood for Roof: When to Use It and How to Install It
For roofing, 5/8″ CDX plywood is a solid, widely-used choice: the C-grade face goes up under the felt and shingles, the rougher D-grade face goes down, and the “X” means it’s bonded with exterior-rated glue (not fully waterproof, just able to survive construction-phase weather exposure). Whether 5/8″ is the right thickness for your specific roof actually comes down to your rafter spacing and roofing material weight, not the roof’s slope – more on that below.
For a full breakdown of every thickness option, H-clip requirements, and live sheathing prices, see our complete plywood and H-clips guide for roofing. This page focuses specifically on the 5/8″ option: when it’s the right call, how to size and install it, and what it costs.
What 5/8″ CDX Plywood Actually Is
For 24″ Rafter Spacing
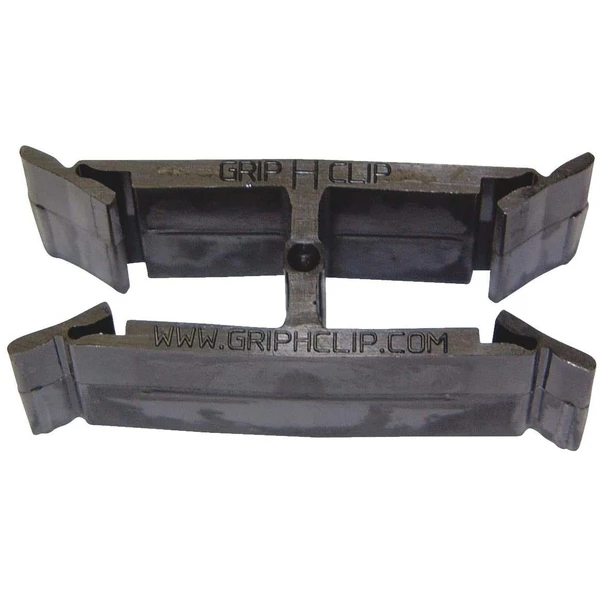 |
Grip H Clip for 19/32″-5/8″ Sheathing – $37.50 Sized to match 5/8″ plywood, these clips support panel edges between rafters spaced 24″ on-center, preventing sag and keeping edges aligned.
|
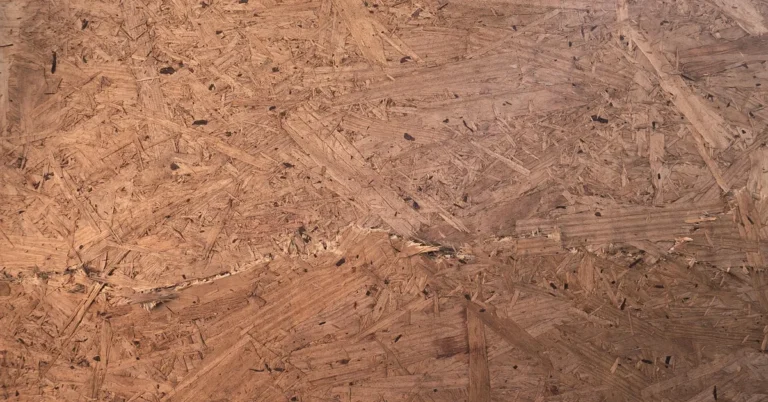
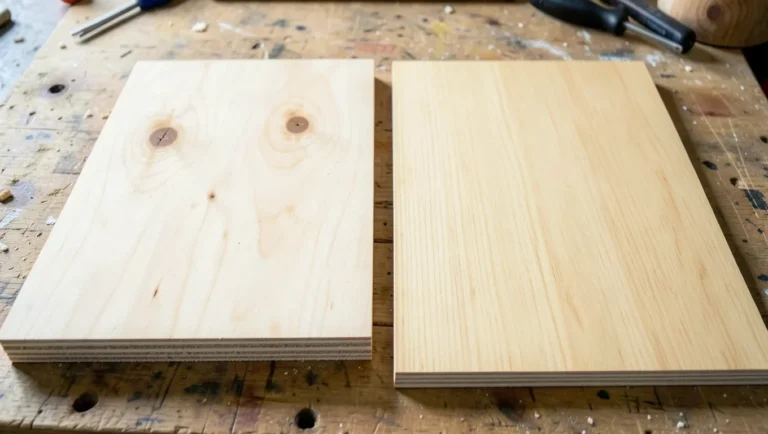
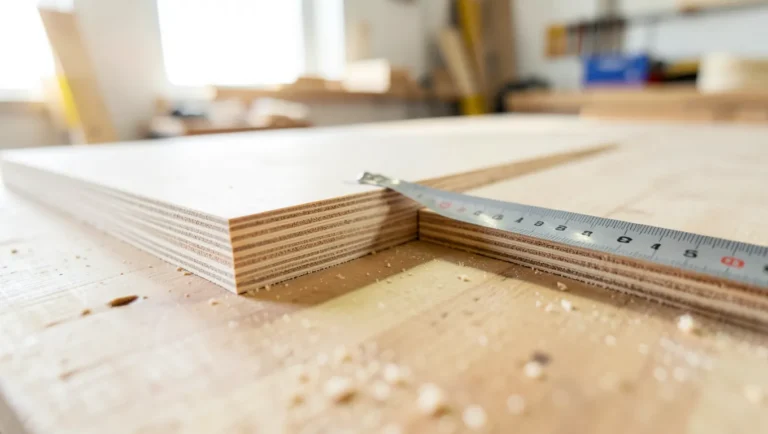
Plywood is made of thin wood veneer layers (“plies”) glued together with the grain of each layer running perpendicular to the next, which is what gives it strength in both directions compared to solid lumber. CDX refers to the grading: the “C” side has visible knots and minor splits but is sanded enough for one smooth-ish face, the “D” side is rougher still, and the “X” is an exposure rating meaning the glue bond can handle some weather exposure during construction – it’s not intended to sit uncovered long-term.
At 5/8″ thick, this plywood is heavier and pricier per sheet than thinner options like 7/16″ or 1/2″, but it holds up better under foot traffic during installation, resists sagging between rafters, and gives extra stiffness under heavier roofing materials like tile or metal.
What Actually Determines If You Need 5/8″
Here’s the correction worth making clear: roof slope by itself doesn’t set the required plywood thickness. What actually determines it is rafter (or truss) spacing and the span rating printed on the panel – a code-driven number based on APA (The Engineered Wood Association) testing, not a rule of thumb about pitch.
- Rafters at 16″ on-center: thinner panels (7/16″ to 1/2″) are often code-compliant, though many builders still upgrade to 5/8″ for stiffness.
- Rafters at 24″ on-center: this is where 5/8″ (commonly sold with a 32/16 span rating) earns its keep – it’s rated to span up to 32″ between supports without excessive deflection.
- Heavy roofing materials (clay tile, slate, standing-seam metal) or high snow-load regions often call for 5/8″ or thicker regardless of rafter spacing, per your local building code.
Always check the span rating stamped on the panel itself (look for a code like “32/16” near the grade stamp) and confirm against your local building code before buying – codes vary by jurisdiction and snow-load zone, and a building inspector will check this at framing inspection.
Measuring and Ordering
Measure the roof’s total square footage (length × width of each roof plane, added together), then divide by 32 – the square footage of one standard 4′ × 8′ sheet – to estimate how many sheets you need. Add 10-15% for waste from cuts around vents, valleys, and hips, and round up to the next full sheet.
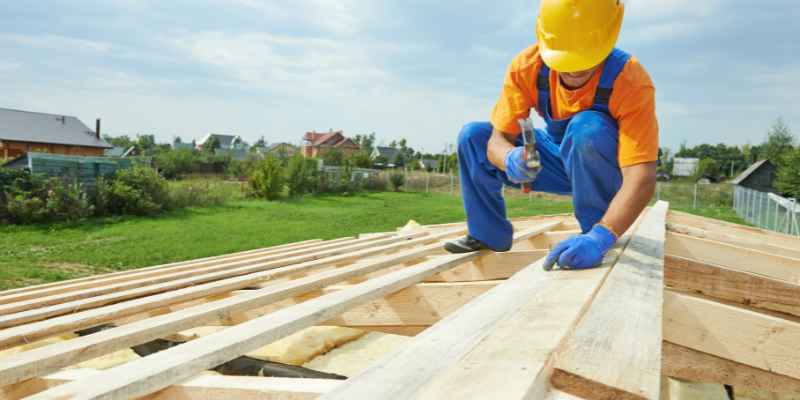
Before you order, walk the existing roof (if this is a tear-off or repair) and check for soft spots, leaks, or rot in the decking and rafters underneath. Replace any compromised framing before the new sheathing goes down – new plywood over a rotten rafter just hides the problem instead of fixing it.
Installing 5/8″ Plywood Roof Sheathing
Tools and materials: 5/8″ plywood sheets, roofing nails (ring-shank, sized per your local code – typically 8d), H-clips if your rafters are 24″ on-center, a chalk line, circular saw, nail gun, tape measure, and standard fall-protection gear (harness, roof anchors, non-slip footwear).
- Snap a chalk line across the rafters as a straight starting reference for your first row of sheets.
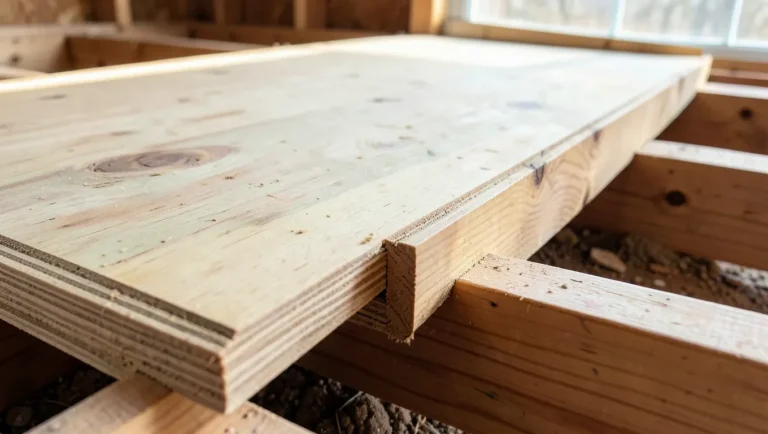
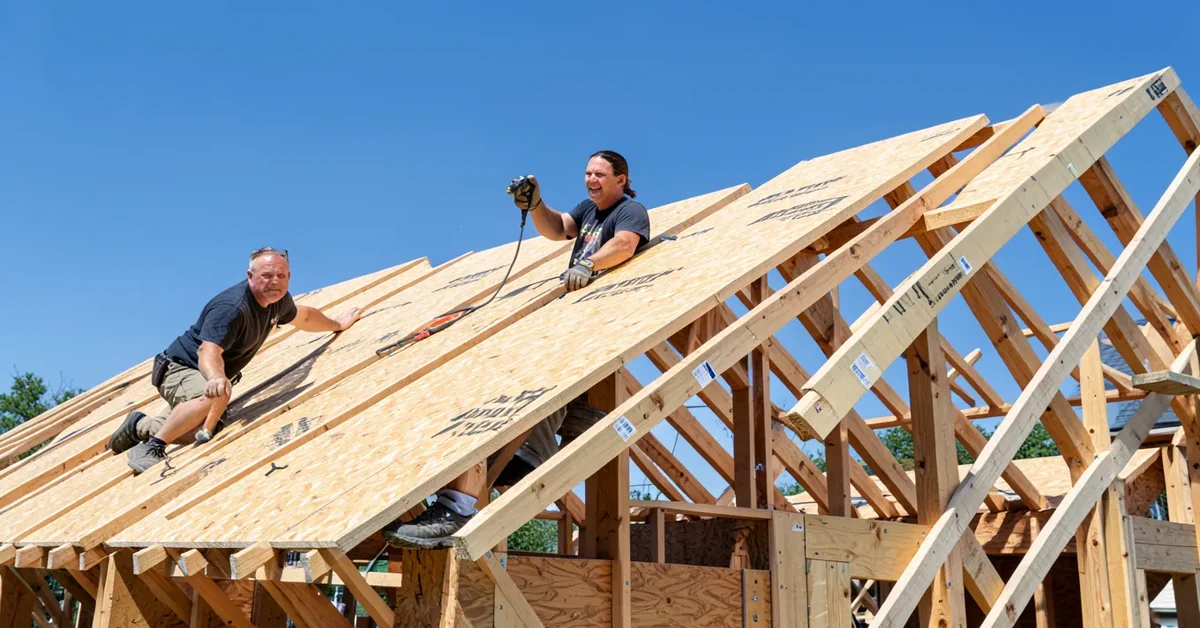
- Lay sheets perpendicular to the rafters, with the grade stamp facing up and the panel edges centered on a rafter, never floating between two.
- Stagger the joints row to row (like brick coursing) so four panel corners never meet at one point – this is a code requirement in most jurisdictions, not just good practice.
- Leave a 1/8″ gap between panel edges to allow for seasonal expansion; pushing sheets tight together can cause buckling later.
- Install H-clips at the mid-span point between rafters on unsupported edges if your rafter spacing calls for them – they keep panel edges aligned and prevent sagging between supports.
- Nail every 6″ along the edges and every 12″ in the field (check your local code for exact spacing), driving nails flush without overdriving through the face veneer.
- Add roofing felt or synthetic underlayment once all sheathing is down and inspected, before shingles go on.
Maintaining a 5/8″ Plywood Roof Deck
Once the roofing material is on, the plywood itself needs little attention as long as the roof covering stays intact – but a couple of habits extend its life. Inspect the attic side twice a year (spring and fall) for water staining, sagging, or soft spots, which usually signal a leak in the roofing above rather than a plywood defect on its own. Keep gutters and valleys clear so water doesn’t back up under the shingle edge and reach the decking. If you do find rot or a soft spot, replace that section of sheathing promptly rather than patching over it – compromised decking won’t hold fasteners securely and can fail under snow load or foot traffic.
Cost of 5/8″ Plywood Roofing
Per sheet, 5/8″ CDX plywood typically runs $26 to $60 depending on your region and current lumber pricing – noticeably less than shingle, metal, or tile material costs, since the plywood is just the structural base, not the finished roof surface.
| Roofing Material | Approx. Cost per Sheet or Unit |
|---|---|
| 5/8″ Plywood (sheathing) | $26 – $60 |
| Asphalt Shingles | $65 – $200 (per bundle) |
| Metal Roofing Panels | $120 – $900 |
| Tile Roofing | $300 – $500 |
To keep costs down: buy from a supplier with current stock rather than special-ordering, measure carefully so you’re not paying for sheets you don’t need, and get multiple quotes if you’re hiring the work out – labor, not the plywood itself, is usually the larger share of a re-roofing budget.

Frequently Asked Questions
Can you use 5/8″ plywood for roof sheathing?
Yes. It’s a common choice for roof sheathing over rafters or trusses, particularly at 24″ on-center spacing or under heavier roofing materials. Confirm the required thickness against your local building code and the panel’s span rating rather than assuming based on roof pitch alone.
How thick should plywood be for roofing?
It depends on rafter spacing and roofing material weight, not roof slope. At 16″ rafter spacing, 7/16″ to 1/2″ is often sufficient by code; at 24″ spacing, 5/8″ (commonly rated 32/16) is a common and reliable choice. Check your local code for the exact minimum.
Which plywood is best for roofing?
CDX plywood is the standard choice, balancing price and performance, with a C-grade face up and a D-grade face down. 5/8″ CDX is a solid middle-of-the-road pick for 24″ rafter spacing or heavier roofing materials.
What is 5/8″ CDX plywood?
It’s plywood graded C on one face and D on the other, bonded with exterior-rated (“Exposure 1,” the X) glue, at a 5/8″ nominal thickness. It’s commonly used as structural sheathing over roof rafters, wall studs, or as a subfloor base.
Conclusion
5/8″ CDX plywood is a dependable roof sheathing choice, especially at 24″ rafter spacing or under heavier roofing materials – but the deciding factor is rafter spacing and the panel’s span rating, not the slope of your roof. Check the grade stamp, confirm against your local code, and use H-clips where your spacing calls for them, and the sheathing will do its job for decades under whatever roofing material goes on top.
Sponsored / affiliate links. As an Amazon Associate I earn from qualifying purchases. I may earn additional commission from eligible campaigns.