Amazon Wood Ash: Essential Tips For Best Results
Amazon wood ash offers unique properties for woodworking projects, enhancing durability and adding a natural patina. Understanding its composition and application is key to achieving excellent, long-lasting results, even for beginners. This guide provides essential tips for safe and effective use.
Ever wondered about adding a special touch to your woodworking projects? Maybe you’ve heard whispers about using natural materials for unique finishes, and one that keeps popping up is Amazon wood ash. It sounds a bit unusual, right? But trust me, this natural material, when used correctly, can bring out incredible depth, strength, and character in your wood. Many beginners shy away from less common techniques, fearing they’re too complicated or might ruin their hard work. But what if I told you that with a few simple pointers, you can harness the power of Amazon wood ash to create stunning, durable pieces? This guide is designed to take you from curious beginner to confident woodworker, unlocking the secrets of this fascinating material.
We’ll explore what makes Amazon wood ash so special, how to prepare and handle it safely, and the best ways to apply it for a beautiful, lasting finish. Get ready to add a touch of natural artistry to your next project!
What is Amazon Wood Ash and Why Use It?
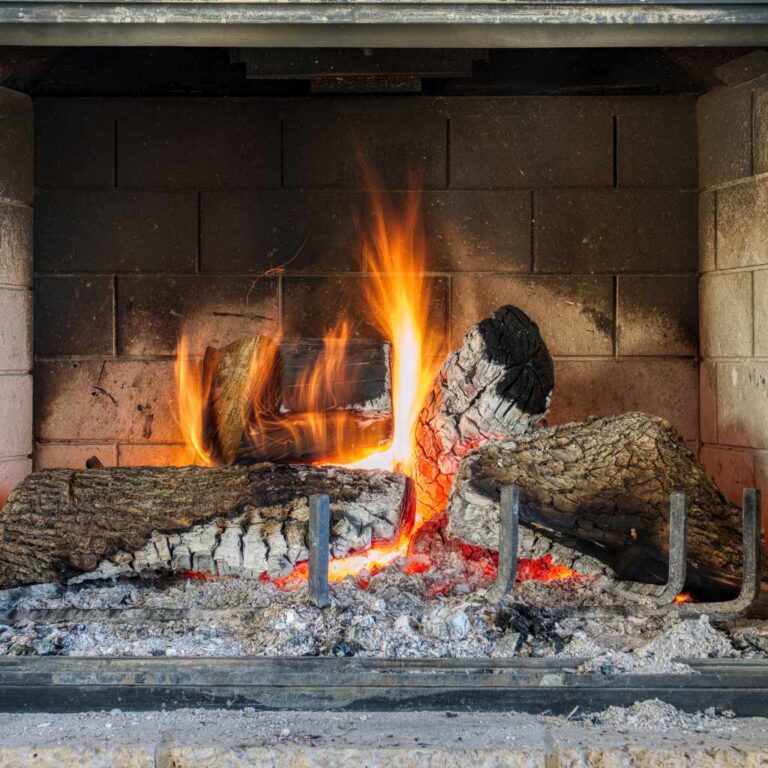
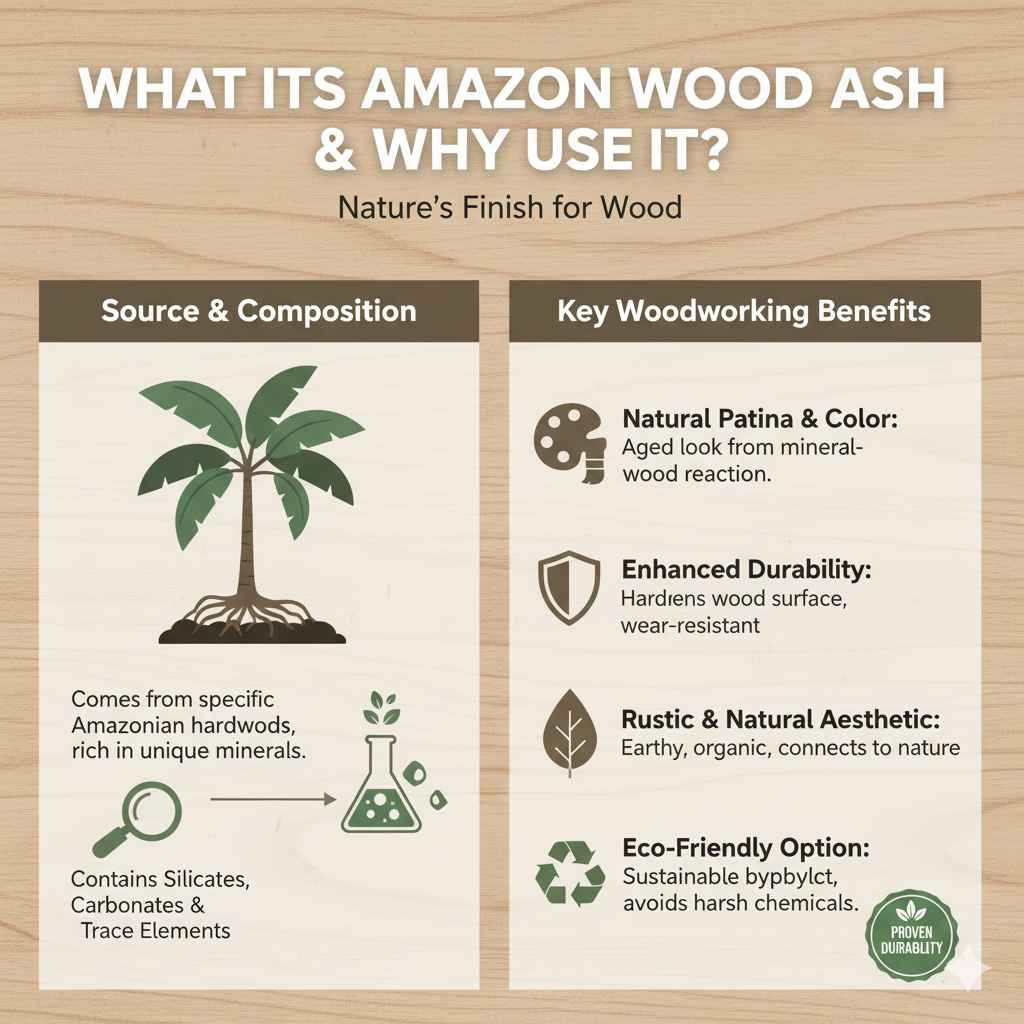
Amazon wood ash isn’t just any burnt wood. It comes from the specific hardwoods found in the Amazon rainforest. These woods often have unique mineral compositions due to the rich soil and specific growing conditions. When these hardwoods are burned under controlled conditions, the resulting ash contains a fascinating mix of minerals, including silicates, carbonates, and various trace elements. These mineral compounds are what give Amazon wood ash its special properties.
For woodworkers, this translates into several exciting benefits:
- Natural Patina and Color: The minerals in the ash can react with the wood’s natural tannins, creating subtle shifts in color and a beautiful, aged look. This is often a sought-after aesthetic for furniture and decorative items.
- Enhanced Durability: Certain mineral components can actually help to harden the wood surface, making it more resistant to wear and tear. This is particularly useful for high-traffic items like tabletops or cutting boards.
- Rustic and Natural Aesthetic: It provides an organic, earthy finish that’s difficult to replicate with synthetic products. It connects your piece to nature in a very direct way.
- Eco-Friendly Option: Utilizing a natural byproduct like wood ash can be a sustainable choice, reducing waste and avoiding harsh chemicals often found in conventional finishes.
It’s important to note that not all wood ash is the same. The type of hardwood, the burning process, and even the soil composition where the trees grew will influence the ash’s properties. This is why specifically sourcing Amazon wood ash, known for its consistent quality and unique mineral profile, yields the best results.
Getting Started: Safely Handling and Preparing Amazon Wood Ash
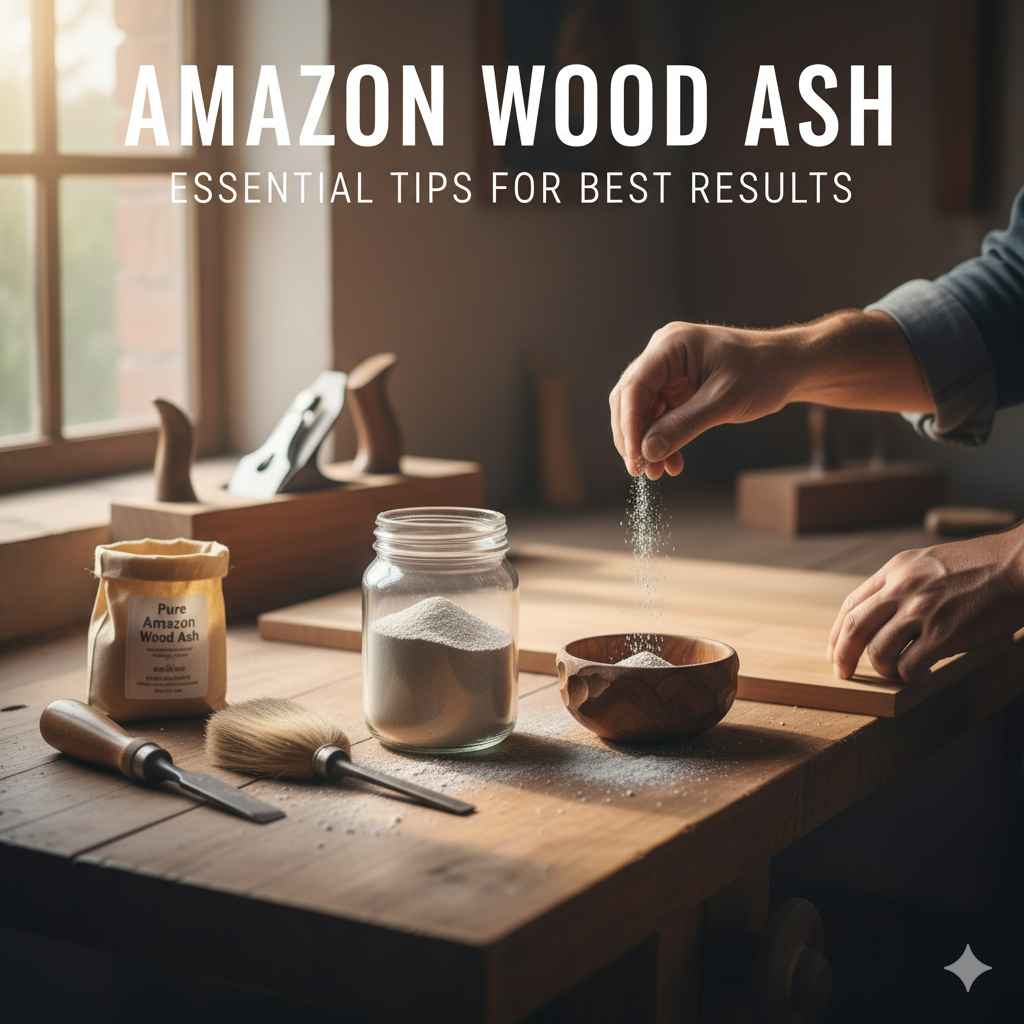
Safety and proper preparation are paramount when working with any material, and wood ash is no exception. While natural, it’s still finely powdered and can be easily inhaled or irritate the skin. Let’s make sure you’re set up for success and safety:
Safety First! Essential Precautions
Before you even touch the ash, gear up. This ensures a comfortable and safe working environment. Think of it like putting on your workshop apron – it’s a non-negotiable step for good practice.
- Respiratory Protection: Always wear a well-fitting dust mask or a respirator. Fine ash particles can be irritating to your lungs.
- Eye Protection: Safety glasses are crucial to prevent any ash from getting into your eyes.
- Gloves: Wear gloves (disposable nitrile or heavier work gloves) to protect your skin from any potential dryness or irritation.
- Ventilation: Work in a well-ventilated area, preferably outdoors or in a workshop with good airflow or an extraction system.
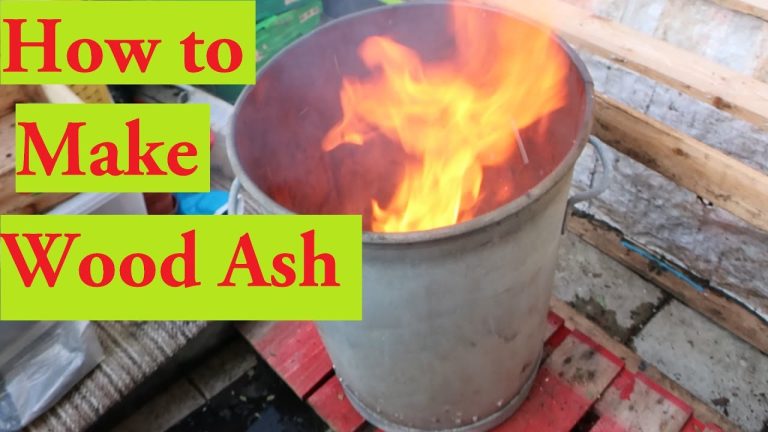
Preparing the Ash: From Raw to Ready
The ash you receive might contain larger unburnt wood particles or impurities. For the best results with finishes, you’ll want a fine, consistent powder. This process is quite simple but makes a big difference.
- Sifting: The most important step is sifting. Use a fine-mesh sieve (think floral or kitchen mesh, not coarse hardware cloth). If you don’t have a sieve, you can use a piece of fine mesh fabric stretched over a container.
- Double Sifting (Optional but Recommended): For an ultra-fine powder, sift the ash once, then sift it again through the same sieve. This helps break down any remaining clumps and ensures uniformity.
- Removing Impurities: While sifting, gently break up any larger charcoal chunks or unburnt material with the back of a spoon or your gloved hand. Discard these larger pieces.
- Storage: Once sifted and ready, store your Amazon wood ash in an airtight container. This keeps it dry and prevents it from absorbing moisture or environmental dust. A simple glass jar with a tight lid or a sealed plastic container works perfectly.
Having finely sifted, dry ash ready to go means you can jump right into your project without delays or unexpected inconsistencies in your finish.
Applying Amazon Wood Ash: Techniques for Stunning Finishes
This is where the magic happens! Amazon wood ash can be incorporated into your woodworking finishes in several ways. The key is to experiment and understand how the ash interacts with different binders and your wood species.
Method 1: Ash as a Wood Stain or Patina Agent
This method uses the ash to subtly alter the wood’s color, creating a natural, aged look. It leverages the mineral content to react with wood tannins.
What You’ll Need:
- Finely sifted Amazon wood ash
- A sealant or binder (e.g., dilute shellac, mineral oil, or a specialized wood conditioner)
- Soft brushes or cloths for application
- Fine-grit sandpaper (e.g., 220-grit or higher)
- Safety gear (mask, glasses, gloves)
Steps:
- Prepare Your Wood: Ensure your wood surface is clean, smooth, and sanded to at least 180-grit. Any roughness will hold the ash unevenly.
- Mix the Ash Solution: In a small, non-reactive container, mix a small amount of your chosen binder with your sifted ash. Start with a paste-like consistency. For example, mix ash with a little mineral oil until it forms a thick paste. Alternatively, you can lightly dampen the wood with a dilute shellac solution and then sprinkle/dab the ash onto the damp surface.
- Apply to Wood: Using a brush or cloth, apply the ash mixture evenly to the wood surface. Work in the direction of the grain. You’re aiming for an even coating. You can also sprinkle dry ash onto a slightly dampened surface to achieve a similar effect.
- Allow to React/Dry: Let the mixture sit on the wood for a period. For oil-based mixtures, this might be 15-30 minutes. The longer it sits, the more pronounced the color change can be, though excessive time can make removal difficult. If using ash on a dampened surface, allow it to dry almost completely.
- Gentle Abrasion: Once the ash has had time to react, very gently wipe away the excess ash with a clean, dry cloth, working with the grain. You can also use a soft brush. The goal is to remove the loose ash, leaving the color pigment embedded in the wood pores and surface.
- Optional: Light Sanding: For a smoother finish, you can lightly sand with a very fine grit sandpaper (320-grit or higher) after the initial cleaning. This will further embed the pigments and smooth out any rough spots. Be careful not to sand too aggressively, or you’ll remove the achieved patina.
- Seal the Finish: Crucially, you must seal the wood to lock in the ash patina and protect it. Apply a clear topcoat like a wipe-on polyurethane, varnish, or a natural oil finish. This penetrates and seals the ash, preventing it from rubbing off.
Method 2: Ash as an Additive to Finishes (e.g., Oil, Wax, or Shellac)
This technique involves incorporating the fine ash powder directly into your chosen clear finish, allowing for a more uniform application and a subtle, integrated effect.
What You’ll Need:
- Finely sifted Amazon wood ash
- Your chosen clear finish (e.g., tung oil, Danish oil, paste wax, or a diluted lacquer/shellac)
- A non-reactive mixing container
- Mixing sticks
- Applicator pads, brushes, or cloths
- Safety gear
Steps:
- Prepare Ash and Finish: Ensure your ash is as fine as possible (doubly sifted is best here). Have your clear finish ready in a clean container.
- Mix Ash into Finish Gradually: Start by adding a small amount of ash to your finish. Stir thoroughly. The amount of ash will depend on the desired effect. A good starting point is about 1 part ash to 10 parts finish by volume. Too much ash can make the finish difficult to apply or prone to settling.
- Achieve Desired Consistency: Continue adding ash and mixing until you achieve a smooth, consistent mixture without clumps. The ash should be evenly suspended. Stir frequently during application, as the ash may settle over time.
- Apply to Wood: Apply the ash-containing finish to your prepared wood surface using your preferred method – a brush, pad, or cloth. Work in thin, even coats, following the direction of the wood grain.
- Allow to Dry: Let each coat dry completely according to the finish manufacturer’s instructions. Curing times are important for durability.
- Sand Between Coats (Optional but Recommended): For a very smooth finish, lightly sand with a very fine grit (e.g., 400-grit or higher) between coats after they have dried and cured sufficiently. Wipe away all dust before applying the next coat.
- Apply Multiple Coats: Depending on the depth of color and protection you want, apply 2-4 thin coats.
- Final Cure: Allow the final coat to cure fully. This can take several days to weeks, depending on the finish used.
Tips for Success with Ash Finishes:
- Test, Test, Test: Always test your chosen ash mixture and application method on a scrap piece of the same wood before applying it to your project. This is the best way to gauge the color, texture, and adhesion.
- Wood Species Matters: Different wood species will react differently. Porous woods like oak or ash will absorb the ash more readily and show a more pronounced effect than dense hardwoods like maple.
- Patience is Key: Rushing the process, especially drying and curing times, can lead to a less durable or aesthetically pleasing finish.
- Cleanliness is Crucial: Ensure your tools, work area, and the wood itself are free of dust and debris before and during application.
- Understand Settling: Ash is dense and will settle in liquid finishes. Consistent stirring is vital.
A Quick Comparison: Ash as Stain vs. Ash in Finish
To help you decide which method might be best for your specific project, here’s a quick look at the key differences:
| Feature | Ash as Wood Stain/Patina Agent | Ash as Additive to Finishes |
|---|---|---|
| Effect | Subtle, often aged patina; color reacts with wood tannins. Can be more rustic. | Uniform color and texture integrated into the finish. Can provide subtle flecking or a matte look. |
| Application | Applied to surface, then excess removed/abraded. Requires careful removal. | Mixed directly into liquid/paste finish and applied as a single step. Simpler application. |
| Consistency | Can vary depending on wood absorption and reaction time. | More controlled and consistent if mixed properly. |
| Durability | Relies heavily on the quality of the topcoat to seal the patina. | Integral to the finish, so durability is tied to the finish itself. |
| Beginner Friendliness | Slightly more challenging due to the removal/patina process. | Generally easier due to single-step application. |
| Visual Outcome | Can look more “natural” and aged. | Can look more refined, with a subtle shimmer or texture depending on the ash and finish. |
Advanced Techniques & Considerations
Once you’re comfortable with the basics, you might want to explore some more nuanced ways to use Amazon wood ash or consider specific project applications.
Layering and Multi-Tonal Effects
For a truly unique look, you can experiment with applying ash in different ways or concentrations on different parts of a single piece. For instance, you might use a lighter ash mixture on the main body of a table and a more concentrated paste on the edges for a subtle contrast. Or, after applying an ash patina, you could use a different type of finish (like a colored oil) to add another layer of depth.
Using Different Binders
Beyond the common options, consider how ash might perform with:
- Water-Based Finishes: Mixing ash with water-based polyurethanes or lacquers is possible but requires very fine ash and constant stirring, as the ash can clump and settle quickly. The resulting finish might have a more matte appearance.
- Epoxy Resins: For very durable and water-resistant applications (like countertops or outdoor furniture), ash can be mixed into clear epoxy resin. Ensure the ash is extremely dry and fine, and follow the resin manufacturer’s recommendations for pigment loading. Be aware that some binders might react with ash minerals, so testing is crucial. Reputable sources like epoxypros.com offer guides on pigment use in resins you might find helpful.
Ash for Filling Grain
When mixed with a binder like a wood filler or even a thick oil/wax paste, finely sifted ash can be used to fill the pores of open-grained woods (like oak or mahogany). This creates a smooth surface while also adding subtle coloration. Apply the paste, let it partially set, then scrape away the excess, letting the ash remain in the pores.
Sustainability and Sourcing
When looking for Amazon wood ash, ensure you are sourcing it from reputable suppliers who are transparent about their wood origins and burning processes. This guarantees you are using a quality product free from contaminants like treated lumber ash, which can be toxic. For information on sustainable forestry practices, resources from organizations like the Forest Stewardship Council (FSC) can be illustrative of responsible sourcing in general.

Frequently Asked Questions (FAQ) about Amazon Wood Ash
Q1: Is Amazon wood ash safe to use on food-contact surfaces like cutting boards?
A1: Generally, yes, if you use naturally non-toxic binders like mineral oil or beeswax and seal the surface thoroughly with food-safe oils (like food-grade mineral oil or fractionated coconut oil). Always ensure all ash residue is completely removed and the final surface is properly cured and sealed with a food-safe finish. Do not use finishes containing heavy metals or toxic solvents.
Q2: How can I tell if my ash is fine enough for finishing?
A2: The best way is through sifting. If it passes through a standard kitchen sieve (around 60-mesh), it’s usually fine enough for most finishes. For the smoothest results, especially when mixing into clear coats, aim for an even finer mesh (100-mesh or higher) if possible. You should not feel gritty particles when you rub the sifted ash between your fingers.
Q3: Will Amazon wood ash leave splinters or rough spots?
A3: If not sifted properly, larger particles can cause roughness. However, well-sifted ash, especially when integrated into a smooth finish or after gentle sanding, typically does not cause splinters. The mineral particles themselves are very fine. Proper application and sanding between coats are key barriers against this.
Q4: Can I use ash from any type of wood found in the Amazon?
A4: While the general principles apply, the specific mineral content and resulting color effects can vary widely depending on the tree species. For consistent, high-quality results, look for ash specifically labeled as originating from hardwoods known for their desirable properties, rather than generic “rainforest” ash.
Q5: How much ash should I add to my finish?
A5: This is largely dependent on the desired effect and the binder you’re using. Always start conservatively—a little goes a long way. A ratio of 1:10 (ash to finish by volume) is a good starting point.