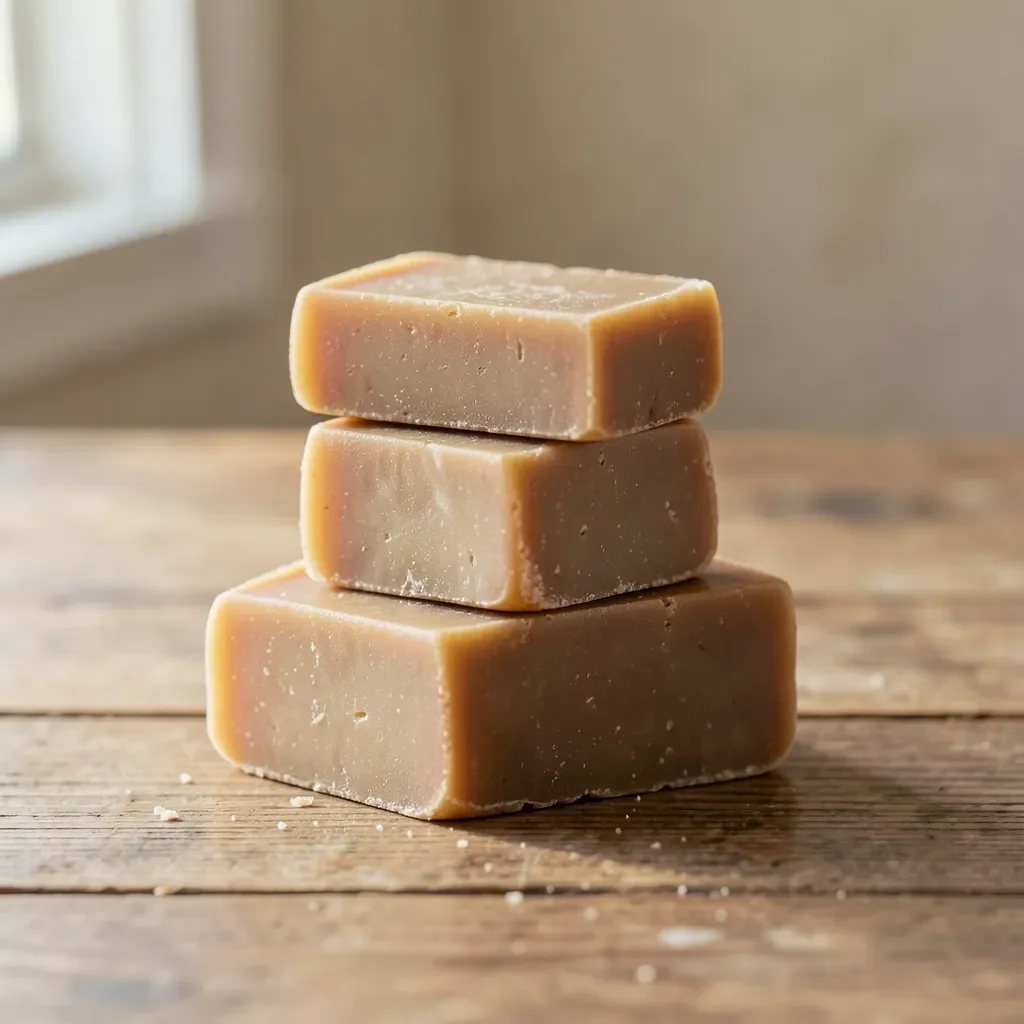
How to Make Wood Ash Soap: A Step-by-Step Guide
Wood ash soap is made by leaching hardwood ash with water to produce lye, then cooking that lye with rendered fat or oil until the mixture saponifies into soap. It’s the same basic chemistry as any cold- or hot-process soap – the only difference is making the lye from scratch instead of buying sodium hydroxide. It takes patience (leaching alone can take days) and real caution around a caustic chemical, but the process itself has been used for centuries and isn’t complicated once you know the steps.
What You’ll Need
For Molding the Finished Soap
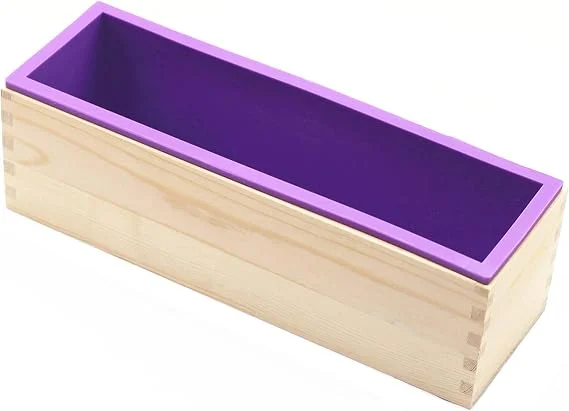 |
Silicone Soap Loaf Mold with Wood Box, 42 oz Flexible silicone releases a full loaf cleanly – no lining, no sticking, no fighting the mold once the soap cures.
|
Ingredients: clean hardwood ash (oak, maple, ash, or beech), soft water (rainwater or distilled), and rendered animal fat (tallow or lard) or a vegetable oil like olive oil.
Equipment: a large non-reactive container for leaching (wood, plastic, or stainless steel – never aluminum, which lye corrodes), a stirring stick, rubber gloves, safety goggles, a fresh egg (for testing lye strength), a heavy pot, a thermometer, and a mold.
Step 1: Leach the Ash Into Lye
Use ash from hardwoods only – oak, maple, ash, and beech produce a strong, reliable lye, while softwood ash contains resins that make weaker, less predictable lye. Sift out any charcoal chunks, nails, or other unburned debris first, since leftover debris can contaminate the lye and muddy the final bar. Fill a non-reactive container about half full of ash, then slowly pour soft water (rainwater is ideal; hard tap water reduces the lye’s effectiveness) over it until the water level sits an inch or two above the ash.
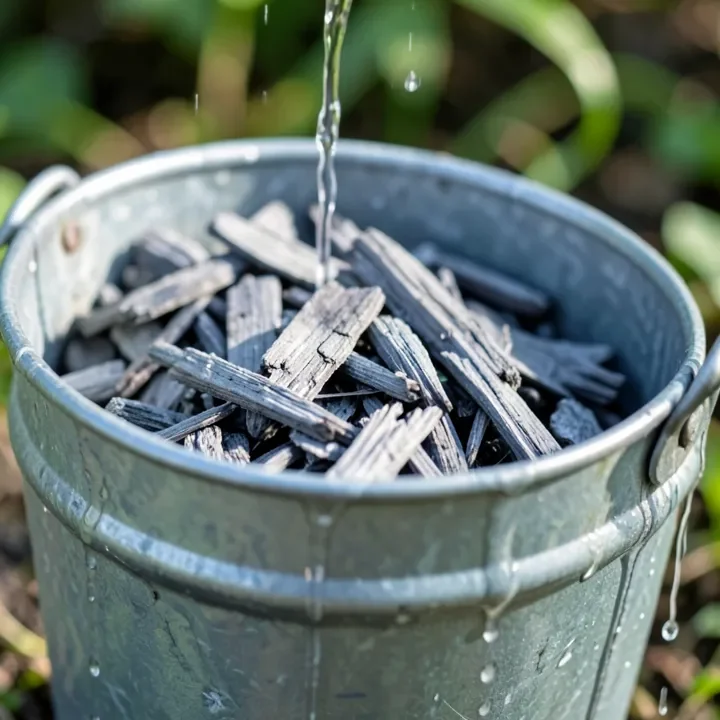
Let it sit for at least 24-48 hours (some traditional methods leach for several days) so the water fully draws the potassium carbonate and hydroxide out of the ash. Strain the resulting liquid through cloth to remove all ash particles – this liquid is your lye.
Step 2: Test the Lye Strength
Wood-ash lye doesn’t come with a printed concentration the way store-bought sodium hydroxide does, so testing it matters. The traditional method is the egg (or potato) test: float a fresh egg in the lye. If it sinks, the lye is too weak and needs more evaporation (simmer it down, never add more ash to already-strained lye). If the egg floats with roughly a quarter-sized circle showing above the surface, the lye is at approximately the right strength for soap making. If it bobs almost entirely above the surface, the lye is too concentrated – dilute gradually with small additions of soft water, retesting after each one rather than guessing at a single big adjustment.
Step 3: Combine Lye and Fat
- Put on gloves and goggles before handling lye at any concentration.
- In a well-ventilated space, slowly heat your fat or oil in a heavy pot until fully melted.
- Slowly add the lye solution to the fat (not the reverse), stirring constantly with a wooden or heat-safe utensil.
- Keep the heat low and never let the mixture boil – boiling can cause dangerous splattering.
- Continue stirring as the mixture gradually thickens, watching for “trace” – the point where the mixture leaves a visible trail on its own surface when drizzled from the spoon.
- Once trace is reached, pour immediately into the mold before it firms up too much to pour cleanly.
Step 4: Mold, Cut, and Cure
Cover the filled mold with a towel to retain heat, which helps the saponification reaction finish fully, and let it set for 24 hours before unmolding. Cut into bars while the soap is still firm but not fully hardened – waiting too long makes clean cuts harder. Then cure the bars on a rack in a cool, dry, well-ventilated spot for 4-6 weeks. This curing time isn’t optional: it’s what allows excess moisture to evaporate and any remaining unreacted lye to fully convert, resulting in a milder, longer-lasting bar.
Safety: What Actually Matters When Handling Lye
- Always wear rubber gloves and splash-proof goggles when handling lye at any concentration, from leaching through mixing.
- Work in a well-ventilated area – lye fumes during mixing can irritate the respiratory system.
- If lye contacts skin or eyes, flush immediately with large amounts of cool running water for at least 15-20 minutes and seek medical attention, especially for eye contact. Do not apply vinegar or any other acid to a lye burn – the neutralization reaction is exothermic and can generate additional heat, making the burn worse rather than better. Water is the correct first response.
- Keep children and pets out of the workspace entirely while lye is present, from leaching through the final pour.
- Never add water to concentrated lye – always add lye to water/fat, not the reverse, since adding water to lye can cause violent, dangerous splattering.
- Use non-reactive containers only. Lye corrodes aluminum and some other metals; stick to stainless steel, glass, wood, or heavy plastic.
Why Wood Ash Soap Is Softer Than Store-Bought Lye Soap
Wood-ash lye is a mix of potassium hydroxide and potassium carbonate, while commercial lye soap is almost always made with sodium hydroxide. Potassium-hydroxide soaps are naturally softer and more water-soluble than sodium-hydroxide soaps – this is actually the same underlying chemistry behind why liquid soaps use potassium hydroxide and bar soaps typically use sodium hydroxide. A wood-ash bar will generally be softer, dissolve a bit faster in the shower, and have a shorter useful life than a bar made with store-bought lye, even with an identical cure time. That’s not a defect; it’s just the chemistry of working with what the ash actually produces.
Common Beginner Mistakes
Skipping the egg test and guessing at lye strength is the single biggest source of failed batches – too-weak lye never fully saponifies and leaves a greasy, soft bar, while too-strong lye produces a caustic bar that’s genuinely irritating to skin. Rushing the cure time is the second most common mistake: a bar cut and cured for only a week instead of 4-6 will feel noticeably softer, sting more in use, and dissolve faster in the shower than one given the full cure, since the saponification reaction is still finishing and excess water hasn’t fully evaporated during that early period. Using softwood ash instead of hardwood is a quieter mistake – the soap may still technically work, but the resin content in pine or fir ash makes the lye weaker and less predictable batch to batch.
Storing Finished Bars
Store cured bars in a cool, dry place out of direct sunlight, which can discolor the soap over time. Wrap bars in paper or breathable cloth rather than plastic – sealed plastic traps moisture against the bar and can lead to a soft, sweating surface. Well-cured wood ash soap made from hardwood ash and a properly tested lye typically stores well for a year or more, though its higher potassium content means it will still feel and wear differently from a commercial bar even after a long, careful cure.
Frequently Asked Questions
How do you make wood ash soap?
Leach hardwood ash with soft water for 24-48+ hours to produce lye, test its strength with the egg float test, then combine the lye with melted fat and heat gently while stirring until it reaches trace. Pour into a mold, let set 24 hours, then cure for 4-6 weeks.
Can wood ash be used as soap?
Wood ash itself isn’t soap, but it contains potassium carbonate and hydroxide that become lye when leached with water. That lye, combined with fat through saponification, is what actually produces soap.
Is homemade lye soap safe for skin?
Yes, once properly saponified and fully cured for 4-6 weeks – a correctly made bar has no free lye left in it. A rushed or improperly tested batch can retain excess lye and cause irritation, which is why the egg test and full cure time both matter.
What should I do if lye gets on my skin?
Flush the area immediately with large amounts of cool running water for 15-20 minutes and seek medical attention if irritation persists, especially for eye contact. Do not use vinegar or another acid to neutralize it on skin – the reaction generates heat and can worsen the burn.
Conclusion
Wood ash soap is a genuinely old, genuinely functional technique – the leaching and egg test replace store-bought lye’s printed concentration, but the underlying chemistry and safety precautions are the same as any lye soap. Test the lye strength before committing a batch of fat to it, respect the full cure time, and treat lye with the same caution any strong base deserves.
Sponsored / affiliate links. As an Amazon Associate I earn from qualifying purchases. I may earn additional commission from eligible campaigns.