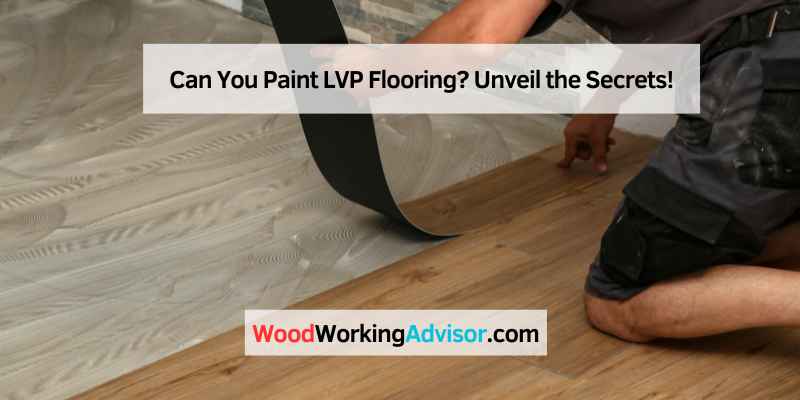
Can You Paint LVP Flooring? Unveil the Secrets!
Yes, you can paint LVP flooring. Proper preparation and the right type of paint are crucial for success.
LVP (Luxury Vinyl Plank) flooring is a popular choice due to its durability and aesthetic appeal. Over time, you may want to refresh its look without completely replacing it. Painting LVP flooring can be an effective solution. Start by cleaning the floor thoroughly and lightly sanding the surface to ensure better paint adhesion.
Choose a paint specifically designed for use on vinyl or other similar materials. Apply a primer before painting to enhance durability. This process can transform the appearance of your LVP flooring, giving it a fresh, new look while maintaining its structural integrity. Always follow manufacturer recommendations for the best results.
Introduction To LVP Flooring
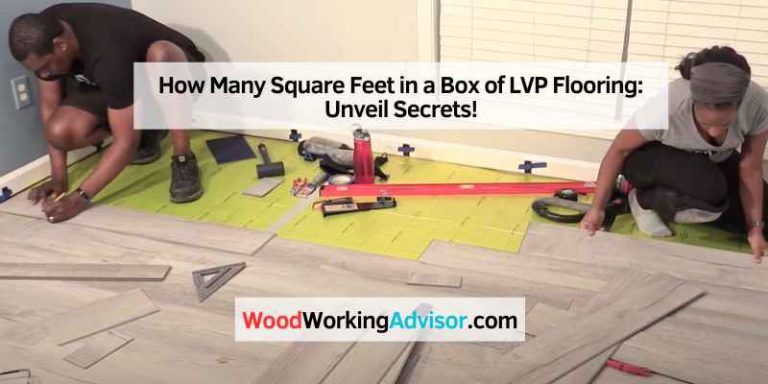
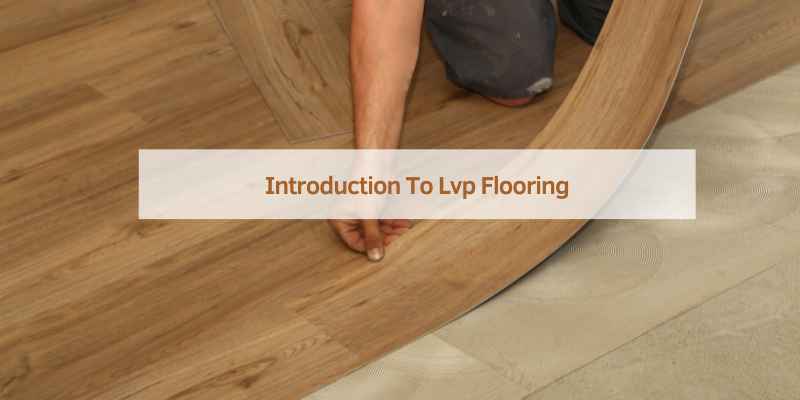
Luxury Vinyl Plank (LVP) flooring is very popular today. Many people love its look. It is affordable and easy to install. LVP flooring can look like wood or stone. This makes it a great choice for homes.
LVP is also durable and water-resistant. This means it works well in kitchens and bathrooms. People also like that it is easy to clean. There are many colors and styles to choose from. LVP can match any home decor.
LVP flooring is made of several layers. The top layer is a clear wear layer. It protects the floor from scratches and stains. Below that is a design layer. This layer gives the floor its look.
Under the design layer is the core layer. This layer makes the floor strong. The bottom layer is called the backing layer. It gives the floor stability. Together, these layers make LVP a great choice for many homes.
The Painting Debate
Painting LVP flooring can give a fresh look. It can save money on replacing floors. But painted floors can wear out quickly. They might need frequent touch-ups. Paint can peel if not applied well. Also, painted floors can be slippery.
Painting LVP floors can change the style of a room. It lets you match your floor to new decor. You can choose any color you like. This is easier than replacing the floor. It can be a fun DIY project. You can save money by doing it yourself.
Before You Begin
Wondering if you can paint LVP flooring? It’s possible with proper preparation and the right type of paint. Follow these steps for a successful project.
Assessing Your Flooring Condition
Check the current condition of your LVP flooring. Make sure the floor is clean and dry. Look for any damaged or loose planks. Fix these issues before you start painting. Smooth out any rough spots using sandpaper. This ensures the paint will stick well. Cleaning the floor with a mild detergent is crucial. It removes any dirt or grease. Let the floor dry completely before moving to the next step.
Essential Supplies For Painting Lvp
Gather all the essential supplies for painting LVP flooring. You will need high-quality primer and paint. Choose paint designed for floors. Painter’s tape is essential for clean edges. Use sandpaper to smooth rough areas. Have drop cloths to protect nearby surfaces. Paint rollers and brushes are necessary for application. A paint tray will hold your paint. Don’t forget protective gear like gloves and masks.
Preparation Steps
Before painting LVP flooring, ensure the surface is clean and dry. Lightly sand the floor to create a better bond.
Cleaning The Surface
Clean the surface to remove all dirt and grime. Use a mild soap and warm water for cleaning. Dry the floor completely before moving to the next step. Dust and debris can affect the paint’s adhesion. A clean surface ensures a smooth finish.
Sanding: Is It Necessary?
Sanding helps the paint stick better to the floor. Use a fine-grit sandpaper for this task. Sand the floor lightly to create a rough surface. Avoid sanding too hard to prevent damage. Clean the dust with a vacuum or a damp cloth. A well-sanded floor gives better results.
Choosing The Right Paint
Acrylic paint works well on LVP flooring. It dries fast and lasts long. Epoxy paint is another good choice. It is strong and resists scratches. Latex paint can also be used. It is easy to clean and has a smooth finish. Oil-based paint should be avoided. It can be slippery and hard to clean.
Pick a color that matches your room. Light colors make rooms look bigger. Dark colors add warmth and coziness. Neutral colors go well with any decor. Use bold colors for a fun look. Always test a small area first. Ensure the color looks good in your space.
The Painting Process
Clean the LVP flooring thoroughly. Make sure there is no dust or dirt. Use a mild detergent and water. Allow the floor to dry completely.
Sand the surface lightly. This helps the paint stick better. Wipe off any sanding dust with a damp cloth. Apply a primer designed for vinyl surfaces. Let the primer dry for the recommended time.
Paint the floor using a high-quality paint. Use a brush for edges and corners. A roller works best for large areas. Apply thin, even coats. Allow each coat to dry before adding the next.
Proper drying time is crucial for the paint to set. Avoid walking on the floor for at least 24 hours. Ensure the room is well-ventilated. Open windows and use fans to speed up drying. Avoid high humidity during the drying process. Humid conditions can affect the paint finish.
Finishing Touches
Wondering about painting LVP flooring? Yes, you can paint LVP flooring with the right preparation and materials. Ensure a flawless finish by following expert tips.
Sealing The Paint
Sealing the paint on LVP flooring is very important. It adds a layer of protection. This layer helps the paint last longer. Choose a high-quality sealer for the best results. Apply the sealer evenly. Make sure to cover all painted areas. Let the sealer dry for the recommended time. This ensures the best protection for your floor.
Curing Time For Longevity
Curing time is crucial for painted LVP flooring. It helps the paint set properly. Most paints need at least 24 hours to cure. Some might need even longer. Follow the instructions on the paint can. This helps to achieve the best results. Avoid heavy foot traffic during this time. This ensures the paint stays intact.
Maintenance Of Painted LVP
Use a soft broom to sweep the floor daily. Avoid using harsh chemicals on the painted surface. A damp mop is best for cleaning. Never soak the floor in water. Spills should be wiped up quickly. Use mats at doorways to catch dirt. Furniture pads help prevent scratches. Regular cleaning helps keep the floor looking new.
Repaint the floor if the paint starts to chip. High-traffic areas may need more frequent touch-ups. Inspect the floor every few months. Look for signs of wear and tear. A fresh coat can restore the floor’s beauty. Preparation is key before repainting. Clean the surface thoroughly before applying new paint.
Potential Pitfalls
Skipping the cleaning step can lead to a bad paint job. Dirt and dust will stick under the paint. Also, using the wrong type of paint can cause problems. Always use paint made for floors. Another mistake is not using a primer. Primer helps the paint stick better. Skipping the primer can make the paint peel. Finally, not allowing enough drying time between coats is a big mistake. This can cause the paint to smear.
Painting LVP flooring can void the warranty. Always check the warranty before starting. Most manufacturers do not recommend painting LVP floors. They might not cover any damages caused by painting. If the warranty is voided, you could end up paying for repairs yourself. This can be very costly. Some warranties are very strict. Read the fine print carefully. It’s better to be safe than sorry.
Real-life Examples
Many homeowners have successfully painted LVP flooring. They love the new look. One homeowner used a light gray paint. The floor looked brand new. Another homeowner chose a dark blue color. The result was stunning. They shared photos online. These photos inspired others to paint their floors too.
Some homeowners faced challenges while painting LVP flooring. One challenge was getting the paint to stick. They had to use a special primer. Another challenge was choosing the right paint. Some paints peeled off. They learned to use high-quality paint. Patience was also needed. It took time to get a smooth finish. In the end, the effort was worth it.
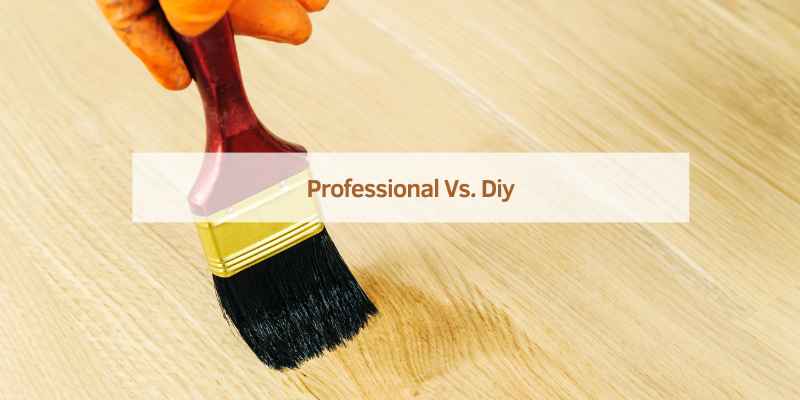
Professional Vs. DIY
Hiring a professional ensures a high-quality finish. Pros have the right tools and experience. They can work faster than you. Mistakes are less likely with a pro. Pros can deal with unexpected issues.
DIY might save money, but it takes time. If you are busy, hire a pro. A pro can also offer a warranty. This gives you peace of mind. Sometimes, the cost of fixing DIY mistakes can be high. Think about your skills before deciding.
| Option | Cost | Time | Quality |
|---|---|---|---|
| Professional | High | Quick | High |
| DIY | Low | Long | Varies |
Frequently Asked Questions
How Do You Paint Luxury Vinyl Plank Flooring?
To paint luxury vinyl plank flooring, first clean and sand the surface. Apply a primer, then paint with high-quality floor paint. Seal with a protective topcoat for durability. Allow proper drying time between each step.
Can You Change The Color Of LVP Flooring?
Yes, you can change the color of LVP flooring. Use vinyl-safe paint or dye for best results. Ensure proper preparation and sealing.
Is Painting Vinyl Flooring A Good Idea?
Painting vinyl flooring is generally not recommended. It may peel, chip, and wear quickly, leading to maintenance issues.
Can You Refinish Luxury Vinyl Plank Flooring?
No, you cannot refinish luxury vinyl plank flooring. It is designed with a wear layer that cannot be sanded or refinished.
Conclusion
Painting LVP flooring is possible with the right preparation and materials. It can offer a fresh look without the cost of replacement. Always ensure proper cleaning and sanding before applying paint. Choose high-quality, durable paint for best results. With careful execution, painted LVP floors can enhance any room’s aesthetic.