Can You Paint Over Wood Putty? (Only If It Isn’t Oil-Based)
Wood putty is paintable only when it’s water-based or labeled “stainable” — classic oil-based, non-hardening putty (sold as Minwax Wood Putty) stays soft indefinitely and lets its oil bleed straight through any topcoat. Painting the wrong type leaves permanent yellow-brown spots no extra coat fixes. This guide covers which putty types actually accept paint, the shellac-primer fix for oil-based putty, and how to prime and sand for a seamless finish.
Understanding Wood Putty
Best Primer For Wood Putty Pick
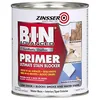
Zinsser B-I-N Shellac-Base Primer (1 Qt) – $28.44
The shellac-based, stain-blocking primer this guide recommends for sealing oil-based or non-hardening putty before you paint over it.
- Best for: Sealing oil-based, non-hardening putty so paint stops bleeding through
- Why we picked it: The 20-minute dry / 45-minute recoat window (per the official TDS) matches the fast spot-prime method this guide walks through
- Main drawback: Strong alcohol odor and brushes need mineral spirits or denatured alcohol to clean
Compare more wood putty prep options
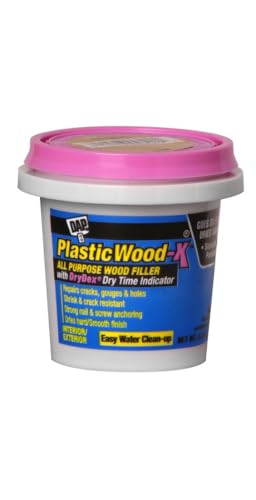
 Option 1 DAP Plastic Wood-X Filler (16 oz) – $9.93
|
 Option 2 3M 220-Grit Sanding Sponge (2-Pk) – $9.56
|
 Option 3 Bates 50-Pack Foam Brushes – $7.35
|
As an Amazon Associate we earn from qualifying purchases.
Before deciding whether to paint over a repair, it helps to know what wood putty actually is and how it differs from the paintable fillers sold right next to it on the shelf. For general prep, application, and drying-time basics beyond painting, see our full guide to using wood putty.
This is one of several wood-painting and priming questions worth getting right before you pick up a brush — the wrong call here is what causes the bleed-through problem covered later in this guide.
Composition Of Wood Putty
Wood putty is a versatile material that is commonly used for repairing imperfections in wood surfaces. It is composed of a combination of binder, filler, and solvent. The binder, which is usually a drying oil like linseed oil, holds the putty together and provides adhesion. Fillers, such as sawdust or wood fibers, are added to give the putty the necessary bulk. Solvents, such as mineral spirits, are used to adjust the consistency of the putty and allow for easy application.
Types Of Wood Putty
There are different types of wood putty available in the market, each with its own unique characteristics. Here are a few common types:
- Oil-Based Wood Putty: Made with an oil-based binder that never fully hardens. It resists shrinking and cracking, which is useful for filling gaps — but that same softness is why it resists paint (more on this below).
- Water-Based Wood Putty: Made with a water-based binder and dries harder than oil-based putty. It cleans up with water, dries relatively quickly, and generally takes paint far more reliably.
- Epoxy Wood Putty: A two-part putty of resin and hardener that cures rock-hard. It sands and shapes easily and accepts paint once cured, making it a solid choice for structural or outdoor repairs.
Consider the specific requirements and conditions a repair will be exposed to before choosing a wood putty for your project — that choice is what determines whether painting over it later will be simple or frustrating.
Factors To Consider Before Painting Over Wood Putty
Before painting over wood putty, there are several factors that you should consider. Proper surface preparation and choosing the right paint are crucial to achieving a smooth and durable finish. In this section, we will discuss these factors in detail and provide you with valuable insights to ensure a successful painting project.
Surface Preparation
Surface preparation is the key to a long-lasting paint job when it comes to painting over wood putty. Here are some important steps to follow:
- Start by cleaning the surface thoroughly to remove any dirt, grease, or debris. You can use a mild detergent and water solution for this purpose.
- Next, sand the area around the wood putty to create a smooth and even surface. Use fine-grit sandpaper and work in the direction of the wood grain.
- After sanding, wipe off any dust with a clean cloth or tack cloth.
- If there are any cracks or gaps in the wood putty, fill them with additional putty and smooth the surface with a putty knife.
- Finally, make sure the surface is completely dry before proceeding to the next step.
Choosing The Right Paint
Choosing the right paint is essential for a successful painting project over wood putty. Here are some factors to consider:
- Opt for a high-quality paint that is recommended for wood surfaces. Look for paint specifically designed for trim or furniture.
- Consider the type of finish you desire, such as matte, satin, or gloss. Certain finishes are more forgiving in hiding imperfections.
- Check the paint label for compatibility with wood putty — and pair it with the right primer rather than relying on the paint alone to hide the repair.
- If you plan to stain the wood putty, choose a paint that is stainable to ensure a seamless and consistent finish.
- Consider the paint’s durability and resistance to moisture, especially if the painted surface will be exposed to outdoor elements.
What Primer Should You Use Over Wood Putty?
Use a shellac-based stain-blocking primer — Zinsser B-I-N is the standard choice — over any oil-based or non-hardening wood putty. Its alcohol-based shellac locks in the oils and solvents that a regular latex or oil primer simply lets bleed through. Over true water-based or “stainable” putty, a standard latex stain-blocking primer is enough.
Non-hardening wood putty is an oil-based filler that never fully cures — it stays soft and pliable for the life of the repair, which is exactly why ordinary paint won’t bond to it long-term. Hardening wood filler (often still labeled “wood putty” on the shelf) dries rock-hard within hours and takes paint like bare wood once it’s sanded smooth. Save non-hardening putty for spots that will stay unpainted or get a matching stain; use a hardening, paintable filler everywhere else.
| Primer Type | Best For | Recoat Time |
|---|---|---|
| Shellac-based (Zinsser B-I-N) | Oil-based / non-hardening putty, stops bleed-through | Dries 20 min, recoat in 45 min |
| Water-based stain-blocking latex | Water-based or “stainable” putty | Check label, usually 1 hour+ |
| Standard oil-based alkyd | Bare wood or hardening filler needing extra bite | Check label, often next day |
📊 Zinsser’s official technical data sheet lists a 20-minute dry time and a 45-minute recoat window for B-I-N shellac primer — fast enough to prime and topcoat a small putty repair in one sitting. — Source: Zinsser B-I-N Technical Data Sheet, Rust-Oleum
Whichever primer you pick, spot-prime just the repaired area rather than the whole piece — shellac primer dries fast enough that you can feather the edges by hand right after brushing it on, which blends the sheen into the surrounding wood.
If you’re not sure whether your repair used true wood putty or a modern paintable wood filler, our guide to painting over wood filler covers the filler-specific version of this question.
For the full rundown of how the two products differ in composition, cure time, and cost, see wood putty vs. wood filler explained.
Application Of Paint On Wood Putty
When it comes to the application of paint on wood putty, it’s essential to follow specific steps to achieve a smooth and durable finish. Here’s the process from cured putty to finished topcoat:
- Let the putty cure fully: Wait until the repair is completely dry — a few hours for a shallow fill, up to 24–36 hours for a deep one — before sanding or priming. See our guide on how long wood putty takes to dry for cure times by fill depth.
- Sand it flush: Level the putty with 150–220 grit sandpaper or a fine sanding sponge, working in the direction of the wood grain.
- Prime the spot: Spot-prime with a shellac-based primer over oil-based putty, or a stain-blocking latex primer over water-based putty.
- Apply thin, even coats: Brush or roll the topcoat in thin layers instead of one heavy coat, feathering the edges into the surrounding finish.
- Let each coat dry before recoating: Follow the paint label’s recoat window so the finish cures evenly and doesn’t lift or wrinkle.
Priming The Surface
Using a primer matched to the putty type — shellac-based for oil-based putty, latex for water-based putty — seals the repair and creates a uniform base so the topcoat doesn’t absorb unevenly into the patched area.
Painting Techniques
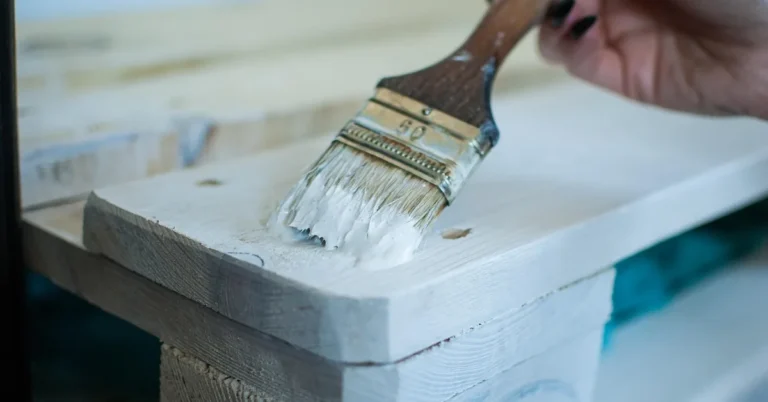
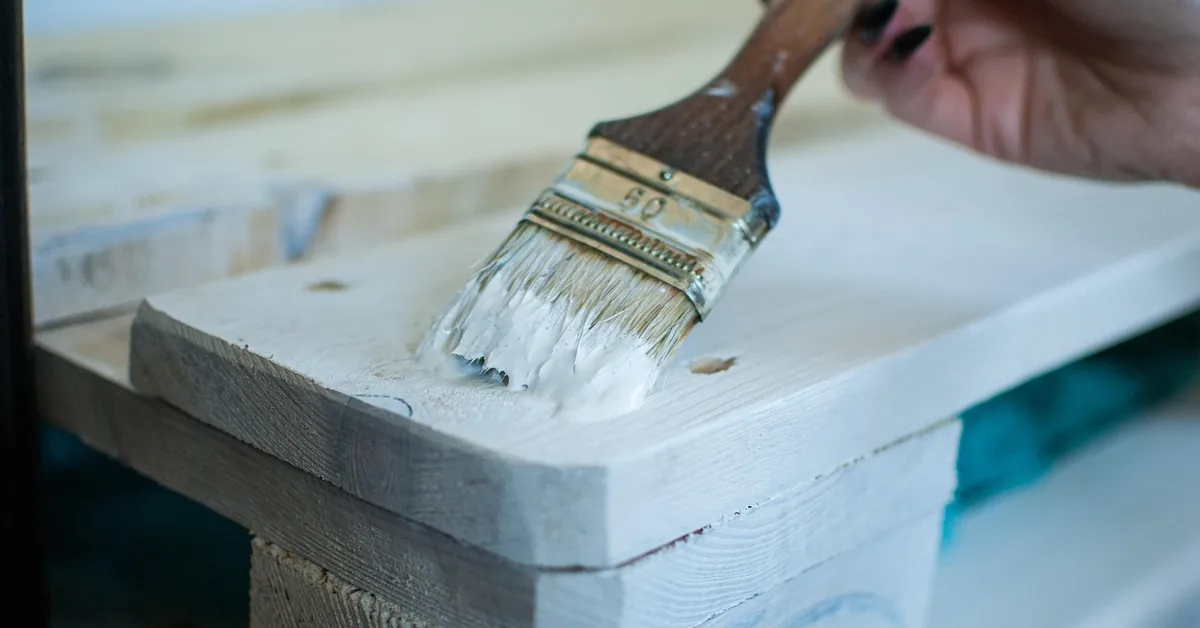
Use smooth, even brush strokes and layer the paint thinly rather than in one heavy coat. Two thin coats blend into the surrounding wood far better than one thick one, which tends to highlight the repair instead of hiding it.
Common Issues And Solutions
Even with careful prep, two problems come up often once the paint goes on.
Bleeding Through The Paint
Bleeding through the paint happens when oil from non-hardening putty migrates into the topcoat, leaving yellow-brown spots that show up hours or days after the paint looks dry. This is almost always an oil-based-putty problem, not a paint-quality problem — the fix is a shellac-based stain-blocking primer between the putty and the paint, not a second coat of the same paint.
📊 DAP’s Plastic Wood-X product data lists a 3–6 hour dry time for shallow fills and 36 hours for fills 1/4″ or deeper — painting before that full cure is one of the most common causes of bleed-through and soft spots reported by users.
“If a puttied spot still smells faintly of solvent a day after you filled it, treat it as oil-based — seal it with a shellac primer before you paint, or the stain works its way through no matter how many coats you add.”
Adhesion Problems
If you encounter adhesion problems when painting over wood putty, the paint may not stick properly. To solve this, ensure the putty is completely dry before painting and lightly sand the area to improve adhesion.
Tips For Achieving A Smooth Finish
A smooth, invisible repair comes down to two things most guides skip over: sanding in stages instead of one pass, and sealing before the final topcoat.
Sanding Techniques
Work through two grits instead of one: start with 120–150 grit to knock down high spots flush with the surrounding wood, then finish with 220 grit — a fine sanding sponge conforms well to curves and corners — to erase the scratch pattern the coarser grit leaves behind. Sand in the direction of the grain only; cross-grain scratches show through paint, especially in raking light.
Application Of Sealants
A sealant matters most on surfaces that get handled or washed — door edges, drawer fronts, windowsills. After the primer and topcoat have fully cured, a thin coat of clear polyurethane or shellac over the repair adds abrasion and moisture resistance that paint alone doesn’t provide, without changing the paint’s sheen if it’s applied evenly.
Special Considerations For Different Types Of Wood Putty
When it comes to painting over wood putty, it’s essential to consider the type of putty being used. Different types of wood putty have specific characteristics that can influence the painting process. Let’s go over the special considerations, including stainable wood putty and the differences between oil-based and water-based wood putty.
Stainable Wood Putty
Stainable wood putty is designed to accept wood stains, allowing it to blend seamlessly with the surrounding wood surface. When choosing a stainable wood putty, verify its compatibility with the intended wood stain, and make sure the putty is adequately cured before applying the stain to get a uniform, attractive finish.
Oil-based Vs. Water-based Wood Putty
Oil-based, non-hardening putty resists paint precisely because it never fully hardens — the oils stay mobile and migrate into whatever topcoat sits on top, which is the bleeding problem described above. It’s fine for repairs that will stay bare or get an oil-based stain, but it’s the wrong choice under paint unless it’s sealed first with a shellac-based primer.
Water-based and acrylic putties — and hardening wood fillers — cure hard and take latex, acrylic, or oil-based paint without special sealing. This is the type to reach for whenever the repair will end up painted.
Frequently Asked Questions About Painting Over Wood Putty
Is Wood Putty Paintable?
Yes, but only if it’s water-based or labeled stainable — true oil-based, non-hardening putty resists paint and needs a shellac-based primer first, or the paint will bleed through.
Can You Paint Or Stain Over Wood Putty?
Yes, as long as the putty is water-based or labeled stainable. If it’s oil-based, use a shellac-based primer before painting or the color underneath will show through the topcoat.
How Long Should Wood Putty Dry Before You Paint It?
Most wood putty is sandable within a few hours, but a deep fill can take 24–36 hours to cure fully. Wait for full cure, not just surface-dry, before priming — painting too soon is the most common cause of bleed-through and soft spots.
Can You Paint Straight Onto Wood Filler?
Yes, most hardening wood fillers can be painted directly once sanded smooth, though a primer still gives a more even, less blotchy finish, especially on porous or previously stained wood.
Does Wood Putty Bleed Through Paint?
Yes, if it’s oil-based or non-hardening — the oils migrate into the topcoat and leave yellow-brown spots, even through multiple coats of latex paint. A shellac-based primer such as Zinsser B-I-N blocks this; water-based and hardening putties don’t have the problem.
What Primer Should You Use Over Wood Putty?
Use a shellac-based stain-blocking primer over oil-based or non-hardening putty, and a standard latex stain-blocking primer over water-based or stainable putty. Shellac is the only reliable fix once bleed-through has already started.
Conclusion
Wood putty takes paint well only when it’s water-based, acrylic, or specifically labeled stainable — true oil-based, non-hardening putty needs a shellac-based primer first, or the repair will bleed through no matter how many coats you add. Cure it fully, sand it flush, prime to match the putty type, and the repair disappears under the topcoat.
Sponsored / affiliate links. As an Amazon Associate I earn from qualifying purchases. I may earn additional commission from eligible campaigns.