Can You Put Joist Tape on Wet Wood? (No — Moisture Rule)
Joist tape should never go on wet wood — most butyl and rubberized-asphalt tapes need lumber moisture content under roughly 19% to bond, and trapped water under the tape causes the exact rot it’s meant to prevent. One exception: a handful of “Super Stick” adhesive tapes are formulated to grip damp joists. This guide covers how to check moisture before taping, that one exception, and the install steps that keep a deck frame dry for years.
Insert your Affiliate Disclosure reusable block here
What Is Joist Tape?
Best Joist Tape Pick
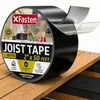
XFasten Butyl Joist Tape for Decking, 2″ x 50′
A standard butyl joist tape sized for most residential deck framing, wide enough to fully cover 2×8–2×10 joist tops.
- Best for: Standard pressure-treated or cedar deck framing on a normal build schedule
- Why we picked it: Reliable butyl adhesion at a fair price for the 50-foot roll, matching the install steps above
- Main drawback: Standard adhesive — still needs dry wood, not a Super Stick formula
Compare more joist tape and moisture-check options
 Option 1 General Tools Moisture Meter
|
 Option 2 FrogTape Pro Grade 4″ Flashing Tape
|
 Option 3 Klein Tools Pinless Moisture Meter
|
As an Amazon Associate we earn from qualifying purchases.
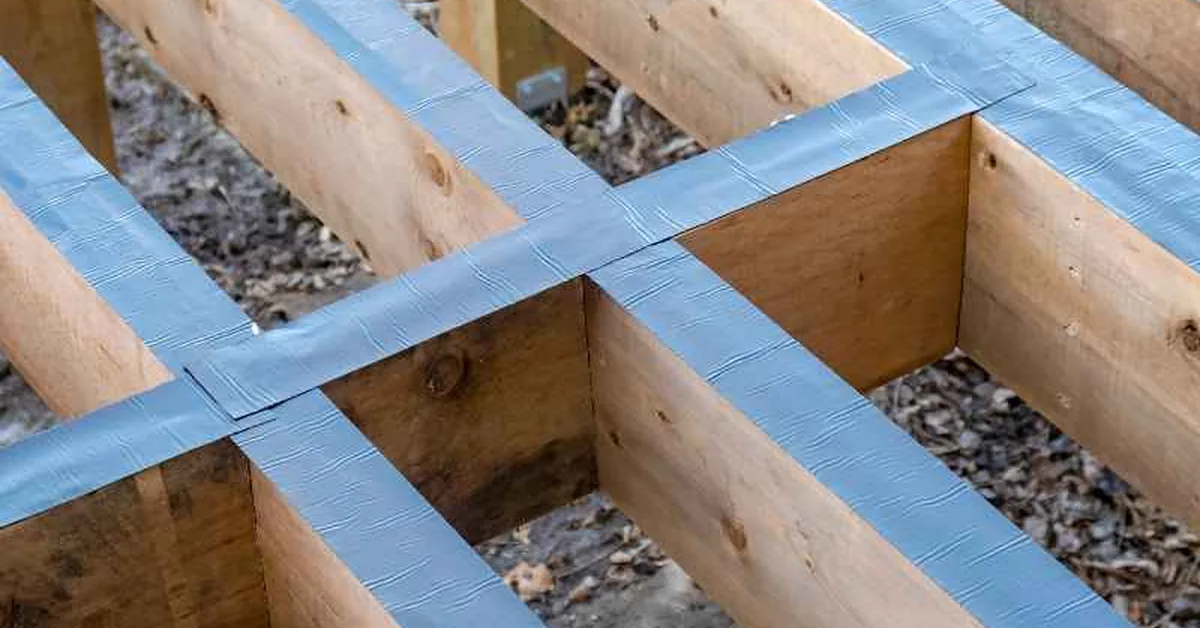
Joist tape is a self-adhesive waterproofing strip — usually butyl rubber on a polyethylene backing — applied along the tops of deck joists, beams, and rim boards before decking goes down. It seals screw and nail penetrations and keeps rain, snowmelt, and condensation from sitting in the wood grain, which is what leads to hidden rot years before it’s visible from above. It’s also sold as deck flashing tape, deck wrap tape, or simply butyl tape, and applies the same way regardless of whether the deck framing is pressure-treated lumber, cedar, or composite-compatible substructure.
What It’s Made Of
Most joist tape uses a butyl adhesive — a synthetic rubber that stays flexible and grips through temperature swings — on a tear-resistant polyethylene or polypropylene backing. Some brands add a textured non-skid surface for foot traffic during the build, or mold and UV inhibitors for tapes that stay exposed longer than expected. Rubberized-asphalt tape is the other common formula and tends to cost less but doesn’t flex quite as well in cold weather.
Why Wet Wood Ruins the Bond
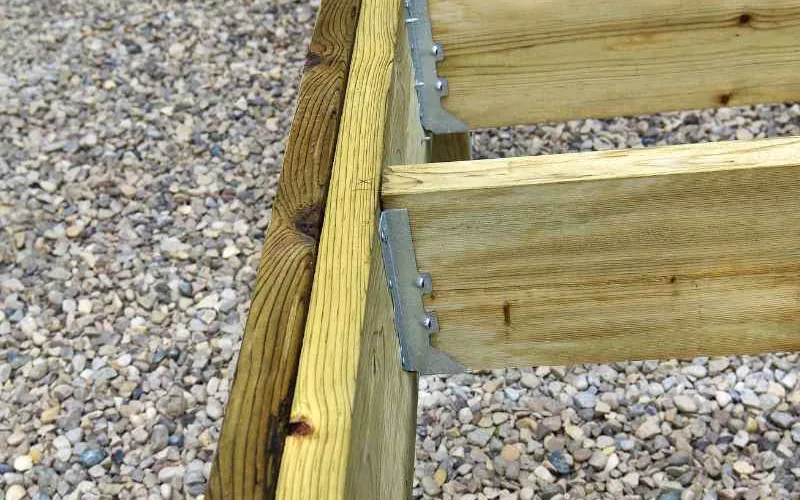
Butyl adhesive bonds by pressing into the wood’s surface texture and staying tacky under pressure. Water sitting in or on the wood breaks that contact two ways: it fills the surface pores the adhesive needs to grip, and it forms a thin film between tape and wood that never fully evaporates once the tape seals over it. The result is a tape that looks applied but isn’t actually bonded — it can peel at the edges, bubble in the middle, or lift entirely the first time someone walks across the frame.
The bigger problem is what happens if it doesn’t lift: trapped moisture under an intact-looking tape seal has nowhere to evaporate to. That’s worse than no tape at all, because now the wood is wet and sealed, which is the exact condition that causes rot and decay to accelerate instead of slowing down — and once that damage sets in, options narrow down to repairing rotted framing with epoxy or replacing the joist outright.
How Dry Does the Wood Need to Be?
Most joist tape manufacturers specify a clean, visibly dry surface, but the more useful number is moisture content. Freshly delivered pressure-treated lumber often measures 25–30% moisture content off the truck; most butyl tape adhesives need the surface closer to 15–19% before they’ll bond reliably. A $15–$30 pin-type moisture meter (the same tool used to check firewood) tells you the real number instead of guessing from how the wood looks or feels.
Data: Pressure-treated lumber typically air-dries to 12–15% moisture content in most U.S. climates, but can take anywhere from a few days to over a week depending on humidity, sun exposure, and board thickness — check with a moisture meter rather than a calendar.
If rain is in the forecast before the tape goes down, hold off on ordering the joist tape delivery — a fresh rain resets the drying clock, and taping over a surface that dried once but got rained on again traps that new moisture right back in.
The One Exception: “Super Stick” Adhesive Tapes
A small number of joist tape products use a more aggressive adhesive formula — often marketed as “Super Stick” or “wet-surface” technology — engineered to bond to damp, not soaking, lumber. These exist because deck crews on tight schedules can’t always wait out a drying window between rain events. It’s a real product category, not a marketing gimmick, but it’s not a substitute for dry wood in every case: check the manufacturer’s spec sheet for the maximum moisture content it’s rated for, since “damp” and “wet” mean different things to different adhesive chemistries, and standing water or visibly saturated wood is outside what any joist tape is designed to handle.
How to Install Joist Tape the Right Way
Once the moisture meter confirms the wood is dry enough, installation is straightforward:
- Clean the surface: Brush or vacuum off sawdust, dirt, and debris — even a light film can stop the adhesive from making full contact.
- Check moisture content: Confirm the reading is under your tape’s rated maximum before unrolling anything.
- Center the tape on the joist: Unroll it along the top of the joist, letting it overhang evenly on both sides.
- Press and roll: Work from one end to the other with a hand roller or J-roller to force out air bubbles and seat the adhesive.
- Overlap seams by at least 2 inches: Where two pieces of tape meet, overlap them so water can’t find a gap to enter.
- Trim the excess: Use a utility knife to clean up the ends and any overhang past the joist edges.
Skipping the moisture check is the single most common reason joist tape fails within the first season — not a bad product, just wet wood underneath it.
Common Mistakes to Avoid
- Taping right after a rain shower. The surface can look dry within an hour while the wood underneath is still saturated — check with a meter, not by touch.
- Skipping the seam overlap. A butted seam with no overlap is a direct path for water to get under the tape.
- Not pressing out air bubbles. Trapped air pockets collect condensation over time the same way trapped water does.
- Using the wrong tape for the surface. A standard butyl tape on genuinely wet wood will fail even if every other step is done correctly — that’s a product-selection issue, not an installation one.
Frequently Asked Questions
Can you apply butyl tape on wet wood?
No, not with a standard butyl formula. The adhesive needs a mostly dry surface — under about 15–19% moisture content — to bond properly. A handful of Super Stick tape products are rated for damp lumber, but check the manufacturer’s specific moisture spec before relying on one.
How long does pressure-treated wood take to dry before taping?
Anywhere from a few days to over a week, depending on humidity, sun exposure, and board thickness. Freshly delivered lumber can measure 25–30% moisture content; most tape needs it closer to 15–19%. A moisture meter gives you the real number instead of guessing from a calendar.
Does joist tape actually work?
Yes, when installed on a properly dry, clean surface. It creates a waterproof barrier that keeps rain and debris from collecting between the deck boards and joists, which is what causes long-term rot. The tape only fails to perform when it’s applied over wet wood or without pressing out air bubbles during install.
What happens if you seal wet wood under joist tape?
The moisture gets trapped with nowhere to evaporate, which speeds up rot instead of preventing it. This is worse than leaving the joists untaped, because an intact-looking tape seal can hide the damage until the wood has already lost structural strength underneath.
Conclusion
Joist tape only protects a deck when it’s applied to dry wood — check moisture content with a meter rather than judging by touch, and give freshly delivered or rain-soaked lumber time to reach the 15–19% range most tapes need. If your schedule can’t wait out a drying window, a Super Stick-rated tape is the one legitimate workaround, not a reason to skip the check entirely. For the full step-by-step on choosing and installing butyl tape on deck joists, see our companion guide.
Sponsored / affiliate links. As an Amazon Associate I earn from qualifying purchases. I may earn additional commission from eligible campaigns.
 Simpson Strong-Tie T8PTD1 Preservative-Treated Wood Decking Nail, Ring Shank — 2-1/2 in. x .120 in. Type 316 (1 lb.)
 Wood Grain Repair Tape, 2.4" x 19.7FT Self Adhesive Wood Grain Duct Tape, Wood Colored Tape for Furniture Repair, Baseboards, Doors, Floors, Peel & Stick, Realistic Wood Finish, Covers Scratches Fast