Can You Put Polyurethane Over Danish Oil? (Yes – Here’s How)
Yes, you can put polyurethane over Danish oil — but only once the oil has fully cured, not just dried to the touch. Rush that step and the topcoat will fisheye, stay tacky for days, or peel off in sheets within weeks. Below is the actual cure-time math, which type of polyurethane bonds cleanly to an oil finish, and a wipe-on product that skips the brush-mark risk entirely.
Yes, Polyurethane Bonds to Danish Oil — After a Real Cure, Not Just a Dry Touch
Best Topcoat For This Job
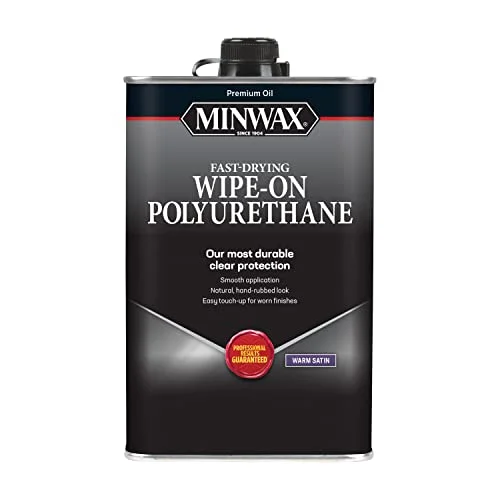 |
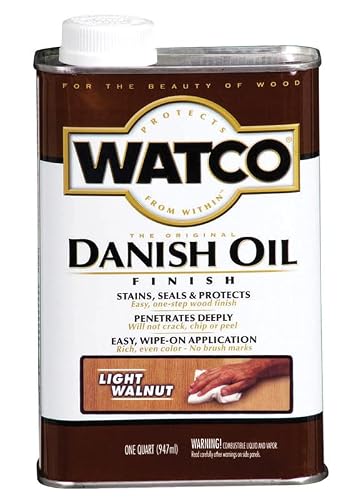
Minwax Oil-Based Wipe-On Polyurethane, Satin – $18.57 An oil-based topcoat matches Danish oil’s own chemistry, so it bonds cleanly once the oil is cured — no brush marks, no drips.
|
Danish oil is dry to the touch in 4 to 8 hours, which is exactly why so many people top-coat it too early. “Dry” only means the surface solvents have evaporated; the oil itself keeps oxidizing and hardening for another several days underneath. Apply polyurethane over that still-curing layer and you trap uncured oil under a sealed film — the classic cause of fisheye craters, a topcoat that never fully hardens, or peeling months later. Give the oil its full cure window first, then lightly scuff-sand so the polyurethane has something to physically grip, not just an oily surface to sit on.
How Danish Oil and Polyurethane Actually Differ
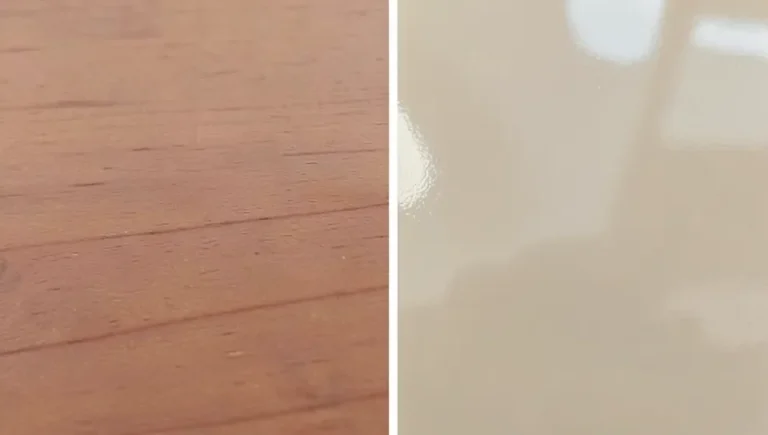
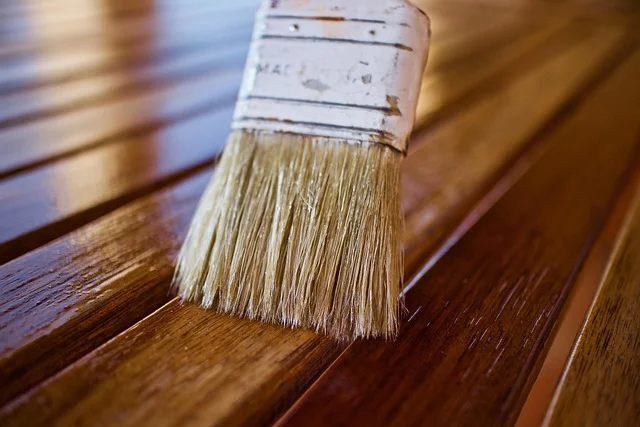
Danish oil is a thinned blend of oil (usually tung or linseed) and varnish. It soaks into the wood fibers and cures by oxidation, which is why it enhances grain and color without building a visible film. Polyurethane is the opposite: it’s a film-forming synthetic resin that sits on top of the wood and cures by solvent evaporation and cross-linking into a continuous plastic layer. That’s the whole reason layering them works so well when the timing is right — Danish oil does the coloring and grain pop, polyurethane does the heavy-duty surface protection. It’s also why they can be compared as standalone finishes on their own, not just as a combo; see our Danish oil vs. polyurethane comparison if you’re still deciding whether you need both or just one.
Exact Wait Times Before You Topcoat
These are the numbers that matter, not vague “let it dry” advice:
- Between Danish oil coats: 4 to 8 hours, or until it’s no longer tacky to the touch.
- Before topcoating with polyurethane: 3 to 5 full days minimum after the final oil coat, in a normal 65–75°F shop at moderate humidity.
- In a cool or humid shop (under 65°F or over 50% relative humidity): extend that to 5 to 7 days — oxidation slows down considerably in those conditions.
- The real test, not the calendar: wipe the surface with a clean white cloth and smell it. Any oily odor, tackiness, or residue transferring to the cloth means it isn’t cured yet, regardless of how many days have passed.
Oil-Based vs Water-Based Polyurethane Over Danish Oil
Oil-based polyurethane is the safer, simpler match: it’s chemically similar to the oil underneath, so once the Danish oil is fully cured and scuff-sanded, an oil-based topcoat bonds reliably and even deepens the amber warmth of the wood slightly further. Water-based polyurethane can also go over Danish oil, but it’s a different resin chemistry sitting on top of an oil-soaked surface, so adhesion is less forgiving — skipped scuff-sanding or a slightly under-cured oil coat is far more likely to show as fisheye or peeling with a water-based product. If you’re set on water-based for its faster dry time and lower odor, brush on a thin coat of dewaxed shellac first as a barrier; it seals the oil and gives the water-based poly a neutral, uniform surface to grip instead of bonding directly to the oil.
Step-by-Step: Applying Wipe-On Polyurethane Over Cured Danish Oil
- Confirm the cure. Wipe with a clean white cloth — no oily smell, no residue, no tackiness.
- Scuff-sand with 320-grit paper. You’re not trying to remove the oil, just knock down the sheen so the polyurethane has tooth to grip.
- Wipe away dust with a tack cloth. Any dust left behind shows up as grit under the topcoat.
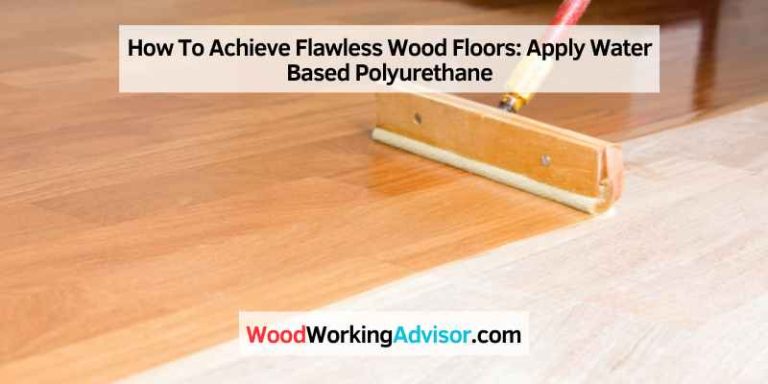
- Apply a thin first coat with a folded lint-free cloth, working with the grain. A wipe-on formula like the pick above avoids the brush marks and drips a brushed application risks on an already-finished surface.
- Let it dry 2 to 3 hours between coats (check your specific product’s label — times vary by brand), then scuff again with 320-grit before the next coat.
- Apply 2 to 3 total coats for real film build and durability, sanding lightly between each.
- Give it a real cure before use: light use after 24 hours, but the full hardness and water resistance takes about 30 days — keep it away from standing water or heavy abrasion until then.
Which Wood Types Handle This Combo Best
Open-grained hardwoods like oak, walnut, and mahogany take Danish oil and a polyurethane topcoat especially well, because their porous grain soaks up the oil evenly and leaves a consistent surface for the poly to bond to once cured. Tight-grained or naturally oily woods are trickier: cedar and pine can absorb Danish oil unevenly, leaving soft, resin-rich pockets that stay uncured far longer than the surrounding wood, and those spots are where a polyurethane topcoat is most likely to bubble or peel first. Teak and other naturally oily exotic species are the hardest case — their own natural oils keep migrating to the surface for weeks, so plan on a longer cure window and a more thorough scuff-sand before topcoating, or consider skipping the polyurethane step entirely on those species and let the Danish oil stand alone with periodic reapplication instead.
Common Mistakes That Cause Peeling, Fisheye, or a Tacky Finish
- Topcoating before the oil fully cures — by far the most common cause of failure. Dry-to-touch is not the same as cured.
- Skipping the scuff-sand step — polyurethane needs mechanical tooth on a cured oil finish, not just a clean surface.
- Leaving excess oil in corners, carvings, or joints. Pooled oil that was never wiped off after application stays soft indefinitely and will never let a topcoat cure properly above it. Always wipe back to a dry-feeling surface after every oil coat, not just the flat faces.
- Using a water-based poly without a barrier coat on a piece with heavy Danish oil buildup — the adhesion risk goes up with more oil in the wood, not down.
- Over-thinning the polyurethane to make it flow better. Thin coats are fine; over-thinned poly just means more coats to get real protection, and it dries faster than you can lay it down evenly.
Frequently Asked Questions
How long should Danish oil dry before applying polyurethane?
Let Danish oil dry to the touch for 4 to 8 hours between coats, but wait a full 3 to 5 days after the final coat before topcoating with polyurethane – longer, up to a week, in a cool or humid shop below 65°F or above 50% humidity. Dry-to-touch only means the surface solvents have flashed off; the oil is still oxidizing underneath, and polyurethane applied too soon traps that process and causes fisheye, a tacky film, or peeling within weeks.
Can you use water-based polyurethane over Danish oil?
Yes, but only after the Danish oil has fully cured and been lightly scuff-sanded with 320-grit paper, because water-based polyurethane is a different chemistry than the oil underneath and adheres less reliably than an oil-based topcoat. For extra insurance, brush on a thin coat of dewaxed shellac as a barrier coat first – it seals the oil and gives the water-based poly a neutral surface to grip.
Does polyurethane over Danish oil look glossy or fake?
Not if you pick satin or matte sheen. Danish oil already darkens and enriches the wood grain, so a satin polyurethane topcoat adds protection while keeping that same hand-rubbed look; a gloss sheen is the one that reads as a thick plastic layer rather than an enhanced wood finish.
Conclusion
Polyurethane goes over Danish oil cleanly and adds real durability — scratch, water, and chemical resistance the oil alone doesn’t offer — as long as you respect the cure window. Wait the full 3 to 5 days (longer in a cool or humid shop), scuff-sand, and choose oil-based polyurethane unless you have a specific reason to use water-based with a shellac barrier. Skip any of that and you’re troubleshooting fisheye and peeling instead of admiring a finished piece.
Sponsored / affiliate links. As an Amazon Associate I earn from qualifying purchases. I may earn additional commission from eligible campaigns.