How to Rip Plywood With a Circular Saw (Straight, Splinter-Free Cuts)
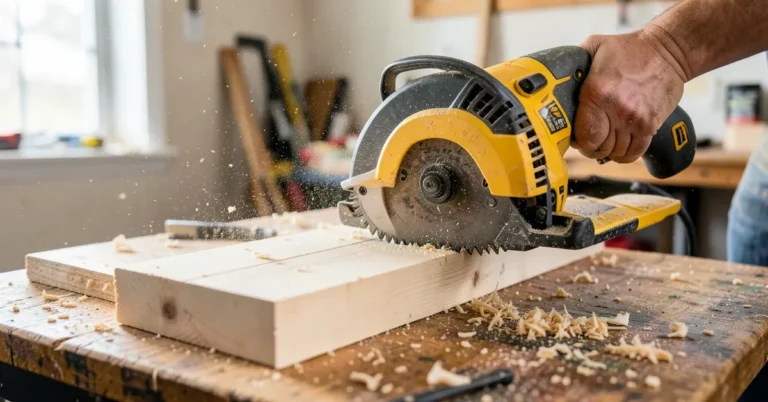
To rip plywood with a circular saw: clamp a straightedge guide parallel to your cut line, set the blade depth to only about a quarter-inch deeper than the plywood’s thickness (not the “half inch” many guides suggest), and feed the saw through at a steady pace against the guide. That blade-depth detail matters more than most guides admit — extending the blade too far below the material increases kickback risk and doesn’t improve cut quality at all.
Blade Choice and Depth — The Setting Most Guides Get Loose On
Recommended Rip Guide
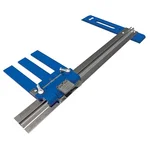 |
Kreg KMA2685 Rip-Cut Circular Saw Guide – $49.00 Adjusts on the fly for any rip width up to 24 inches without re-clamping a separate straightedge for every cut.
|
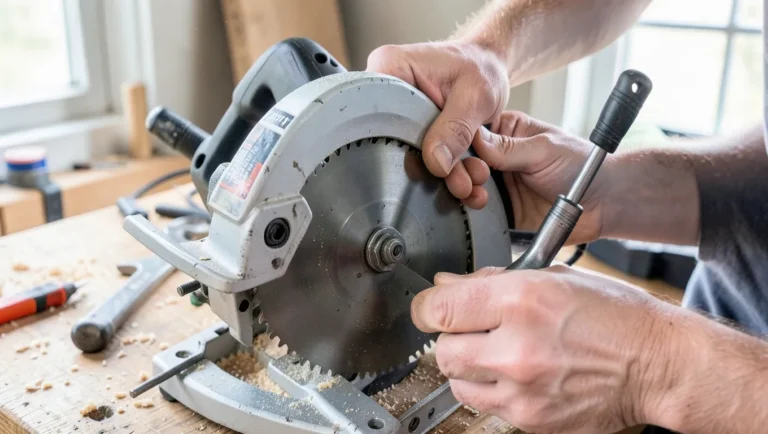
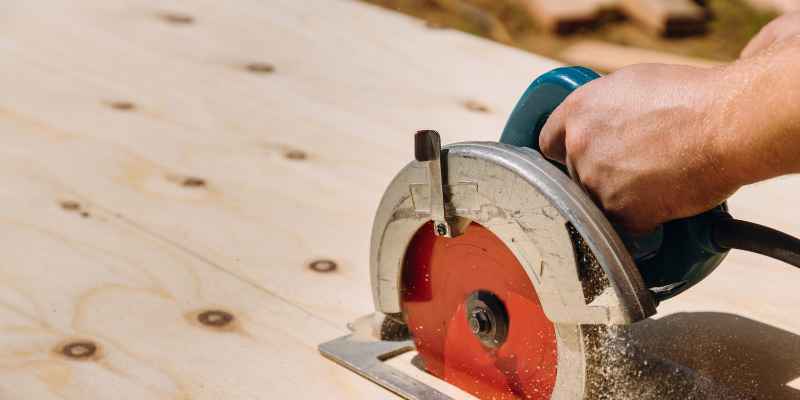
Use a fine-tooth blade built for plywood or a general-purpose combination blade with at least 40 teeth — more teeth per inch means each tooth removes a smaller bite, which is what keeps the face veneer from splintering. Set blade depth so it extends roughly ¼ inch below the plywood’s bottom face, not the half-inch some guides recommend. Less exposed blade beneath the material means less blade surface that can catch on a knot, an uneven support point, or the saw table itself — which is exactly the setup for a kickback. It also doesn’t cut any cleaner; the extra depth buys you nothing.
Marking and Securing the Sheet
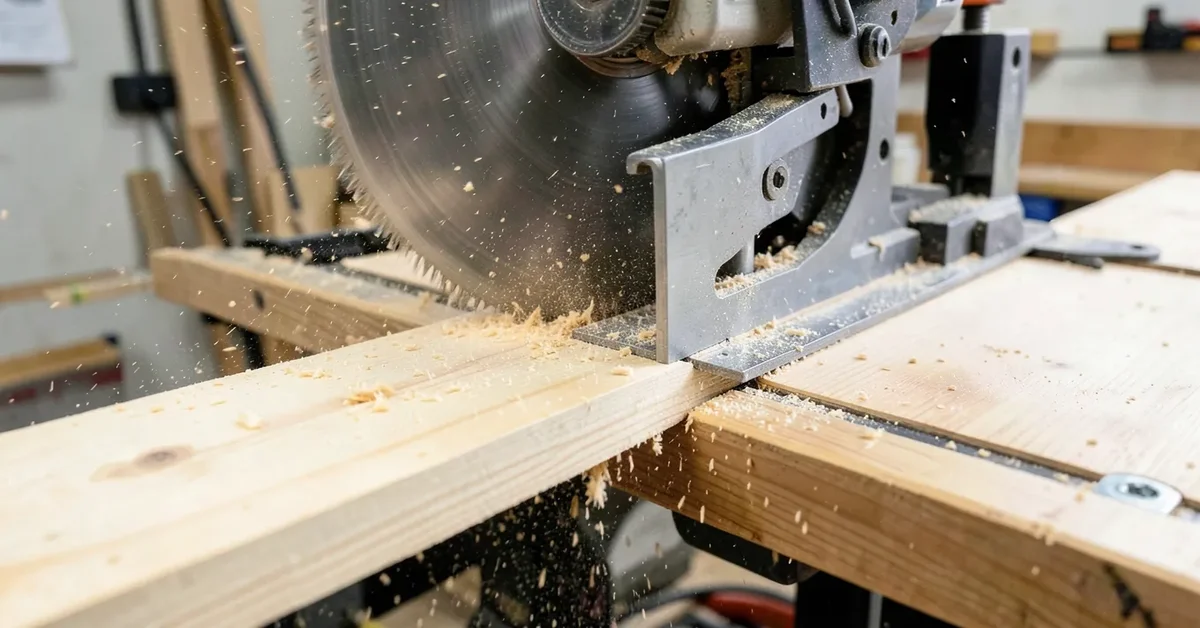
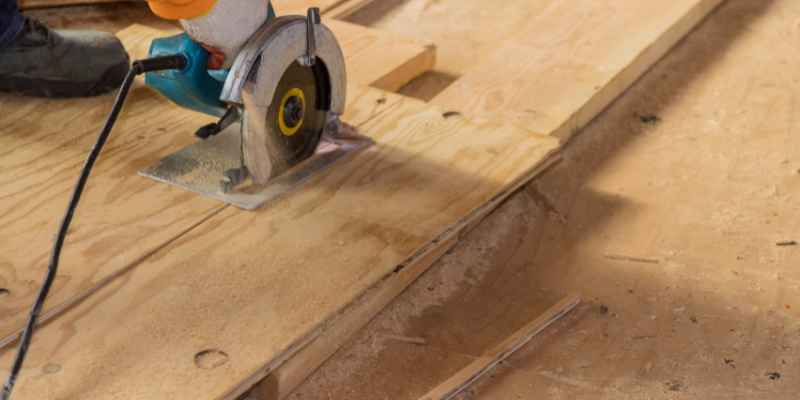
Measure and mark your cut line at both ends of the sheet, then snap a chalk line or use a straightedge to connect them — a single measurement at one end invites a cut that drifts out of parallel over an 8-foot rip. Support the full sheet on sawhorses or rigid foam insulation board laid on the ground, with a sacrificial scrap directly under the cut line so the blade has somewhere to exit without tearing the sheet’s underside. Clamp the plywood down; an unsecured sheet that shifts mid-cut is both a bad cut and a real safety risk.
Setting Up and Using a Straightedge Guide
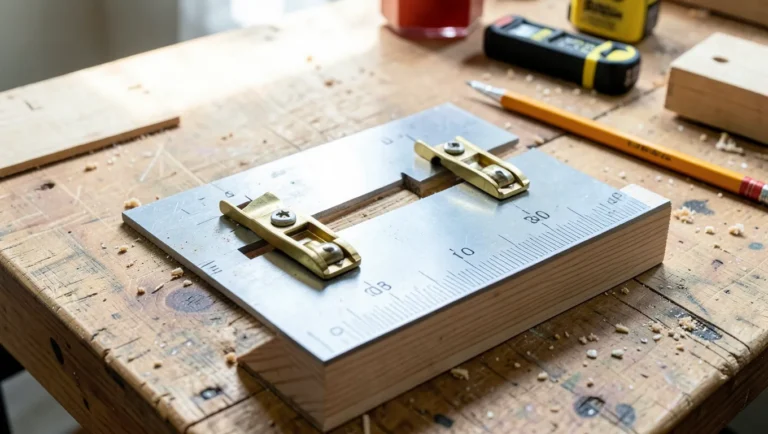
Measure from your saw’s blade to the edge of its base plate, then position your straightedge that same distance from the cut line — not on the cut line itself. Clamp the guide down at both ends so it can’t creep during the cut. Start the saw before it contacts the plywood, keep the base plate flush against the guide the entire pass, and feed at a steady, moderate pace: too fast causes wandering and rough edges, too slow can cause burning and heat-related binding.
Reducing Tear-Out on the Show Face
A circular saw’s blade rotates up through the material on the underside and down through it on top, which means the top face (against the shoe) sees cleaner cuts than the bottom by default. Two things fix the bottom-face tear-out competitors rarely explain clearly: run a strip of painter’s or masking tape along the cut line on the show face before cutting to bind the surface fibers, and always cut with the “good” face down if that face matters more, since the cleaner cut happens on the side the blade enters from beneath the shoe.
Troubleshooting
- Blade binding or smoking: almost always a dull blade, too-slow feed rate, or a sheet that’s sagging and pinching the blade mid-cut — add support directly under the cut line.
- Wandering off the line: the guide shifted, or the saw’s base plate lifted off the guide mid-cut. Re-check clamps and keep steady side pressure against the guide, not just forward pressure.
- Splintering on the bottom face: add a sacrificial backer board directly under the cut line, or switch to a higher tooth-count blade.
Safety Checklist
- Safety glasses or a face shield, hearing protection, and an N95 dust mask for extended cutting.
- Blade depth at roughly ¼ inch past the material, never more than needed.
- Full sheet supported and clamped — never let the offcut side hang unsupported, which can pinch the blade as the cut completes.
- Clear the cut path of cords, clamps, and debris before starting.
Frequently Asked Questions
How deep should the blade be set to rip plywood?
About a quarter-inch deeper than the plywood’s thickness. Deeper doesn’t improve the cut and increases kickback risk since more blade is exposed beneath the material.
What blade should I use to rip plywood?
A fine-tooth blade with at least 40 teeth designed for plywood or a general combination blade. More teeth mean a smaller bite per tooth, which reduces splintering on the face veneer.
How do I keep my rip cut straight over a long distance?
Clamp a straightedge guide the correct offset distance from the cut line at both ends of the sheet, and keep the saw’s base plate pressed against it the entire pass rather than just following the marked line freehand.
Why is my plywood splintering on the bottom?
The blade exits upward through the bottom face, which tears fibers more than the entry side. Tape the cut line, use a higher tooth-count blade, and back the sheet with a sacrificial scrap directly under the cut.
Bottom Line
A clamped straightedge guide gets you a straight line, but a correctly shallow blade depth is what actually keeps the cut safe and clean — that’s the detail worth double-checking before you pull the trigger.
Sponsored / affiliate links. As an Amazon Associate I earn from qualifying purchases. I may earn additional commission from eligible campaigns.