Can You Refinish Hardwood Floors Yourself? Yes, If You Rent the Right Sander
Yes, you can refinish hardwood floors yourself. It is a DIY-friendly project that can save money.
Refinishing hardwood floors can breathe new life into your home while increasing its value. Whether your floors are worn, scratched, or just in need of a refresh, refinishing them yourself can be a rewarding and cost-effective solution. With the right tools, materials, and techniques, you can achieve professional-looking results without the expense of hiring a professional.
By taking on this project, you can personalize your floors to suit your style and enhance the overall aesthetic of your space. Engaging in DIY hardwood floor refinishing can be a fulfilling and satisfying experience that adds beauty and durability to your home.
Benefits Of DIY Hardwood Floor Refinishing
Cost Savings
Maintaining your hardwood floors yourself saves money.
- Less expensive than hiring a professional
- You can efficiently budget for materials
- Avoid labor costs by doing it yourself
Customization Opportunities
DIY refinishing allows for personalized touches.
- Choose your preferred finish and color
- Add unique designs or patterns
- Customize to match your decor aesthetics
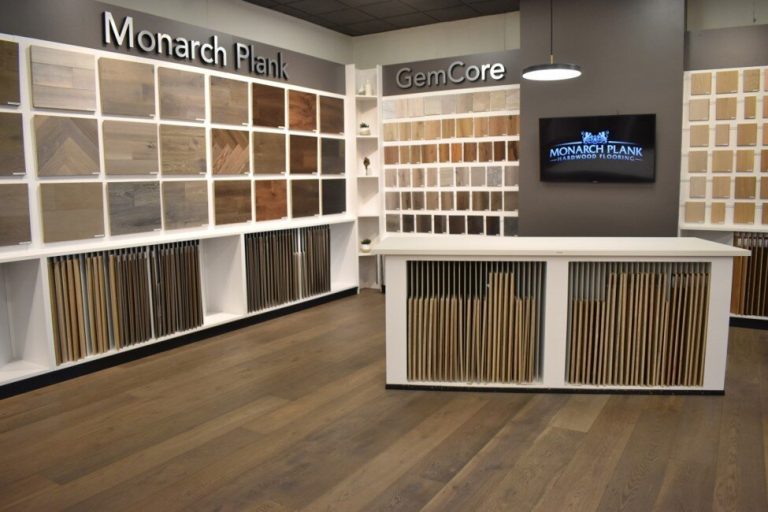
Tools And Materials Needed
Refinishing hardwood floors yourself can be a rewarding project, but it’s important to have the right tools and materials on hand to ensure a successful outcome.
Equipment
- Sander: A drum or belt sander is essential for removing the old finish and leveling the floors.
- Edger: Use this tool to sand areas that the sander can’t reach, like edges and corners.
- Vacuum: Keep the work area clean and dust-free with a powerful vacuum.
- Buffer: Use a buffer for the final sanding before applying the finish.
Supplies
- Sandpaper: Stock up on various grits of sandpaper for the sanding process.
- Finish: Choose a high-quality polyurethane finish for long-lasting results.
- Stain: If you want to stain your floors, ensure you have the right color on hand.
- Sealer: Seal the floors after sanding and before applying the finish.
Step-by-step Refinishing Process
When it comes to refinishing hardwood floors, it is possible to tackle the job yourself with the right tools and a step-by-step approach. Refinishing hardwood floors can bring new life to your space and add value to your home. In this guide, we will walk you through the step-by-step refinishing process, from surface preparation to staining and sealing, so you can achieve professional results on a DIY budget.
Surface Preparation
Before diving into the refinishing process, it’s crucial to adequately prepare the surface of the hardwood floors. This involves removing any existing carpeting or rugs and thoroughly cleaning the floors to remove dirt, dust, and debris. Use a floor sander to remove the existing finish, ensuring a smooth and even surface for the staining and sealing process.
Staining And Sealing
Once the surface preparation is complete, it’s time to move on to the staining and sealing phase. Begin by selecting a suitable wood stain color that complements your space. Apply the stain evenly using a brush or rag, working in the direction of the wood grain. Allow the stain to dry thoroughly before applying the first coat of sealant. Apply multiple coats of sealant, allowing each coat to dry completely before proceeding to achieve a durable, long-lasting finish.
Common Mistakes To Avoid
When refinishing hardwood floors, common mistakes to avoid when attempting a DIY project include inadequate surface preparation, improper tool usage, and neglecting protective measures. Ensuring the correct equipment and techniques are employed is crucial to achieving a professional finish and avoiding potential hazards.
Refinishing hardwood floors can be a rewarding and cost-effective way to breathe new life into your space. However, to ensure a successful DIY refinishing project, it’s important to be aware of common mistakes that can easily be overlooked. By avoiding these pitfalls, you can transform your floors with professional-looking results. In this section, we’ll explore some common mistakes that you should steer clear of when refinishing hardwood floors.
Improper Sanding Techniques
One of the most crucial steps in refinishing hardwood floors is sanding. However, improper sanding techniques can lead to disastrous results. Many people make the mistake of using the wrong grit sandpaper or failing to sand the floor evenly. This can result in an uneven finish, with patches of rough and smooth areas. To avoid this, it’s essential to start with a coarse grit sandpaper and gradually work your way up to finer grits. This will ensure that the floor is smooth and ready for the new finish.
Another common sanding mistake is applying too much pressure or sanding in the same spot for too long. This can cause the wood to become uneven and may even create irreversible damage. Remember to keep the sander moving at a steady pace and maintain a light touch. Take breaks to check your progress and keep an eye out for any signs of over-sanding, such as deep grooves or discoloration.
Overlooking Floor Inspection
Before diving into the refinishing process, it’s important to thoroughly inspect your hardwood floors. Overlooking this step can lead to several issues down the line. Start by checking for any signs of damage, such as deep scratches, cracks, or warped boards. These issues should be addressed before refinishing to ensure a smooth and durable finish.
Additionally, it’s important to check the moisture levels of the floor. Excessive moisture can cause the new finish to bubble or peel, while low moisture levels may lead to cracks and gaps. Invest in a moisture meter to accurately measure the moisture content of the wood. Ideally, the moisture content should be between 6% and 9% for hardwood floor refinishing.
Finally, inspect the floor for any protruding nails or staples that can damage the sander or cause injuries. Carefully remove any obstructions and ensure the surface is clean and free from debris before proceeding.
Final Tips For DIY Success
Achieving success in refinishing hardwood floors yourself requires careful preparation, attention to detail, and patience. Properly sanding, staining, and sealing the floors will result in a professional-looking finish that can enhance the beauty of your home. Follow step-by-step guides and tutorials, gather all the necessary tools and materials, and take your time to ensure a quality outcome for your DIY project.
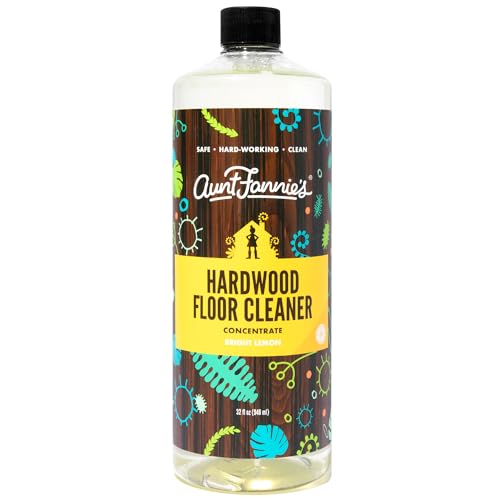
Maintenance Advice
Maintaining the beauty and longevity of your newly refinished hardwood floors requires regular maintenance. By following these simple tips, you can ensure that your floors continue to look their best for years to come.
- Regularly sweep or vacuum your floors to remove dirt and debris that can scratch the surface.
- Use a damp mop or cloth to clean up spills and sticky messes. Avoid using excess water, as it can damage the wood.
- Place protective felt pads on the legs of furniture to prevent scratches and dents when moving them.
- Avoid wearing high heels or shoes with spikes on your hardwood floors, as they can cause damage.
- Keep pets’ nails trimmed to prevent them from scratching the surface of the floors.
Aftercare Recommendations
Once you have refinished your hardwood floors, there are a few additional steps you can take to ensure their long-term beauty and durability. Follow these recommendations to keep your floors looking their best:
- Wait at least 24 hours after refinishing before placing furniture or rugs back onto the floors. This allows the finish to fully cure.
- Avoid walking on the floors with shoes for the first few days after refinishing to allow the finish to set properly.
- Place doormats at all entrances to catch dirt and debris before it reaches your floors.
- Use area rugs in high-traffic areas to provide extra protection for your hardwood floors.
- Regularly inspect your floors for any signs of wear or damage. If you notice any issues, address them promptly to prevent further damage.
By following these maintenance advice and aftercare recommendations, you can enjoy the beauty of your refinished hardwood floors for years to come. Remember, proper maintenance is the key to keeping your floors looking their best and protecting your investment.
Frequently Asked Questions On Can You Refinish Hardwood Floors Yourself
How Hard Is It To Refinish Hardwood Floors Yourself?
Refinishing hardwood floors yourself can be challenging but doable with proper tools and guidance. It requires time, effort, and attention to detail. Practice caution and follow instructions carefully for a successful outcome.
Can Wood Floors Be Refinished Without Sanding?
Yes, wood floors can be refinished without sanding using methods like chemical stripping or buffing. These processes can restore the floor’s appearance and finish without the need for traditional sanding techniques. However, the effectiveness of these methods may depend on the condition of the wood.
Is It Worth It To Refinish Hardwood Floors?
Refinishing hardwood floors is definitely worth it. It restores their natural beauty, increases their lifespan, and adds value to your home. With proper maintenance, refinished floors can last for decades, making it a cost-effective investment.
Do You Have To Sand Hardwood Floors Before Restaining?
Yes, sanding hardwood floors before restaining is necessary. Sanding removes old finish, smooths the surface, and helps the new stain adhere better, resulting in a more even and durable finish.
Conclusion
Refinishing hardwood floors can be a rewarding DIY project if you’re up for the challenge. Proper preparation, technique, and patience are essential for a successful outcome. With the right tools and knowledge, you can achieve professional-looking results while saving money.
However, if you’re unsure, consulting a professional is always a safe option.