CNC on Wood: Bits, Feeds and Safety for Beginners (2026)
CNC on wood means a computer moves a spinning bit through the material along a programmed path, and most of what decides whether the cut is clean has nothing to do with the design file. It comes down to four things: which bit you load, how fast you feed it, how firmly the wood is held, and how you handle dust and safety. This guide covers those four in the order you will hit them, with a worked feed rate table and a troubleshooting chart. If you are still choosing a machine, start with our CNC wood carving machine buying guide and come back here to learn how to run it.
Start With the Right Bit
Best Compression Bit Starter Pick
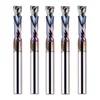 |
SpeTool 5PCS Compression Spiral Router Bits, 1/4 Inch Shank, 1 Inch Cutting Length, $96.92 Compression bits have upcut flutes at the tip and downcut flutes above, which is the usual choice for cutting through plywood and laminated sheet without chipping the top or bottom face.
|
A CNC bit does the work of the whole machine, and most beginner disappointment comes from a mismatch between bit and job. Before you spend money on a machine upgrade, get two or three bit types that match what you cut most, and learn them well. The comparison below covers the three cutter styles you will see on every hobby CNC parts list.
Upcut, Downcut and Compression Bits Compared
| Bit type | Where chips go | Best for | Watch out for |
|---|---|---|---|
| Upcut spiral | Up and out of the cut | Deep slots, pockets, grooves, clearing chips from a cut | Can lift thin stock and leave splinters on the top face |
| Downcut spiral | Down into the cut | Clean top edges, thin stock, V-carved signs | Chips can pack in deep pockets and cause heat |
| Compression | Up at the tip, down above it | Through-cuts in plywood and laminated panels | Only works properly when both flute sections are engaged in the material |
That last point in the table is the one many guides skip. On a compression bit, the downcut section sits above the upcut section. If the final pass leaves the transition point above the top face, the bit is acting as a plain upcut for that pass and the top veneer can still chip. Follow the bit maker’s guidance on minimum cutting depth, and cut a scrap sheet of the same plywood first.
For fine lettering and small details, look at smaller bits such as 1/8 inch spiral or V-bits, and keep in mind that smaller bits are more fragile and need lower feed rates. If your project is closer to lettering or engraving than cutting parts, our guides on how to wood engrave and how to cut letters out of wood cover the design side.
Feeds and Speeds: The Formula and a Worked Table
Feeds and speeds sound intimidating, but the core is one line of arithmetic, published in guides such as the CNCShop feeds and speeds guide: feed rate equals spindle RPM times the number of flutes times the chip load. Chip load is the thickness of the chip each flute removes per revolution, and bit makers publish target ranges for their bits. Freud, for example, publishes a Freud router bit feed and speed sheet for CNC.
The table below applies the formula to a 2-flute bit. The numbers are arithmetic, not machine recommendations: they show how much the feed rate moves when you change RPM or chip load.
| Spindle RPM | Feed at 0.003 in chip load | Feed at 0.005 in chip load |
|---|---|---|
| 10,000 | 60 in/min | 100 in/min |
| 16,000 | 96 in/min | 160 in/min |
| 18,000 | 108 in/min | 180 in/min |
Read the table the other way around and you get the myth worth correcting. Many beginners think that a faster spindle always gives a smoother cut. In the formula, if you raise RPM but leave the feed rate where it was, the chip load drops. A very small chip load means the bit rubs against the wood instead of slicing it, and rubbing generates heat. That is why burn marks on hardwood are more often a too-slow feed rate or a dull bit than a too-fast spindle. Bit makers list the recommended chip load range for each bit diameter, so start from their number.
Two practical limits apply to hobby machines. First, the higher feed rates in the table are only reachable if the frame, spindle and bit can handle the load, and many desktop machines cannot, so plan on the low end and increase in small steps while listening to the cut. Second, when a bit chatters or deflects, reduce the depth per pass before you touch the feed rate. Several shallow passes are easier on the bit than one deep one.
Hold-Down: Keep the Wood From Moving
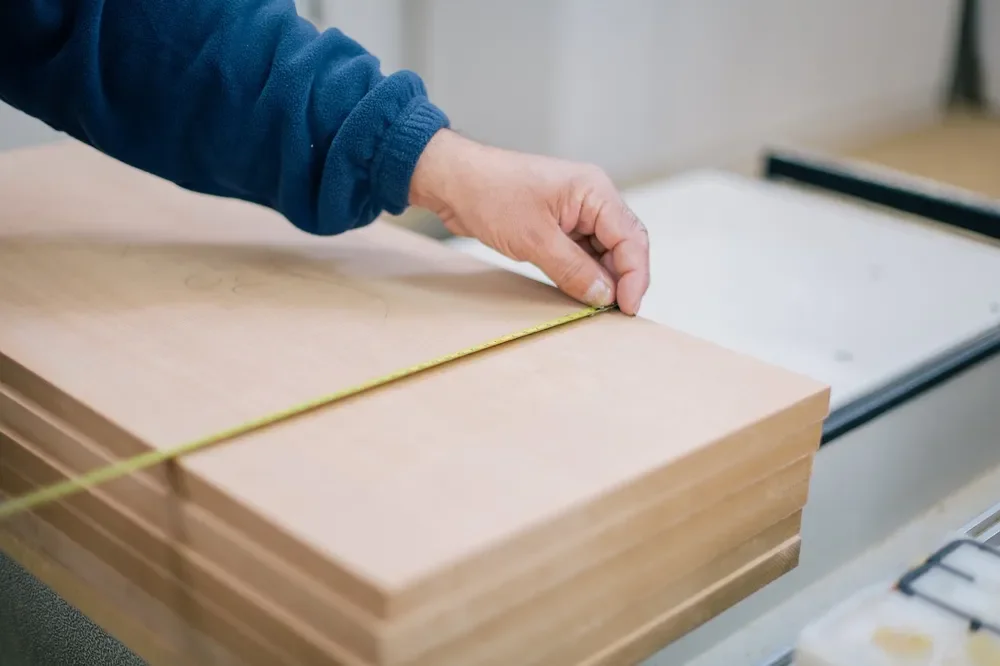
Wood moves under a cutter in ways metal does not. A bit that grabs a thin part can throw it, and a warped sheet can leave one corner cut deeper than the other. Common hobby hold-down methods include screws into the spoilboard at waste areas, clamps that sit outside the toolpath, double-sided tape for small parts, and vacuum tables on larger machines.
- Screws or clamps: place them where the toolpath will not go, and simulate the toolpath to confirm the bit clears every clamp before you press start.
- Tape and small parts: double-sided tape holds small pieces, but very small parts can still shift, so slow the final pass.
- Tabs: leave small tabs on cutouts so the part does not free itself and get hit by the bit; trim them with a flush saw afterwards.
- Flatness: sheet goods can cup, so measure thickness at several points and set your zero on the top surface you are cutting.
If you only need a few copies of one shape, router templates and a flush-trim bit are a lower-cost alternative to programming a CNC. For MDF specifically, see whether MDF can be routed before you load a sheet.
Dust and Safety: What to Set Up First
The safety advice in most CNC guides comes from machine makers and shop-safety references, so read your own machine’s manual first. It overrides any general list, including this one.
- Eyes and ears: wear safety glasses and hearing protection whenever the spindle is running.
- Dust collection: fine wood dust is a health concern, and MDF and many sheet goods contain resin binders such as urea-formaldehyde, so use a dust shoe or vacuum and a respirator rated for fine dust.
- Enclosure or shield: a cover keeps chips and any broken bit fragments inside the machine, and also cuts noise.
- Emergency stop: know where it is and test it before the first cut, not during a problem.
- Never leave it unattended: heat from a dull bit or a stuck toolpath can start a fire, so stay in the room while the machine is cutting.
- Loose clothing and gloves: keep sleeves, cuffs and jewelry away from the spindle. Many older woodworking guides recommend gloves, but loose gloves near any rotating tool can be pulled in, so skip them around the spindle.
The most dangerous moment is often not the cut itself but the first run of a new toolpath. Run the job once in the air, a safe height above the wood, and watch the path before it touches material.
From Design File to Finished Cut
Every CNC job follows the same pipeline: design (CAD), toolpaths (CAM), then G-code sent to the controller. Fusion 360, VCarve, Carbide Create and Easel are all used for the CAD and CAM stages, and Inkscape is a free vector editor for artwork. Whatever you use, the toolpath settings are where the bit, feed and depth per pass from the sections above actually get entered.
- Set your zero (X, Y and Z) and confirm the bit height with a scrap piece.
- Run the toolpath once in the air.
- Cut a test piece from the same board or a scrap of the same thickness.
- Measure the result with calipers and adjust for bit width before cutting the real part.
- Sand the surface after cutting. Downcut bits especially can leave fuzz at the edges.
A common first project is a small sign or a set of plywood parts. The types of woodworking machines guide shows where a CNC sits beside the table saw and router, and it helps to plan which operations you will still do by hand.
Common CNC-on-Wood Problems and Fixes
| Problem | Likely cause | What to try |
|---|---|---|
| Burn marks on the edge | Feed too slow for the RPM, dull bit, chips not clearing | Raise feed rate or lower RPM, replace the bit, check dust extraction |
| Fuzzy edges | Wrong bit direction for the grain and material, or dull bit | Try a downcut or compression bit, take a light finishing pass, sand |
| Chipped plywood face | Upcut bit lifting the top veneer | Use a compression bit and make sure both flute sections are engaged |
| Chatter or rough walls | Too deep a pass, long bit stick-out, loose hold-down | Reduce depth per pass, shorten stick-out, re-check clamping |
| Part size is slightly off | Bit width not compensated, machine backlash | Enter the real bit diameter in CAM and cut a measured test piece |
| Broken bits | Overloaded feed, plunging too fast, wood shifting | Lower the plunge rate, add shallower passes, improve hold-down |
If you change one thing at a time and keep notes on the wood, bit, RPM, feed and depth of each job, you will build your own feeds and speeds chart faster than by reading forum posts.
Finishing CNC-Cut Wood
CNC edges are usually cleaner than hand-routed ones, but they still need attention. Start sanding at 120 grit on machine marks and move up to 180 or 220, always along the grain. Remove dust with a vacuum or tack cloth before staining, and seal the piece with a finish that suits its use. Pine and other softwoods can blotch, so a pre-stain conditioner is worth trying on a scrap first. See our note on pine wood texture and grain when you plan a carving in softwood.
Frequently Asked Questions About CNC on Wood
Can you cut wood on a hobby CNC router?
Yes. Hobby machines are commonly used on softwood, hardwood, plywood and MDF. The limit is usually rigidity and spindle power, not the material, so hobby machines take shallower passes and lower feed rates than industrial routers. Start with a soft, flat material and short test cuts.
What is the difference between upcut, downcut and compression bits?
An upcut bit pulls chips up and out of the cut, which clears the slot well but can lift or splinter the top face. A downcut bit pushes chips down, which leaves a cleaner top edge but can pack chips into a pocket. A compression bit combines both, with upcut flutes at the tip and downcut flutes above, to keep both faces of plywood clean on through-cuts.
How do you calculate feed rate for a CNC router?
Feed rate equals spindle RPM times the number of flutes times the chip load. For example, a 2-flute bit at 16,000 RPM with a 0.004 inch chip load gives 16,000 x 2 x 0.004 = 128 inches per minute. Treat that as a ceiling and check the bit maker’s chart and your machine’s rigidity before using it.
Why is my CNC burning the wood?
Burn marks most often mean the bit is rubbing instead of cutting: the feed rate is too slow for the RPM, the bit is dull, or the chips are not clearing. Raise the feed rate or lower the RPM, replace a dull bit, and check that chips are being evacuated.
Is it safe to leave a CNC router running unattended?
Manufacturers and shop-safety guides generally advise against it. A spinning cutter, wood dust and a possible tool or feed error add up to a fire and injury risk, so stay in the room, keep an emergency stop within reach and follow your machine maker’s instructions.
Conclusion
CNC on wood rewards a methodical approach: pick a bit that matches the job, use the feed rate formula rather than guessing, hold the workpiece down firmly, and set up dust collection and safety before the first cut. Keep a log of what worked for each species, and you will spend less time recutting and more time building.
Sponsored / affiliate links. As an Amazon Associate I earn from qualifying purchases. I may earn additional commission from eligible campaigns.