Concrete Saw Cut Joints: Timing, Depth, and Spacing Rules
Concrete saw cut joints control where a slab cracks — cut them 4 to 12 hours after pouring with a wet-cut saw, or 1 to 4 hours with an early-entry dry-cut saw, to a depth of at least one-quarter the slab thickness. Miss that window and the concrete cracks randomly instead of along the joint line, defeating the purpose of cutting it at all. This guide covers timing by saw type, ACI-recommended spacing and depth, and the sealing mistakes that let water in.
What Concrete Saw Cut Joints Actually Do
Best Joint Sealant Pick
SIKA Sikaflex Self-Leveling Sealant – $10.97
A self-leveling polyurethane made for exactly the horizontal saw cut joints this guide covers — pour it in and it settles flat on its own, no tooling needed.
- Best for: Sealing horizontal control and expansion joints on driveways and garage floors
- Why we picked it: Self-leveling means it fills the joint evenly without hand-tooling, and it’s paintable once cured
- Main drawback: Full cure takes almost a week, so keep traffic off the joint until then
Compare more joint sealing options
 Option 1 Foam Backer Rod, 1/2″ x 19.6ft
|
 Option 2 Sikaflex Crack Flex Sealant – $11.47
|
 Option 3 ElastiPoxy Joint & Crack Kit – $164.00
|
As an Amazon Associate we earn from qualifying purchases.
A saw cut joint is a controlled weak point — a narrow groove cut into a concrete slab so the inevitable shrinkage crack forms along that line instead of wherever the concrete happens to be weakest. Concrete always cracks as it cures and dries; a saw cut joint just decides where.
What a Saw Cut Joint Divides and Controls
- Divides large concrete areas into manageable sections that crack predictably.
- Controls cracking caused by shrinkage as the concrete cures, or by seasonal expansion.
- Allows the slab to move slightly without tearing itself apart at random points.
Why Proper Jointing Matters
- Extends the working life of the slab by keeping cracks contained instead of spreading.
- Keeps the surface presentable with clean, straight lines instead of jagged random cracks.
- Prevents spalling and heaving at crack edges, which is what actually causes the costly repairs.
Skip the joints, or cut them wrong, and the concrete still cracks — you just don’t get to choose where. Properly executed saw cuts are what turn an unpredictable failure point into a planned maintenance line.
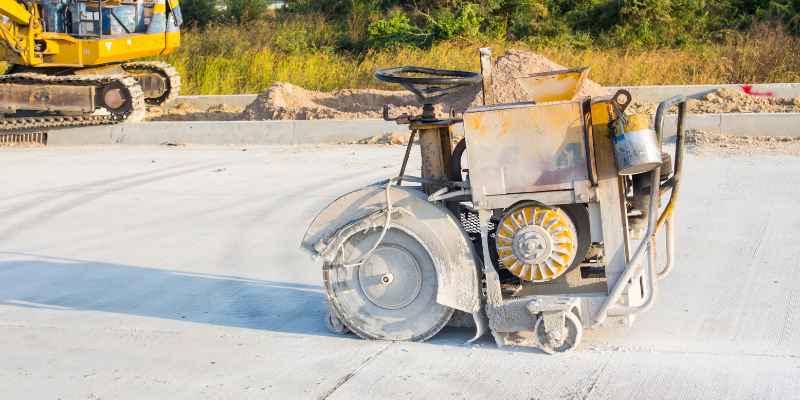
When to Cut: Wet-Cut vs. Early-Entry Saw Timing
The saw you use decides how soon you can cut. A conventional wet-cut diamond saw needs the concrete harder before it can cut cleanly; an early-entry dry-cut saw is built to cut much sooner, but shallower. Choosing the wrong saw for your schedule is one of the most common reasons joints end up too late to control the crack.
| Saw Type | Cutting Window | Typical Cut Depth | Best For |
|---|---|---|---|
| Early-entry (dry-cut) | 1–4 hours after pouring | ⅓–1 in. (20–25mm) | Hot weather, tight schedules, jointing before random cracks can start |
| Conventional wet-cut | 4–12 hours after pouring | 1/4 slab thickness or deeper | Cleaner, deeper cuts when the schedule allows more cure time |
The rule of thumb contractors actually use in the field: start cutting as soon as the blade stops raveling (chipping) the edge of the cut. Cut too early and the aggregate tears out; cut too late and the slab has already started cracking on its own, somewhere the saw can’t reach.
📊 Per ACI 360R-10, minimum saw-cut depth is 1/4 the slab thickness, and joint spacing should run 24 to 36 times the slab thickness in inches. Some contractors cut to 1/3 depth on heavily restrained slabs (very stiff subgrades) for more reliable crack activation. — Source: ACI 360R-10 contraction joint design rules, For Construction Pros
Joint Sealing and Maintenance
An unsealed saw cut joint is an open channel for water. Sealing it stops moisture from working into the crack, freezing, and prying the joint apart from the inside — the freeze-thaw cycle that eventually turns a clean joint into a spalled, crumbling edge.
Why Sealants Matter
A joint sealant creates a flexible barrier that keeps water, dirt, and incompressible debris out of the cut while still letting the joint move as the slab expands and contracts with temperature. On a wide joint, a foam backer rod goes in first to control the sealant’s depth and give it something to bond against on two sides instead of three — skipping it is a common reason sealant fails early.
Regular Inspection and Repair
Sealant degrades from UV exposure, freeze-thaw cycling, and traffic long before the concrete itself does. Check joints at least once a year for cracking, gaps, or peeling adhesion, and re-seal as soon as you see it — catching it early is a caulk gun job, waiting turns it into a repair.
Depth, Width, and Spacing Rules
Get the depth and spacing wrong and the joint simply won’t do its job — the slab will crack somewhere else instead. Two numbers matter most: how deep you cut, and how far apart the cuts are.
Depth and Width
Cut depth should be at least one-quarter of the slab thickness — a 4-inch slab needs roughly a 1-inch-deep cut. Joint width generally runs one-quarter to one-third of the slab thickness. On heavily restrained slabs (very stiff subgrade, or heavy reinforcement), cutting to one-third depth instead of one-quarter gives more reliable crack activation right at the joint.
Spacing and Layout
Spacing between joints should run 24 to 36 times the slab thickness in inches — for a 4-inch slab, that’s roughly 8 to 12 feet between cuts. Layout should also account for the loads the slab will carry and any re-entrant corners (around drains, columns, or driveway aprons), which crack first if a joint doesn’t intersect them.
Types of Concrete Saw Cut Joints
Not every cut in a slab does the same job. Control joints, expansion joints, and construction joints all look similar but solve different problems.
Control Joints
Control joints are strategically placed saw cuts in concrete slabs that guide shrinkage cracking along predefined lines instead of letting it happen at random. They’re the most common type on driveways and sidewalks and the ones this guide focuses on.
Expansion Joints
Expansion joints give the slab room to grow when it heats up, so it doesn’t push against and crack adjacent structures. Unlike control joints, they run the full depth of the slab and are typically filled with a compressible material, not just cut and sealed.
Construction Joints
Construction joints mark where one pour of concrete stopped and the next began — a planned seam for phased pours on large slabs, rather than a crack-control measure.
Best Practices for Cutting Concrete Joints
Two things separate a joint that actually controls cracking from one that doesn’t: timing, and blade choice.
Proper Timing
Cut as soon as the concrete is firm enough that the blade stops raveling (tearing out) the edge of the cut, and before the slab has a chance to crack on its own. Waiting for a fixed number of hours on the clock is less reliable than testing the edge itself — hot, dry weather shortens the window; cool, humid weather stretches it.
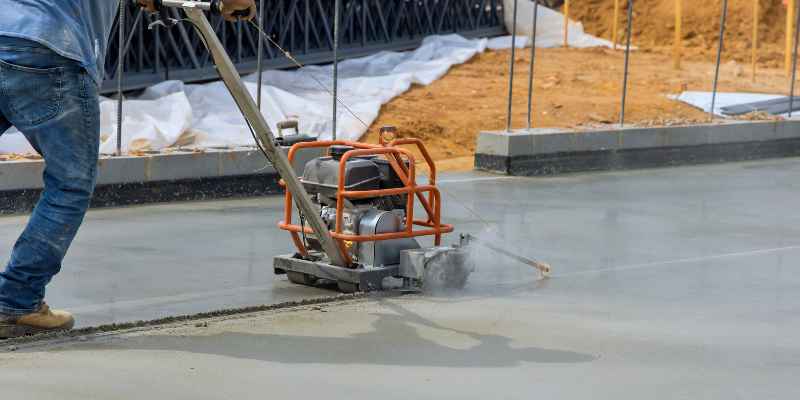
Choosing the Right Saw and Blade
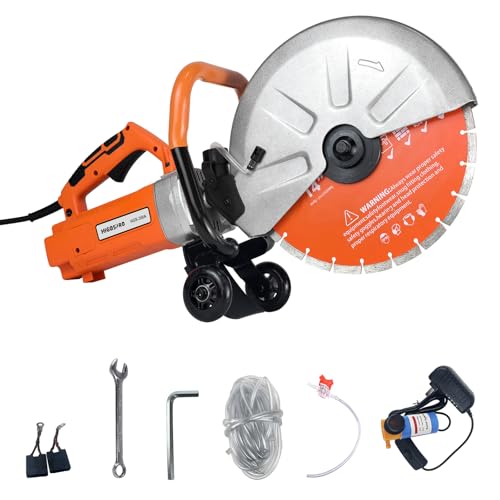
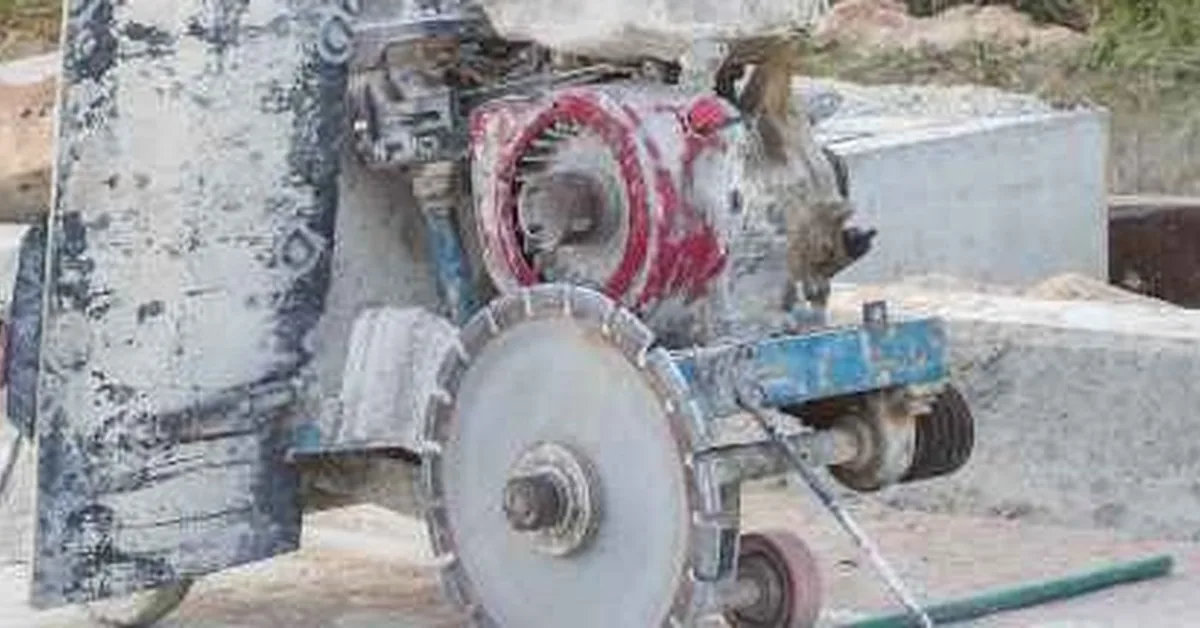
Use a diamond blade matched to the concrete mix and any reinforcement in it — the wrong blade either glazes over and stops cutting or wears out mid-job. For a broader rundown of saw types and blade selection outside of concrete work, see our tools and saws guide.
Common Mistakes to Avoid
Improper Joint Spacing
Space joints too far apart and the slab cracks between them, outside the cut lines. Space them too close and you’ve added cutting cost without added benefit. Stick to the 24–36x-thickness rule above rather than guessing.
Neglecting Joint Sealing
An unsealed joint lets water in, and water is what turns a clean crack-control line into a corroded, spalling edge over a few freeze-thaw seasons. Sealing takes an afternoon; repairing a spalled joint doesn’t.
Innovations in Concrete Jointing
Joint cutting hasn’t stayed static. A few developments are changing how contractors cut and fill joints today.
New Cutting Technology
- Laser-guided cutting: Guides the saw along a straight, pre-marked line, reducing operator error on long runs.
- Computer-controlled cutting: Automated systems cut to pre-programmed spacing and depth, removing the guesswork from layout.
- Diamond blade improvements: Industrial-grade diamond blades cut cleaner and last longer than older abrasive blades, lowering the cost per foot of cutting over a large job.
Alternative Joint Filling Materials
- Polyurea: Cures fast and resists chemicals and abrasion, good for joints that need to go back into service quickly.
- Epoxy resin: High bond strength, smooth finish, holds up to heavy traffic — the option used in structural floor-to-wall joints.
- Polymeric sand: A quartz-and-polymer blend used mainly on paver joints outdoors; resists water penetration and weed growth.
Frequently Asked Questions About Concrete Saw Cut Joints
What Are Concrete Saw Cut Joints?
Concrete saw cut joints are intentional grooves cut into a slab to control cracking caused by shrinkage and temperature changes. They guide the slab’s natural cracking along a straight, planned line instead of letting it crack randomly, and they’re typically cut with a diamond-blade saw.
Why Are Saw Cut Joints Necessary in Concrete?
Without a joint, concrete still cracks as it shrinks — the crack just forms wherever the slab is weakest, which is unpredictable and often ugly. A saw cut joint gives the crack a straight, planned line to follow instead.
When Should Concrete Saw Cut Joints Be Made?
Typically 4 to 12 hours after pouring with a conventional wet-cut saw, or 1 to 4 hours after pouring with an early-entry dry-cut saw. The real test is the blade: cut as soon as it stops raveling the concrete edge, not on a fixed schedule.
How Deep Should the Saw Cuts Be in Concrete Joints?
At least one-quarter of the slab’s thickness — a 4-inch slab needs about a 1-inch-deep cut. On heavily restrained slabs, cutting to one-third of the thickness gives more reliable crack activation at the joint.
What’s the Difference Between a Saw-Cut Joint and a Tooled Joint?
A saw-cut joint is cut into the hardened slab with a diamond blade after pouring, giving a narrow groove with clean but slightly brittle edges. A tooled joint is pressed into the concrete while it’s still wet using a grooving tool, giving wider, rounded edges that resist chipping but look less crisp. Sawing is more common on driveways and floors; tooling is common on sidewalks and smaller pours.
What Happens if You Cut Concrete Joints Too Late?
If random cracking starts before you cut, the joint no longer controls anything — the slab has already picked its own crack line, usually not where you wanted it. At that point the saw cut becomes cosmetic rather than functional, and the random crack still needs its own repair.
Conclusion
Concrete saw cut joints work when three things line up: cutting at the right time for your saw type, cutting deep and wide enough per the ACI 24–36x-thickness spacing rule, and sealing the joint before water gets a chance to work into it. Skip any one of those and the slab will still crack — just not where you planned. Get the timing, depth, and sealing right, and the joints do their job for the life of the slab.
Sponsored / affiliate links. As an Amazon Associate I earn from qualifying purchases. I may earn additional commission from eligible campaigns.