How to Install Wood Flooring on Concrete Slab: Step-by-Step Guide
To install wood flooring on a concrete slab, start by preparing the surface and applying a vapor barrier, followed by a layer of underlayment and adhesive.
Preparing The Concrete Slab
To install wood flooring on a concrete slab, it is crucial to prepare the slab properly. This includes addressing moisture issues, leveling the surface, and using a moisture barrier to ensure a successful installation.
Preparing the concrete slab is a crucial step in installing wood flooring. Before you start laying down the planks, you need to ensure that the concrete slab is clean, smooth, and free from any moisture or cracks. In this section, we will discuss the three important tasks that need to be completed – checking moisture levels, cleaning the slab, and filling cracks and smoothing rough spots.
Checking Moisture Levels
Moisture is one of the biggest concerns when it comes to installing wood flooring on a concrete slab. Excessive moisture can lead to warping, cupping, or buckling of the wood planks. To avoid such issues, it is crucial to check the moisture levels of the concrete slab before installation.
There are moisture testing kits available in the market that can help you determine the moisture content. Alternatively, you can also use a plastic sheet test. Simply tape a plastic sheet to the concrete slab, ensuring it is completely sealed on all sides. Leave it for 24 hours, and then check for any condensation or moisture buildup underneath the plastic. If there is excessive moisture, it is recommended to wait until the problem is resolved before proceeding with the installation.
Cleaning The Slab
A clean surface is essential for proper adhesion of the wood flooring to the concrete slab. Start by removing any dirt, dust, or debris from the surface using a broom or vacuum cleaner. Pay close attention to corners and edges, ensuring all loose particles are removed.
Next, thoroughly clean the slab using a mild detergent solution and a scrub brush or mop. This will help remove any grease, stains, or adhesive residues. Rinse the surface with clean water to remove any leftover detergent and allow it to dry completely.
Filling Cracks And Smooth Rough Spots
Before laying the wood flooring, it is important to address any cracks or rough spots on the concrete slab. Small hairline cracks can be filled with a concrete crack filler. Use a putty knife to apply the filler, ensuring it is spread evenly and smoothened out. Allow the filler to dry completely before proceeding.
For larger cracks or uneven areas, you may need to use a self-leveling compound to create a smooth and even surface. Follow the manufacturer’s instructions to mix and apply the compound, ensuring it is spread evenly across the affected areas. Use a trowel to smooth out any rough spots or bumps.
After filling the cracks and smoothing rough spots, allow sufficient time for everything to dry and cure according to the product instructions. Once the concrete slab is completely dry and prepared, you are ready to move on to the next step of installing your wood flooring.
Preparing the concrete slab is a crucial step in ensuring a successful and long-lasting wood flooring installation. By checking moisture levels, cleaning the slab, filling cracks, and smoothing rough spots, you are creating an ideal surface for the wood planks to be installed. With a well-prepared slab, you can proceed with confidence and enjoy the beauty and warmth of your new wood flooring.
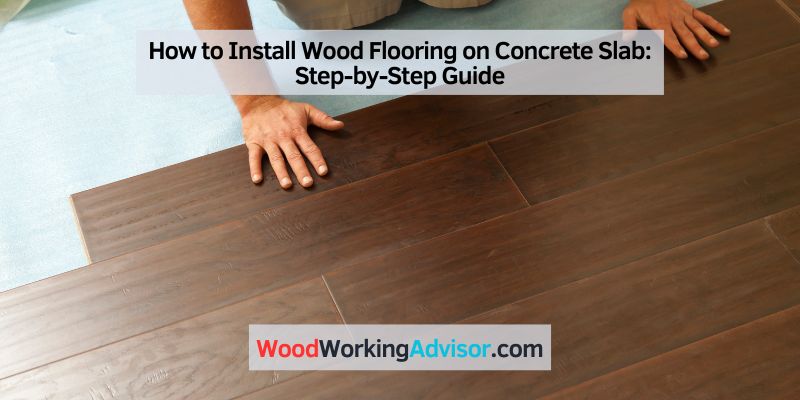
 Install Wood Flooring on Concrete Slab” width=”800″ height=”400″ />
Installing A Moisture Barrier
Learn how to install wood flooring on a concrete slab by first installing a moisture barrier. This important step will help prevent moisture from seeping through and damaging your beautiful wood floors. Follow these simple steps to ensure a successful installation.
Choosing The Right Barrier
Before installing wood flooring on a concrete slab, it’s crucial to choose the right moisture barrier to prevent any potential moisture-related issues. There are two common types of moisture barriers available:
| Vapor Retarders | Vapor Barriers |
|---|---|
| A vapor retarder is a thin plastic sheet that slows down moisture diffusion. It is recommended for areas with low to moderate moisture levels. | A vapor barrier is a thicker, impermeable material that blocks moisture transfer. It is suitable for areas with high moisture levels, such as basements. |
Cutting And Laying The Barrier
Once you’ve selected the appropriate moisture barrier, the next step is to cut and lay it over the concrete slab. Follow these steps:
- Measure the length and width of the room to determine the amount of barrier material needed.
- Cut the barrier into manageable sections using a utility knife.
- Start from one corner of the room and unroll the barrier along the length of the wall.
- Overlap the edges of the barrier by a few inches to ensure complete coverage.
- Continue unrolling the barrier until you reach the opposite wall, ensuring it covers the entire floor area.
- Trim any excess barrier using a utility knife.
Sealing The Edges
Properly sealing the edges of the moisture barrier is crucial to prevent moisture penetration. Follow these steps:
- Apply a bead of construction adhesive along the edge of the barrier.
- Press the edge firmly against the wall to create a secure seal.
- If there are gaps between sections or along the walls, use moisture-resistant tape to seal them.
- Ensure the entire perimeter is properly sealed to prevent any moisture from seeping through.
By choosing the right moisture barrier, cutting and laying it correctly, and sealing the edges properly, you can ensure a moisture-free surface for your wood flooring installation. Taking these precautions will help prolong the lifespan of your flooring and prevent any potential damage caused by moisture. Happy installing!
Laying The Wood Flooring
Laying the wood flooring on a concrete slab is a great way to add a touch of warmth and elegance to your home. While the process may seem daunting at first, with the right tools and techniques, you can achieve professional-looking results. In this section, we will guide you through the step-by-step process of laying wood flooring on a concrete slab, from choosing the right wood to adding the finishing touches. Let’s get started!
Choosing The Right Wood
Choosing the right wood for your project is crucial. It’s essential to consider factors such as durability, moisture resistance, and aesthetic appeal. When selecting the wood flooring, opt for engineered wood or laminate flooring specifically designed for installation over concrete. These types of flooring are dimensionally stable and less prone to warping. Additionally, ensure that the wood has a moisture content suitable for your location to prevent future issues.
Acclimating The Flooring
Before laying the wood flooring, you must acclimate it to the environment in which it will be installed. This step is crucial as it allows the flooring to adjust to the temperature and humidity levels of the room. Open the flooring packaging and let it sit in the room for at least 48 hours. Make sure the room temperature and humidity levels are within the manufacturer’s recommendations. This acclimation process ensures that the wood flooring will expand or contract minimally after installation.
Installing The First Row
The first row of flooring sets the foundation for the rest of the installation. Start by creating a straight reference line parallel to the longest wall in the room. Using a chalk line, snap the line on the concrete slab to represent the edge of the first row. Apply a recommended moisture barrier adhesive along the line, and then lay the first row of flooring against it. Use spacers to maintain a consistent expansion gap along the wall. Remember to stagger the end joints to enhance stability.
Continuing With Subsequent Rows
Once the first row is in place, it’s time to continue with the subsequent rows. Apply adhesive to the tongue and groove of each plank and join them snugly together. Use a tapping block and hammer to gently tap the planks into place. Make sure to maintain the recommended expansion gap between each row. Work row by row, ensuring the planks are securely locked together. Remember to periodically check for levelness and adjust as necessary.
Cutting And Fitting The Flooring
As you progress with the installation, you’ll inevitably reach areas where the full-width planks won’t fit. For these situations, measure and mark the planks that need to be cut. Use a circular saw or a jigsaw to make precise cuts. Take caution and wear protective gear to prevent any accidents. Fit the cut planks into their designated spots, ensuring a snug fit. Pay attention to details and take your time to achieve clean and seamless transitions.
Nailing Or Gluing The Flooring
Depending on the type of wood flooring you’ve chosen, you may need to use either nails or adhesive to secure the planks to the concrete slab. If using hardwood flooring, it’s common to nail each plank in place using a flooring nailer. On the other hand, engineered wood or laminate flooring typically requires glue to attach the planks to the concrete slab. Follow the manufacturer’s instructions to ensure proper installation technique and achieve optimal results.
Adding Baseboards And Finishing Touches
Once all the flooring planks are installed, it’s time to add baseboards and other finishing touches. Baseboards can be attached directly to the wall, covering the expansion gap and providing a seamless appearance. Use a finish nailer or recommended adhesive to secure the baseboards in place. You can also consider adding thresholds or transition strips between different types of flooring for a polished and cohesive look. Finally, take a moment to clean up any debris and admire your newly installed wood flooring!
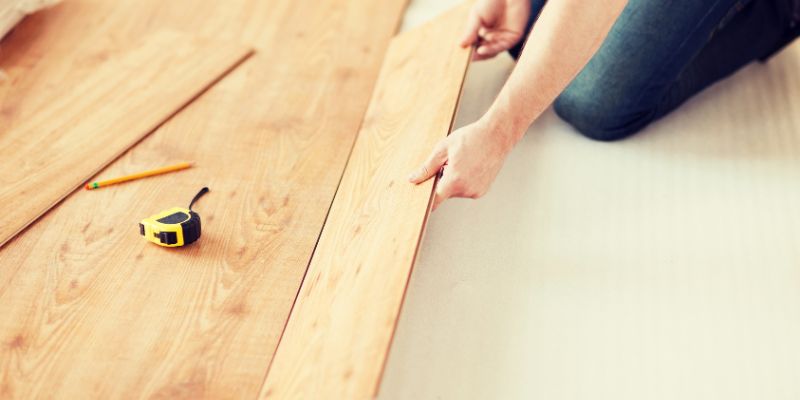
 Install Wood Flooring on Concrete Slab” width=”800″ height=”400″ />
Conclusion
Installing wood flooring on a concrete slab may seem like a daunting task, but with the right preparations and techniques, it can be achieved successfully. By following the steps outlined in this blog post, you can transform your space with the warmth and beauty of wood flooring.
Remember to consult with professionals and adhere to industry standards to ensure a long-lasting and visually appealing result. With proper installation, your wood flooring can bring joy and elegance to your home for years to come.