Crown Molding for Kitchen Cabinets: Styles, Sizes & Cost
Kitchen cabinet crown molding is trim installed atop wall cabinets to close the gap to the ceiling — cabinet profiles run 1-5/8 to 3-5/8 inches wide, narrower than standard wall-to-ceiling crown. Skip it on a low ceiling and the kitchen can feel boxed in; done right, expect $6 to $12 per linear foot installed, or DIY it with a pneumatic nailer and a backer strip. This guide covers profile styles, material choices, the backer-strip installation method, and real costs.
What Is Crown Molding — and How Is It Sized?
Best Crown Molding Installation Pick
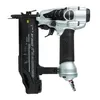
Metabo HPT 18-Gauge Pneumatic Brad Nailer – $65.00
Drives the 1.5-inch, 18-gauge brads this guide’s install steps call for, with adjustable depth so brads seat flush without blowing through thin crown profiles.
- Best for: nailing crown to a backer strip every 12 inches per the steps above
- Why we picked it: adjustable depth control keeps brads from splitting narrow cabinet-crown profiles
- Main drawback: needs a separate air compressor — not a cordless tool
Compare more crown molding installation options
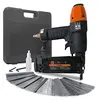 Option 1 WEN 18-Gauge Brad Nailer Kit – $39.16
|
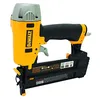 Option 2 DEWALT 18-Gauge Brad Nailer Kit – $102.35
|
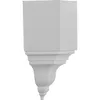 Option 3 Crown Molding Corner Block – $10.11
|
As an Amazon Associate we earn from qualifying purchases.
Crown molding is decorative trim mounted where the top of a wall or tall cabinet meets the ceiling. It conceals the gap that’s almost always there — few ceilings are perfectly level — and gives cabinets a built-in, custom look instead of a boxy, store-bought one.
Cabinet crown is a different scale than the crown molding used at the wall-to-ceiling line elsewhere in a house. It has to sit on top of a shallow cabinet face frame, not a full wall, so manufacturers cut it narrower.
📊 Cabinet crown runs 1-5/8″ to 3-5/8″ wide, versus 4-1/2″ to 6-1/2″ for standard wall-to-ceiling crown — Source: Dura Supreme Cabinetry, 2026
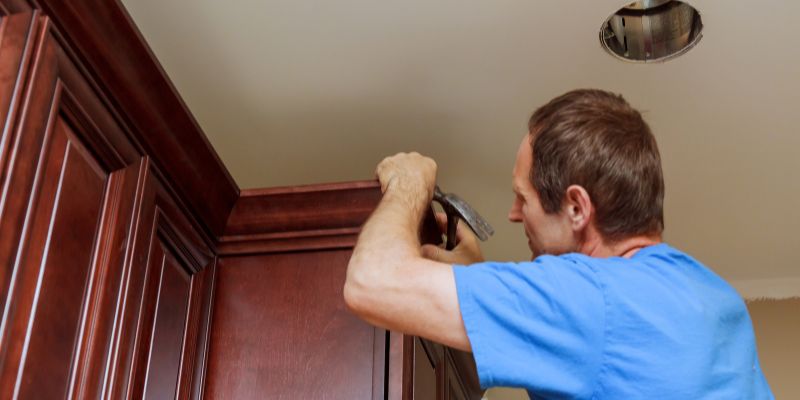
Crown Molding Styles for Kitchen Cabinets
Most cabinet crown falls into one of four profile families. Matching the style to your cabinet door design and ceiling height matters more than picking a favorite silhouette off the shelf.
- Traditional (ogee): the classic S-curve profile with visible depth and shadow lines. Reads as formal and works with raised-panel or shaker doors. Sold in graduated sizes to match different ceiling heights.
- Cove: a single concave curve, less ornate than ogee. Transitional enough to sit under almost any door style, which is why it’s the most common profile installers stock.
- Stacked crown: two or more molding pieces layered to build height and detail. Common above 8-foot ceilings, where a single-piece profile would look too thin for the space.
- Stepped (staggered): the top cabinet row is set back from the lower one so the crown appears to climb toward the ceiling in tiers. Popular in custom kitchens; it needs the extra depth a stock cabinet box usually doesn’t have.
Taller ceilings can carry a bigger, more elaborate profile without looking top-heavy. On an 8-foot ceiling, a wide stacked or ogee crown can make the kitchen feel lower — a slim cove profile is usually the safer call.
Material Options and What They Cost
Crown molding for kitchen cabinets comes in four common materials, and the choice affects both price and how it holds up near cooking heat and moisture — a separate decision from what the cabinet boxes themselves are built from.
- MDF (primed): the least expensive option and the easiest to get a smooth painted finish on. It doesn’t move much with humidity, but it will swell if it takes on water directly, so keep it away from a leaking sink cabinet — see our MDF vs. plywood breakdown for how it compares in cabinet construction generally.
- Solid pine: mid-priced, paints or stains reasonably well, and is soft enough to nail without pre-drilling. More prone to denting than hardwood.
- PVC (cellular vinyl): fully moisture-proof, which is why some installers use it directly above a range or sink run. Costs more than MDF and needs PVC-rated cement at joints instead of standard wood glue.
- Hardwood (oak, maple, cherry): the most expensive tier, typically chosen to match stained (not painted) cabinet doors. Oak and maple are common because they match the wood species already used for most cabinet boxes.
📊 Installed kitchen cabinet crown molding runs $6 to $12 per linear foot — for a typical 10×10 kitchen that’s roughly $210–$570 in labor alone, or $2,000–$4,000 total with materials on a custom job — Source: HomeGuide, 2026
Ready-made molding in stock lengths is the budget option and is what most big-box stores carry. Custom-milled molding costs more but lets you match an existing profile exactly — useful if you’re adding crown to only part of a kitchen and need it to match cabinets installed years earlier.
Do You Need Crown Molding on Kitchen Cabinets?
Crown molding isn’t mandatory, and skipping it is a legitimate design choice, not a shortcut. The right call depends on ceiling height, kitchen style, and whether you want that top gap for storage.
| Factor | With Crown Molding | Without Crown Molding |
|---|---|---|
| Look | Built-in, finished appearance; hides an uneven ceiling line | Cleaner, more modern lines; needs a level ceiling to look intentional |
| Storage | None gained — the gap is sealed off | 6–12 inches of open space above cabinets for platters or seasonal items |
| Ceiling height | Best on 9-foot-plus ceilings; can feel heavy on 8-foot ceilings | Works at any ceiling height |
| Best for | Traditional and transitional kitchens, taller ceilings | Modern/minimalist kitchens, smaller rooms needing storage |
How to Install Crown Molding on Kitchen Cabinets
Crown molding sitting directly on a cabinet’s thin top face frame has almost nothing solid to nail into. Installers get around this with a backer strip — a piece of 1×2 (or ripped 3/4-inch plywood) fastened flat to the cabinet top first, giving the nail gun real material to grab.
Most trim carpenters attach the backer strip before the crown ever gets cut — it’s fastened flush to the cabinet face and run upward, so the crown has a full nailing surface instead of the thin edge of the face frame alone.
- Install a backer strip: Fasten a 1×2 (or ripped 3/4-inch plywood) flat to the top of each cabinet run with glue and screws, flush to the front face, before cutting any crown.
- Measure and dry-fit: Hold each piece in place and mark corners directly on the molding rather than trusting a tape measure — cabinet runs are rarely perfectly square.
- Cut the corners: Miter outside corners on a miter saw (see our guide to crown molding miter saw cuts for blade angle settings); cope inside corners with a coping saw for a tighter joint than a mitered inside corner. Skip mitering entirely with pre-made corner blocks if the profile matches.
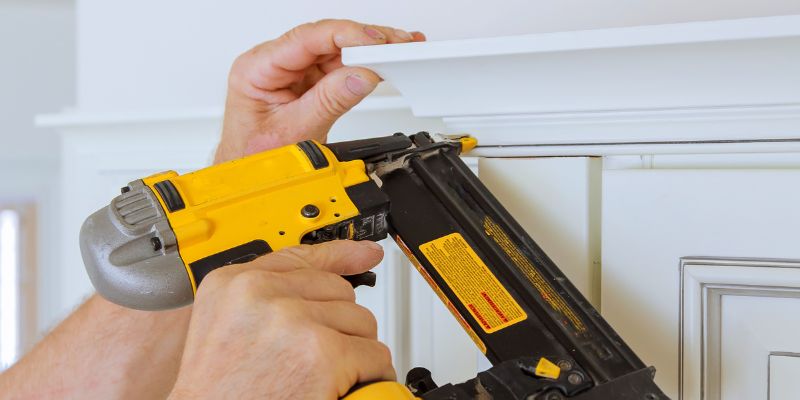
- Nail it to the backer strip: Use an 18-gauge brad nailer with 1.5-inch brads, placing a nail every 12 inches along the length and within 1–2 inches of every corner and joint.
- Fill, caulk, and paint: Fill nail holes and any seam gaps with paintable caulk, let it cure fully, then prime and paint or apply a matching stain.
The most common mistakes are cutting corners from a tape-measure number instead of a direct mark, skipping the backer strip and nailing straight into a hollow face frame, and painting over caulk that hasn’t fully cured — all three show up as visible gaps or cracked joints within a few months. Careful miter and coped corner cuts prevent most of it.
Maintenance and Longevity
Crown molding near a kitchen ceiling collects dust, and above a range it can pick up light grease film over time. Regular care keeps it looking finished instead of dingy.
- Dust regularly: a soft, damp cloth or microfiber duster removes surface dust before it builds up in the profile’s grooves.
- Avoid harsh chemicals: mild soap and water is enough; degreasers and abrasive cleaners can dull painted or stained finishes.
- Inspect yearly: check for chipping, peeling, or gaps opening at the joints, and re-caulk small gaps before they widen.
- Watch for moisture: run the range hood when cooking — MDF crown especially can swell if it stays damp near a stovetop.
When damage goes beyond a quick touch-up: fill small gaps or cracks with wood filler and sand smooth, refinish a worn painted or stained surface, or replace an individual section if it’s warped or split beyond repair rather than trying to save it. A full swap makes more sense than refinishing when you’re changing the kitchen’s color scheme anyway.
Frequently Asked Questions About Crown Molding for Kitchen Cabinets
What are the benefits of adding crown molding to kitchen cabinets?
Crown molding gives cabinets a built-in, finished look and conceals the gap that almost always exists between the top of the cabinets and the ceiling, since few ceilings are perfectly level. It’s a cosmetic upgrade, not a structural one.
How wide should crown molding be for kitchen cabinets?
Cabinet-specific crown molding typically runs 1-5/8 to 3-5/8 inches wide — noticeably narrower than the 4-1/2- to 6-1/2-inch crown used at a wall-to-ceiling line. Taller ceilings and stacked profiles can go wider; an 8-foot ceiling generally looks better with something on the narrower end.
How much does it cost to install crown molding on kitchen cabinets?
Installed cabinet crown molding runs about $6 to $12 per linear foot. For a typical 10×10 kitchen, that’s roughly $210 to $570 in labor, or $2,000 to $4,000 total with materials on a custom job. A DIY install with a rented or owned nailer cuts most of the labor cost.
Can crown molding be installed on existing kitchen cabinets?
Yes. It involves attaching a backer strip to the cabinet tops first, then measuring, cutting, and nailing the crown to that strip rather than to the cabinets directly. With the right tools, it’s a realistic weekend DIY project on cabinets that are already installed.
Do you need a backer strip to install crown molding on cabinets?
In almost every case, yes. Cabinet face frames are usually too thin and too close to the door hinges to hold a nail securely on their own. A 1×2 or ripped plywood backer strip fastened flat to the cabinet top gives the crown a solid, full-width surface to nail into.
What tools are needed for installing crown molding on kitchen cabinets?
A miter saw for angled cuts, a coping saw for inside corners, a tape measure, a pencil, an 18-gauge brad nailer, and wood glue or paintable caulk for the joints. A speed square helps with marking accurate angles before each cut.
Conclusion
Crown molding is a cosmetic upgrade, not a requirement — the right call depends on ceiling height and whether you’d rather have the finished look or the storage space above your cabinets. Budget $6 to $12 per linear foot installed, plan on a backer strip for a secure attachment, and pick a profile width that matches your ceiling height rather than the biggest one available.
Sponsored / affiliate links. As an Amazon Associate I earn from qualifying purchases. I may earn additional commission from eligible campaigns.