Best Glue for FRP Panels: Trowel Size, Cure Time & Top Picks
Titebond Fast Grab or GREENchoice FRP adhesive is the right pick for most fiberglass-reinforced plastic (FRP) panel installs — but two-part epoxy is the better call where impact resistance matters more than fast setup. Using the wrong type can under-cure, void the panel warranty, or let panels slide before the roughly 20-minute open time closes. This guide covers trowel size and coverage rate, open and cure time, and which adhesive type fits bathrooms, kitchens, and commercial walls.
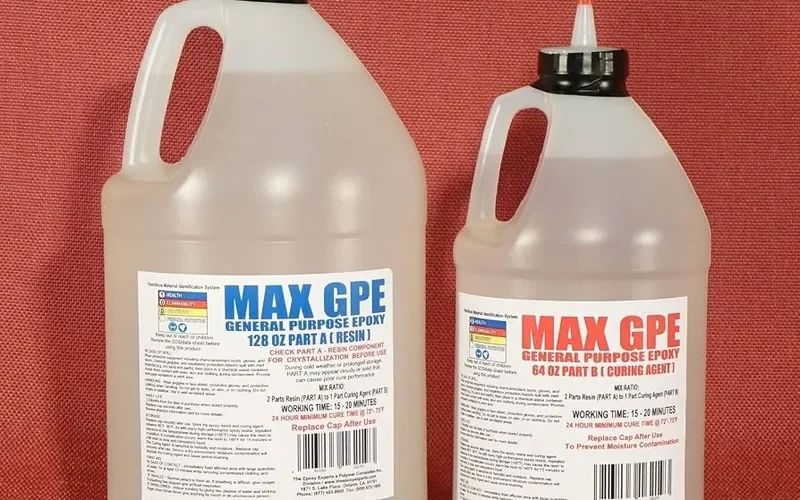
Types of Glue for FRP Panels
Three adhesive families cover almost every FRP panel job: trowelable panel adhesive, two-part epoxy, and MMA (methacrylate) adhesive. Each trades off strength, flexibility, and how much surface prep it needs.
Trowelable Panel Adhesive (Most Common)
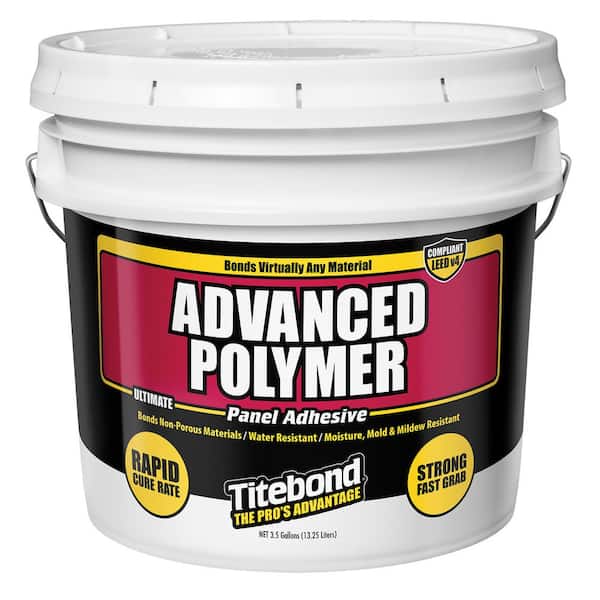
Products like Titebond Fast Grab and Liquid Nails FRP-310 are water-based, low-odor, and formulated specifically for FRP-over-drywall or FRP-over-backer installs. They’re the default choice for bathrooms, kitchens, and commercial restrooms because they clean up with water while wet and meet an NFPA Class A fire rating.
Epoxy Adhesive
Epoxy is a two-part structural adhesive that cures to a rigid, high-impact bond. Use it where panels take physical abuse — loading docks, food-processing walls, or garages — not for a standard shower surround, where its rigidity and cost aren’t worth the tradeoff.
MMA (Methacrylate) Adhesive
MMA adhesives bond fast with minimal surface prep and hold up well outdoors or in temperature-swinging spaces, which trowelable panel adhesive doesn’t handle as well. They cost more than trowelable adhesive and are typically specified for commercial exterior FRP, not DIY interior jobs.
| Adhesive Type | Strength | Flexibility | Best For |
|---|---|---|---|
| Trowelable panel adhesive | Good | Moderate | Bathrooms, kitchens, most interior walls |
| Two-part epoxy | Excellent | Low (rigid) | Impact-prone commercial/industrial walls |
| MMA (methacrylate) | Excellent | Moderate | Exterior or temperature-swinging installs |
Trowel Size, Coverage Rate & Open Time
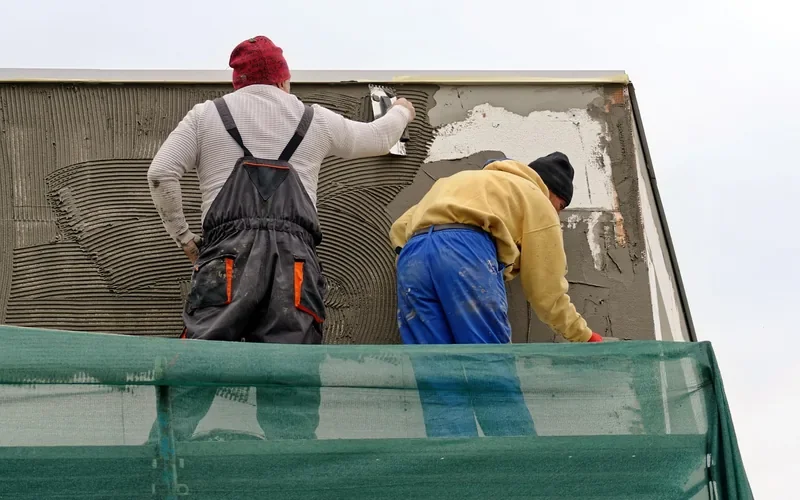
Getting the trowel notch right is the single biggest factor in whether an FRP panel bonds evenly or bubbles at the seams. Manufacturer installation guides specify a 3/16″ wide by 1/4″ deep V-notch trowel, spaced 1/2″ center-to-center, spreading roughly 50 square feet per gallon. That leaves about a 20-minute open time at 70°F before the adhesive skins over — plan your panel size and clamping/bracing setup around that window, not the other way around.
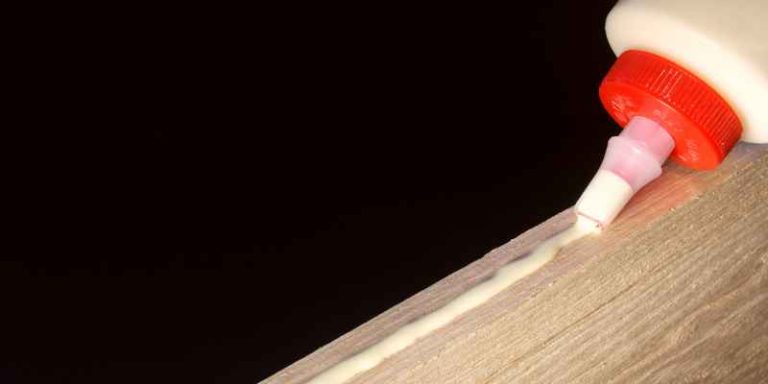
Apply adhesive over the panel back in vertical stripes with the notched trowel, then press the panel from the molded edge outward and roll it firmly across the whole surface. Don’t spread more adhesive than you can set a panel into within the open-time window — a bead that skins over before the panel goes on won’t grab.
📊 Trowelable FRP adhesive covers about 50 sq ft per gallon with a 3/16″x1/4″ V-notch trowel, and open time runs roughly 20 minutes at 70°F. — Source: Titebond Fast Grab FRP Adhesive spec sheet, 2026
Best FRP Panel Adhesive Pick
 |
Titebond Fast Grab FRP Construction Adhesive, 1 Gal. (2-Pack) – $64.16 A water-based, low-odor trowelable adhesive built specifically for FRP-over-drywall or backer-board installs — matches the 3/16″ V-notch trowel spread and 20-minute open time covered above.
|
As an Amazon Associate we earn from qualifying purchases.
Factors to Consider When Choosing Glue
Match the adhesive to the substrate, environment, and how much bracing time you can afford — not just to whichever tub is cheapest at the store.
Surface Preparation
Clean, dry, and dust-free substrate is non-negotiable — grease, dust, or old wallpaper paste will show up as a soft spot months later. Lightly roughening a slick surface (glossy paint, laminate) improves mechanical grip before adhesive goes on.
Curing Time and Strength
- Trowelable panel adhesive sets enough to handle light contact in 24 hours but reaches full cure strength in about a week — don’t caulk seams or hang towel bars before then.
- Confirm the adhesive’s rated strength matches your substrate; a lightweight foam-panel adhesive isn’t rated for heavier fiberglass sheet on a ceiling.
Application Techniques
Improper application — wrong trowel, rushed spreading, skipped clamping — is the most common reason an otherwise correct adhesive choice still fails.
Dispensing Methods
- Notched trowel — the standard method for full-panel coverage described above
- Caulking gun with a construction-adhesive cartridge — faster for small repairs or single panels
- Pneumatic dispenser — used on larger commercial jobs to keep pace with multiple panels
Proper Adhesive Application (Step by Step)
- Prep the surfaces: Clean the panel back and the substrate of dust, grease, and loose material.
- Pick the adhesive: Match the adhesive family (trowelable, epoxy, or MMA) to the substrate and environment covered above.
- Spread with a 3/16″ V-notch trowel: Apply in vertical stripes for roughly 50 sq ft per gallon coverage.
- Set within the open time: Press the panel from the molded edge outward within about 20 minutes, before the adhesive skins over.
- Brace or clamp: Hold firm contact with clamps, braces, or temporary fasteners while the adhesive reaches initial set.
“Spread adhesive over the entire panel back in vertical stripes, then work from the molded edge outward and roll the whole panel firmly against the wall — don’t spread more than you can set within the open-time window.” — Titebond FRP Installation Guide
Benefits and Drawbacks of Gluing FRP Panels
Adhesive-only installation is the standard method for interior FRP, but it isn’t the right call for every wall.
Advantages
- Strong, seamless bond: No fastener heads to caulk over or that can loosen with temperature swings.
- Faster install: No drilling, aligning, or countersinking — just trowel, set, and brace.
- Watertight seal: A properly troweled bond line keeps moisture from working behind the panel, which cuts mold risk in wet rooms.
- No exposed fasteners: Preferred in food-service and healthcare settings where protrusions are a sanitation or safety issue.
Limitations
- Short open time: Roughly 20 minutes for trowelable adhesive means large panels need a second set of hands.
- Full cure takes about a week: The wall shouldn’t take heavy stress (leaning shelving, hard impacts) until then.
- Not repositionable: Once set, panels are difficult to remove without damaging the substrate — plan layout before you spread adhesive, not after.
- Substrate-dependent: Glossy, oily, or damp substrates need extra prep or a different adhesive; skipping this step is the top cause of bond failure.
FRP Panel Glue FAQ
What is the best glue for FRP panels?
A trowelable adhesive purpose-built for FRP, like Titebond Fast Grab or Liquid Nails FRP-310, is the best choice for most interior walls. Use a two-part epoxy instead where the wall will take heavy physical impact, since epoxy cures more rigid and holds up better under abuse.
How do you install FRP panels with adhesive?
Clean and dry the substrate, spread adhesive over the panel back with a 3/16″ V-notch trowel in vertical stripes, then press the panel from the molded edge outward within the roughly 20-minute open time and brace it while it sets.
Can FRP panels be glued to drywall?
Yes. Most trowelable FRP adhesives are formulated to bond directly to clean, unprimed drywall. Make sure the drywall is dry, dust-free, and free of loose paper or damaged spots before troweling adhesive on.
Can you use Liquid Nails for FRP panels?
Yes, but use the Liquid Nails FRP-310 product specifically formulated for fiberglass reinforced panels, not a general-purpose construction adhesive. FRP-310 reaches initial set in about 24 hours and full cure in roughly a week.
How long does FRP panel adhesive take to cure?
Most trowelable FRP adhesives reach an initial set within 24 hours, enough for light contact, but need about a week to reach full cure strength. Avoid caulking seams, hanging fixtures, or leaning heavy items on the panel until it’s fully cured.
Conclusion
For most FRP panel jobs, a purpose-built trowelable adhesive — spread with a 3/16″ V-notch trowel at about 50 sq ft per gallon — gives you a strong, watertight bond within a roughly 20-minute open time. Save two-part epoxy or MMA for walls that need to survive real impact or outdoor temperature swings, per the glue guides on this site and the comparisons in our epoxy cure-time guide.
By matching the adhesive family to your substrate and respecting the open time, you can get a long-lasting, professional-looking FRP panel installation on the first try.
Sponsored / affiliate links. As an Amazon Associate I earn from qualifying purchases. I may earn additional commission from eligible campaigns.